


DIY Fire Pit Area in a Weekend!
Are you looking to create a fire pit area for your yard? Well, then this is the post for you. I’ll share step by step how we created our fire pit area in just one weekend. With the weather still cooperating here in New England, we figured we would take advantage and tackle one last DIY project before the winter sets in. We’ve done a lot this past spring from installing our outdoor lights, a building barn doors for our garage as well as some DIY planters. Since the pandemic hit it’s become evident that home really is the best place to be and maybe the only place we can be for awhile.
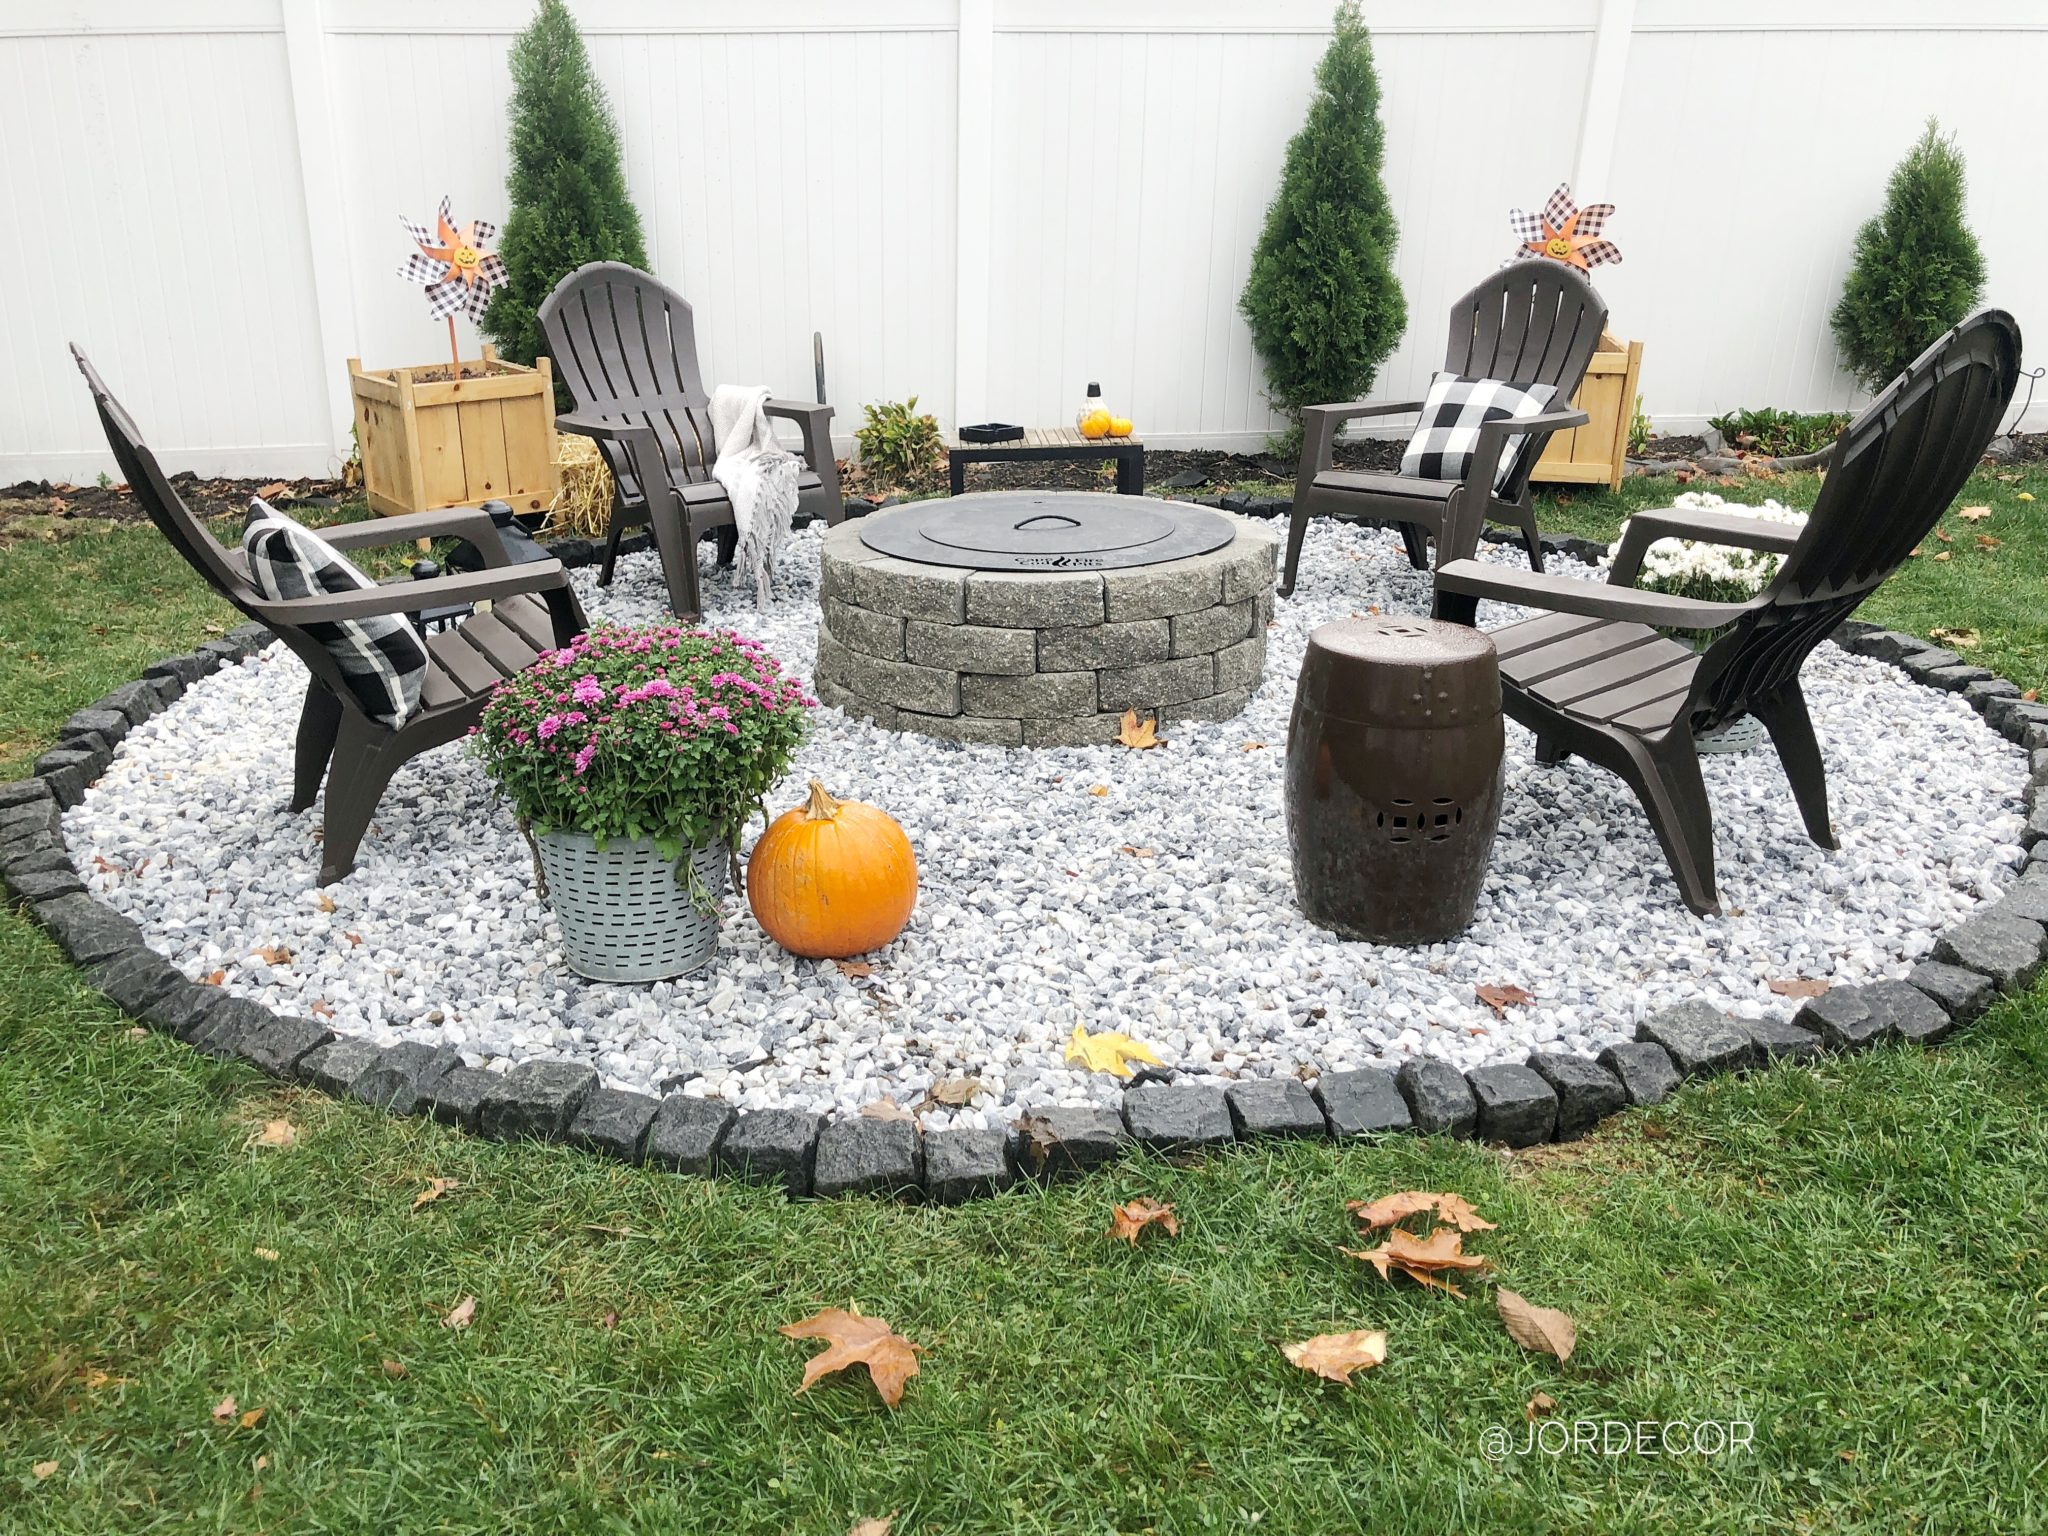
Especially during uncertain times such as these, we want to enjoy the company of friends and family outdoors as long as we can which means we needed a bigger sitting area and a heat source. So today I’m sharing our new smokeless fire pit as well as how we created this fire pit area. Yes you read that right, it is a smokeless fire pit. It is designed to limit smoke! I’ll share more on that later. Our outdoor area was lacking a great spot for a fire. To really dress up our fire pit we wanted to give it its own special area in the yard with cozy Adirondack chairs as well as gravel/stone. We did this project in a long weekend! Below is what we did…

DIY Fire Pit Area Supplies:
- Edging Shovel
- Shovel
- Wheelbarrow
- Metal rake
- Spray paint
- String
- Garden stake
- Weed barrier
- Crushed marble gravel
- Cobblestone
- Sand (we used about two bags)
- Pre-bought fire pit kit or Fire pit paver stones
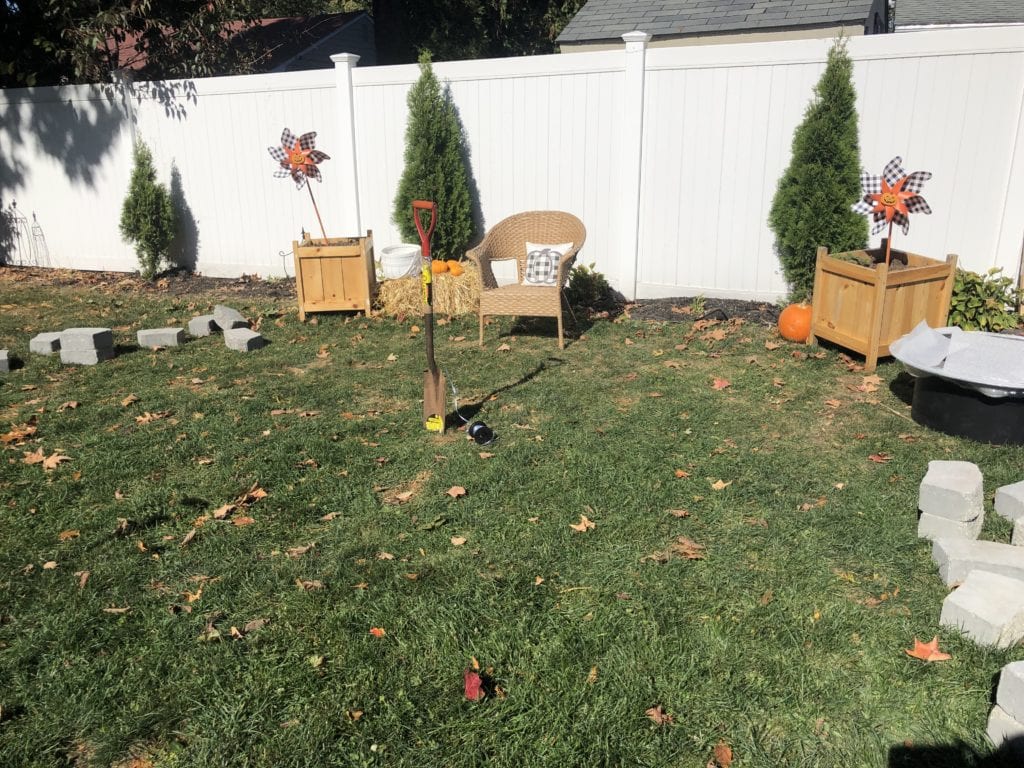
Before:
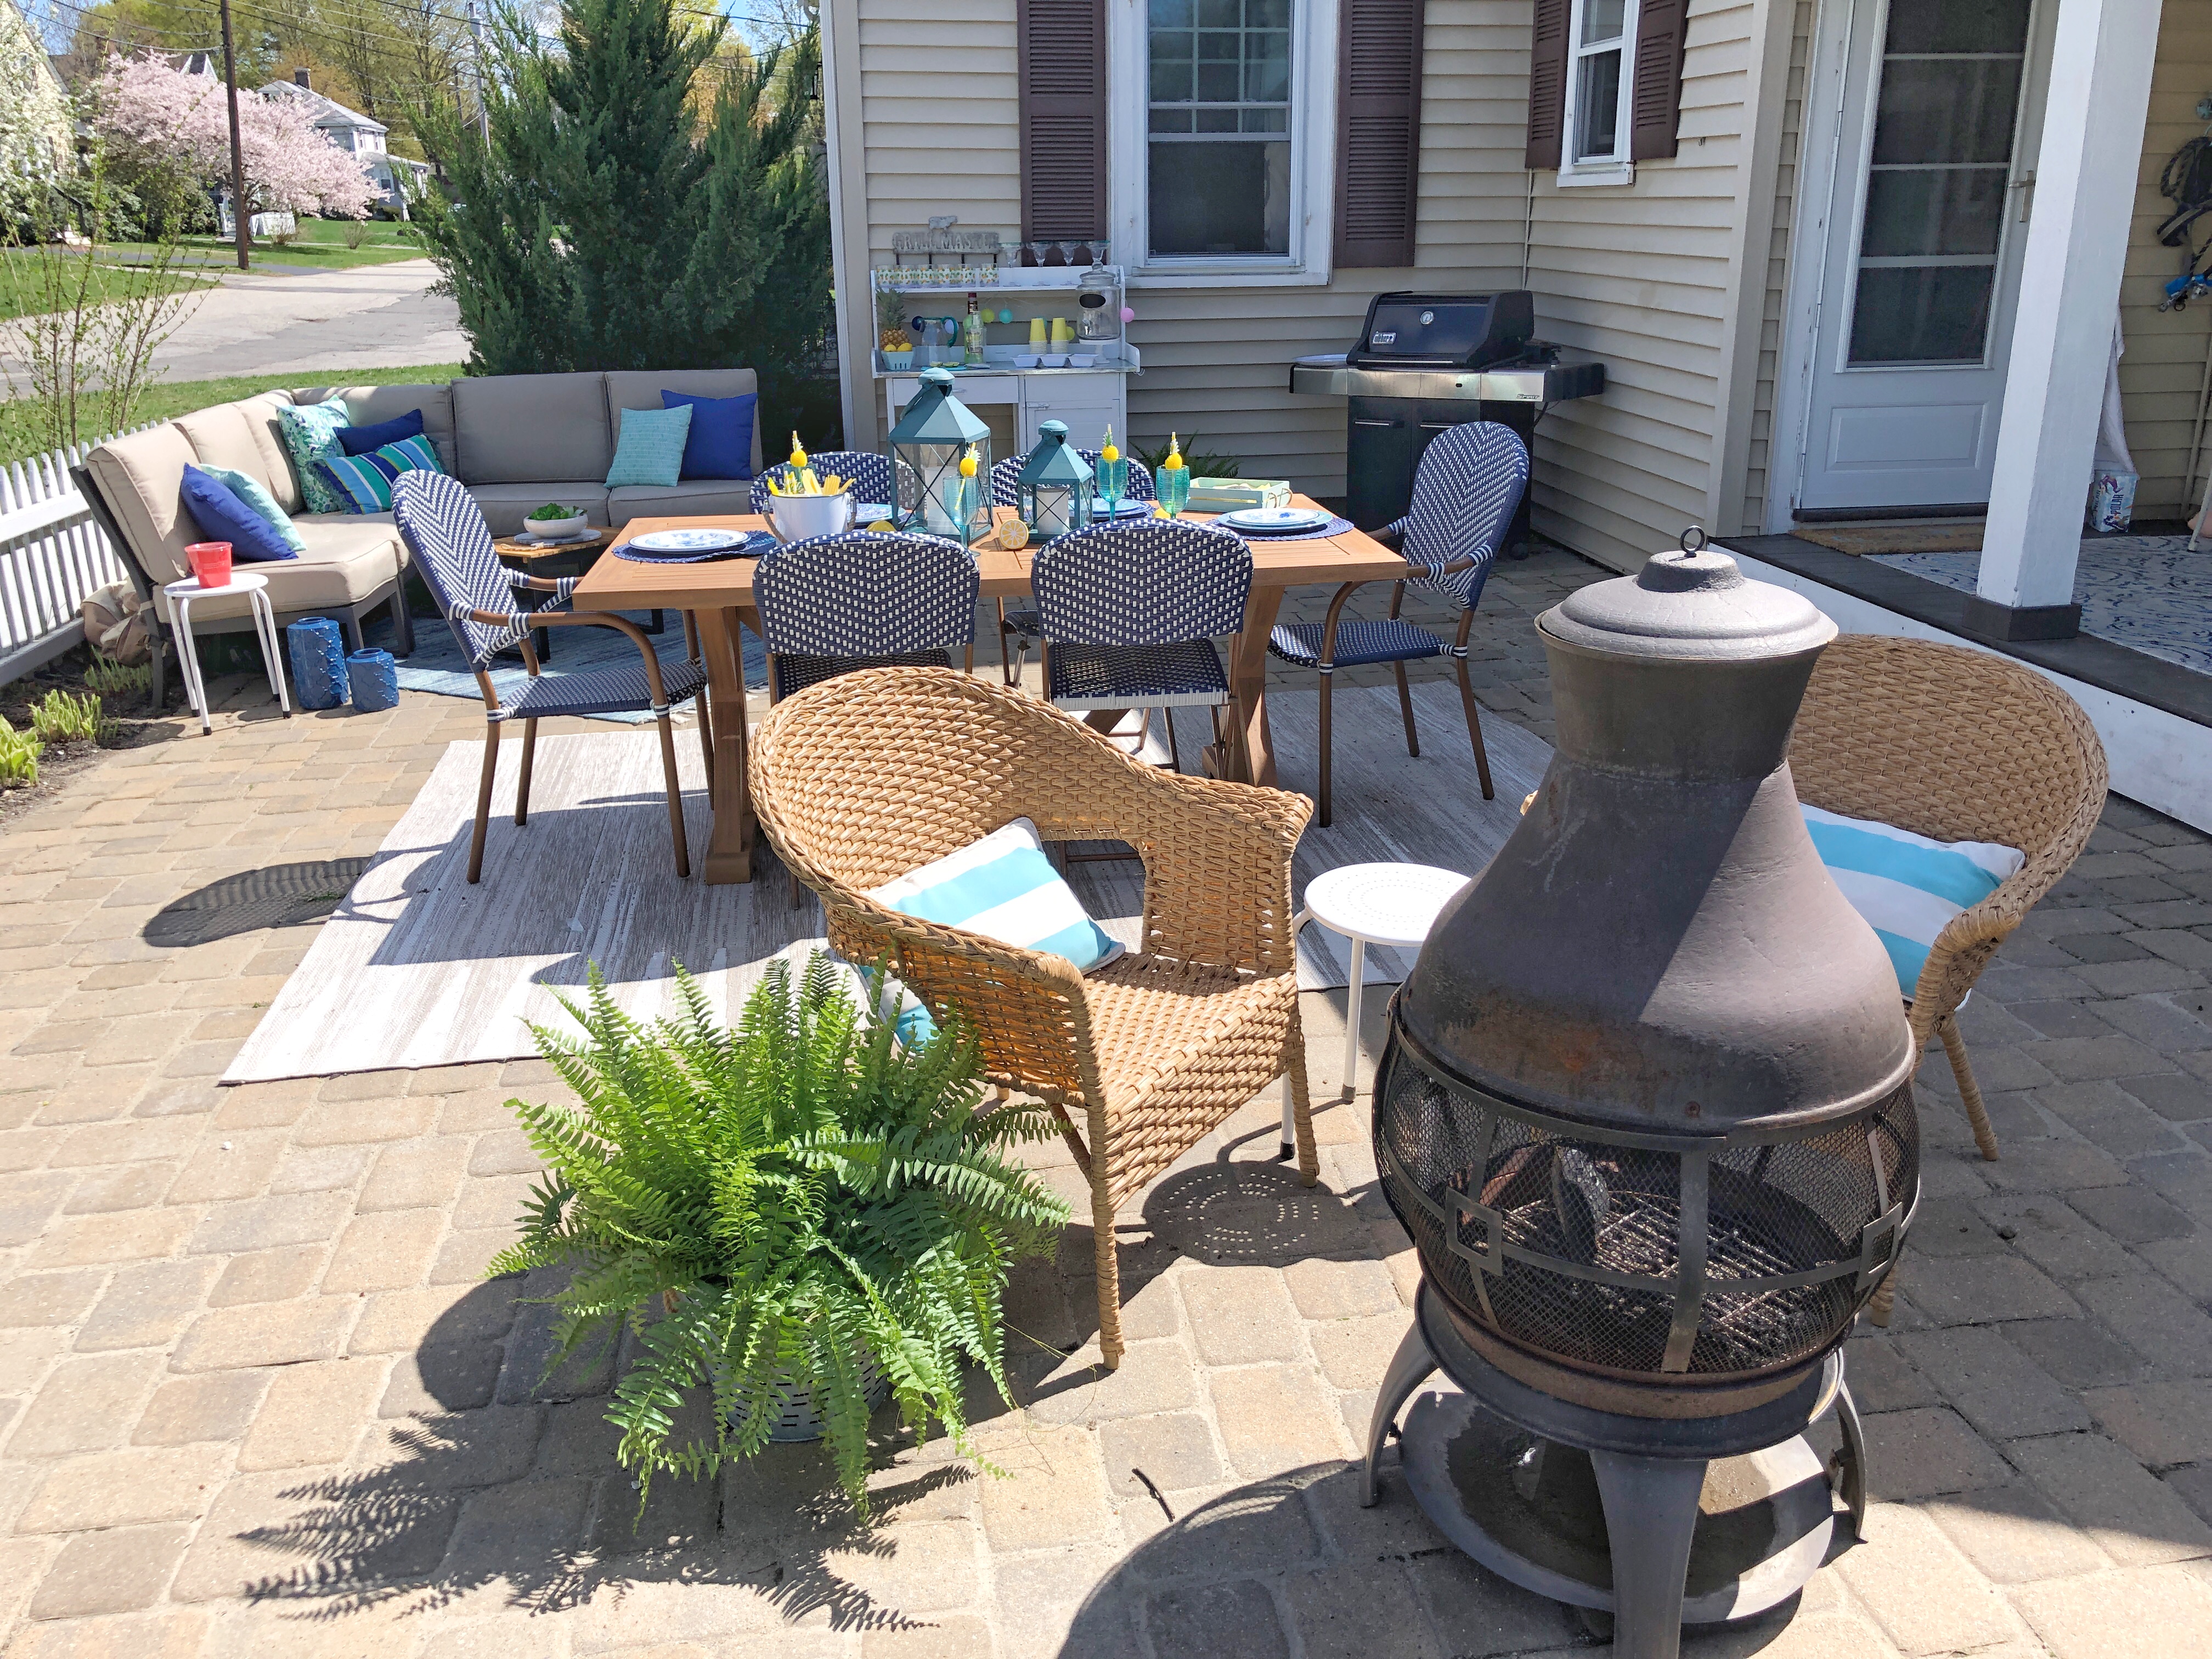
Here is how the area looked before we started. We had this little side yard that we really didn’t use for much. I’ve mentioned before our backyard is very narrow so we make use a lot of our front yard and side yard. We live on a dead end street, off a dead end street so we don’t have much traffic at all. We knew that we wanted our fire pit area close by to the patio so for parties we could all be together but further away from the house to be safe and also less smokey. However, the fire pit insert we purchased should cut down on that a lot!
-
- Using a garden stake or a shovel we made a point where the fire pit was going. Next we tied string to that and measured out to the distance we wanted the edge of fire pit area to go. Holding the string and spray paint I went around in a circle to give us our fire pit area.
-
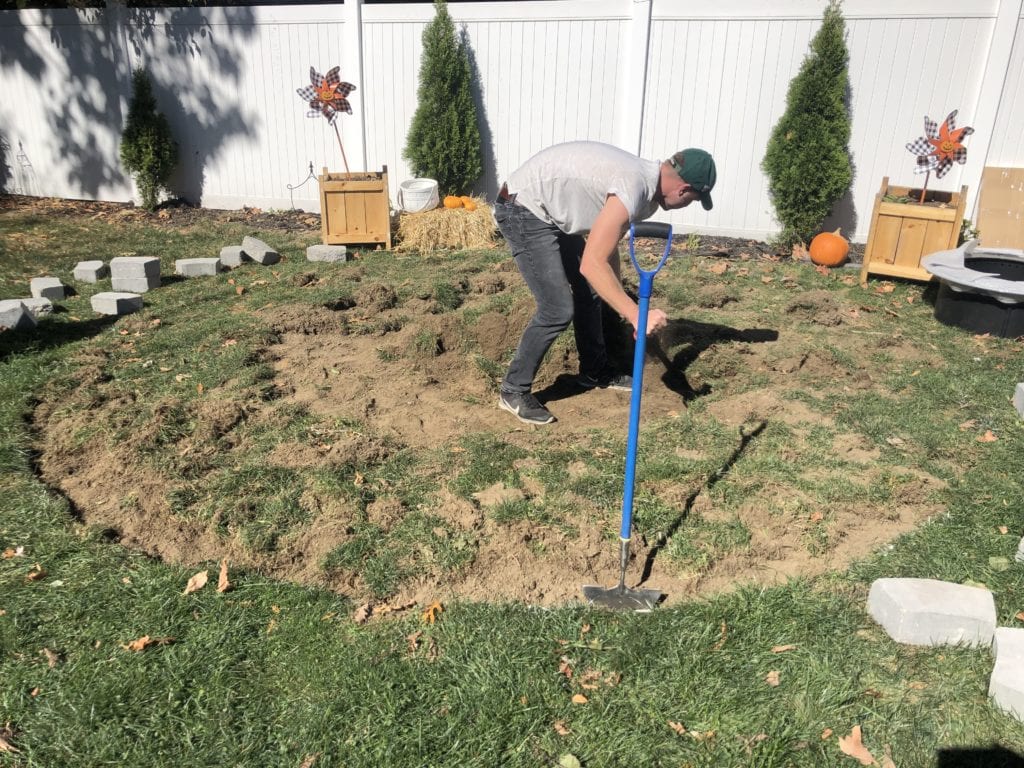
- Digging out the fire pit area was the most difficult part.
-
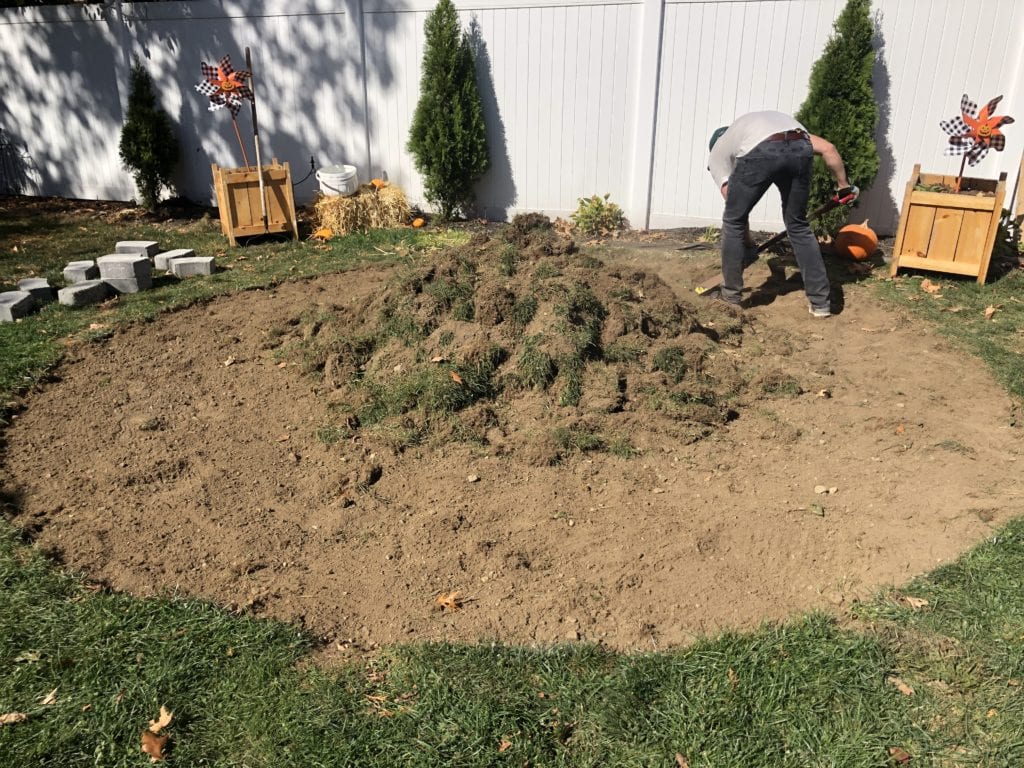
- Use your wheelbarrow to collect all the grass debris.
-
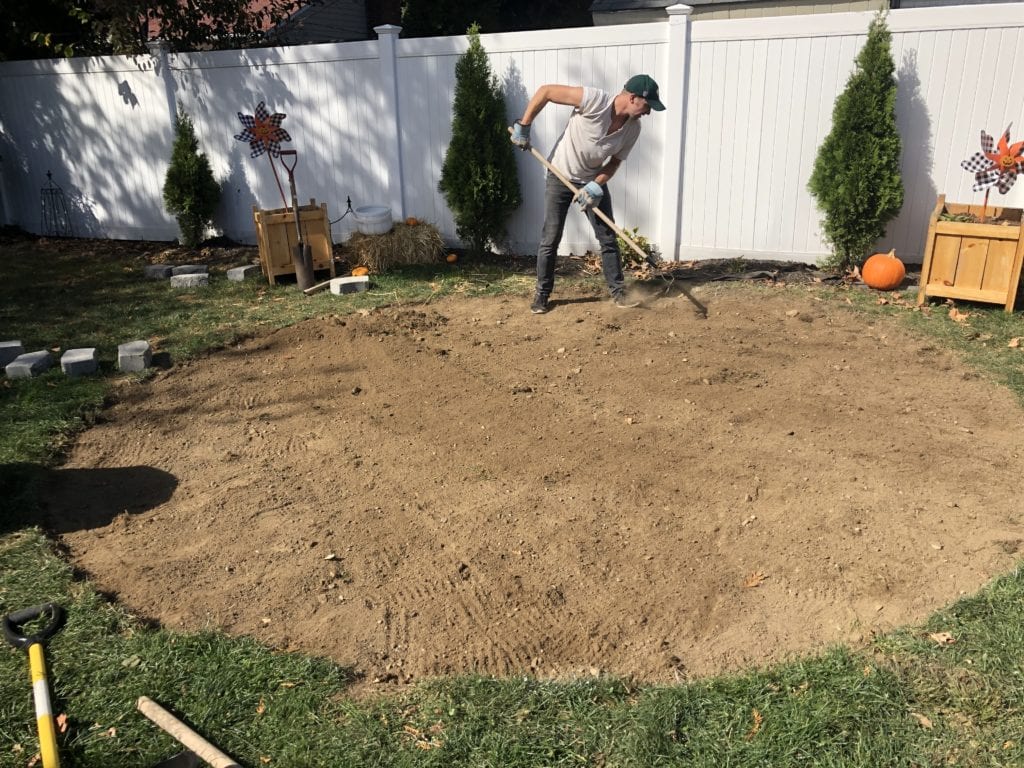
- Once the grass is removed rake out the dirt to make it more even.
-
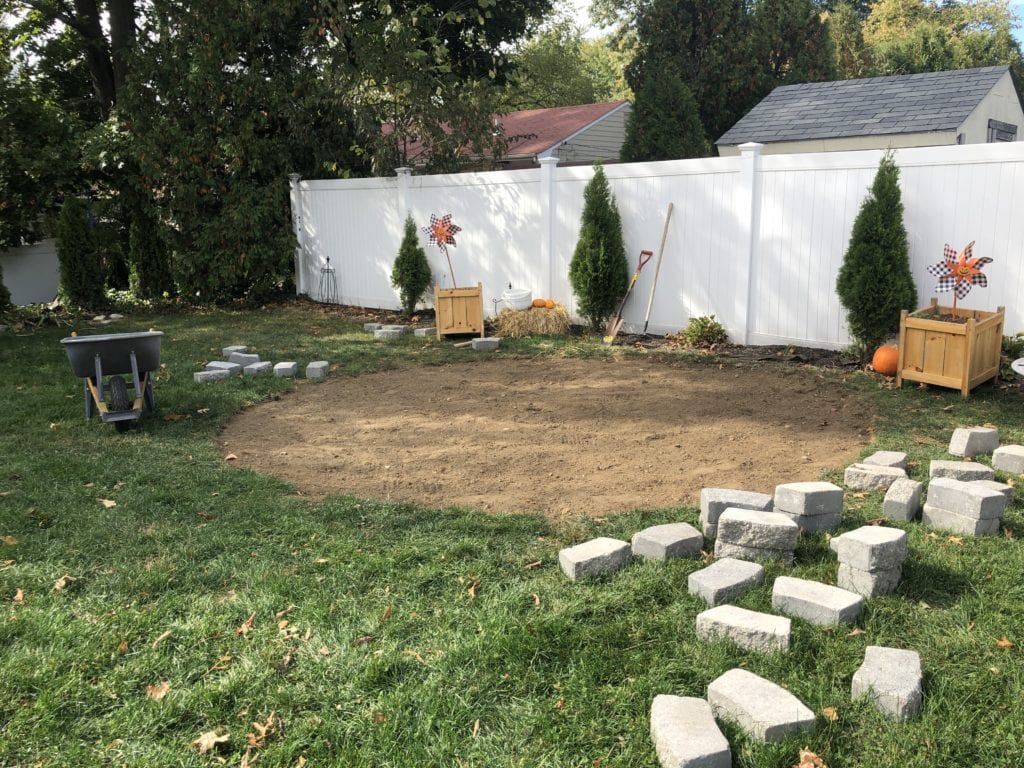
- Now you are ready for the next phase.
Installing the Fire Pit:
Once the area was cleared out we used the bags of sand to get our pit insert level. The area we dug out was about 14′ in diameter. You don’t have to go that big. We needed about 50 bags for this size of crush gravel which was $120-ish dollars. We went with Home Depot, online prior to shopping, you can put in your dimensions and calculate the amount you will need. You could also go to a local stone yard that delivers it all to you but ours wasn’t doing delivery in our area that day. So we borrowed my Dad’s truck and off to Home Depot we we went. We grabbed the last of our supplies; gravel, weed barrier, bags of sand.
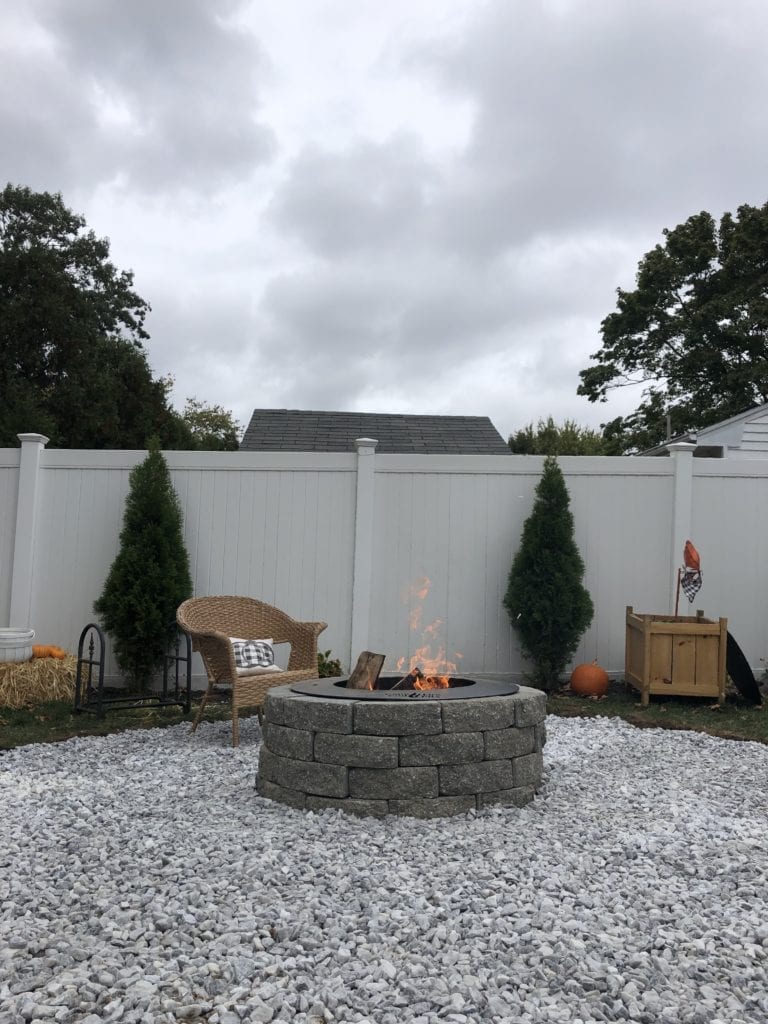
Let’s circle back to this smokeless fire pit we purchased it from a place on Cape Cod called Stonewood Products.

Click here to read more about our exact fire pit. I’ve always hated the smell of smoke and never wanted to be really close to a fire pit. It would hurt my eyes and my hair/clothes would smell for days. We looked into a Solo stove and Ben was pretty much set on it. However, I didn’t love the style of them. I wanted something a little bit more stationary. I love the look of stone fire pits. So this was a compromise that we both loved. It was an investment but we can take it apart if we ever move. We also love that it came with a lid and all the stone to make a nice tall pit.
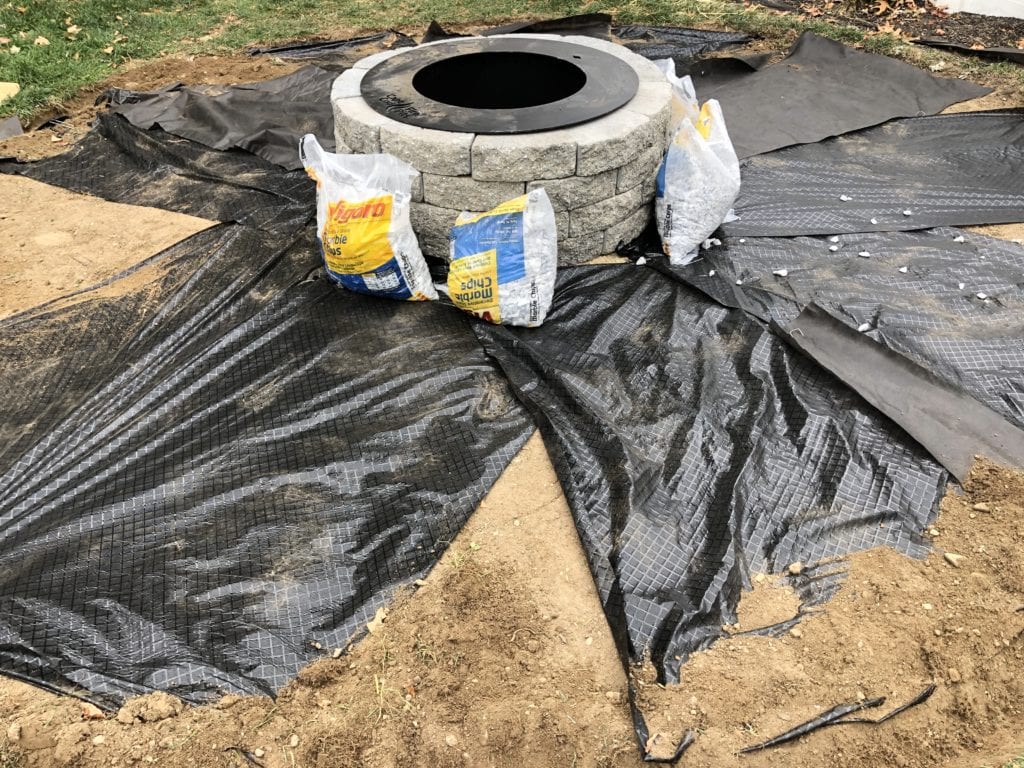
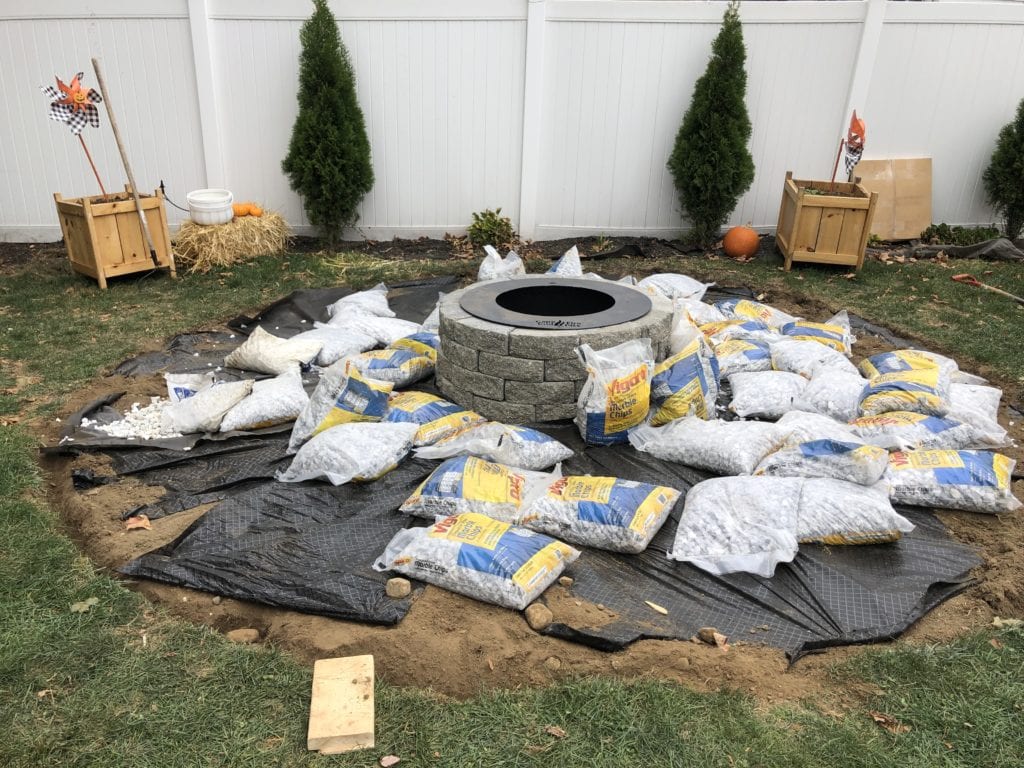
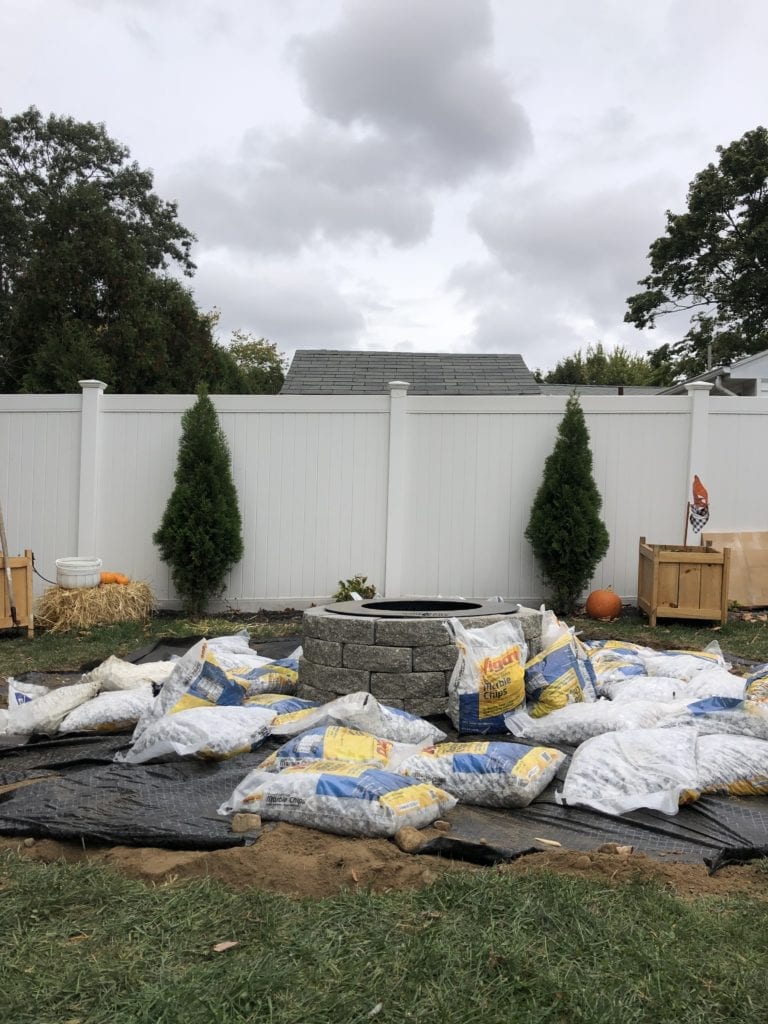
As you can see we used the weed barrier fabric to cover the dirt to prevent grass and weeds from coming through. It was a really windy day and it was so hard to keep it all flat but we are still glad we took this extra step! Once we did the weed barrier we emptied all 5o bags of gravel and used the metal rake to spread them out evenly.
DIY Fire Pit Area: Edging and Setting up
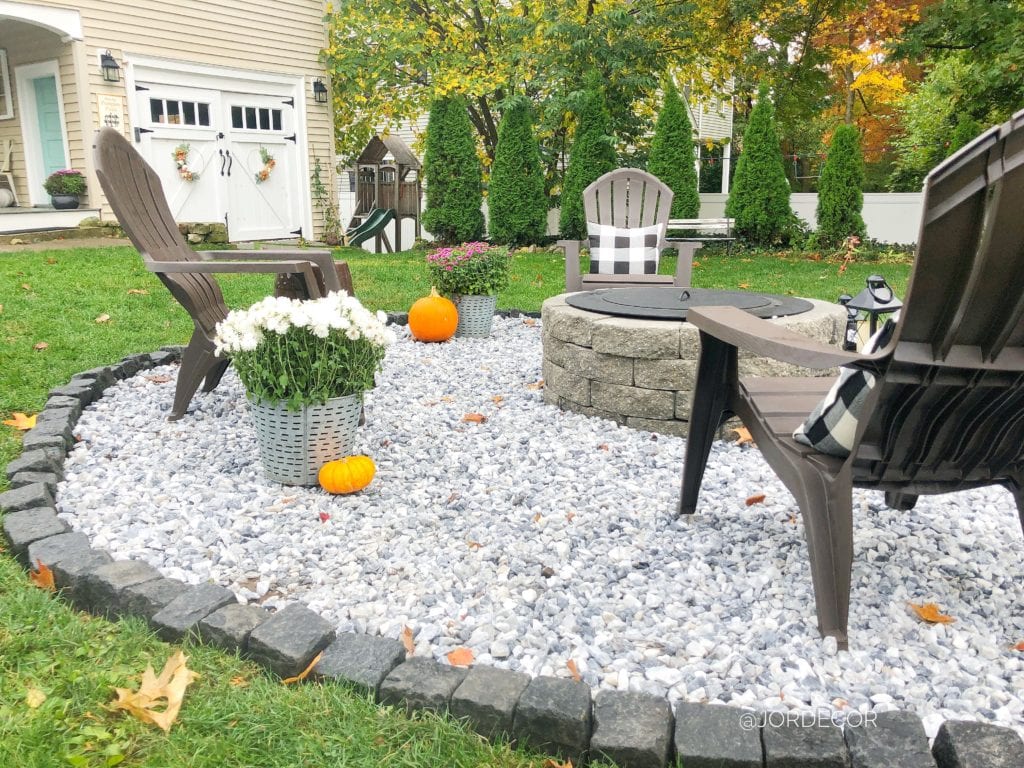
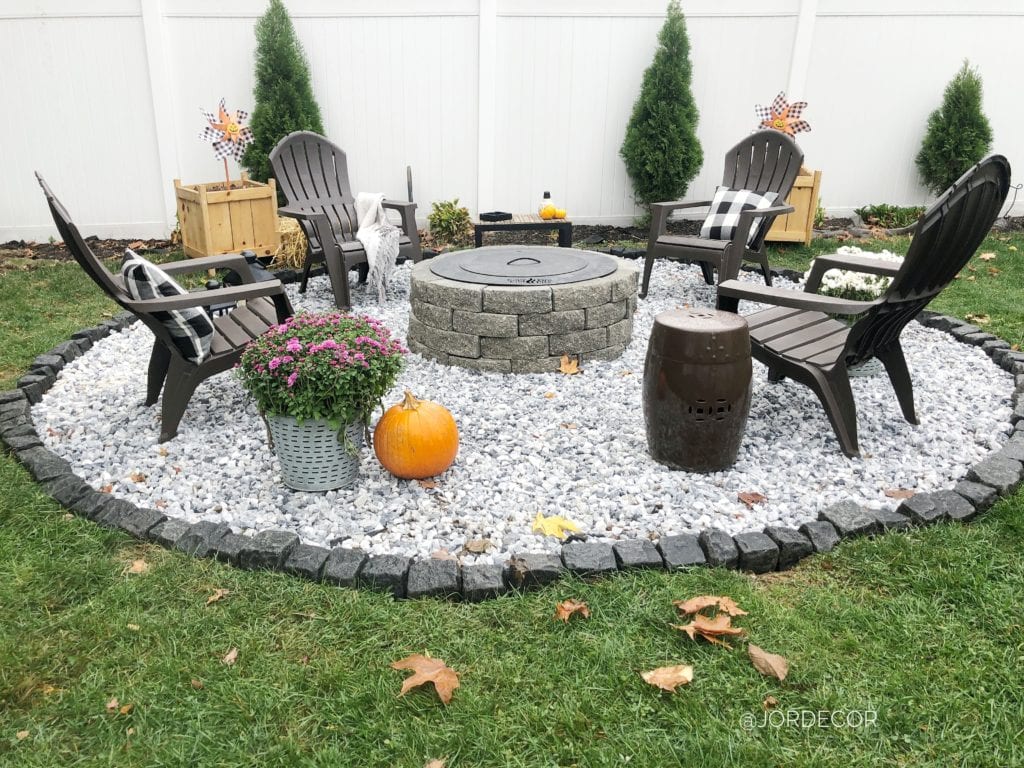
The last step was edging the fire pit area to keep the gravel in place. We decided to call our local stone supplier because we wanted to go with a small black cobblestone to really tie in with the black insert. The cobblestone we ordered is from AGT and they delivered it for us a few days later. The cost of that was a bit more than we anticipated but we had come thus far and just wanted it too look amazing. The stone was $400. Again, more than I had anticipated but I love how it came together. I decided to hold off on ordering real Adirondack chairs for now because we splurged on a couple of these items. The plastic ones work for now Next summer I’m hoping to have a local carpenter build us some or who knows maybe we will continue to improve our DIY skills and attempt that too!

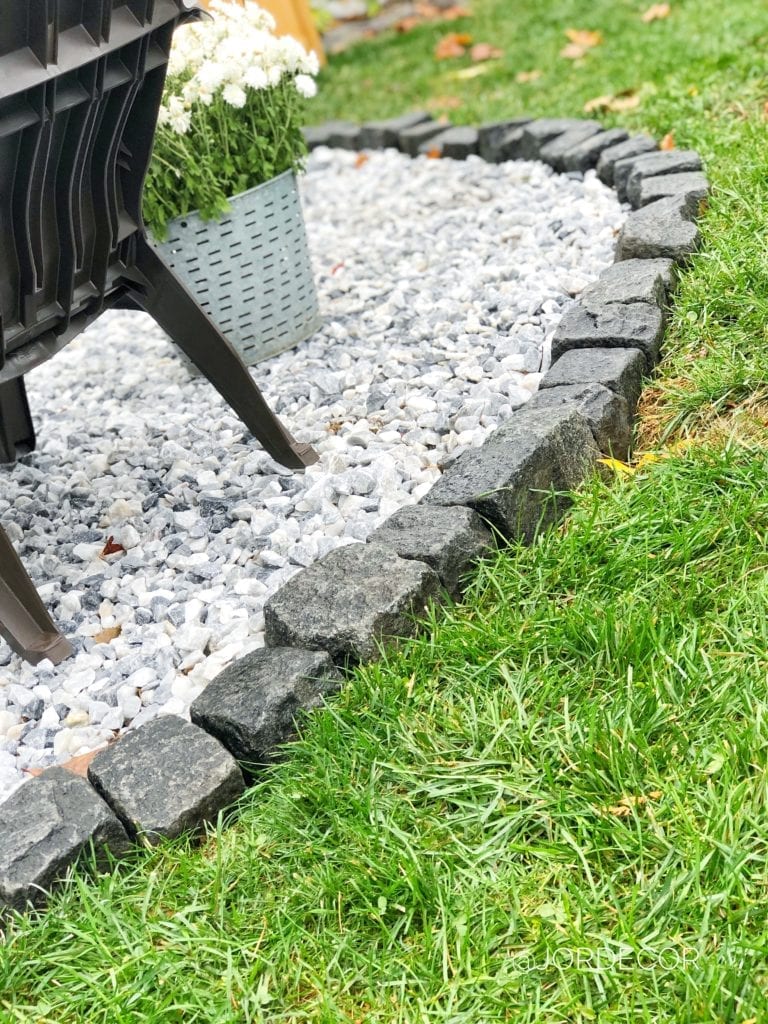
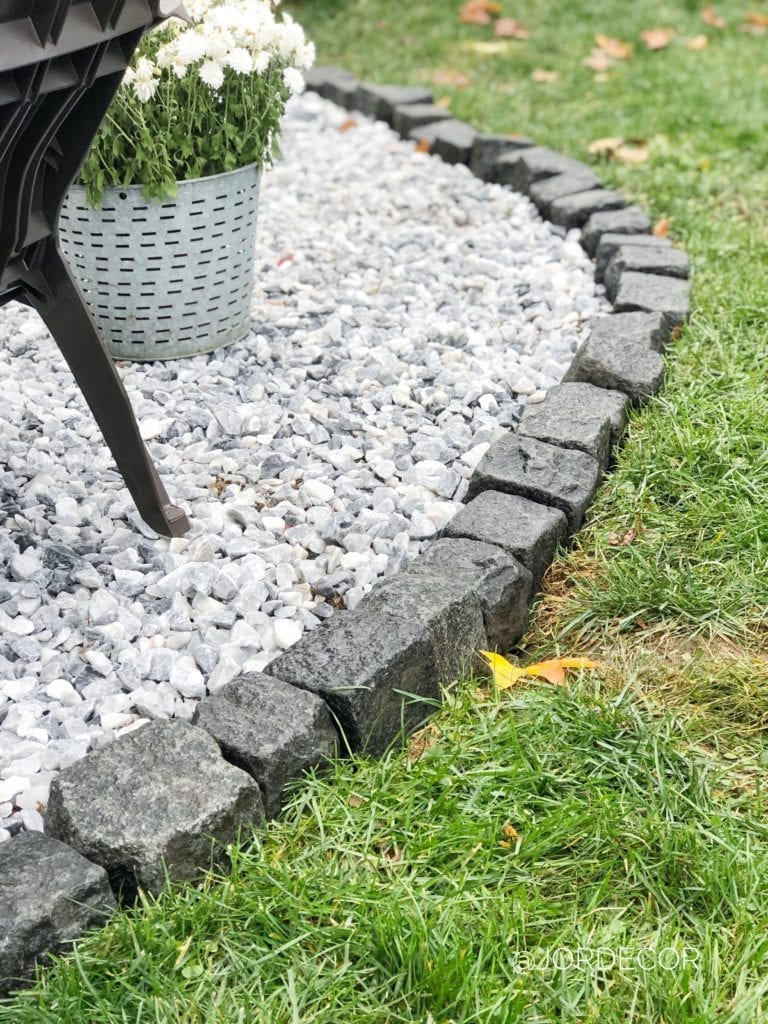
I love how the dark cobblestone gives such a nice border to this fire pit area, it adds a lot of character too!

Thank you for reading this post today and stopping by my littler corner of the internet! I hope this inspires you to squeeze in and tackle another outdoor project before winter rolls in! Believe it or not we still have two more projects coming up, that we’ve held off on for YEARS. A new walkway and new shutters. I’m so excited to finish sprucing up the exterior of our home!
Happy Decorating,
Jordan
*POST CONTAINS AFFILIATE LINKS THAT HELP SUPPORT MY BLOG AT NO EXTRA COST TO YOU. THANK YOU FOR SHOPPING THROUGH MY WEBSITE.
Shop This Post:

Pin For Later:

Leave a Reply


")


Hi Jordan! I love the fire pit in a weekend! I told my family that is what I want for Mother’s Day! Lol! Do you know the size of your insert? Like 30, 36? I want to do exact same as yours!
Hoping to do this for my parents they just bought a new home. They searched for one with a fire pit already built but weren’t lucky haha but I plan to build this for them once they get settled in.❤️
That is so nice! Such a great idea to do as a gift, too!
Fire pits looks great I like the contrast of the cobblestone and white gravel, thanks for sharing.
Thank you!
[…] 07. DIY Fire Pit from Jor decor […]
Are you looking for a Fireplace, Barbeque or Pizza Oven??? This is the place to get it. Buy now and you get free delivery !!!
Hi! Just curious what the total cost was for all the supplies?
Do you know which color you chose for the fire pit? There is a vineyard and quarry option.
thank you!
What an inspiring project! Your DIY fire pit area looks fantastic, and I love how you transformed the space into a cozy outdoor retreat. It’s amazing what can be accomplished in just a weekend with a bit of creativity and elbow grease. Your post has sparked so many ideas for a backyard fire pit makeover in my own home. Thanks for sharing your process and tips – I can’t wait to create a similar cozy spot in my backyard!
How do you like that fire pit now that you have used it for a while? Does it really eliminate the smoke?
Your DIY fire pit area looks absolutely fantastic! It’s impressive how you managed to transform the space in just a weekend. For “ideas for a backyard fire pit,” you might consider adding some stylish outdoor lighting or comfortable seating to enhance the ambiance even further. Thanks for sharing this inspiring project; it’s given me so many great ideas for my own backyard!
Thank you so uch!