


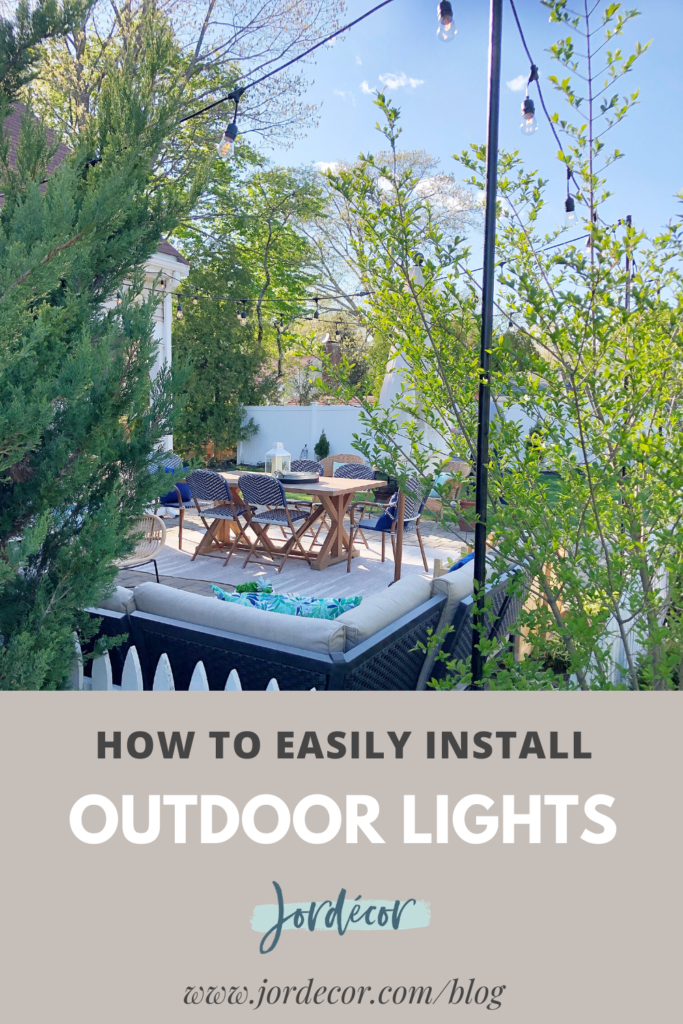
How to Easily Install Outdoor Lights
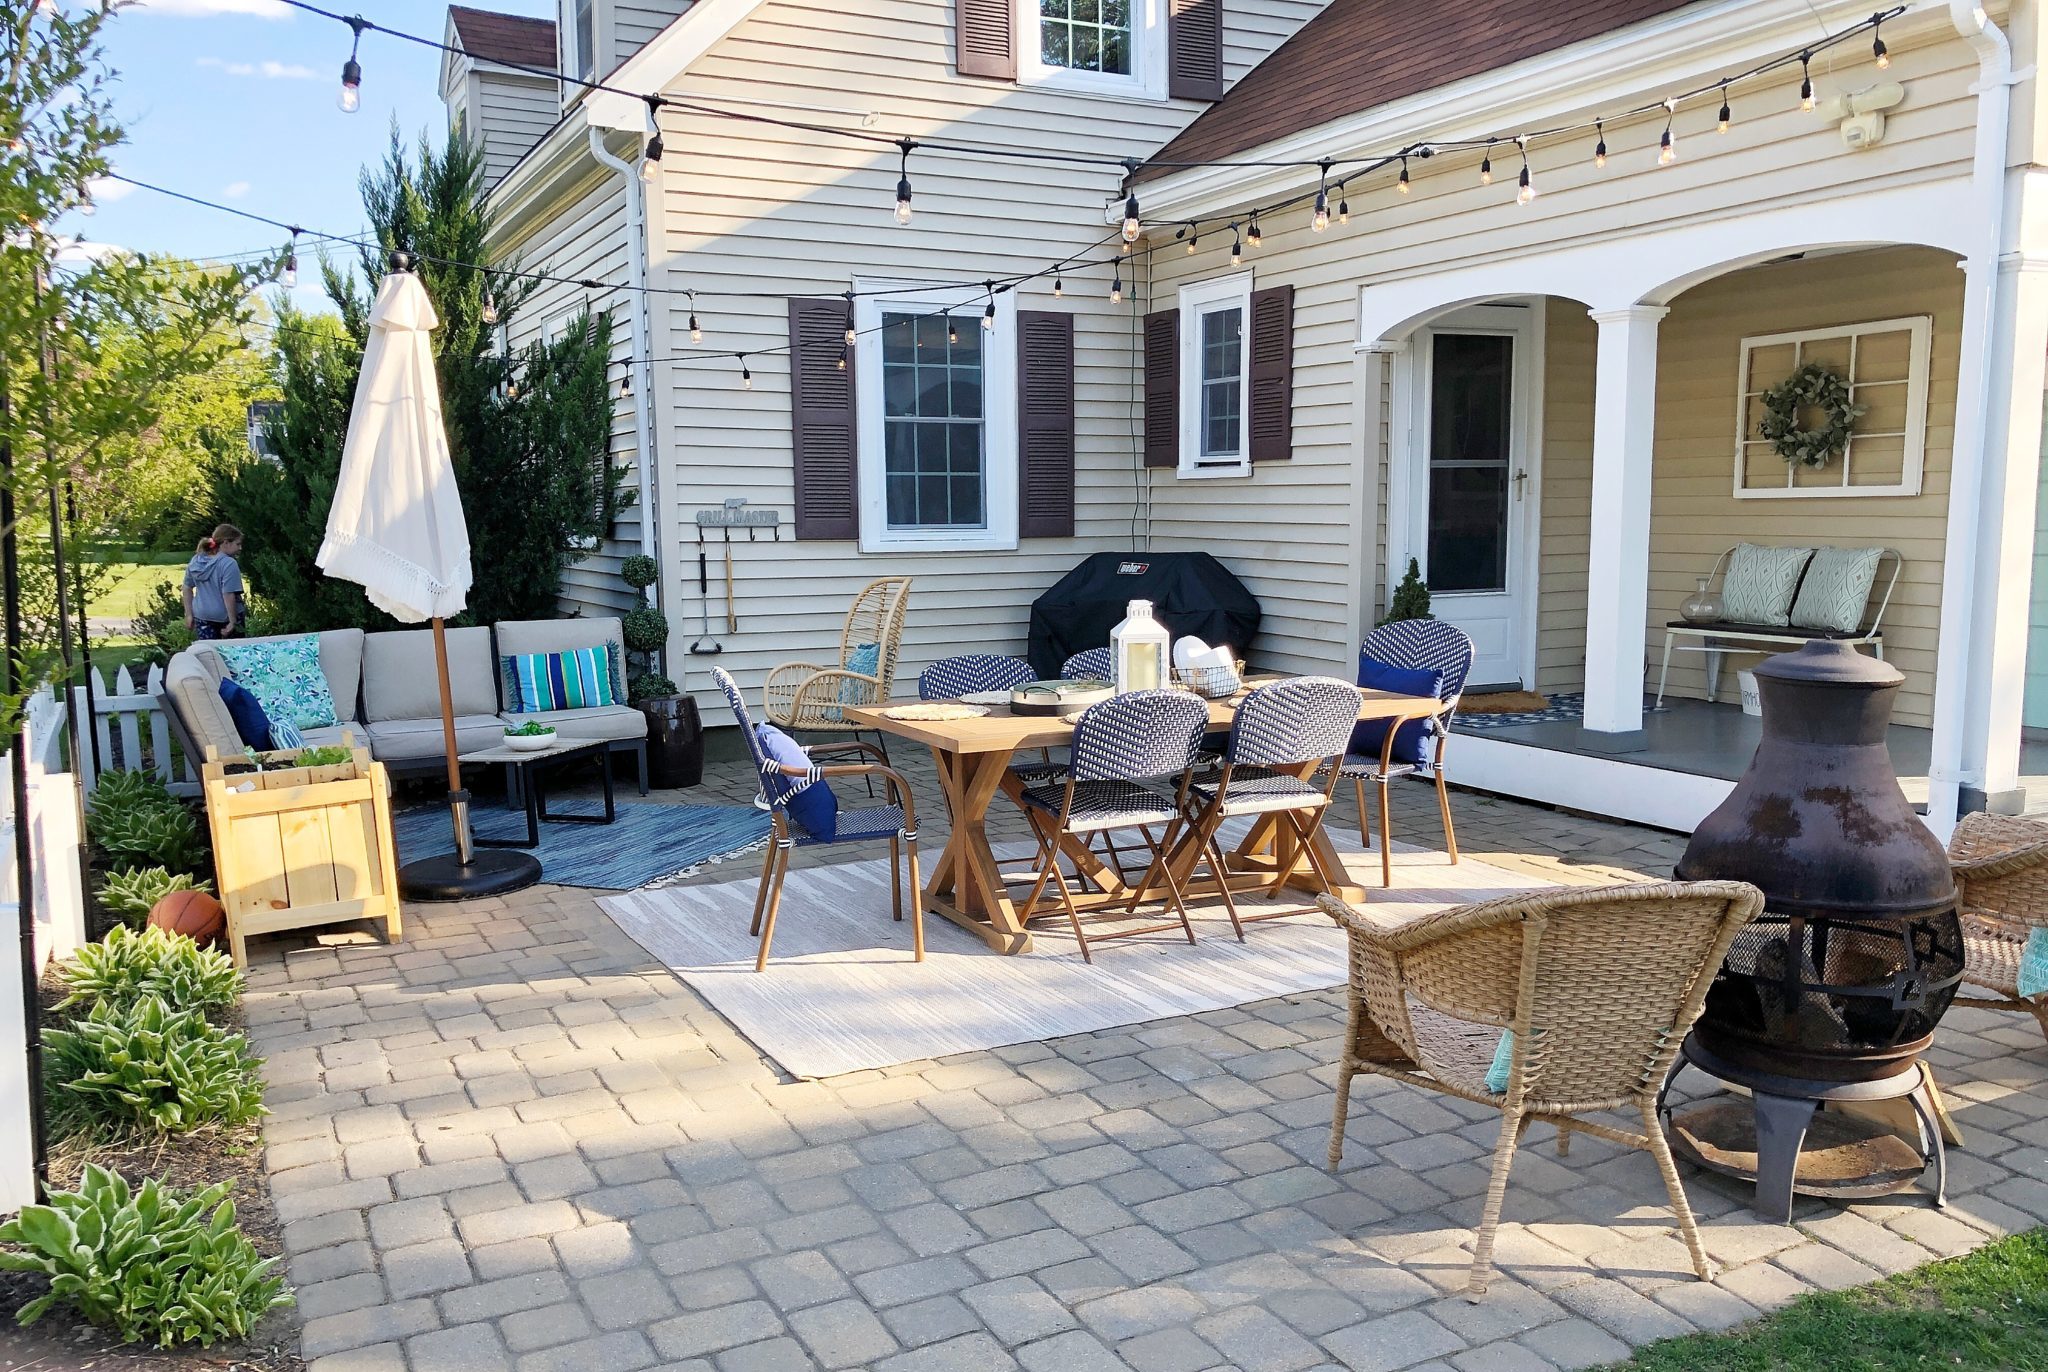
Today I’m sharing how we easily added outdoor exterior lights to our patio! After two failed attempts the third times the charm with this new installation method. Ever since I binge watched the show Parenthood a few years ago and drooled over their outdoor family gathering place. I knew I wanted to add exterior commercial grade patio lights to add ambiance to our outdoor space. We have tried for the last two summers and each time the lights were too heavy for the support posts we created. I’m going to show you the way that worked for us and its both easy and affordable! Follow me over @jordecor for more home inspo!!

Materials/Tools
- 3/4 wide pipe (found in plumbing section at lower)
- 3/4 wide pipe straps (also in that area)
- Cup Hooks
- Commercial Grade Exterior Lights
- Zip Ties
- Electric Tape
- Black Spray Paint
Prep your Pipes
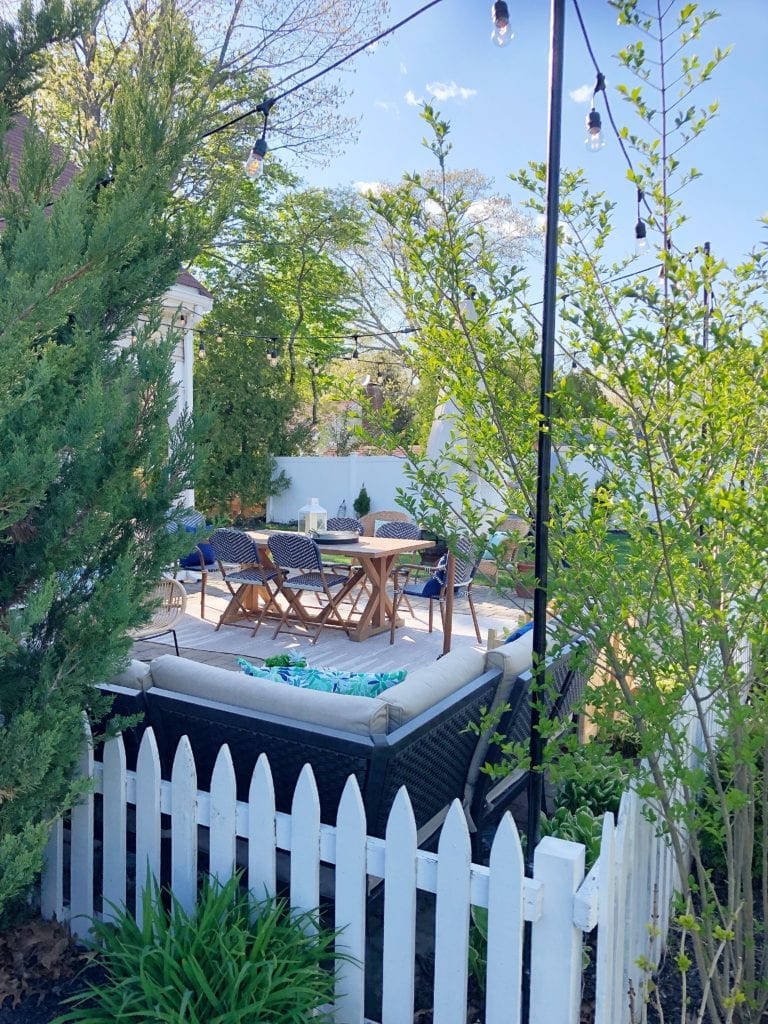
In the past we have tried adding outdoor lights with wood posts, concrete in shallow and wide planters, we’ve tried poles, concrete in narrow/tall planters, neither held up in the weather and on our uneven patio pavers. For this, our third attempt we knew we needed to get something super strong and heavy duty like a pipe and secure it to something already very sturdy. Surrounding our patio is this little picket fence that we rescued from the side of the road and gave new life to. The fence posts are cemented into the ground, we realized we could use these super sturdy posts as support for the pipes which would hold up the ends of our string lights.
The pipes we purchased at our local hardware store in the plumbing aisle. These are not poles, they are very thick 3/4 wide iron pipes. We got wrought iron because it seemed super strong. The pipe was 10 feet, we wanted 8 1/2 feet so we had three posts cut to that measurement at our hardware store. This saves a step at home and we weren’t sure we had a blade strong enough to cut iron.
Regarding the width, we choose the 3/4″ pipes. This width was perfect as it wasn’t too wide, but also strong enough to hold up the lights without bending. If we were to go to a smaller width, there is a high chance the pipes would start to bend.
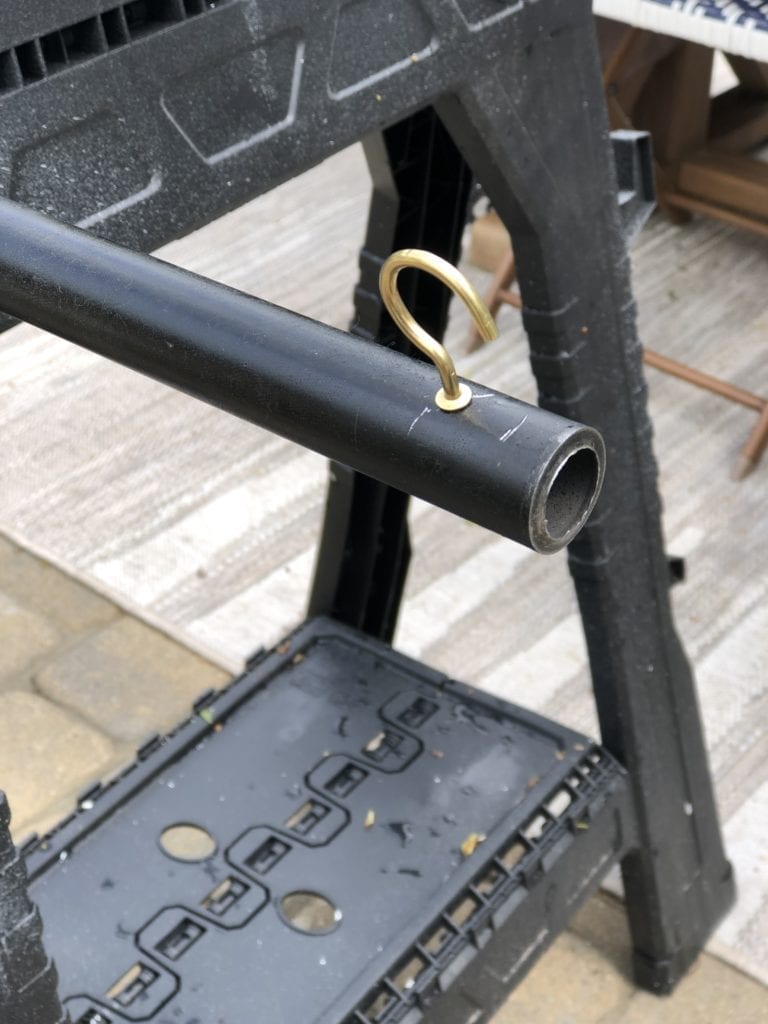
Once we got home we spray painted our pipes satin black so they look nice and clean.

I also took the pipe straps that were silver and spray painted them black as well so that it all matched. Once they were all dry we drilled a hole into the top of the pipe for the cup hook. It took a couple different times to get the right opening for the cup hook to fit.

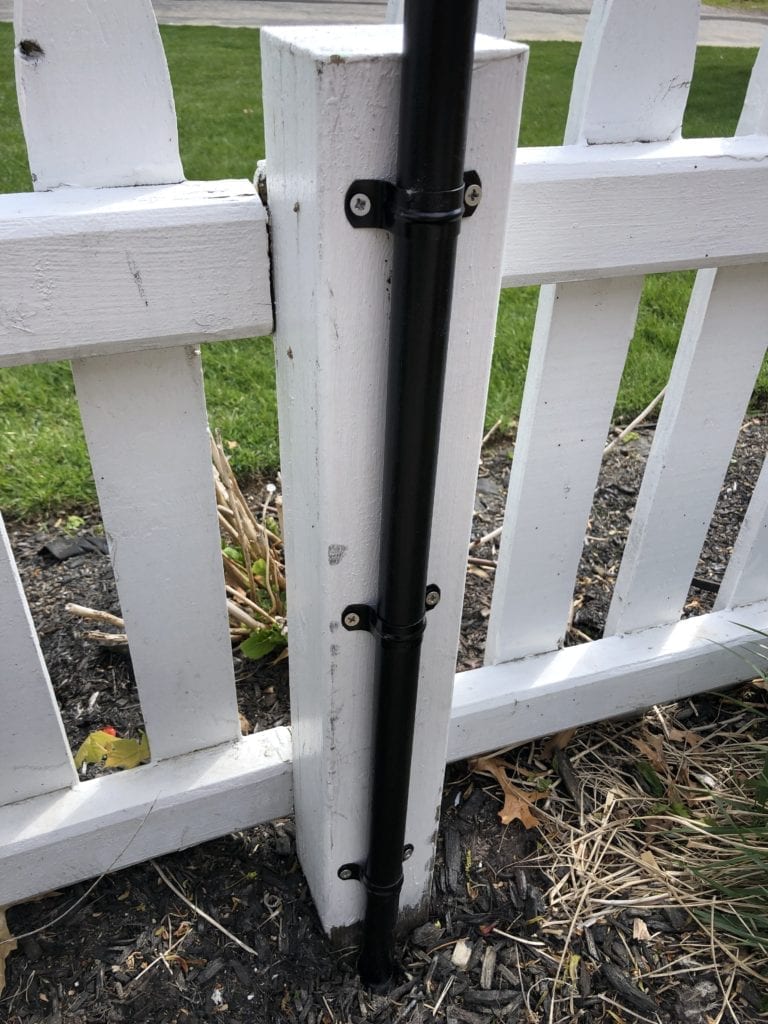
Install Your Pipes
Once the cup hook was in place and secure we attached the pipes to the fence posts with the pipe straps. We used three pipe straps on each pipe to post. I like that in the winter if we want to remove them we can. It’s hard to move the planters full of concrete and we like to have the option. However, I think that these are strong enough to even last our harsh New England winters.

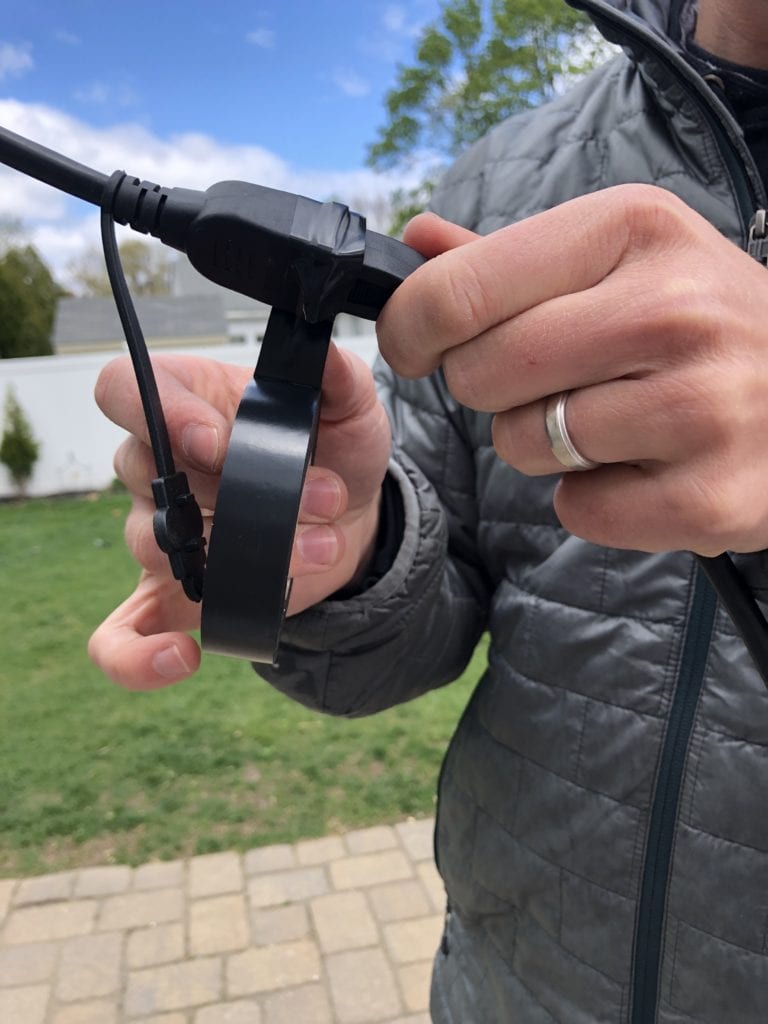
Add your String Lights
Now that the pipes are in place we started stringing our exterior commercial grade lights starting closest to the outlet and working away, zig zagging. For additional safety we used zip ties to tie the wire of the string lights to the cup hooks and pipes. We also used black electrical tape to tape the meeting of two string light cords. Otherwise, they could come undone over time.

Here are the lights!

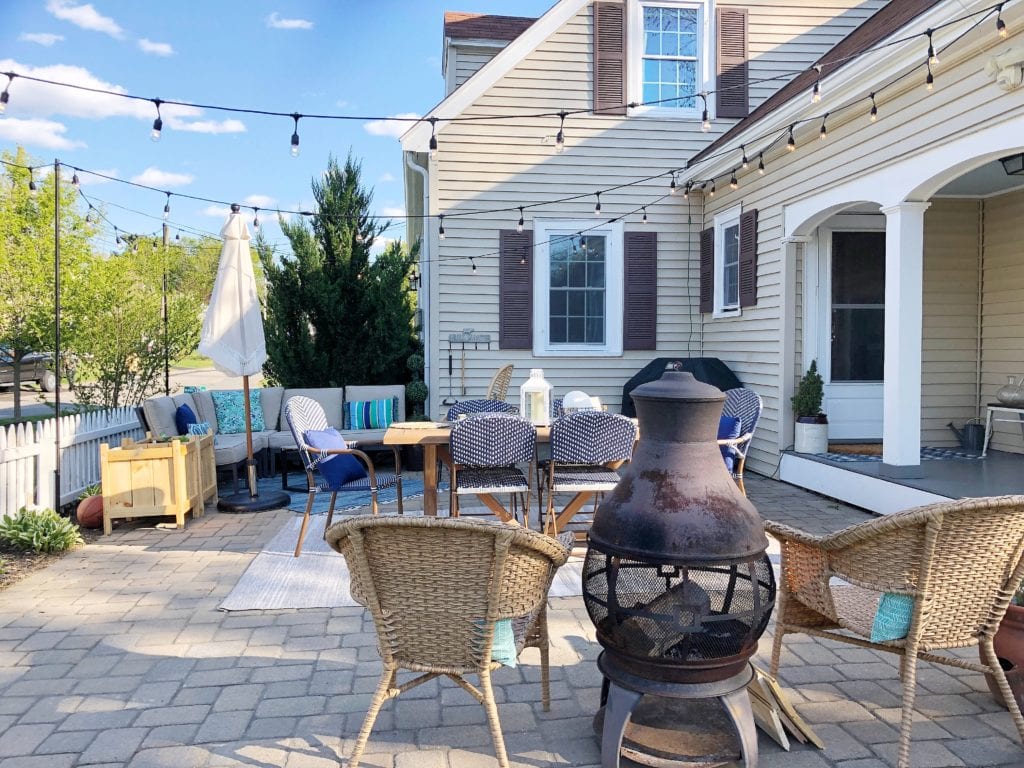
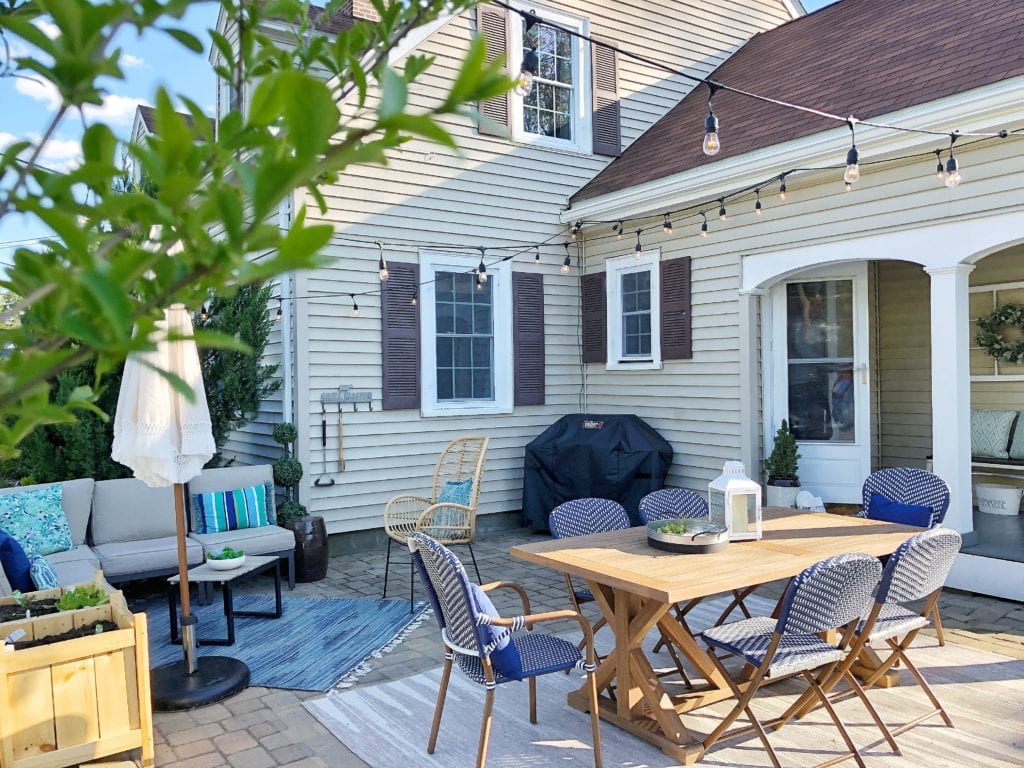
This project was a huge success- finally!! The pipes and pipe straps made it so easy to hang these lights. They provide a really strong base and even after some windy days everything is very secure. After so many failed attempts it is so exciting to have figured out the right set up for us to have lights over our patio. We can’t wait for lots of fire pits and dinners with friends/family. Hopefully this summer! I hope you find this post helpful if you’ve also been trying to figure out how to add some lights outside your home.
Happy Decorating,
Jordan
*this post contains some affiliate links which helps support my blog. Thank you for your support!
Pin for Later:
Shop the Post:

Leave a Reply


")


This was perfect! We’ve had this idea for some time and finally bought the lights. Thanks for putting it all into a post. I was able to show my husband exactly what we needed!
That’s awesome! I’m so glad it was helpful to you!!