Seasonal

Like many of you I’ve spent the last few weeks anxiously awaiting the arrival of spring. Finally those bare trees are starting to form their first buds and empty spots of garden beds are sprouting purple crocus. Watching winter fade and the renewal of spring, is one of the most amazing things to watch. While nature is having its own rebirth, we’ve got our own little one blooming!! In early January I found out I was unexpectedly expecting #3! We weren’t planning for another child. However, this surprise blessing gave me a whole new appreciation for what my body is capable of and a reminder that the ability to create life is so miraculous. Keeping this little secret from my friends and Insta community was tough. I had the usual early pregnancy sickness which is now starting to go away. It’s the only time in life that feeling sick is for a good reason. Ben took over a lot of my household duties so I could rest. He is such a great Dad and Husband. We are really looking forward to this next chapter about to unfold.

I shared our pregnancy news over on Instagram with a little video, I still cry when I watch it. I just can’t believe we will have another member of our family this September. Our kids are so excited for another sibling! We told them on Valentine’s Day with cookie announcement boxes from Lindsay’s Cookie Jar. The kids were a little confused and it took them a few seconds of reading all the cookies before it started to click. Griffin finally said “Are you having a baby or something!?” It was so cute and they just had so many questions (as you can imagine!). haha


With Easter approaching this weekend and spring in full swing (we have 5 yards of mulch getting delivered today!) I’ve been slowly starting to get my energy back and I thought I’d share some little pops of spring decor I’ve been adding around our home. I haven’t been up to tackling any big projects but doing small crafts and table settings has helped my creative itch. I hope some of these images give you ideas for decorating for spring even in small ways. I love bringing the outside in with seasonal branches and florals either real or faux! Let’s start outside with our front door! (I’ll link a bunch of items at the end).
Spring Front Door:
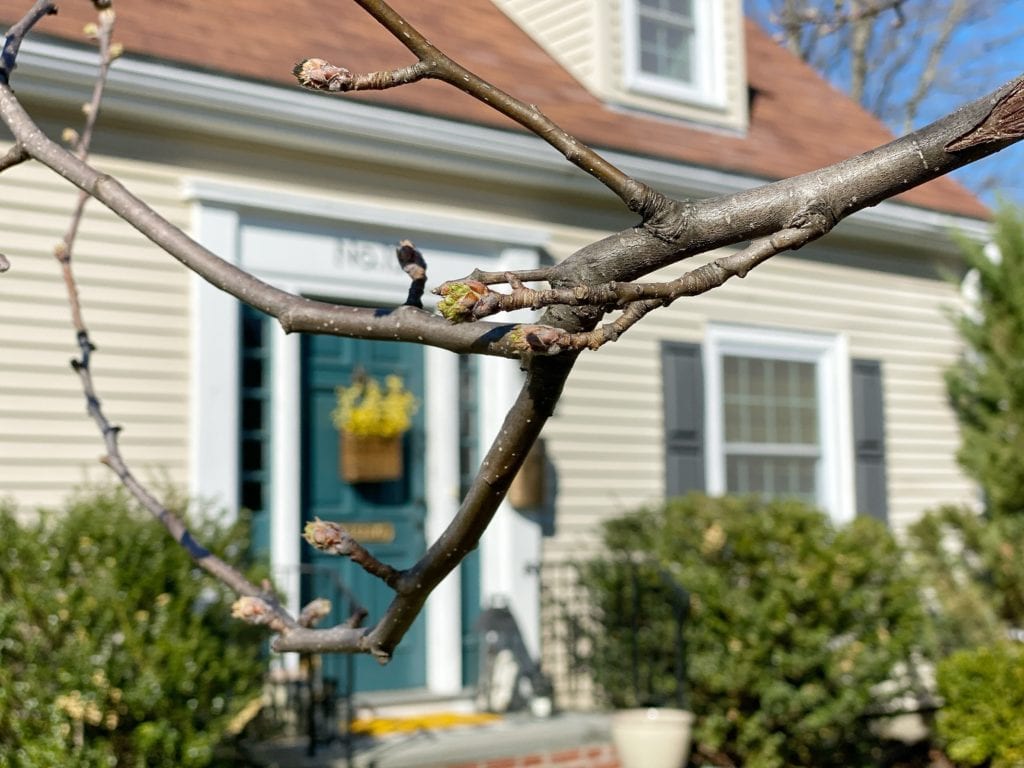
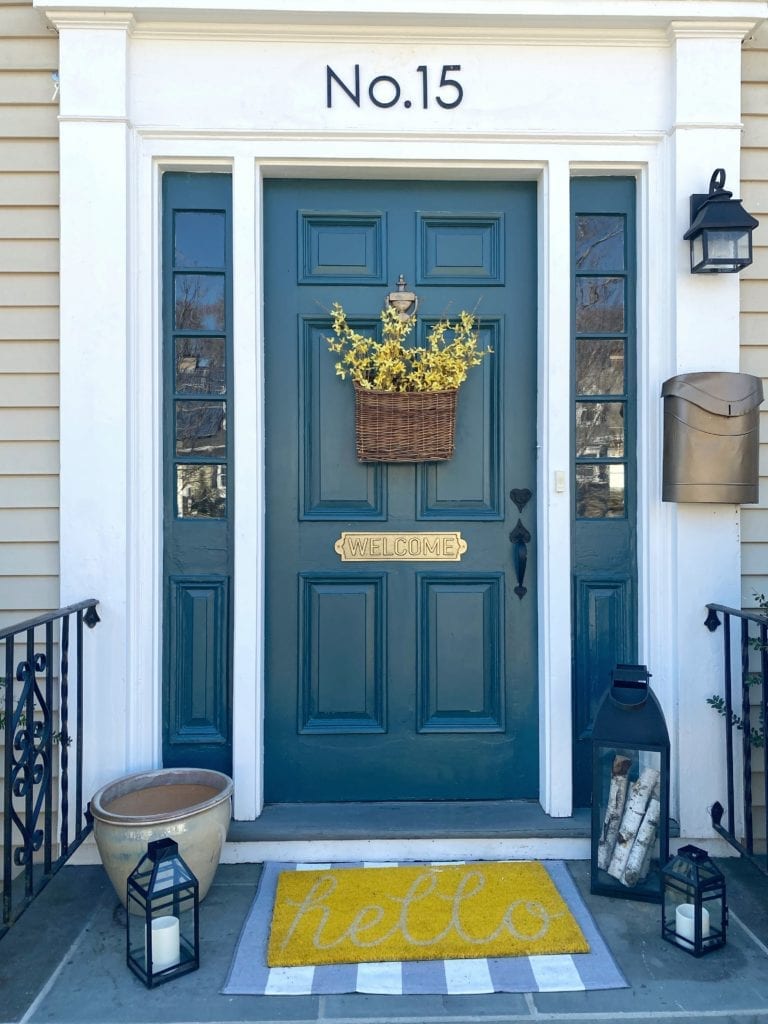
A spring front door is so fun! I usually start by selecting a bright and cheerful accent color. Yellow seemed to be my first ideas! Adding some fun pops of yellow to our new green (Yorkshire Green by Ben Moore) door worked so well for a spring accent color. I love how the yellow branches look so effortless in this woven basket. I decided to add a little welcome sign and move our house numbers above our door. I still need to find something for that pot to the left. A fun stripe gray door mat adds a fun pattern under the “hello” mat.
Easter/Spring Tablescape:
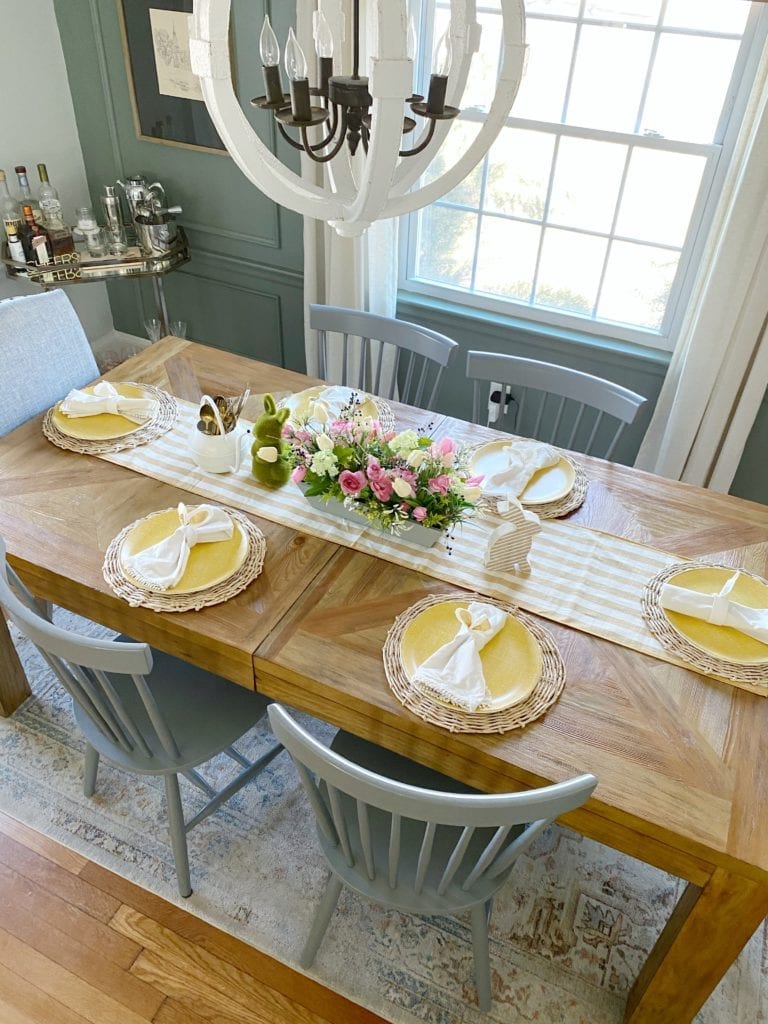
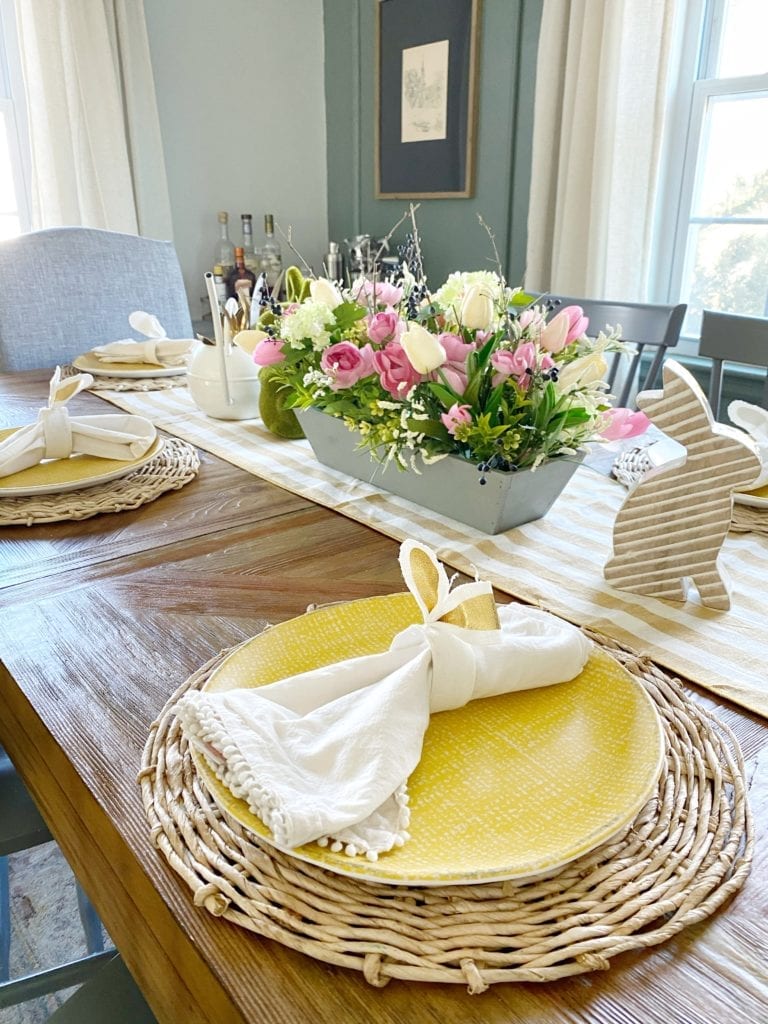
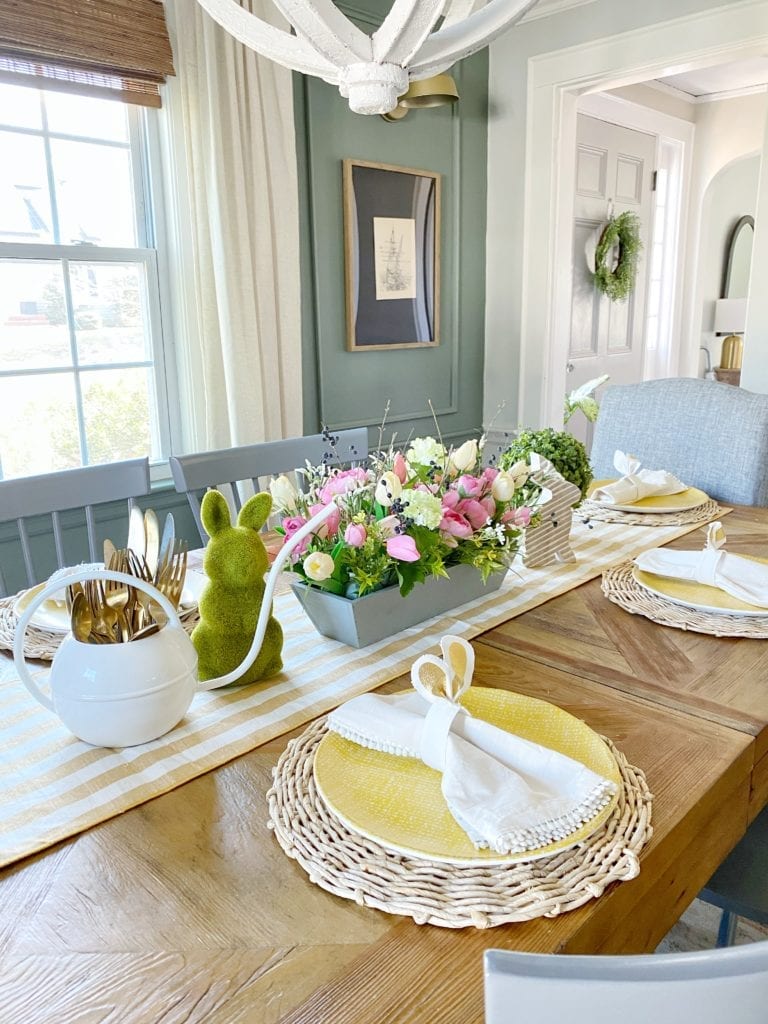
I decided to keep the pops of yellow in our dining room. Let’s start with this DIY centerpiece with faux florals and greens from Michaels. I cut some twigs from outside and also added those into the tulip/floral mix. The base is a simple wood crate that I filled with floral foam. It was so fun and easy to make. It was also inexpensive $25 compared to some retailers selling similar for over $100!
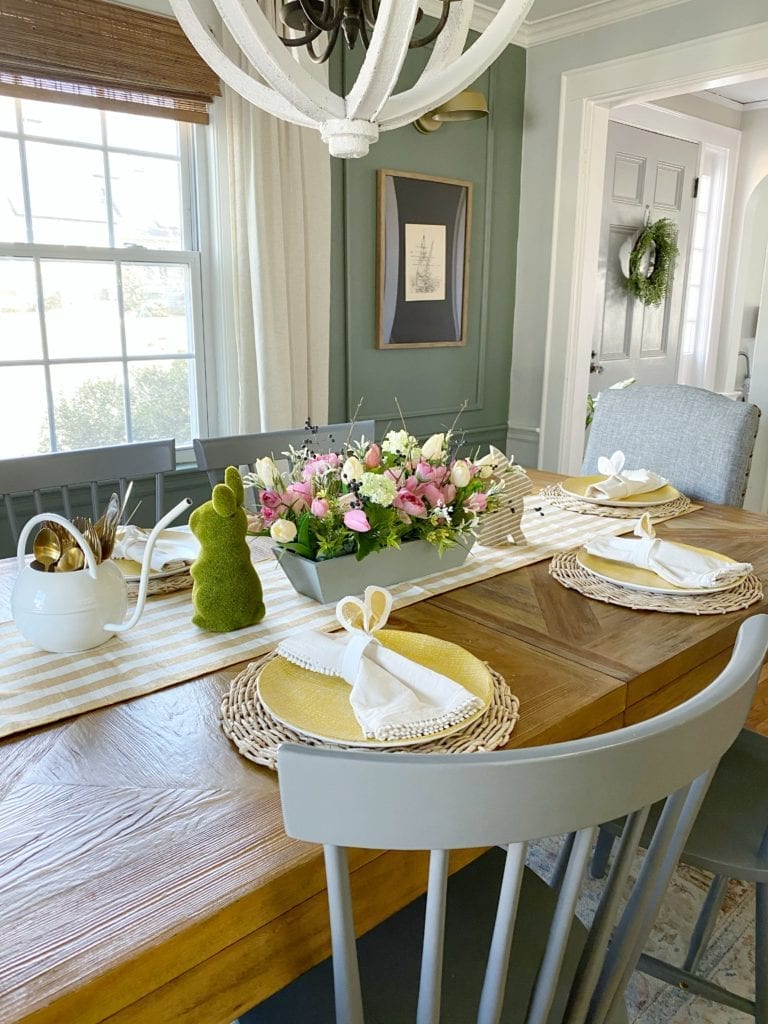
I found these yellow chargers and this yellow runner and I love how they just had such a fun pop and cheery vibe to the table. Plus tie in with the front door as well!
In The Details:
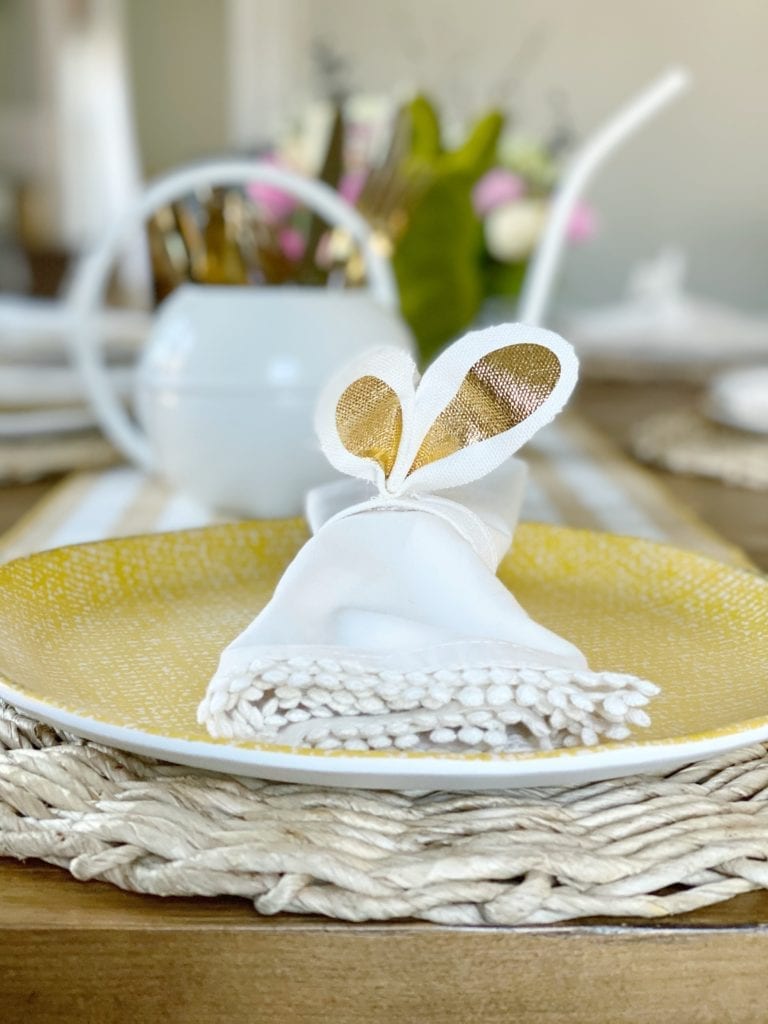
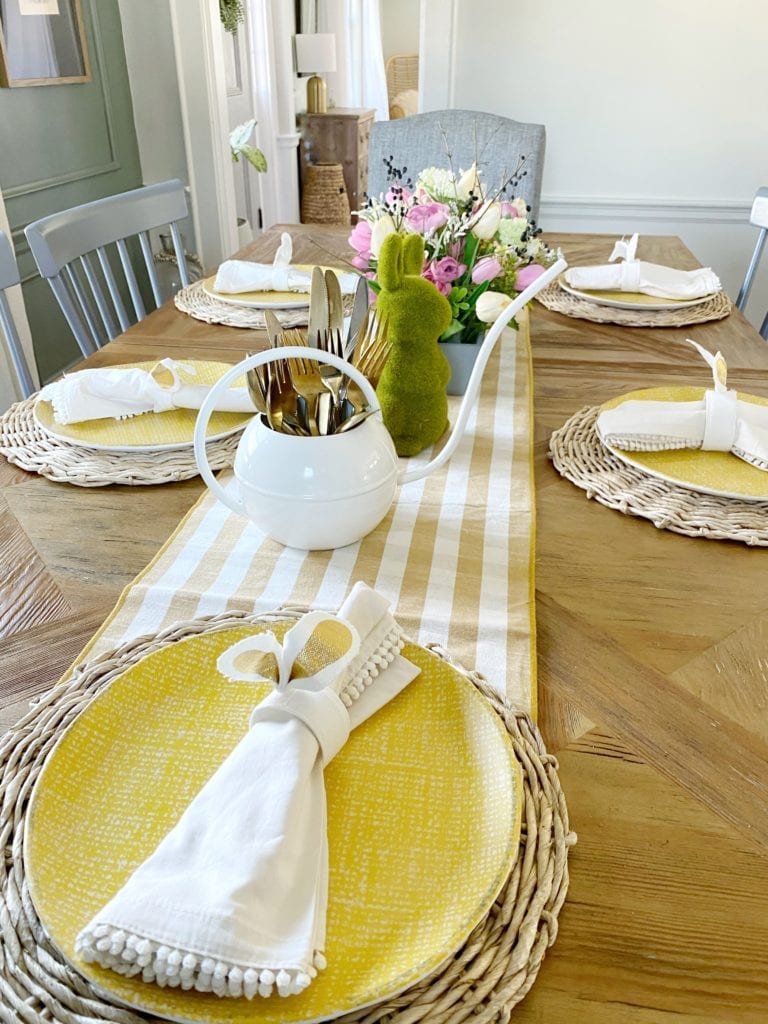
Woven chargers at a great foundation layer for the yellow plates. I kept it simple so you could get the idea of a non cluttered table. I imagine I’ll be keeping things very simple this year as not burn out too quickly. I threw the silver ware into this cute watering can. I love using unconventional items on a tablescape. The bunny ear napkin ring holders are just the perfect finishing touch!
Spring Decor Tip:
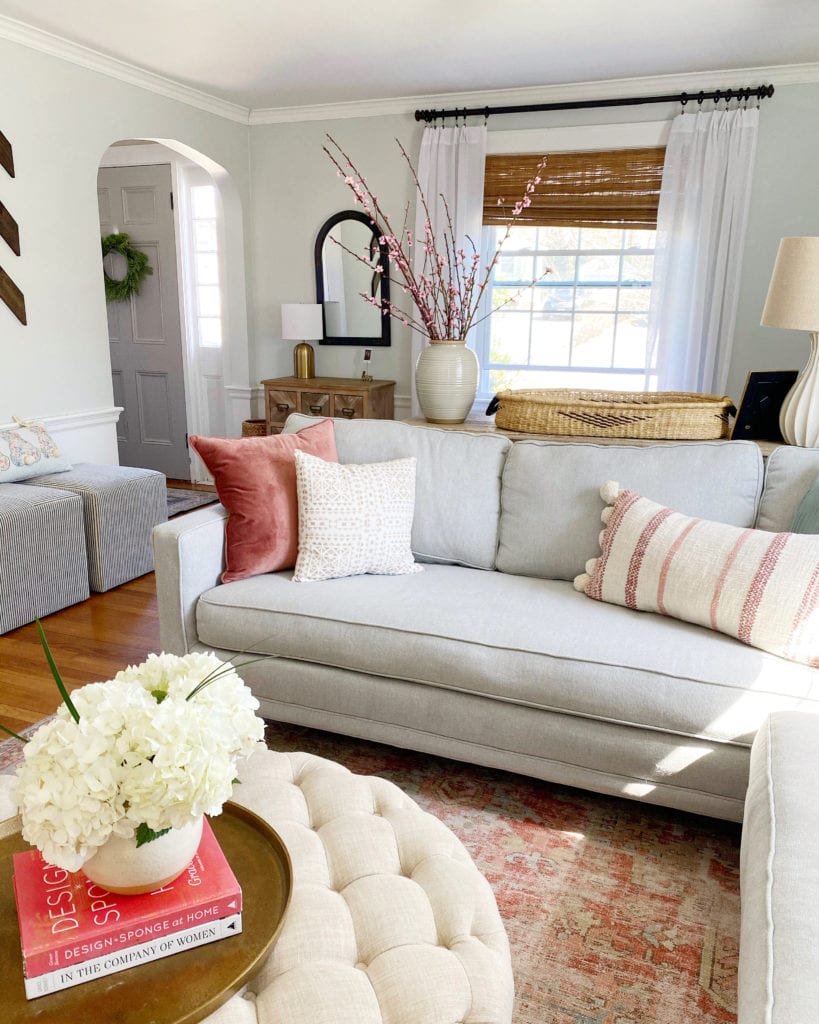
My best tip for spring decor in a pinch is Trader Joe’s or Whole Foods floral section, grab some spring branches and fresh flowers and place them around your home and let all that natural light in. Nothing will make your space feel more fresh than fresh simple florals and natural light!!
After a long winter and even a longer year… there is just so much hope on the horizon. So many wonderful things to look forward too, celebrate and appreciate once again. I feel like we are about to step into the life we once knew, albeit perhaps in a new form. But after a long isolating pandemic, seeing light at the end of the tunnel is like watching winter fade to spring. An uplifting feeling for sure. One I can’t wait to watch fully blossom.
With Love,
Jordan

Sources: Disclaimer- This post contains affiliate links. I may earn a small commission for purchases made through these links below at no extra cost to you. Thank you for supporting my blog!
Shop Easter Table:
Shop Our Front Door:
read the full post >
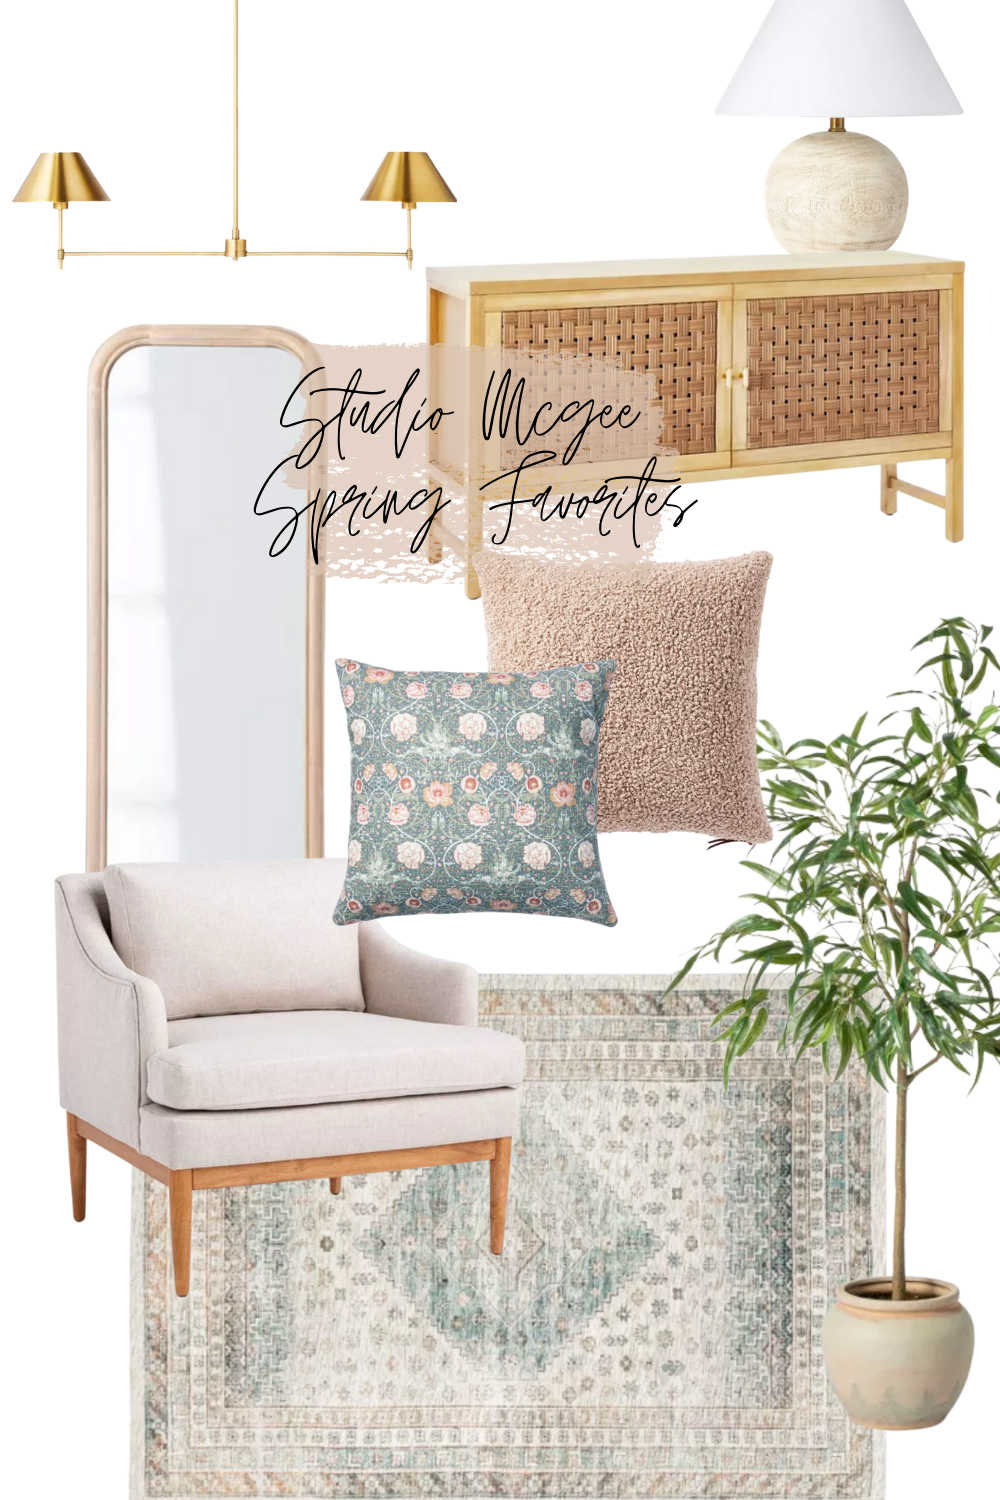
Spring launch is here with the Studio Mcgee collection at Target! These pieces are timeless and classic with an amazing target price point. Pieces sell out fast so if you love something don’t wait! I have the lamp and I’m obsessed. They have a lot of great light fixture options that are gorgeous and reasonable! I love the natural tones with pops of seasonal color in the pillows with a mix of metals and woven materials. Below you will find some of my favorites from this launch, it’s really so hard to choose only a few.
Let me know below if you purchase anything or what your favorites are! Happy Shopping!
Jordan

Rug // Chair // Light Fixture // Tall Plant // Console Table // Floor Mirror // Floral Pillow // Pink Pillow // Lamp
*this post contains affiliate links which help support my blog. Thank you so much for shopping through my links!
Shop my favorites:
read the full post >
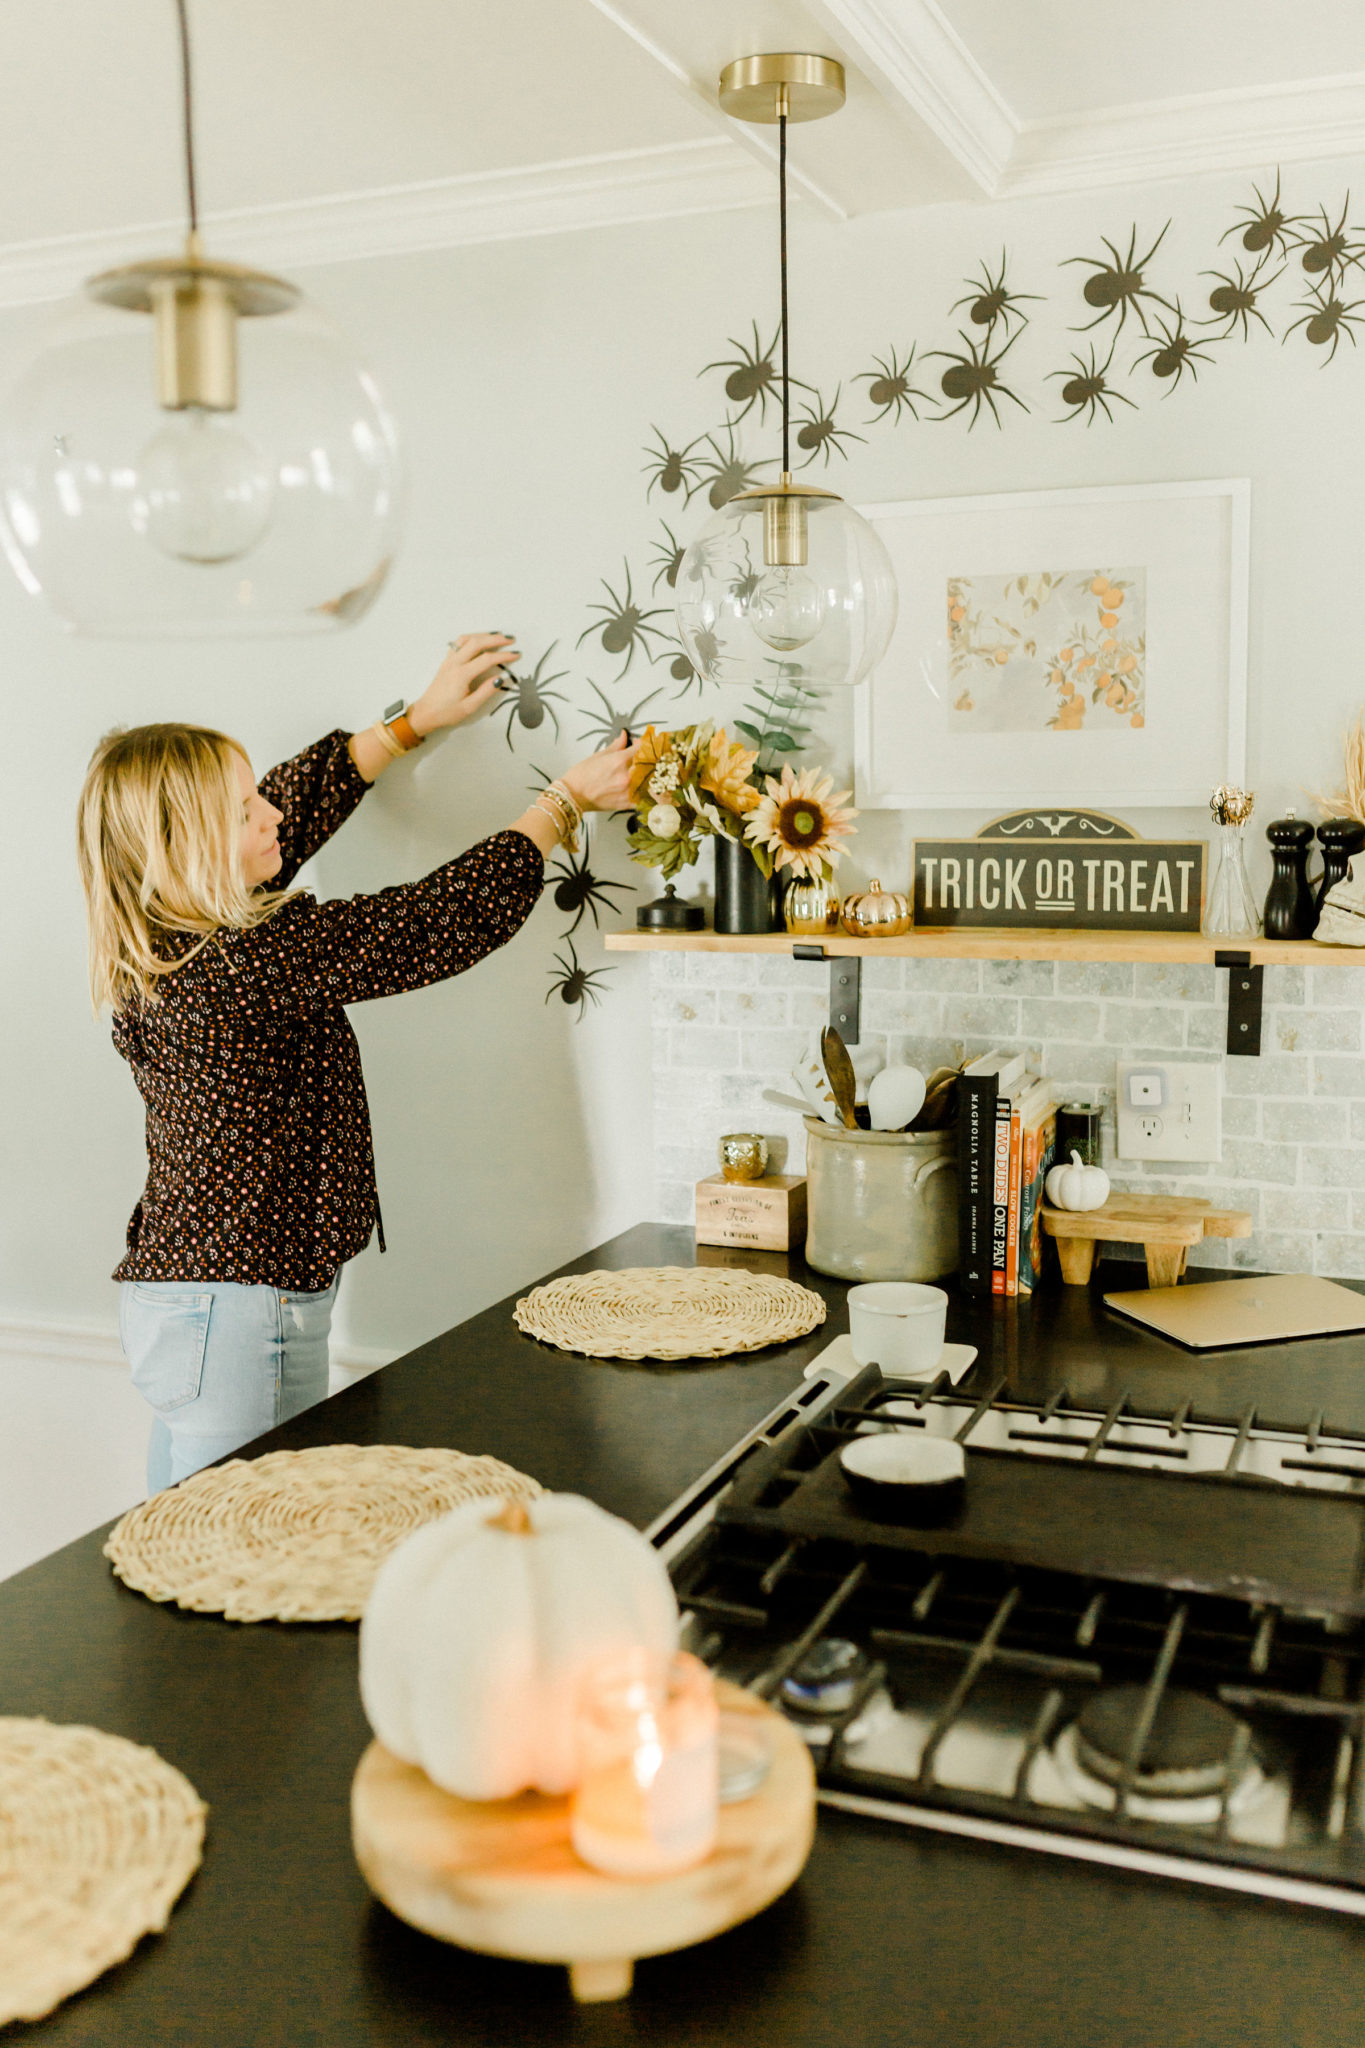
Here it is ONE BIG HALLOWEEN POST! I thought it would be fun to give you all my Halloween Decor in one big post. In need of some ideas for how to make your house a little spooky this October? I’ve got you covered. I’m not someone that loves being scared but I like spooky things. My kids will tell you that I startle very easily, it really is something that I only discovered about myself recently and it makes my family laugh. It can be the smallest unexpected thing and I’ll jump a mile. I would never survive in a haunted house! I do like to make our home a little spooky, with a side of cute. So here is what I’ve done this year!
SPOOKY KITCHEN:
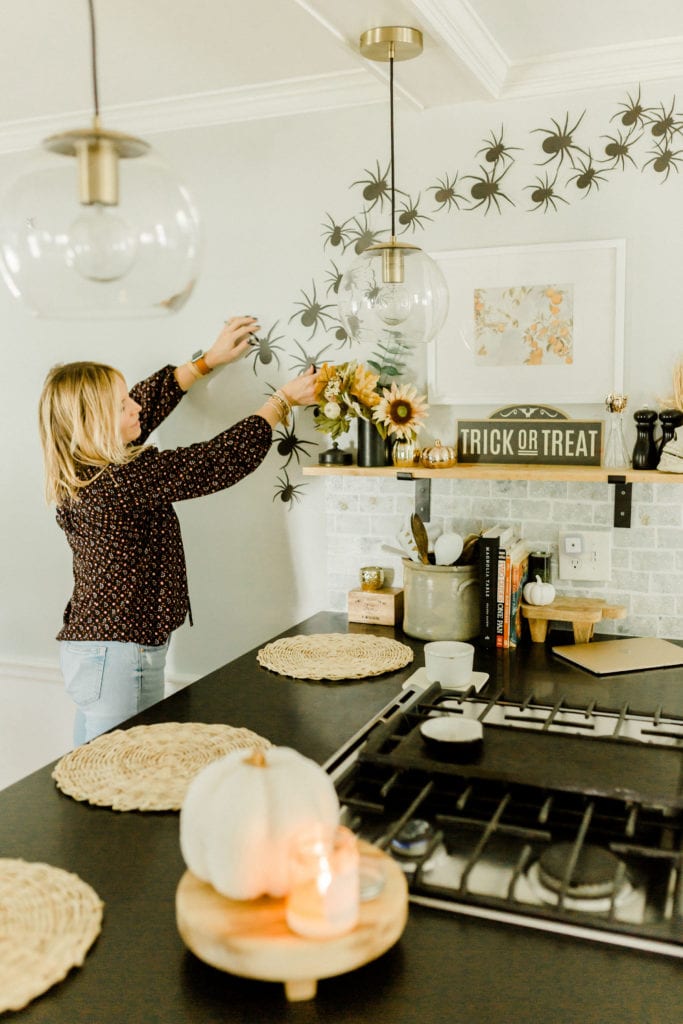
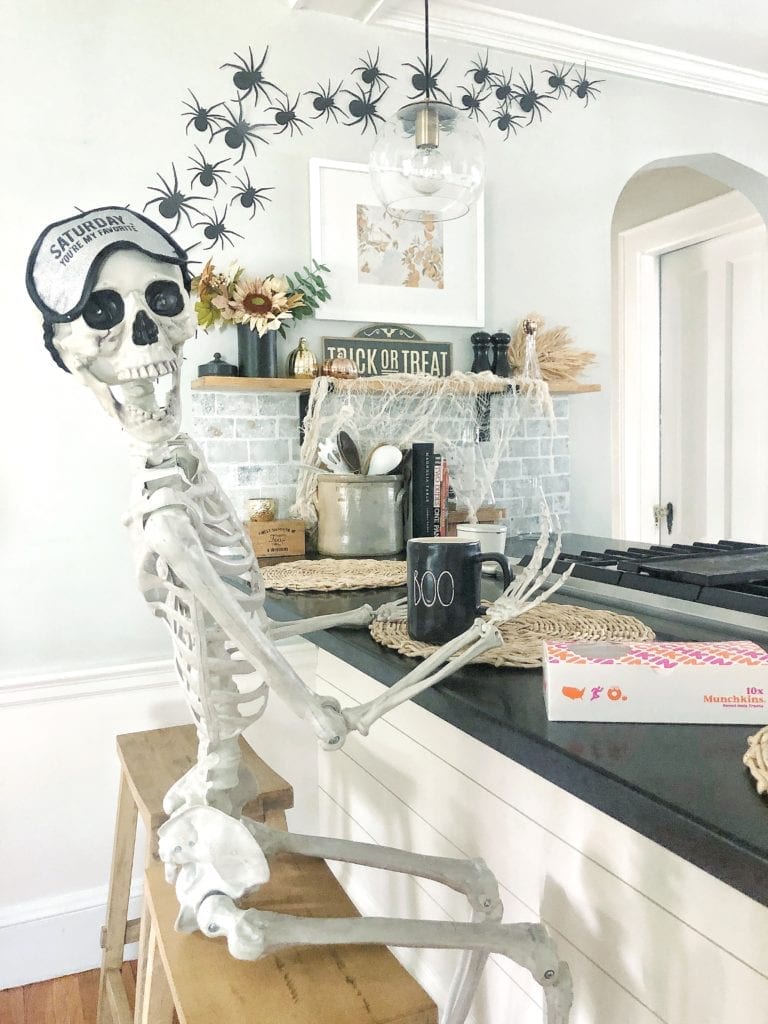
I like to focus on just a few spooky areas in my home. I don’t go crazy doing every inch. I will usually do the front door, side porch, kitchen and living room or the kids playroom. Usually The kitchen, Halloween should be a time to just have fun with decor. Take old things you don’t use and spray paint them black. Hang paper spiders on the walls. Hey, even hang witch hats from the ceilings ( I did this year 😉 ). I really look for non-tacky, non-scary halloween decor and that is usually the elements that look old like worn books, the mesh fabric that gives the effect of lots of cob webs (love this stuff). I drape it over areas in my house in October to make it looked aged and haunted-ish. Last week we adopted Mr. Bones into the family and he has been making himself right at home with coffee in the mornings. He really likes the ambience of the Spiders.
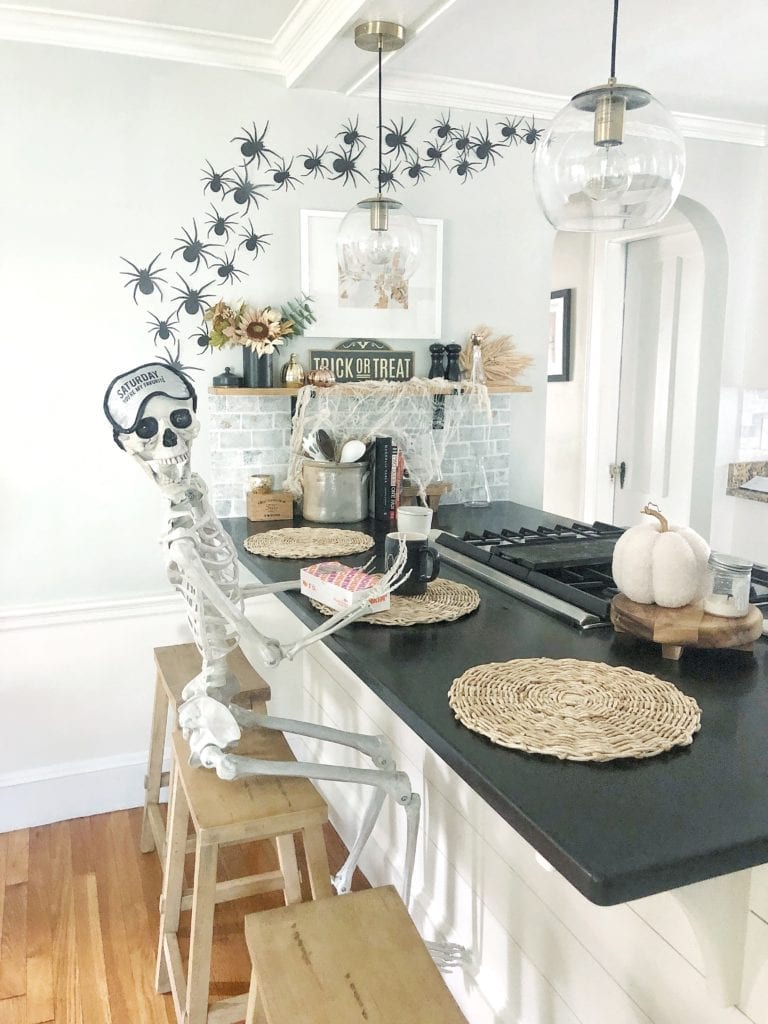

Shop my Spooky Kitchen:
SPOOKY LIVINGROOM:
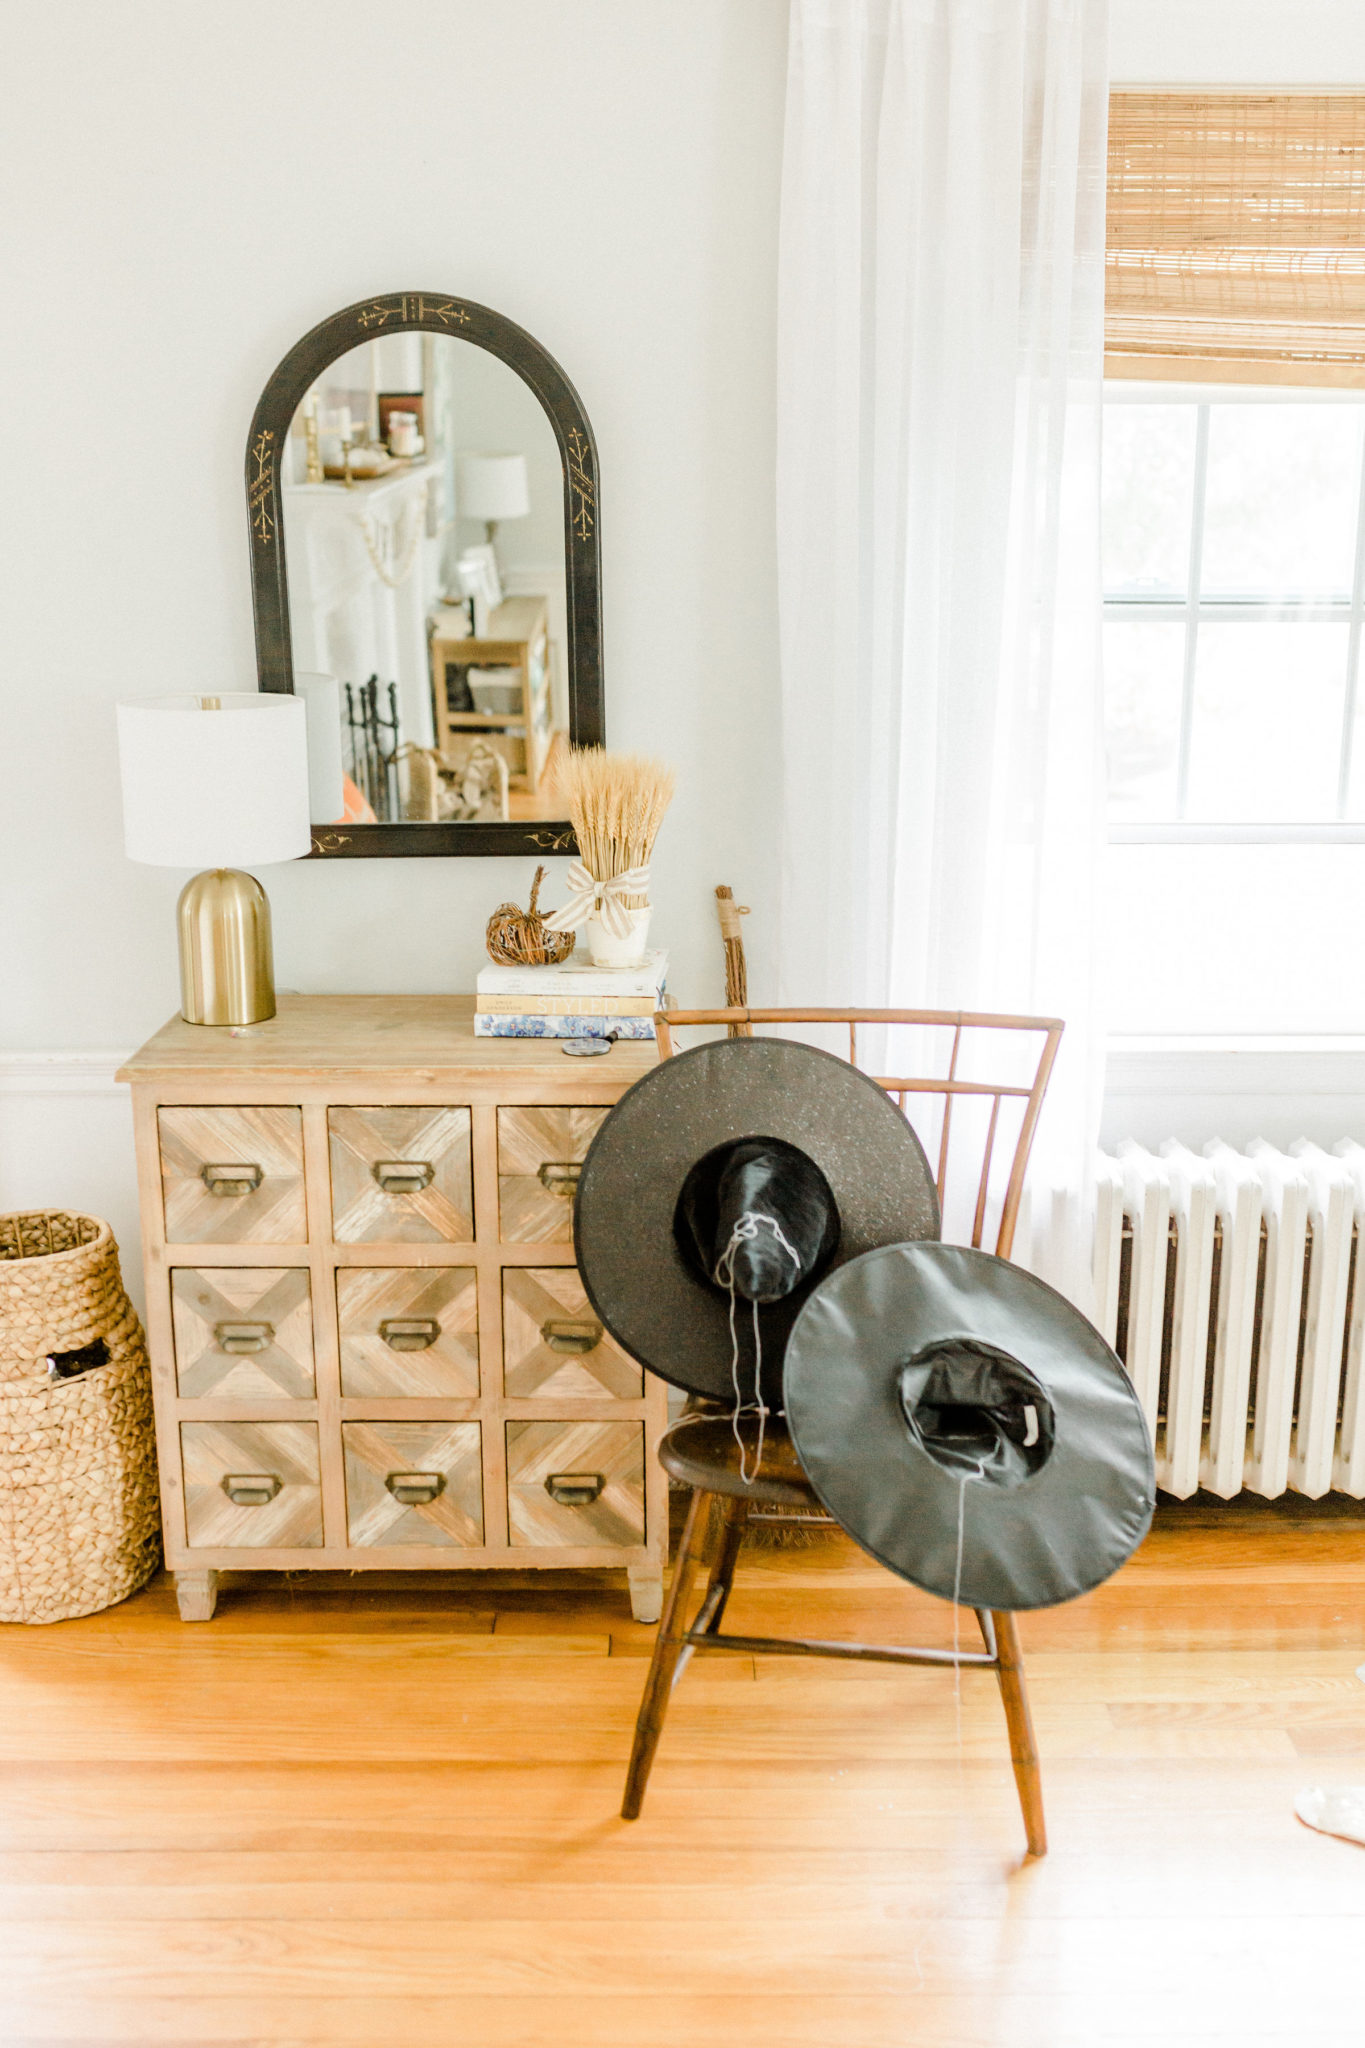
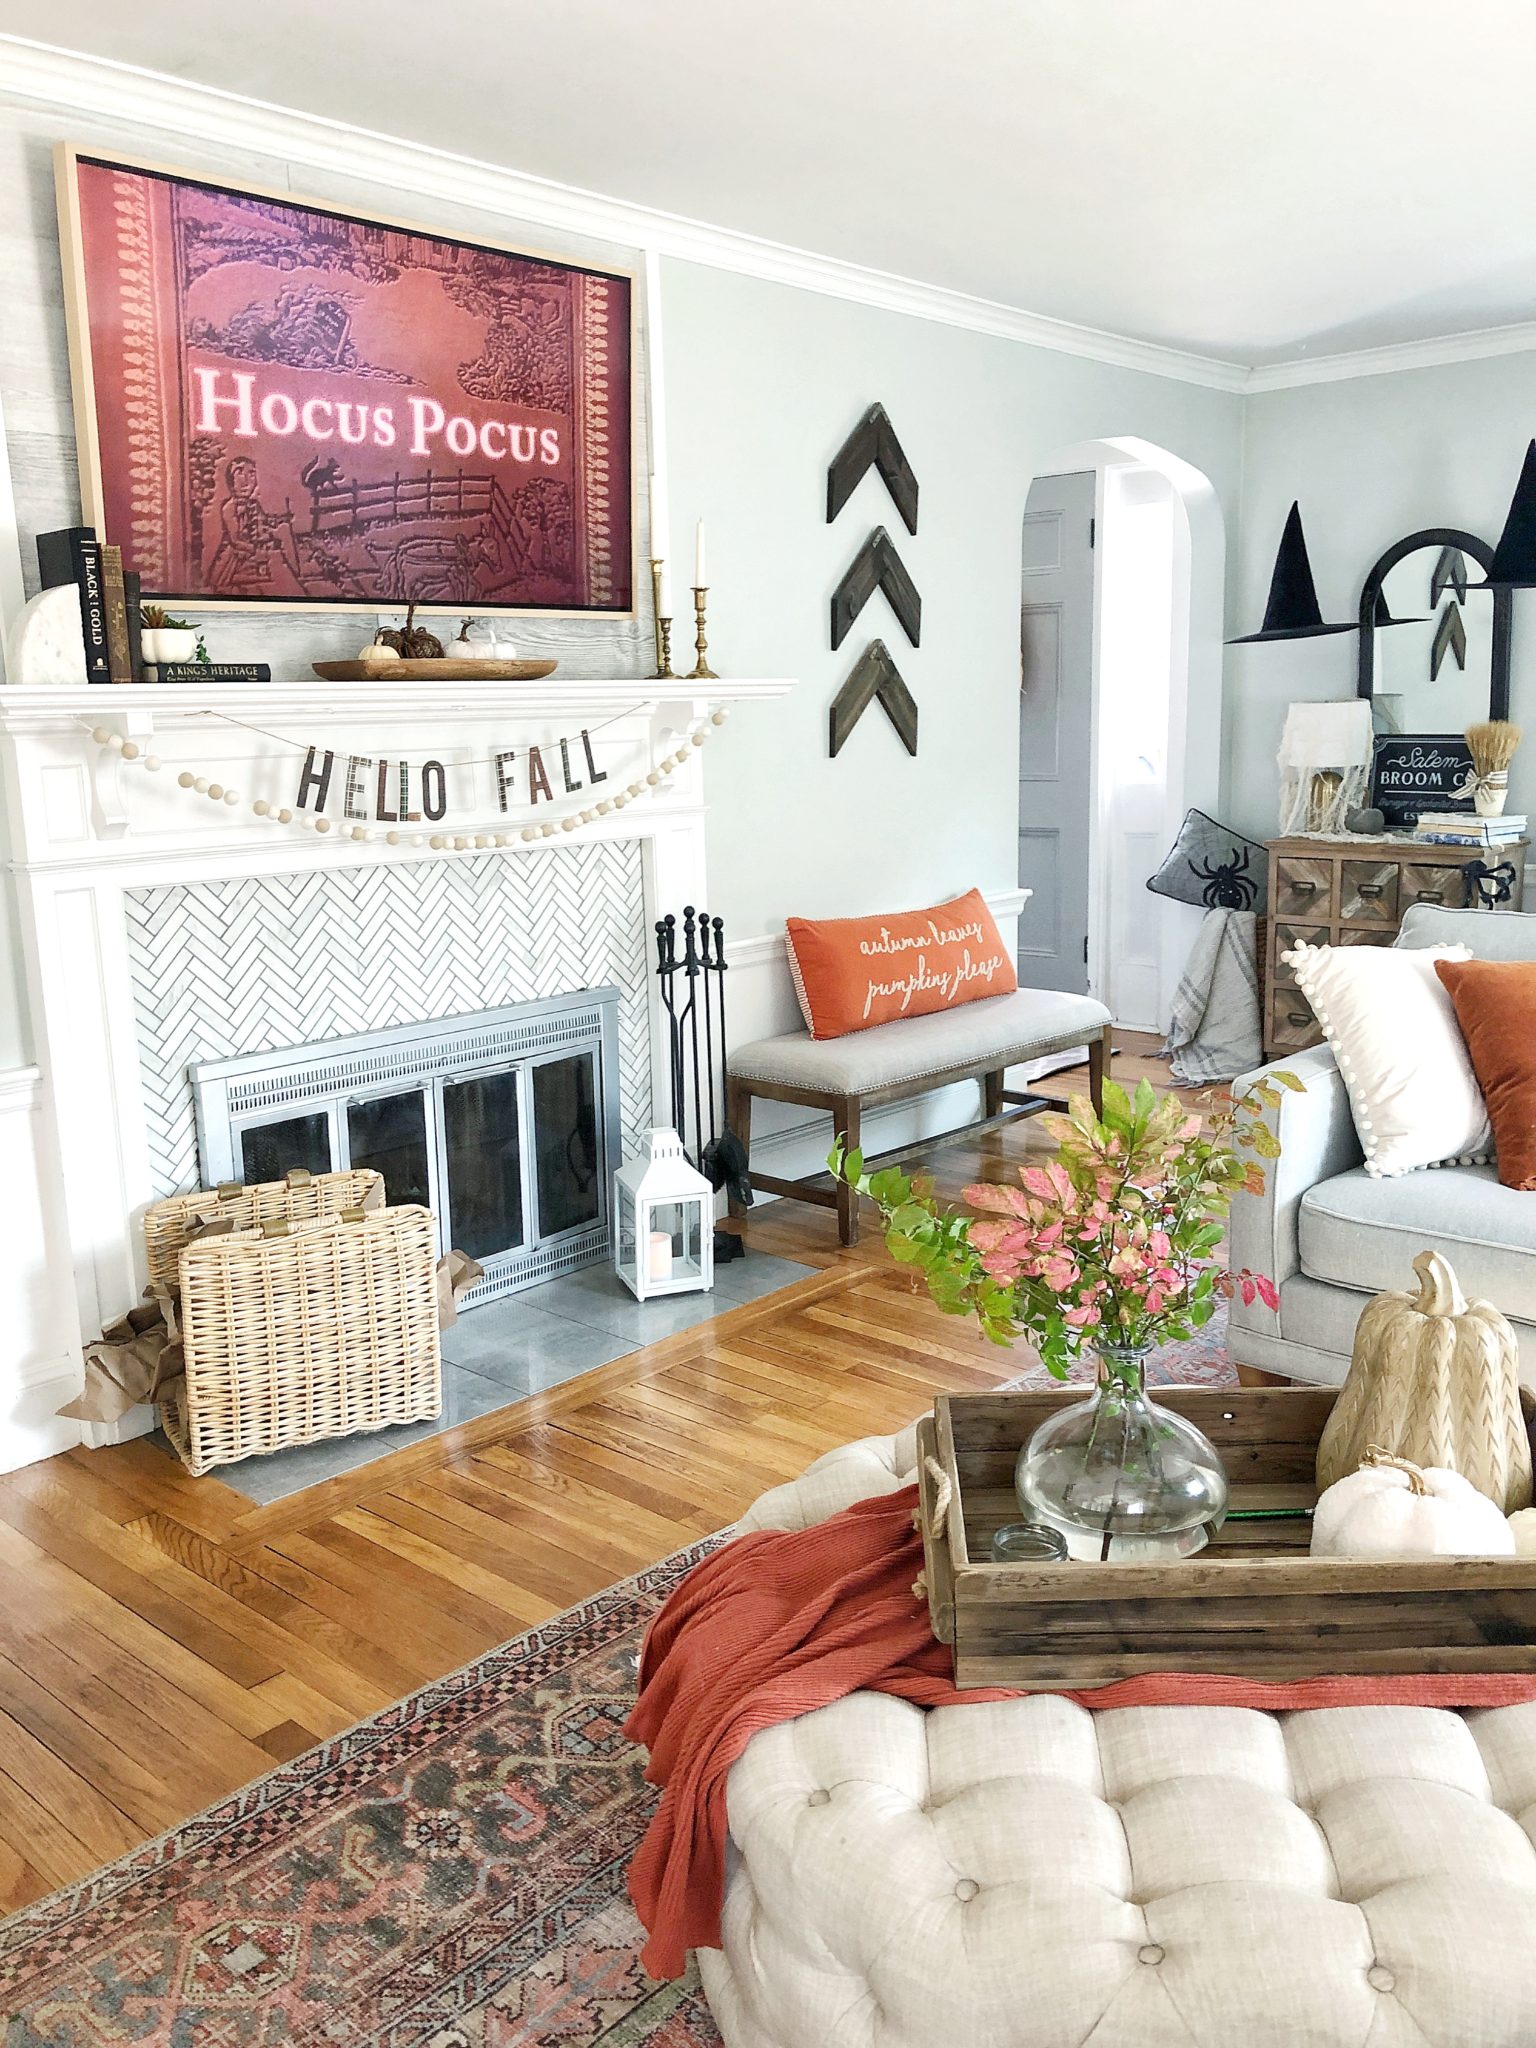
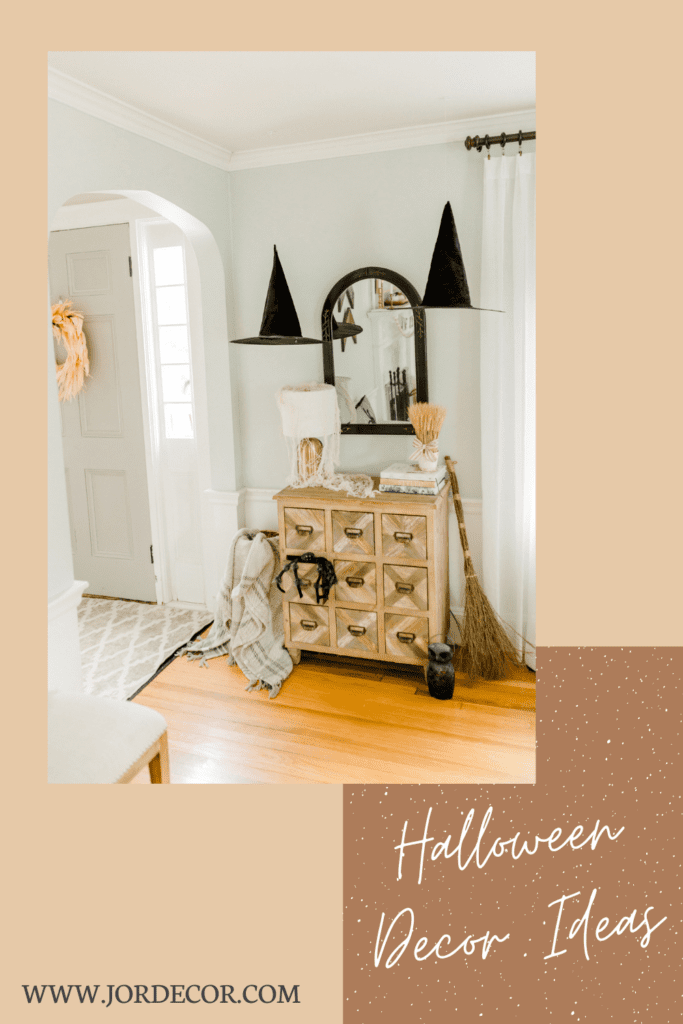
Moving into the living-room… A couple weeks ago I found this beautiful arched black mirror at an estate sale in our neighborhood for like $20. I placed it above our catalog style side table and it felt instantly a little spooky. I’m hoping it’s not actually haunted, so fingers crossed! I found these witch hats at the Target dollar section and knew I wanted to try hanging them from the ceilings. I’ve seen this idea pop up on Instagram and Pinterest and it looks so cool, I had to try it! I used white thread and a sewing needle and went through the tip of the witch hat with the needle then tied the thread to a 3m hook so they hung from the ceiling.
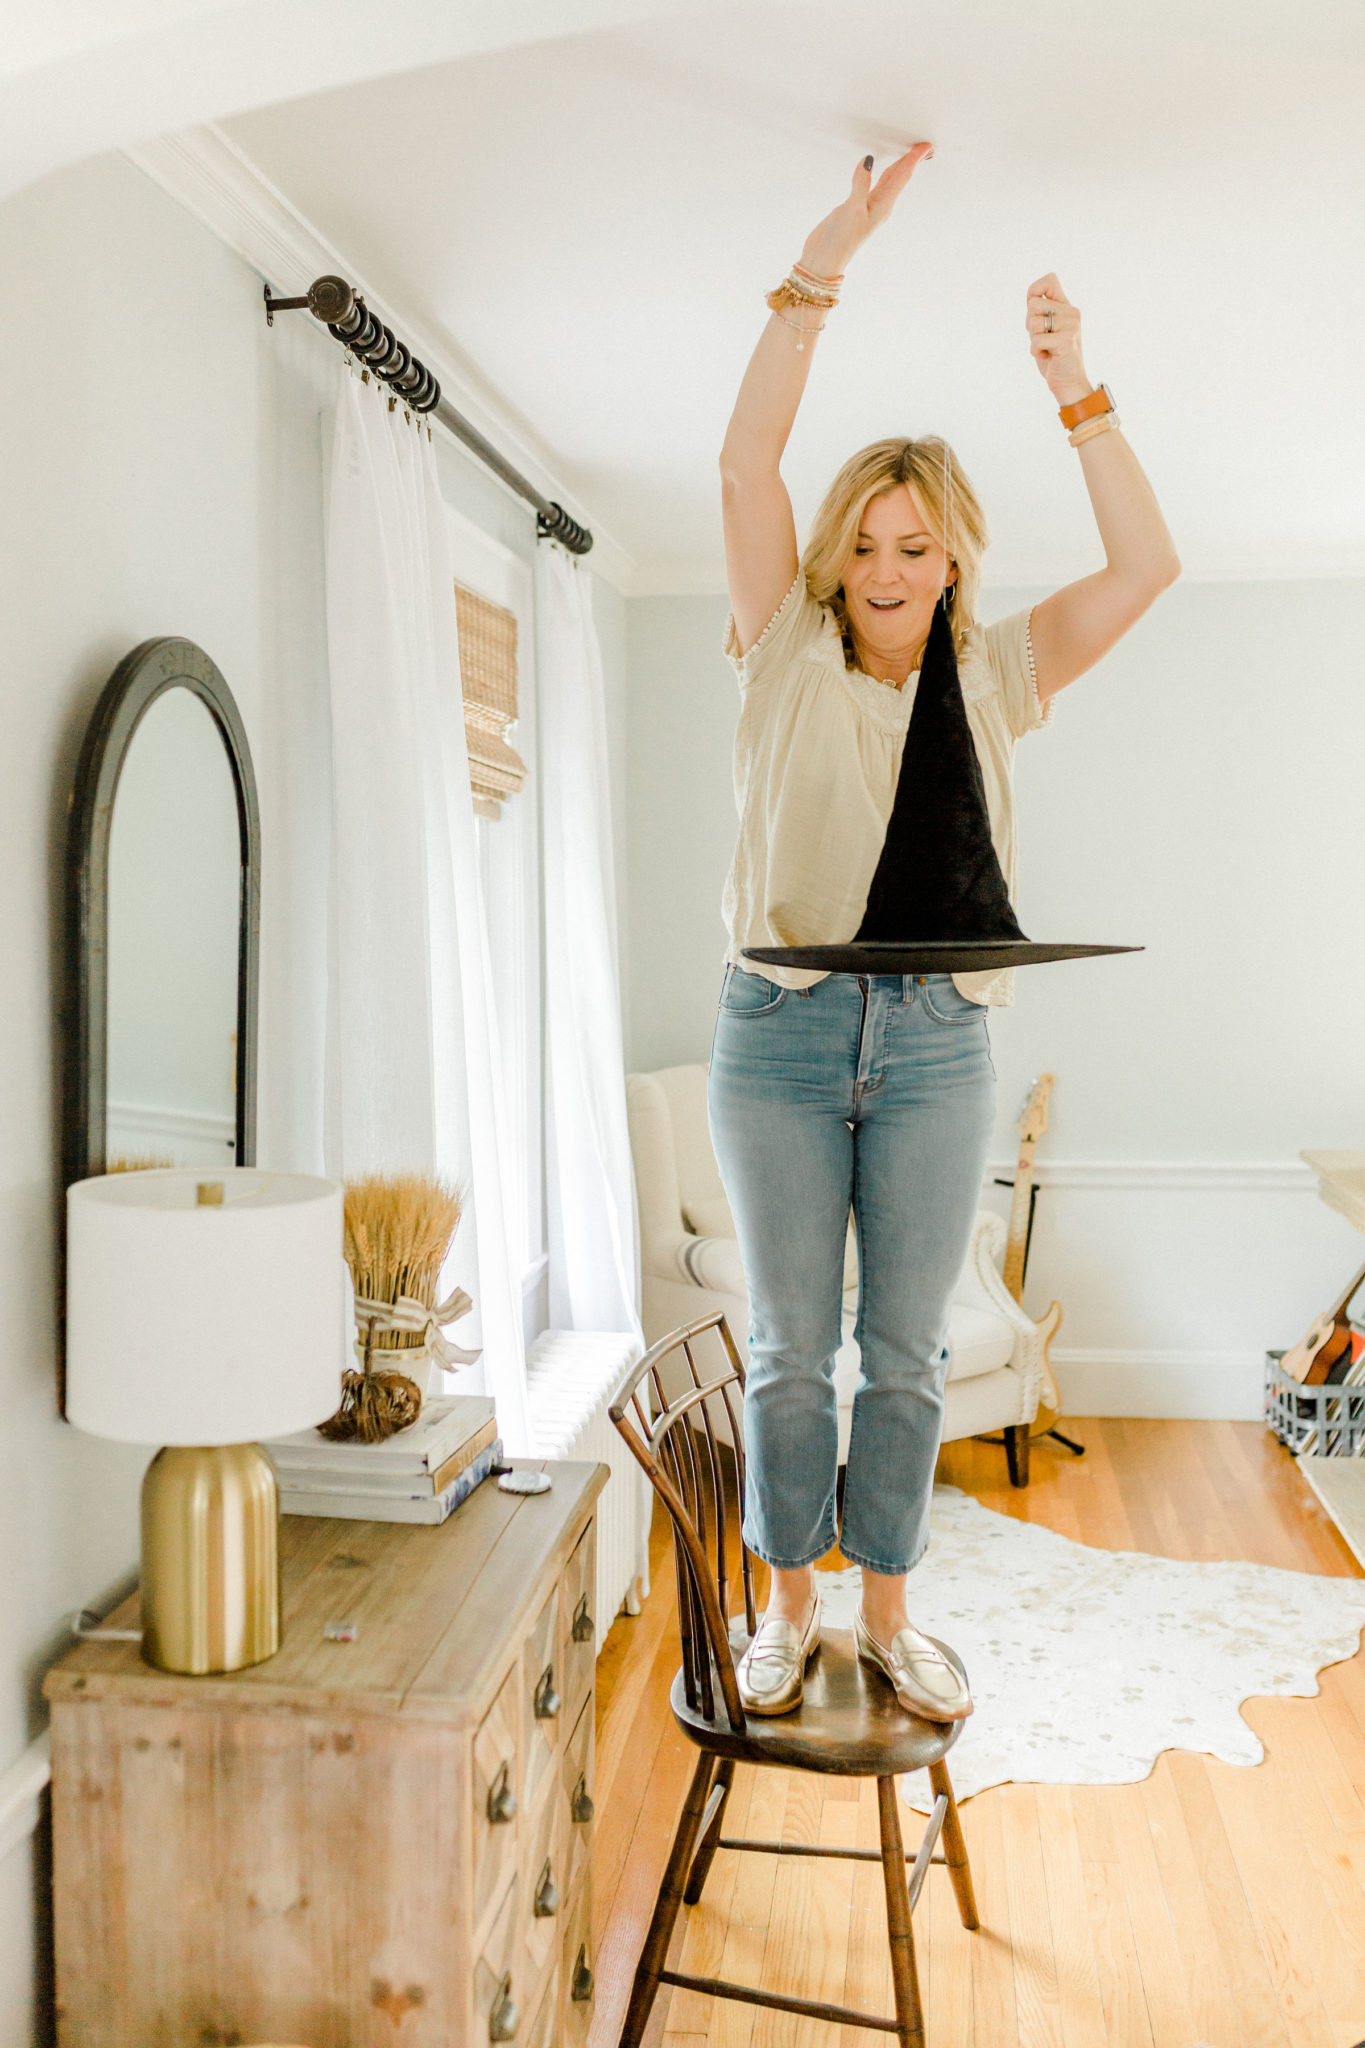


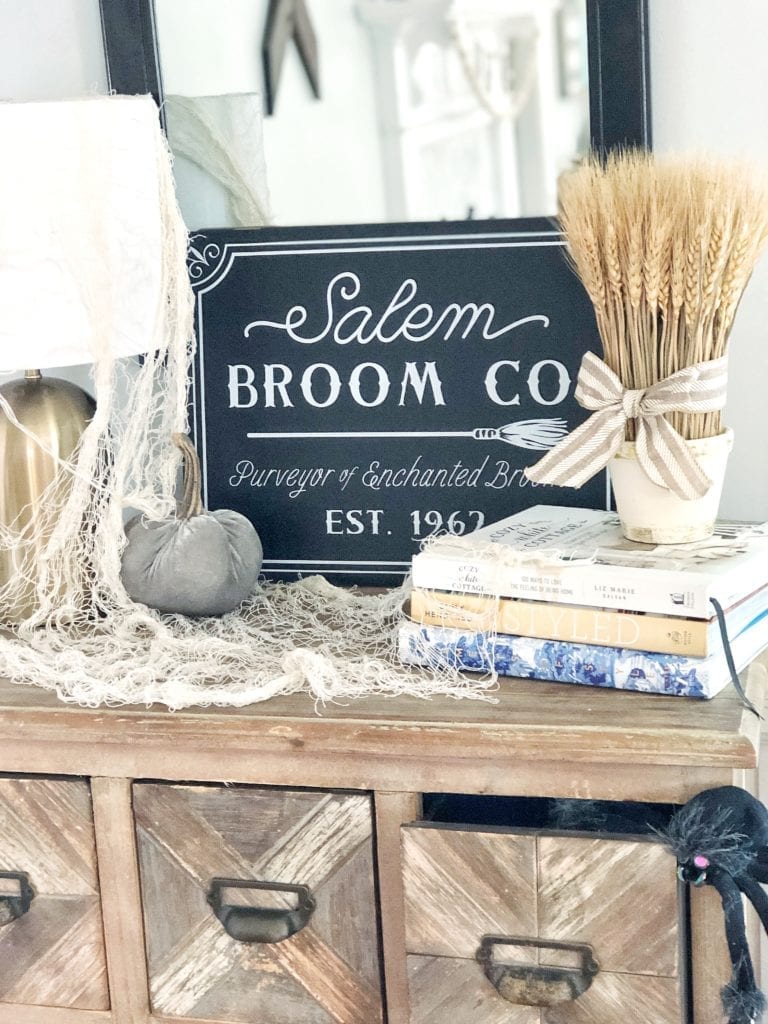
I also added a fun Salem Witch Co. sign also from Target, a little broom, my favorite spooky fabric and gave this corner a spooky look. I like just choosing a couple areas to decorate for a holiday so that I’m not feeling overwhelmed by it. I love how this just adds some whimsical to our living-room. My kids are obsessed with these witch hats that appear to be floating!
Doesn’t this make you want to have a fire, some snacks and put on Hocus Pocus?!? Yes, me too! Please excuse the craft paper in our wood log holder, I’ve been meaning to add that to one of our fires and completely forgot it was in the photo!

Shop my Spooky Living-room:
SPOOKY ENTERTAINING IDEA:
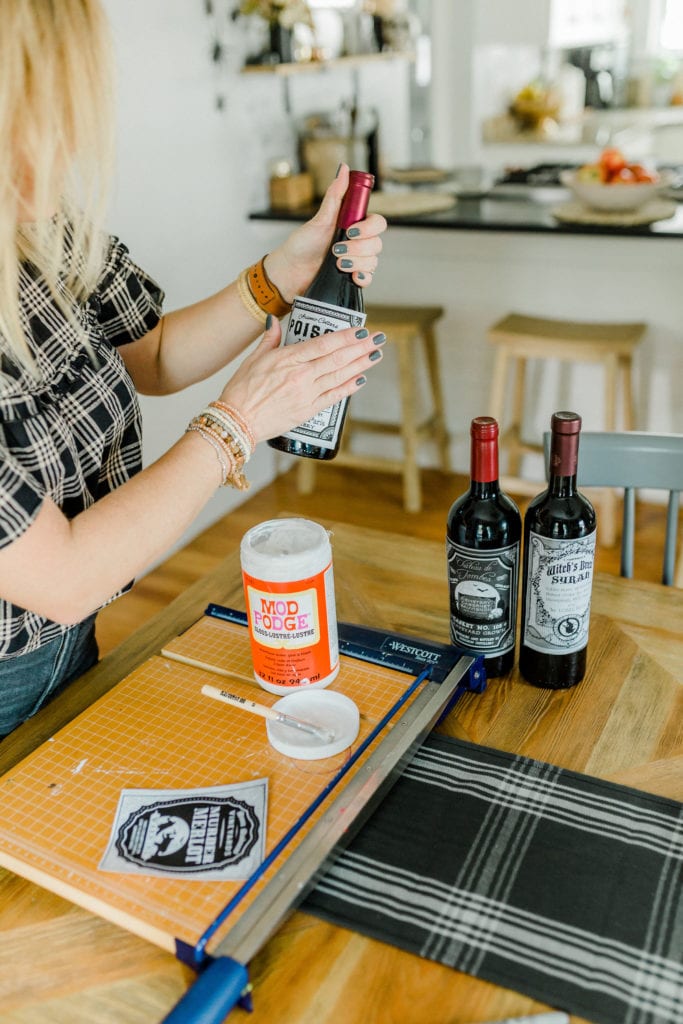
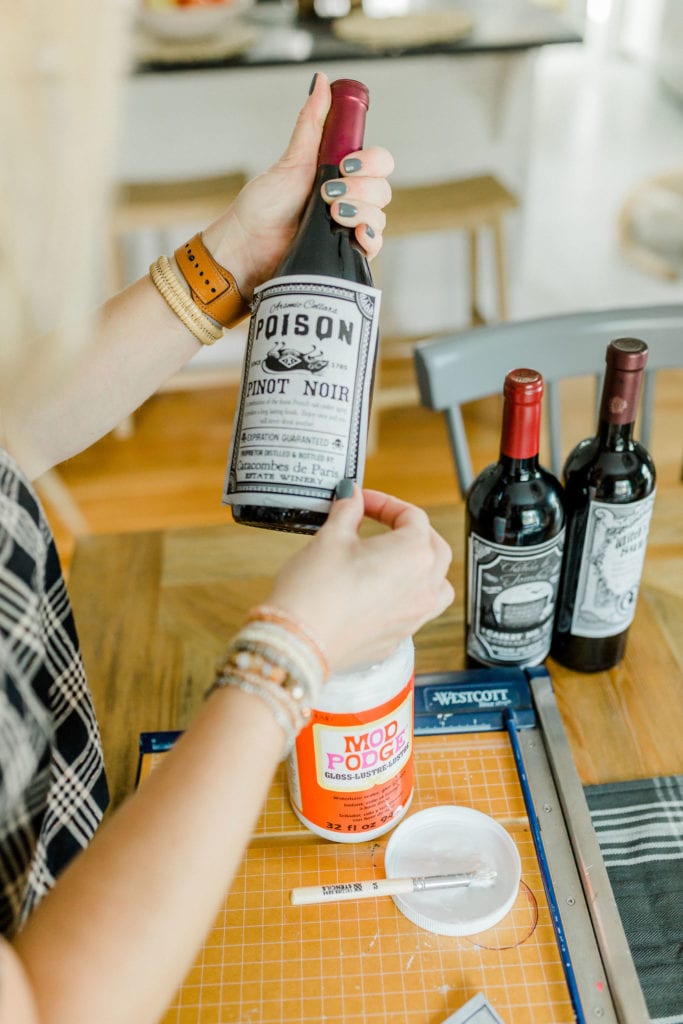
If you’re hosting a dinner party or gathering for Halloween here is a simple and inexpensive spooky idea to serve and display wine bottles. I found a set of pre-made spooky bottle labels and downloaded them to my computer. Next, I printed and trimmed the labels. Using clear modge-podge I simply glued the haunted wine labels over the original labels. I made sure to put the Pinot Noir over a bottle of Pinot Noir so at least you know the bottle type.



To make it even more fun decant your wine into a set of beakers or use the beakers to put out mixers/ or juices for cocktails! How cute would a festive cocktail be served in a science beaker like this??? I think that is next up on my to do list.

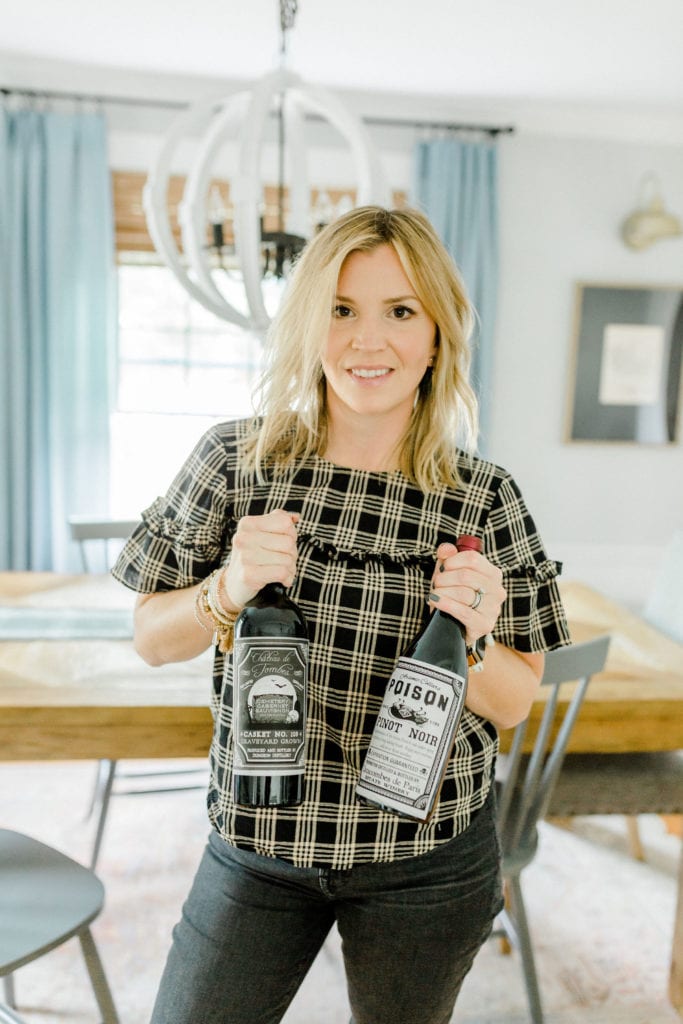
There you have it one BIG HALLOWEEN POST! I hope you enjoyed seeing some of the ways I’m getting my house spooky this October! I feel like Halloween is one of the best holiday’s to decorate for! It doesn’t have to cost a lot. Have fun and enjoy!!
Happy Decorating,
Jordan
Pin for Later:
read the full post >
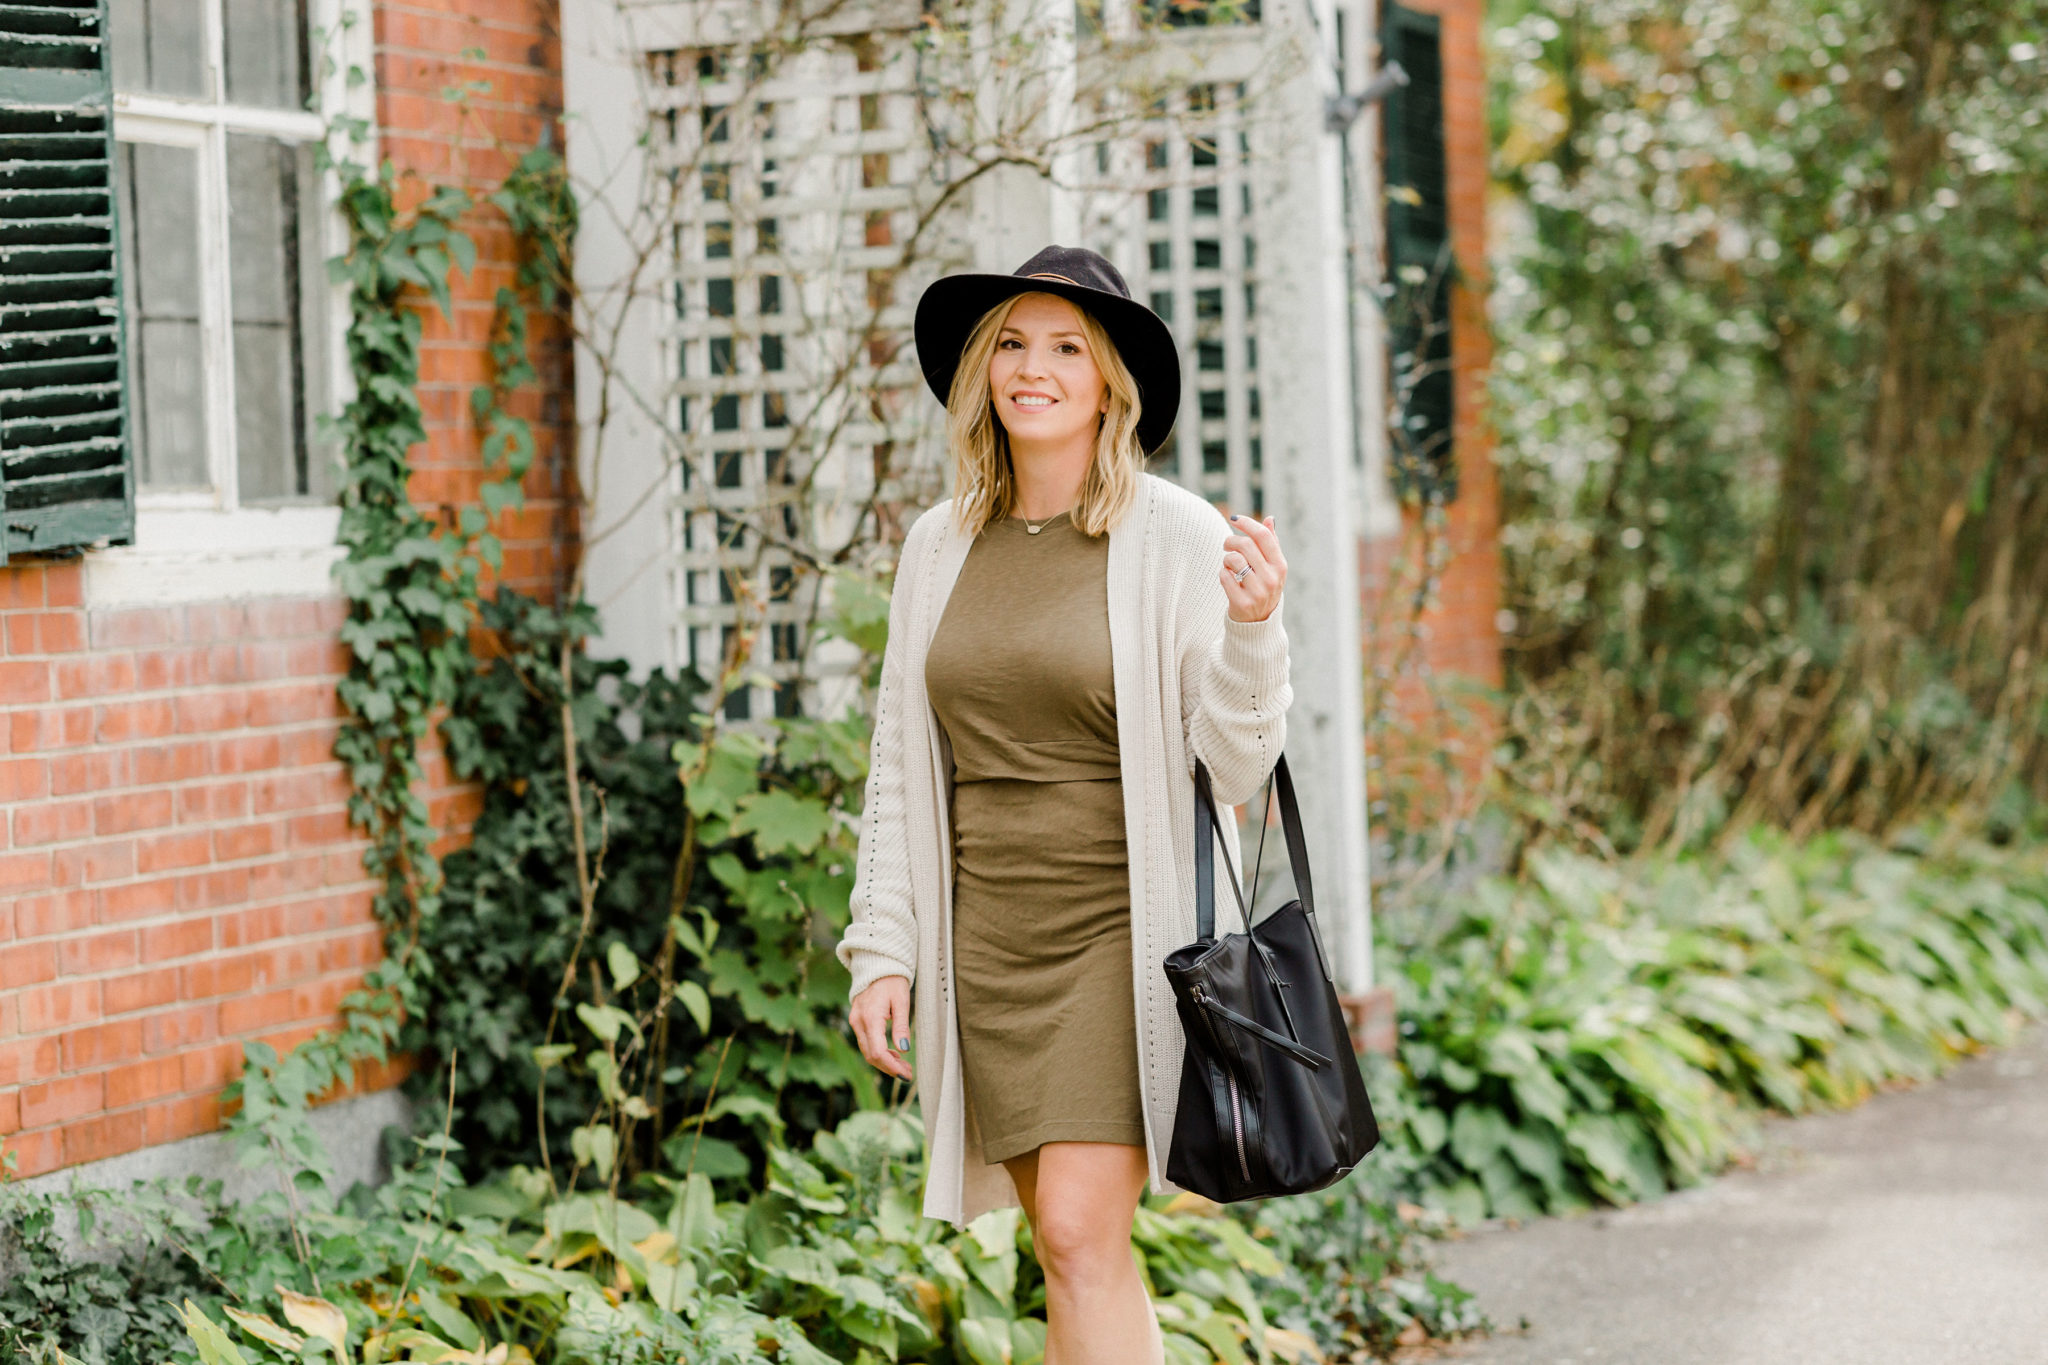
“I’m so glad I live in a world where there are Octobers” – Anne of Green Gables
Happy October 1st everyone! I was planning to dive in to a whole bunch of spooky decor with you today. But then I figured we have all month for that, why not switch things up and share some cute fall outfit ideas and pieces that I’m loving. Last week I had a photo session with my friend Ali B Photography. She is an amazing wedding photographer but has helped me in the past with photography for my website, lifestyle and family photos.
We always have so much fun working together it doesn’t even feel like work. I love collaborating with other mom bosses and creatives! I’ve been busy updating all the photos on my website today so if you have time click around and check them out! Today I thought I’d share some affordable fall dresses, clothing and accessories for the cooler months.
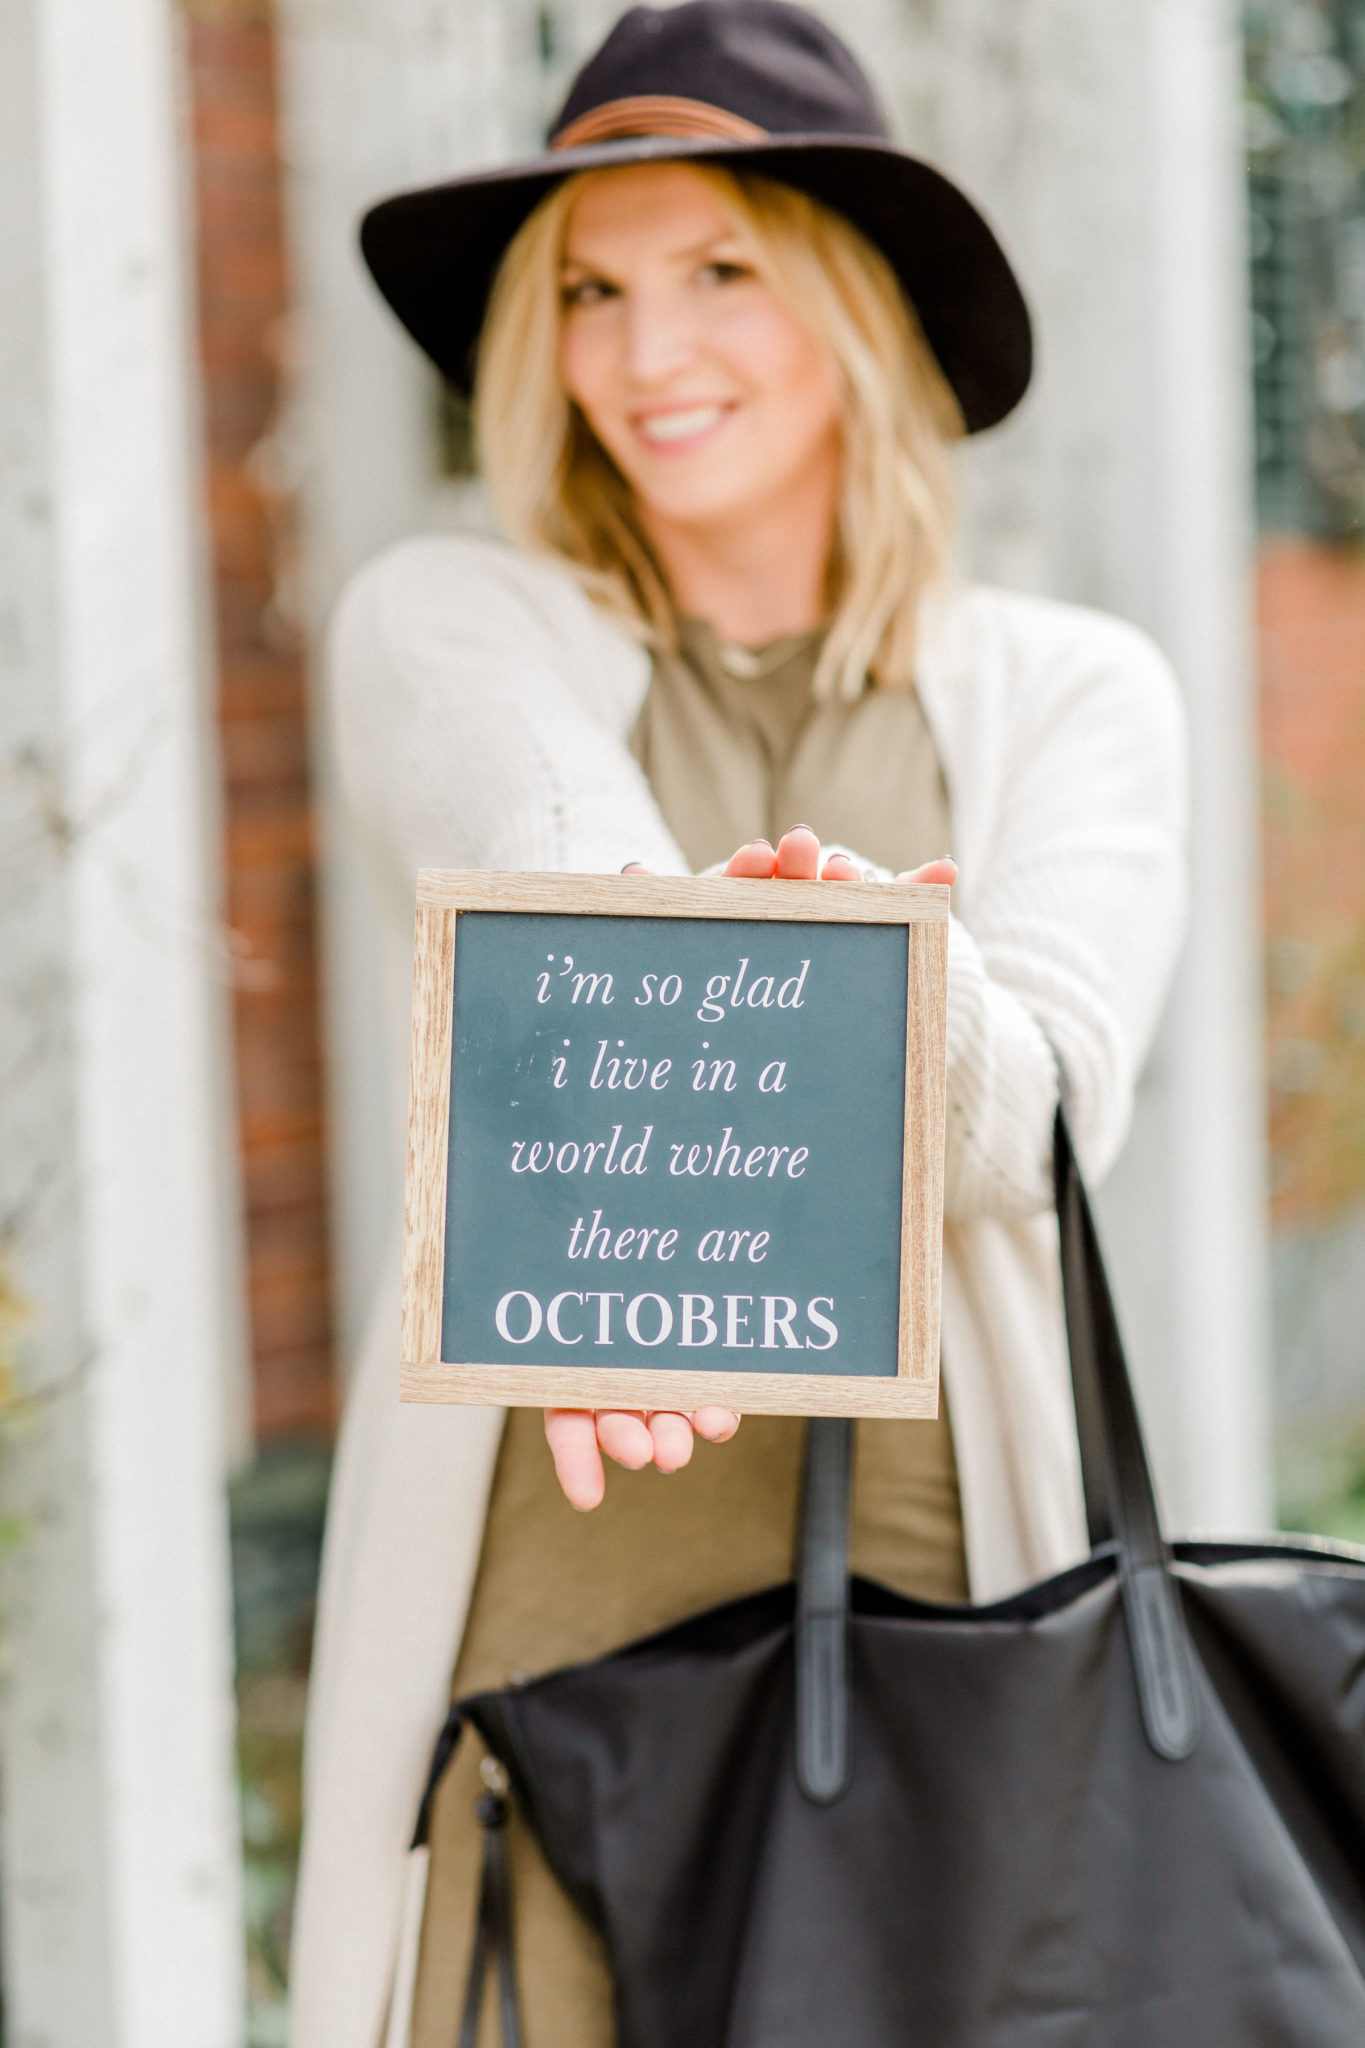
I always struggle when it is cool in the morning and warmer during the day so adding a cute neutral cardigan like this one, over a light weight dress is a great option. I tend to go with solid and neutral clothing items and look for colors that tie in with the season. Earthy tones are so pretty in the fall I especially love a nice mossy or army green. It is one of my go to colors for sure!
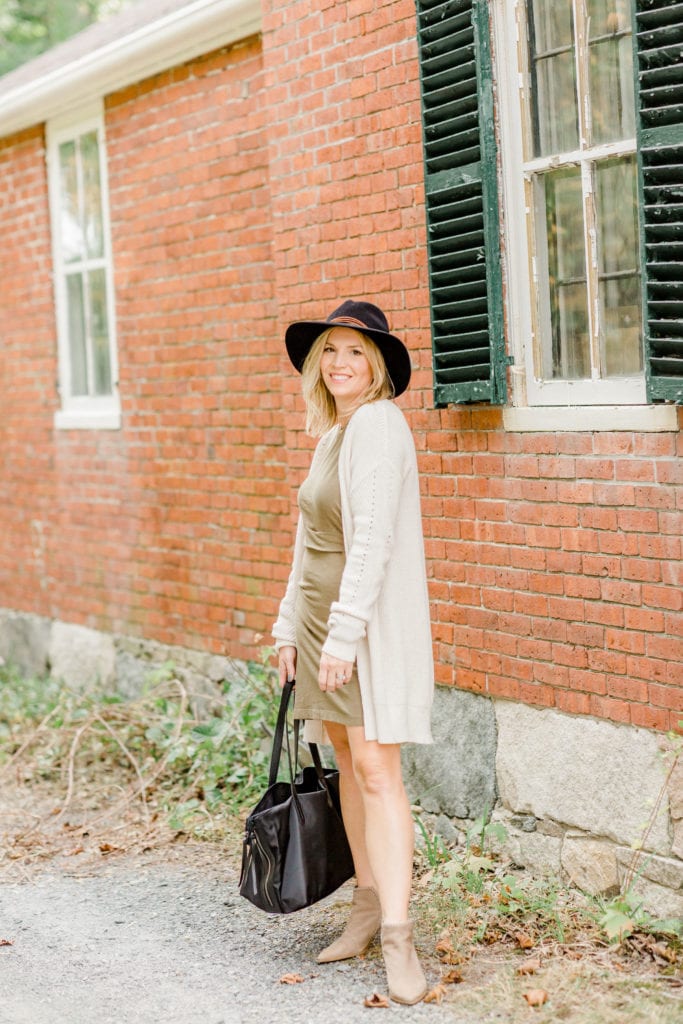
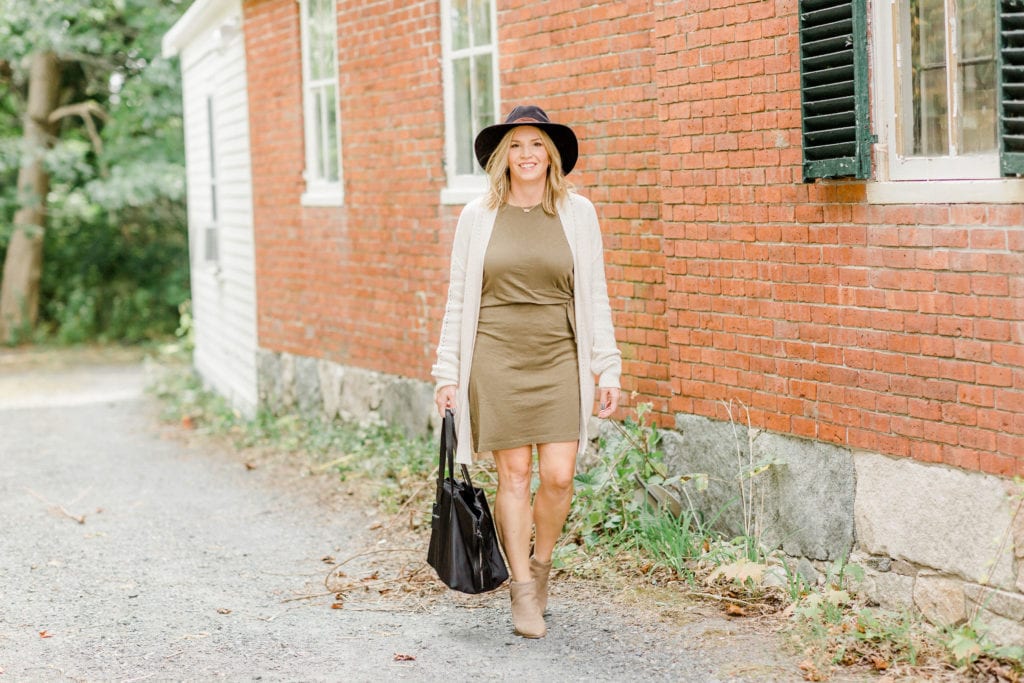
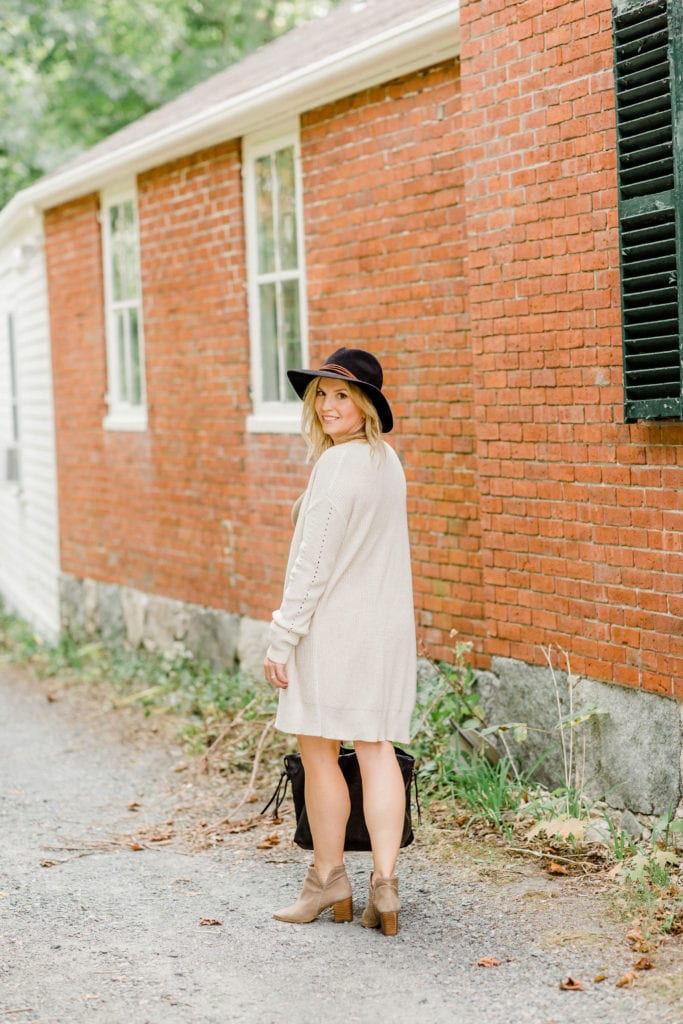
I’m definitely not a fashion blogger but I do love styling! This time of year you can’t go wrong with a great fall dress, oversized cardigan and booties. This outfit is so easy and comfy. The dress I’d go a size up just so it isn’t too form fitting. It is light weight so adding a cozy fall sweater over it is perfect. I always throw on a hat when I want to go a little EXTRA. The bag is from my Fab Fit Fun box and is really cute and roomy for all the stuff I’m usually toting around.
Happy Shopping!
Jordan
Fall Dresses:
Fall Accessories/Shoes:
Fall Jackets:
read the full post >
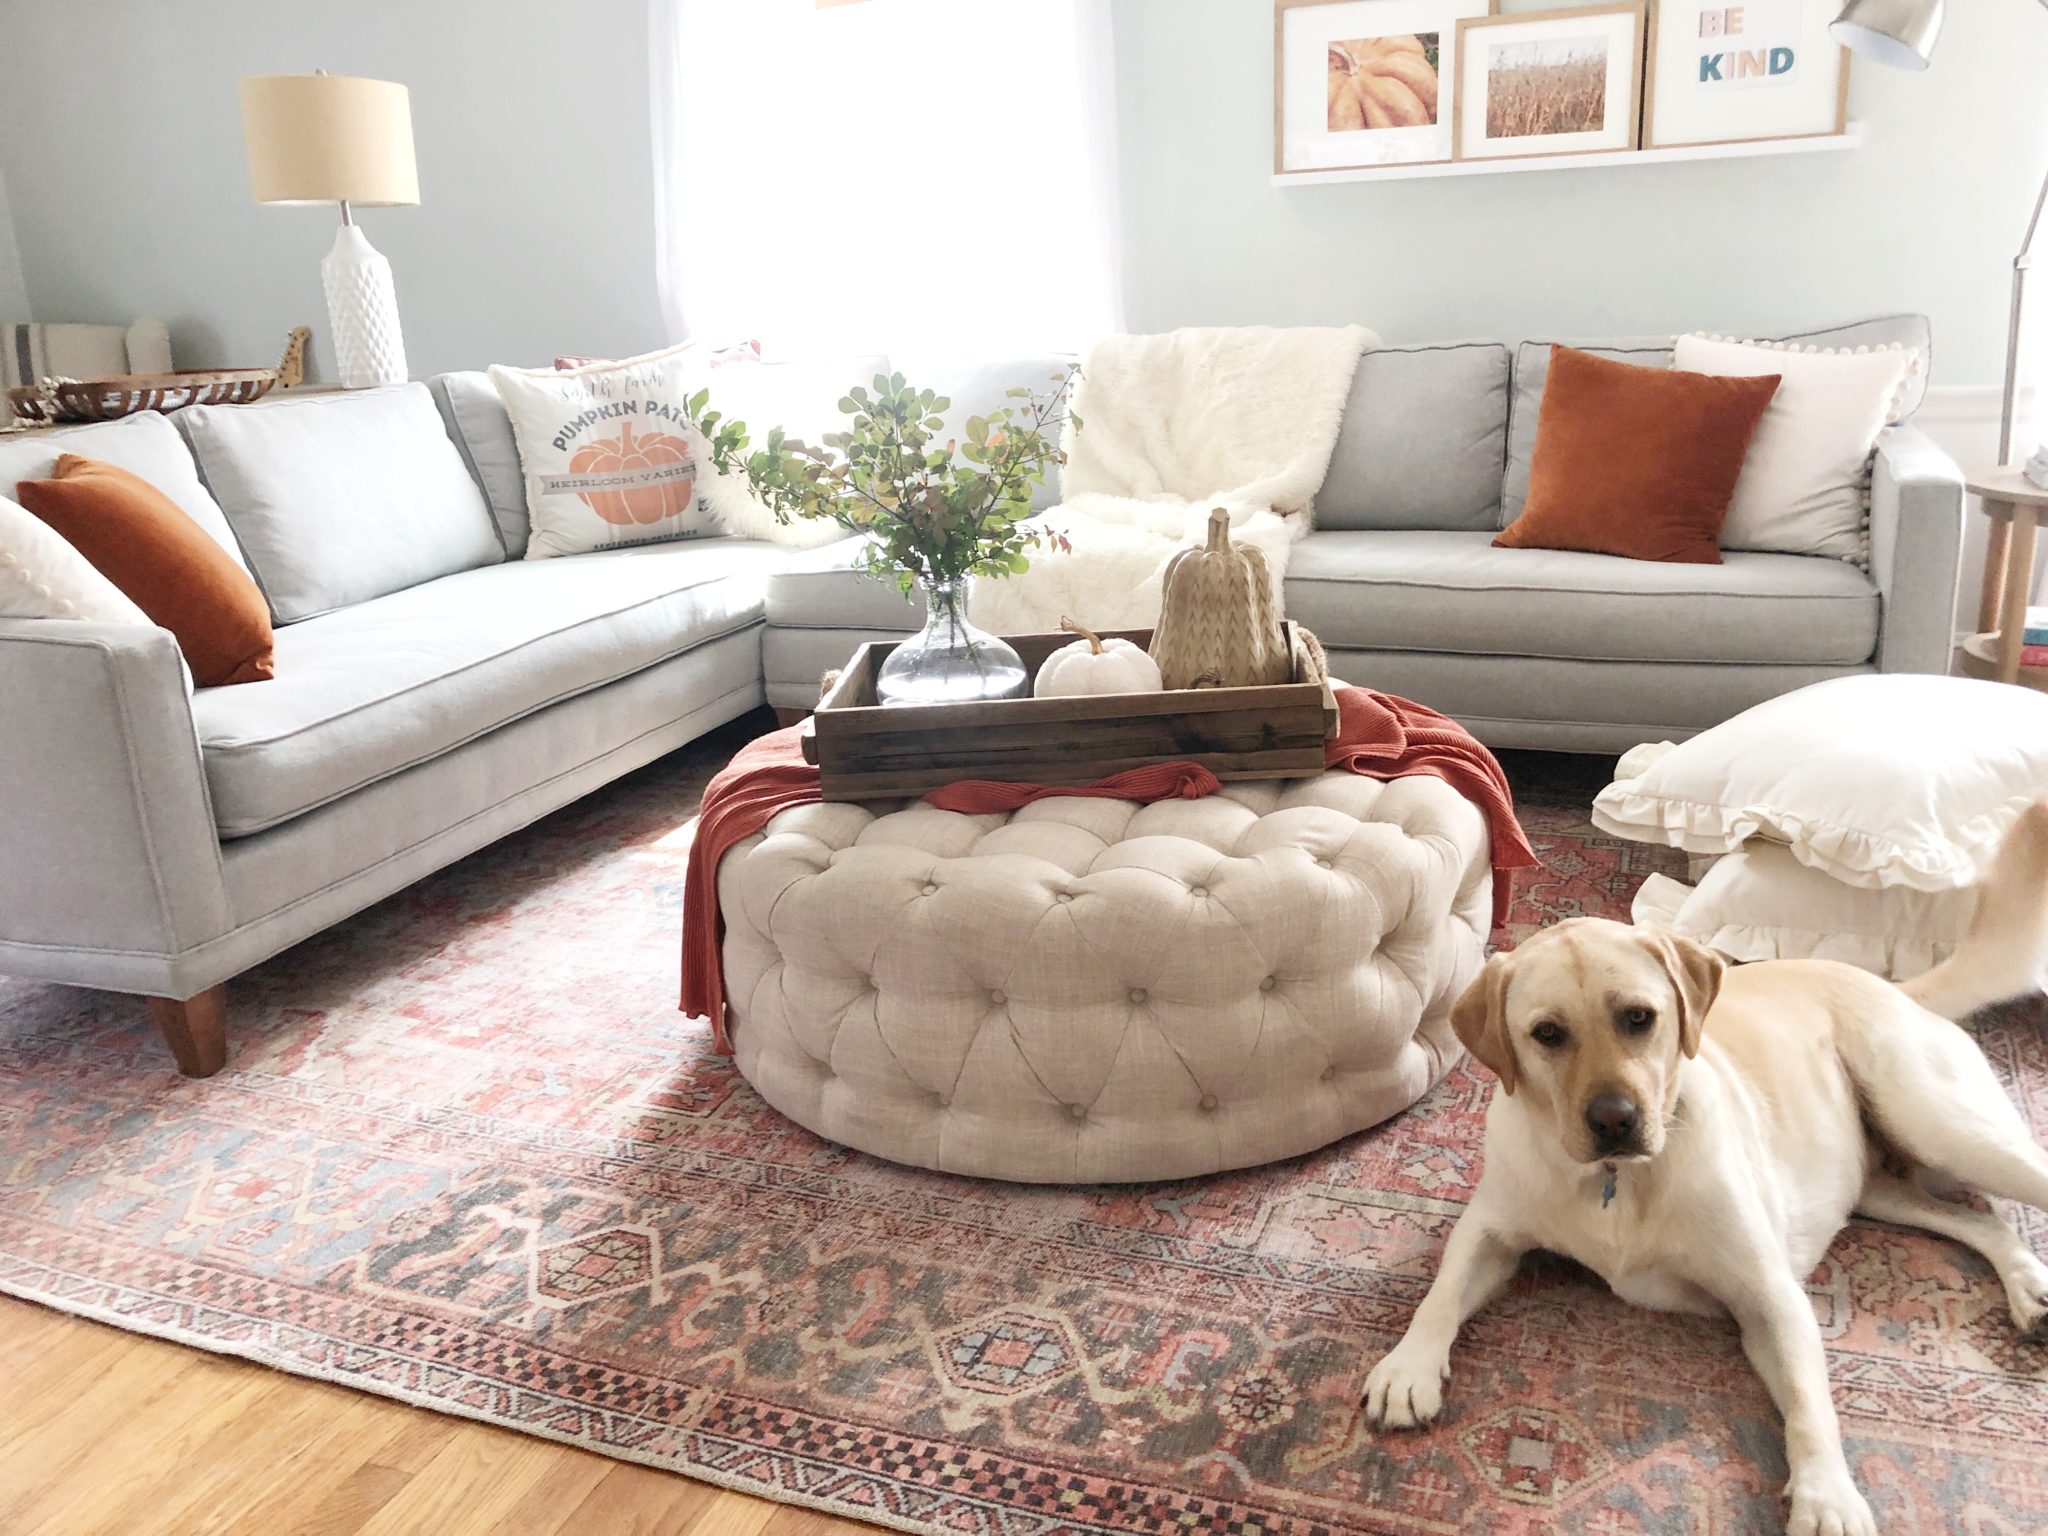
Today I wanted to share with you how I style our coffee table for fall! Our coffee table is actually an ottoman so I have a few tricks for decorating it. In this post I’ll show you how I’ve added fall touches to our ottoman as well as living-room for fall. I’m also going to be sharing some other ladies who will be joining me for a Fall Blog Hop, which I’ll link at the end of this post! Let’s get started…
We love having an ottoman as a coffee table, with young kids running around we find it’s safer and easier for them to move around (ours is on wheels). When they need more space for their dance party, fort making and lego building sessions, it is so easy to roll out of the way.
To start I clear off the surface and gather my decorative items from around the house. The only item I bought for this season’s coffee table decor is a beautiful rustic wood crate. HERE is a similar crate that is a substantial size for a coffee table, however if you have a wood coffee table I’d probably choose something metal, woven or white so that it pops. Otherwise it will completely blend in. I love rustic tones in the fall when things seem a bit worn and faded it just ties in so nicely.
Before:
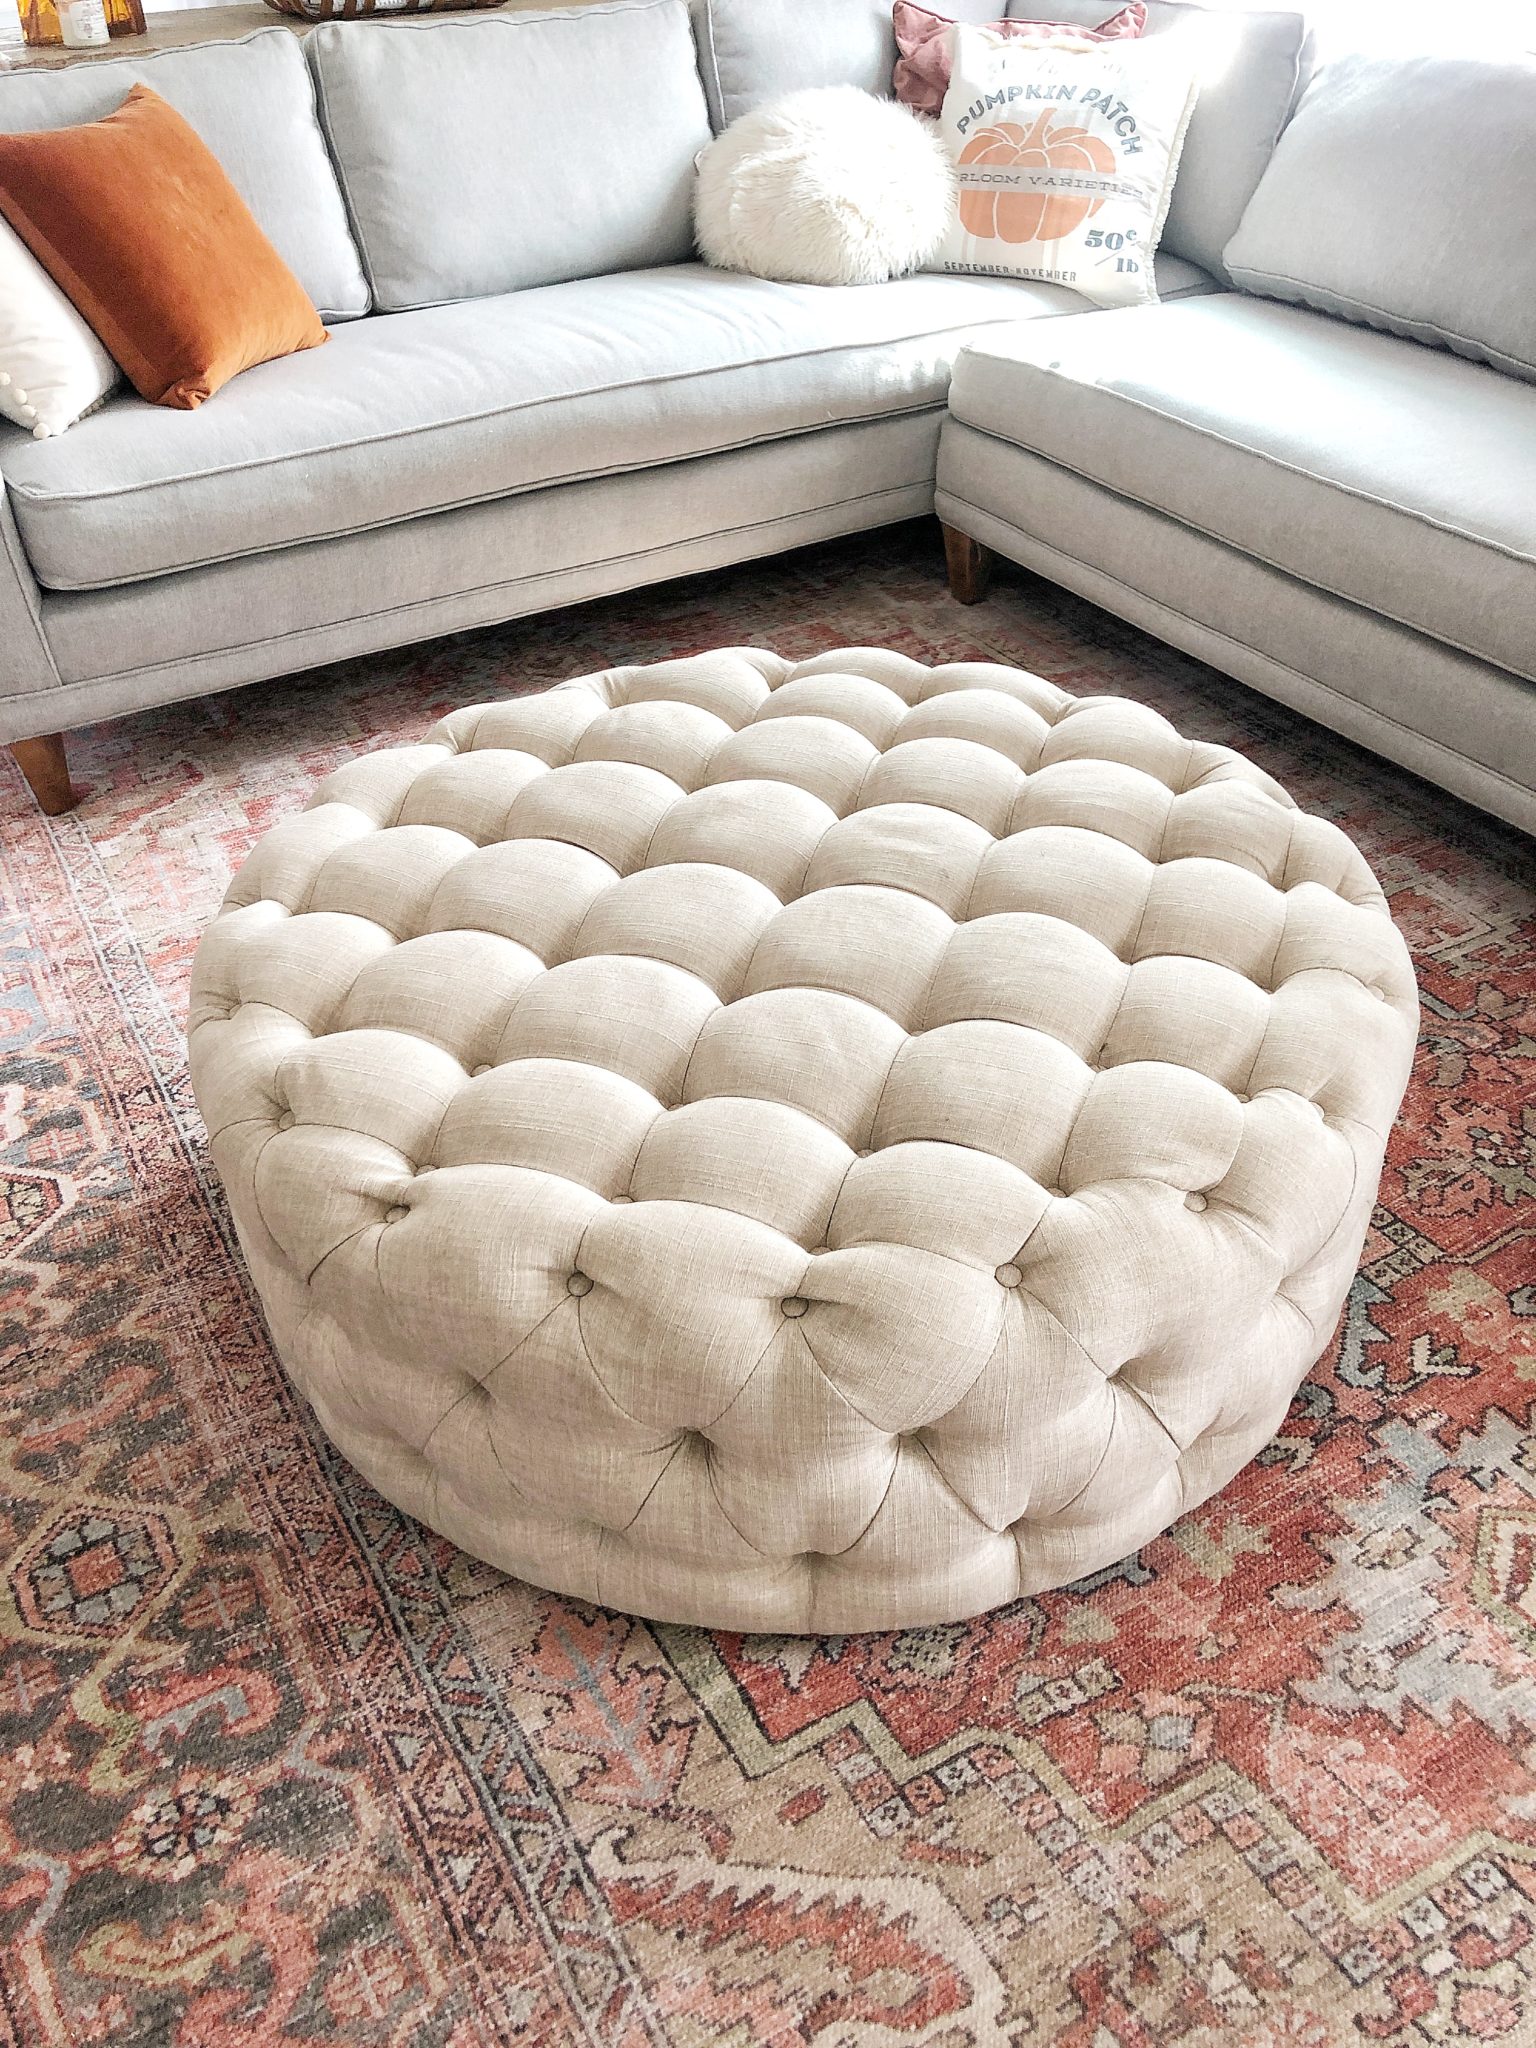
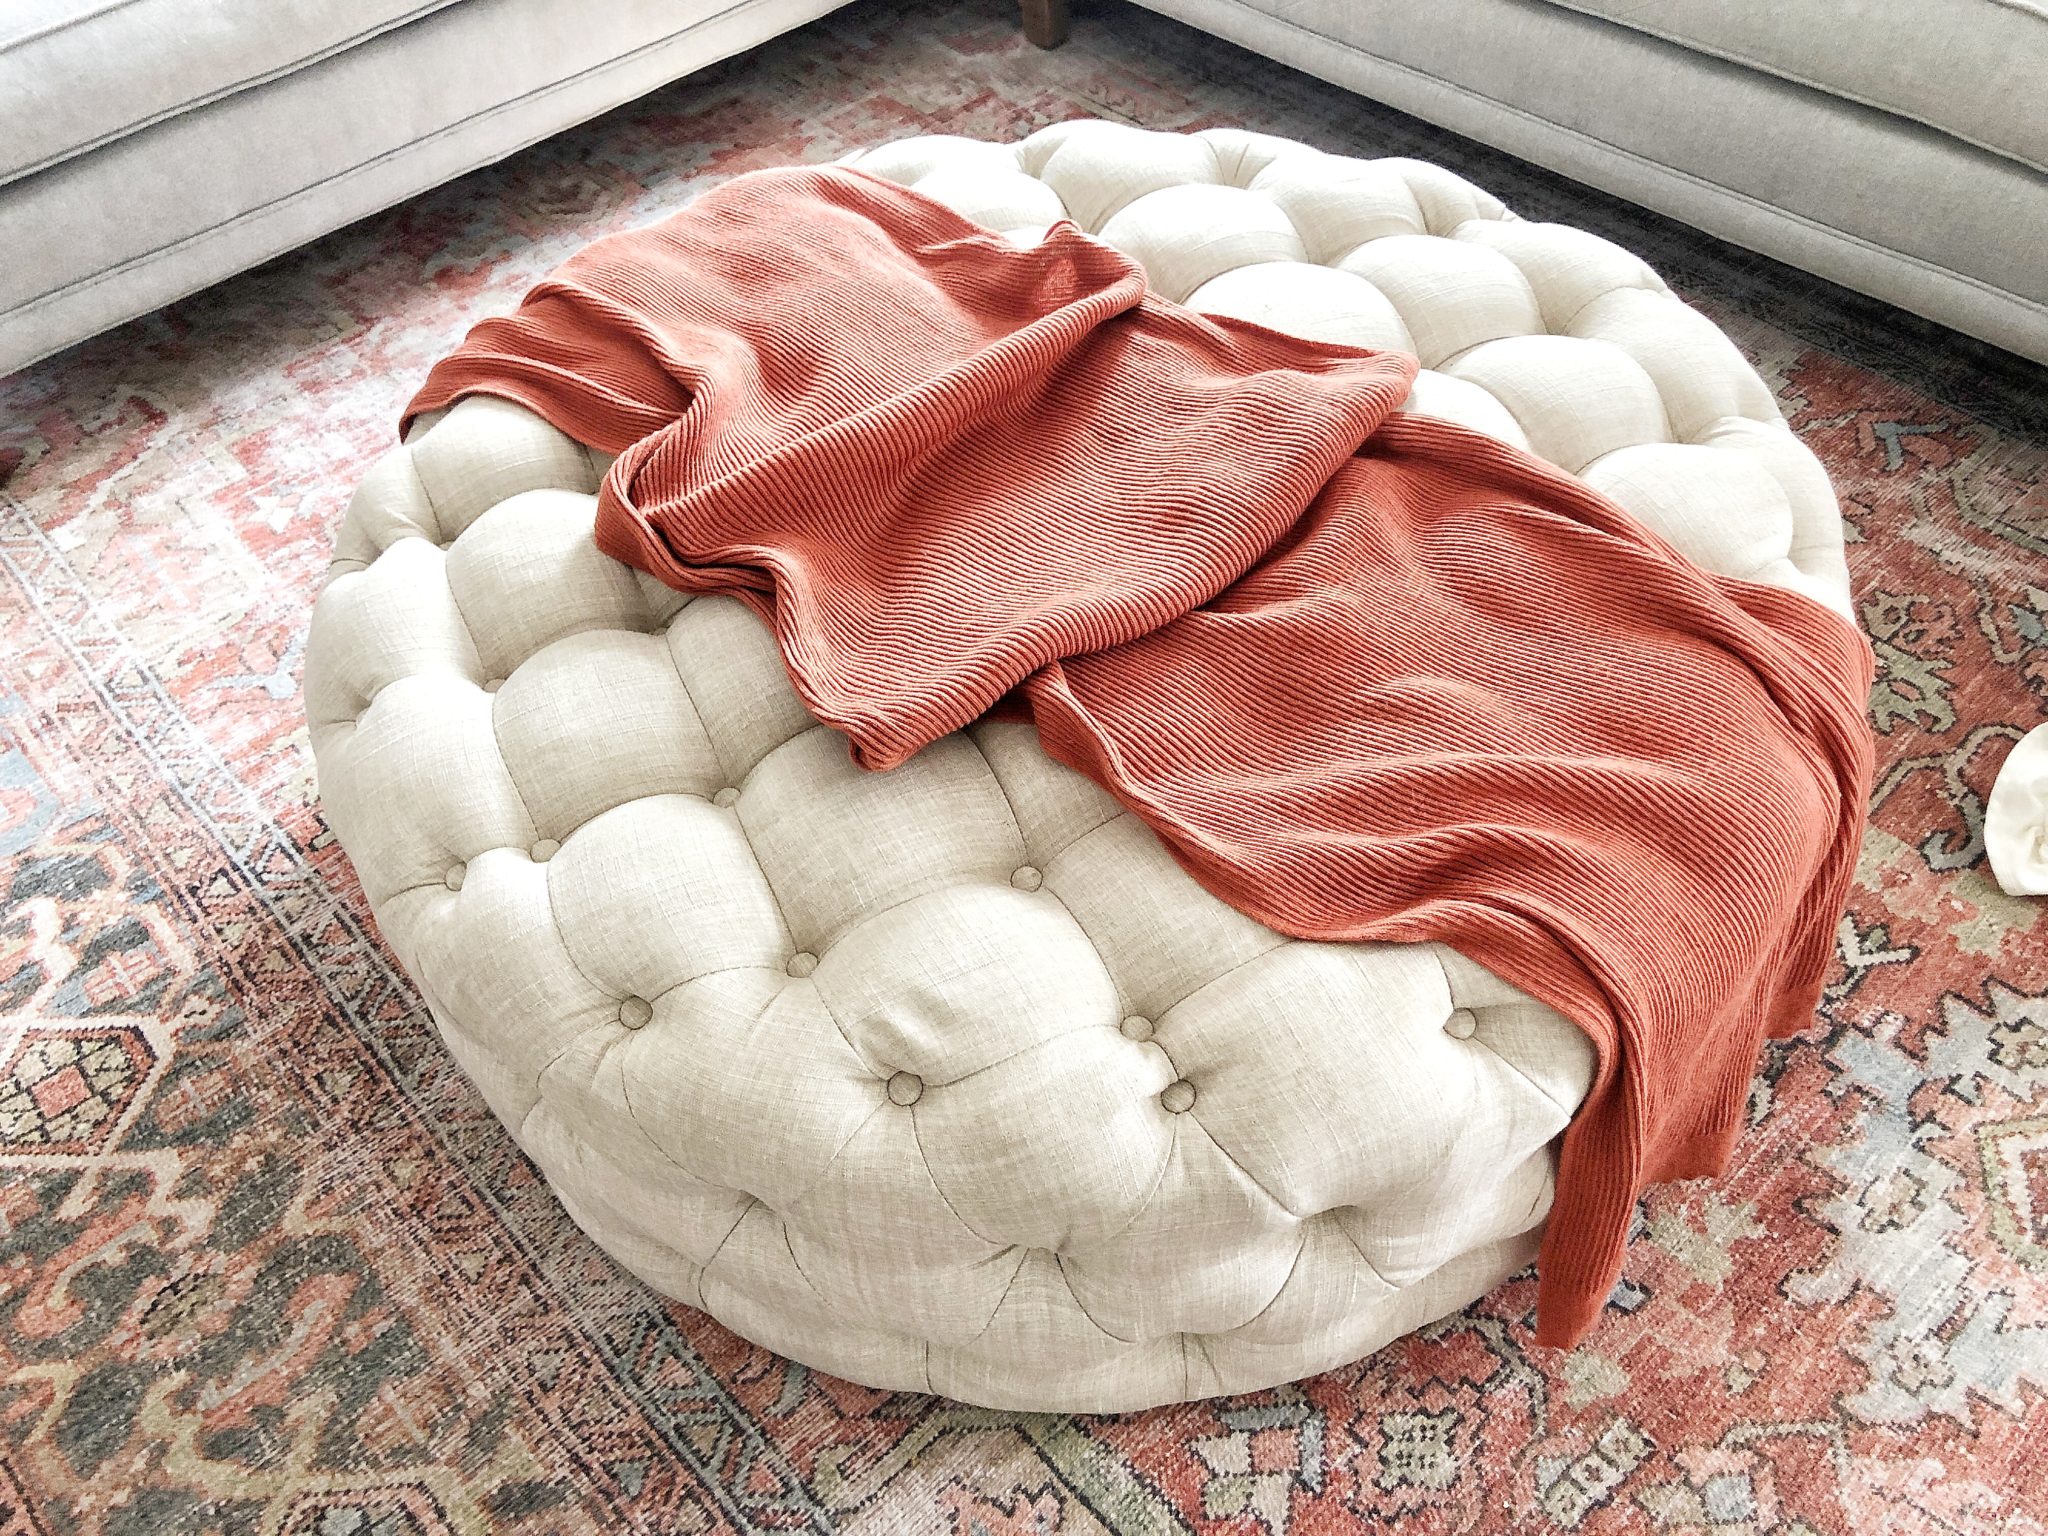
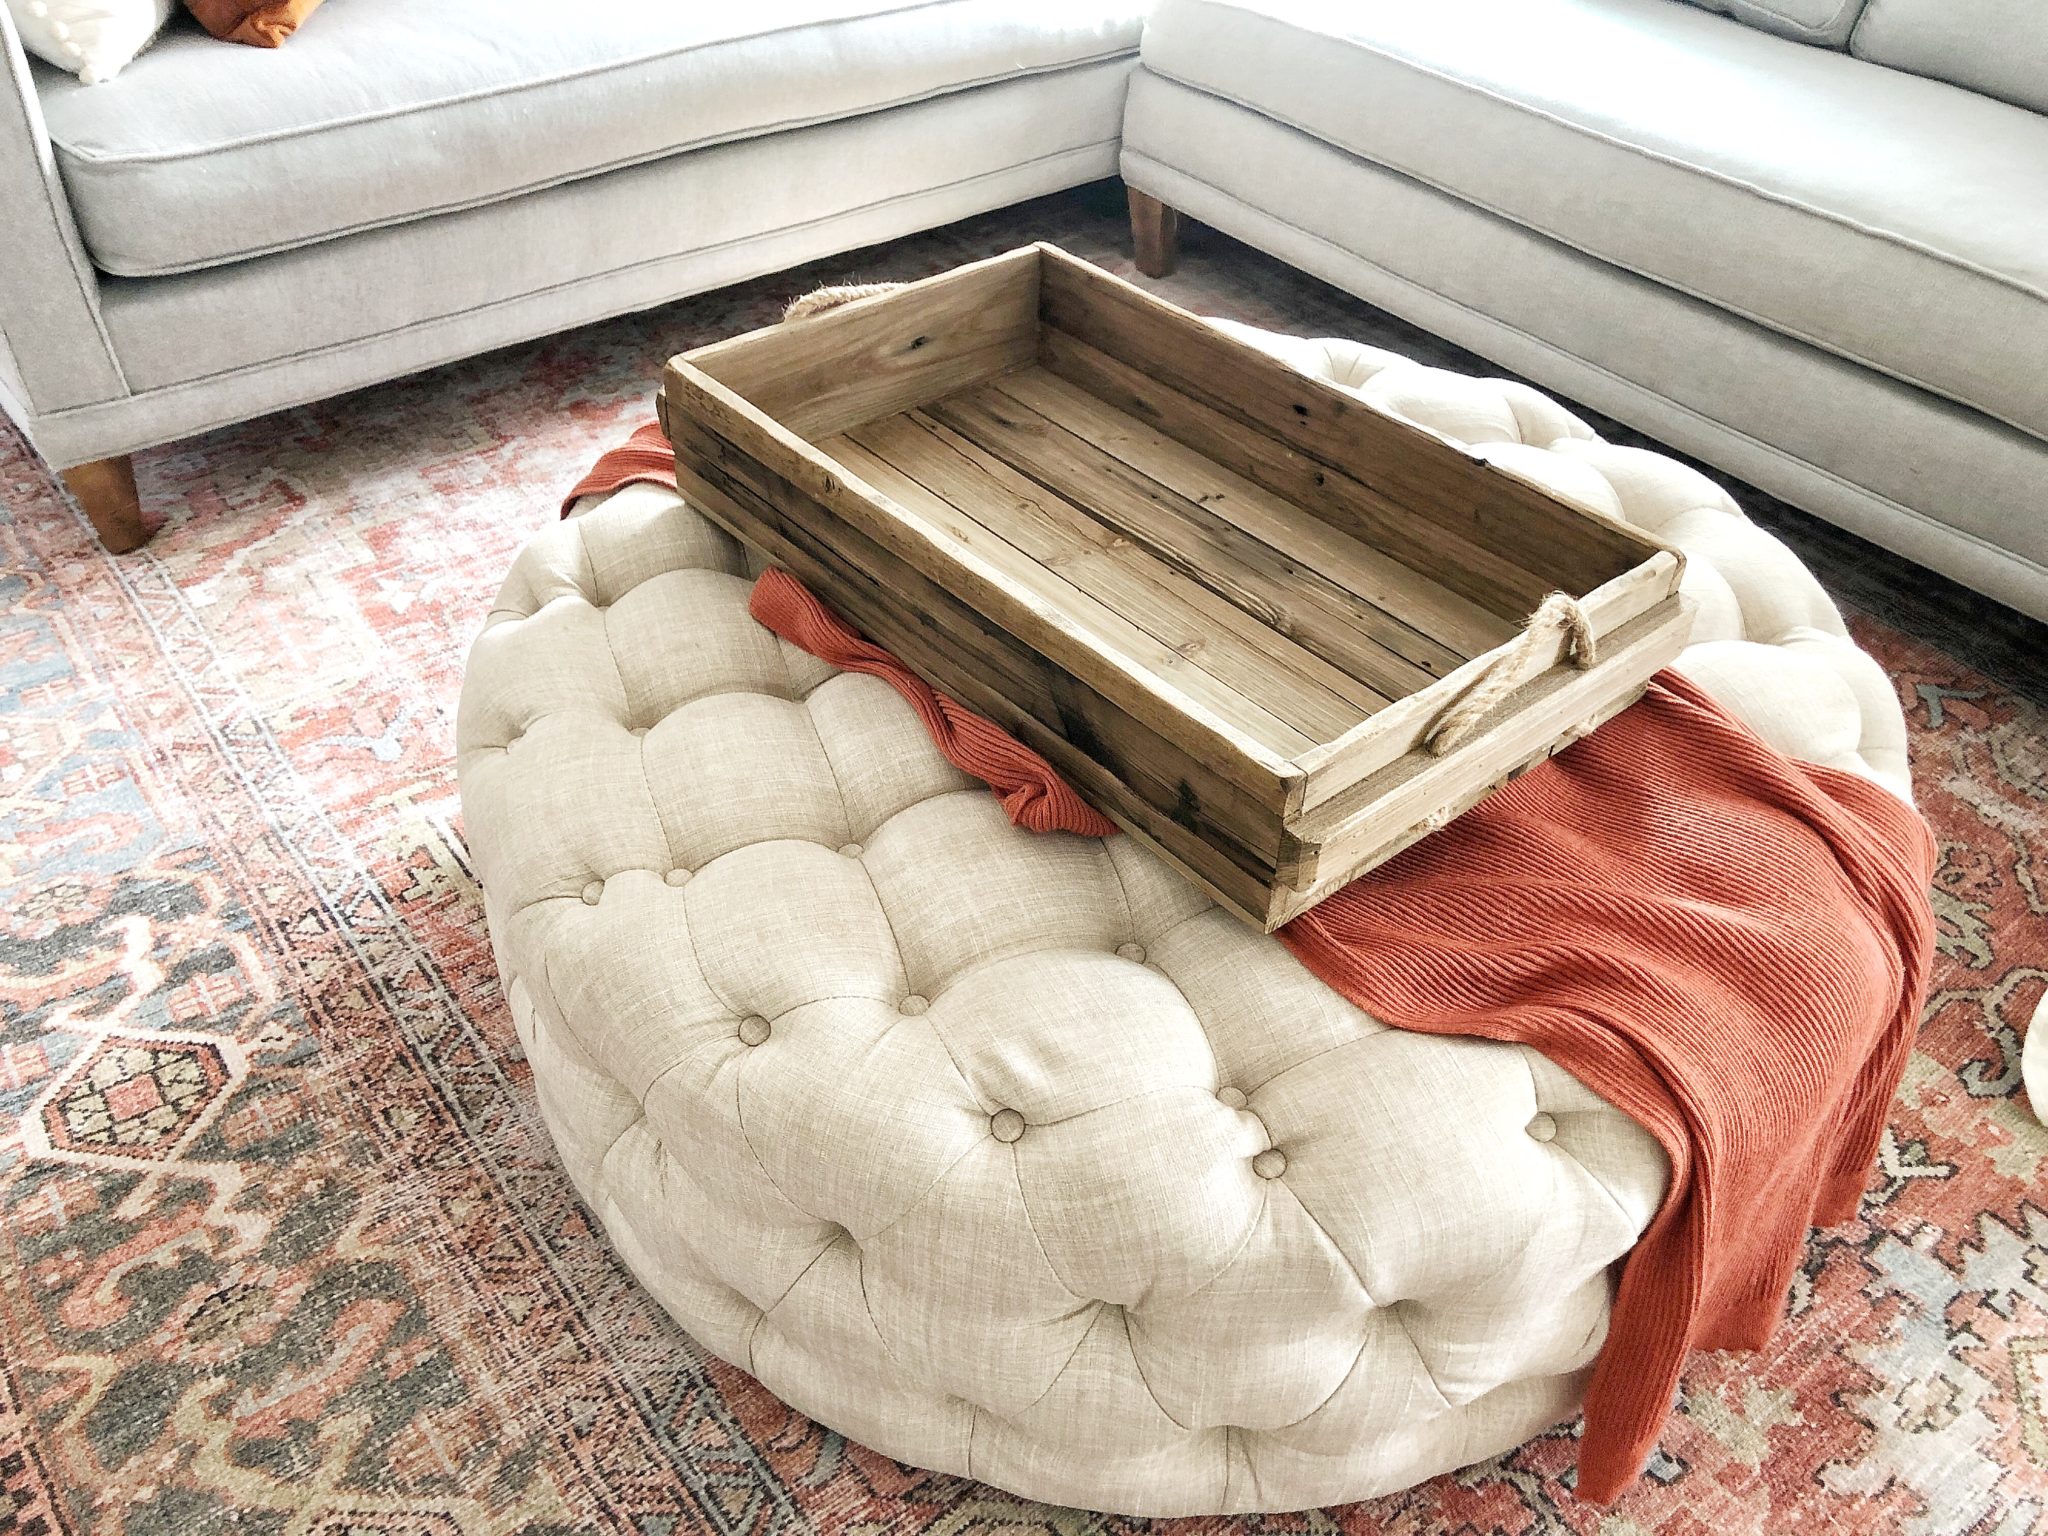
As you can see I started by layering a cozy scarf (I love using scarves in my fall and winter decor) I like that this scarf is also going to help keep my ottoman protected from any markings from the wood crate it also adds a little color, too. Next, I placed my large rustic crate that I purchased at Tuesday Morning on top. (linking similar *here ) You could always tuck a scarf in the corner and have it flowing out or if it’s a blanket scarf use it for a pop of seasonal color on the side of your sofa or arm chair.
After:
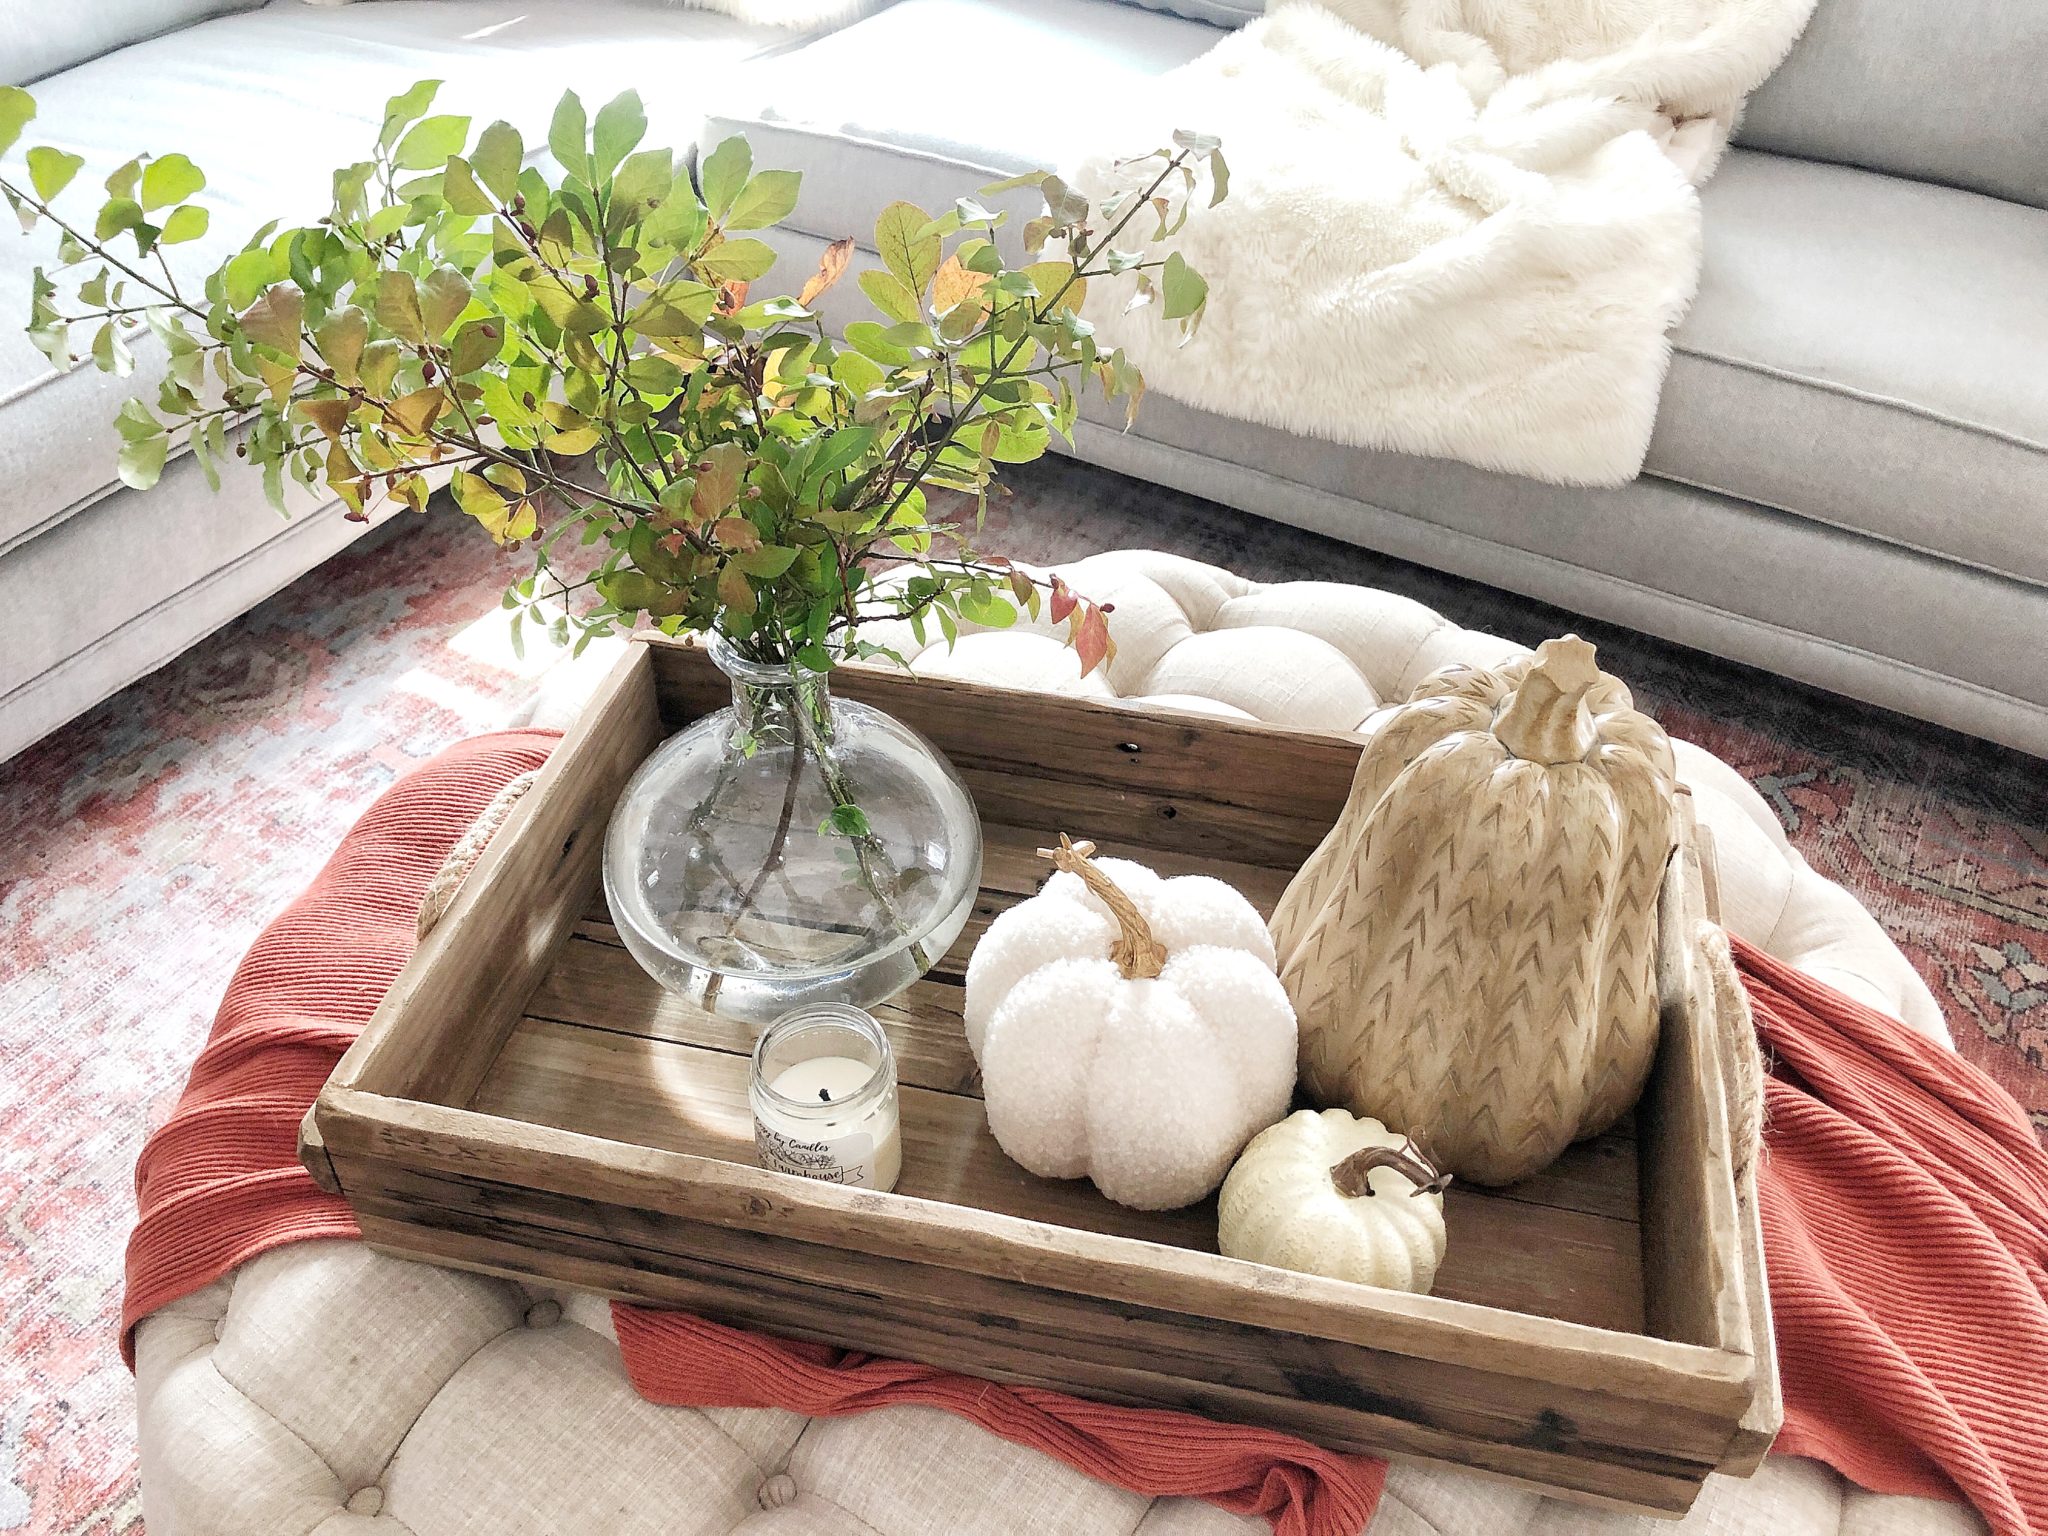
If you want to create a cozy fall look in your living room try additional layering with lots of textures. I find this is a great way to achieve that. As you can see I used a trio of pumpkins in a variety of materials and textures. I love the sherpa pumpkin I found at Target a couple weeks ago. I’m also using a clear glass vase to keep the area feeling light and airy. I used some clippings that I found in our yard for a little pop of green and autumn tones. I removed all the leaves from the lower part of stem so they look more clean in the vase.
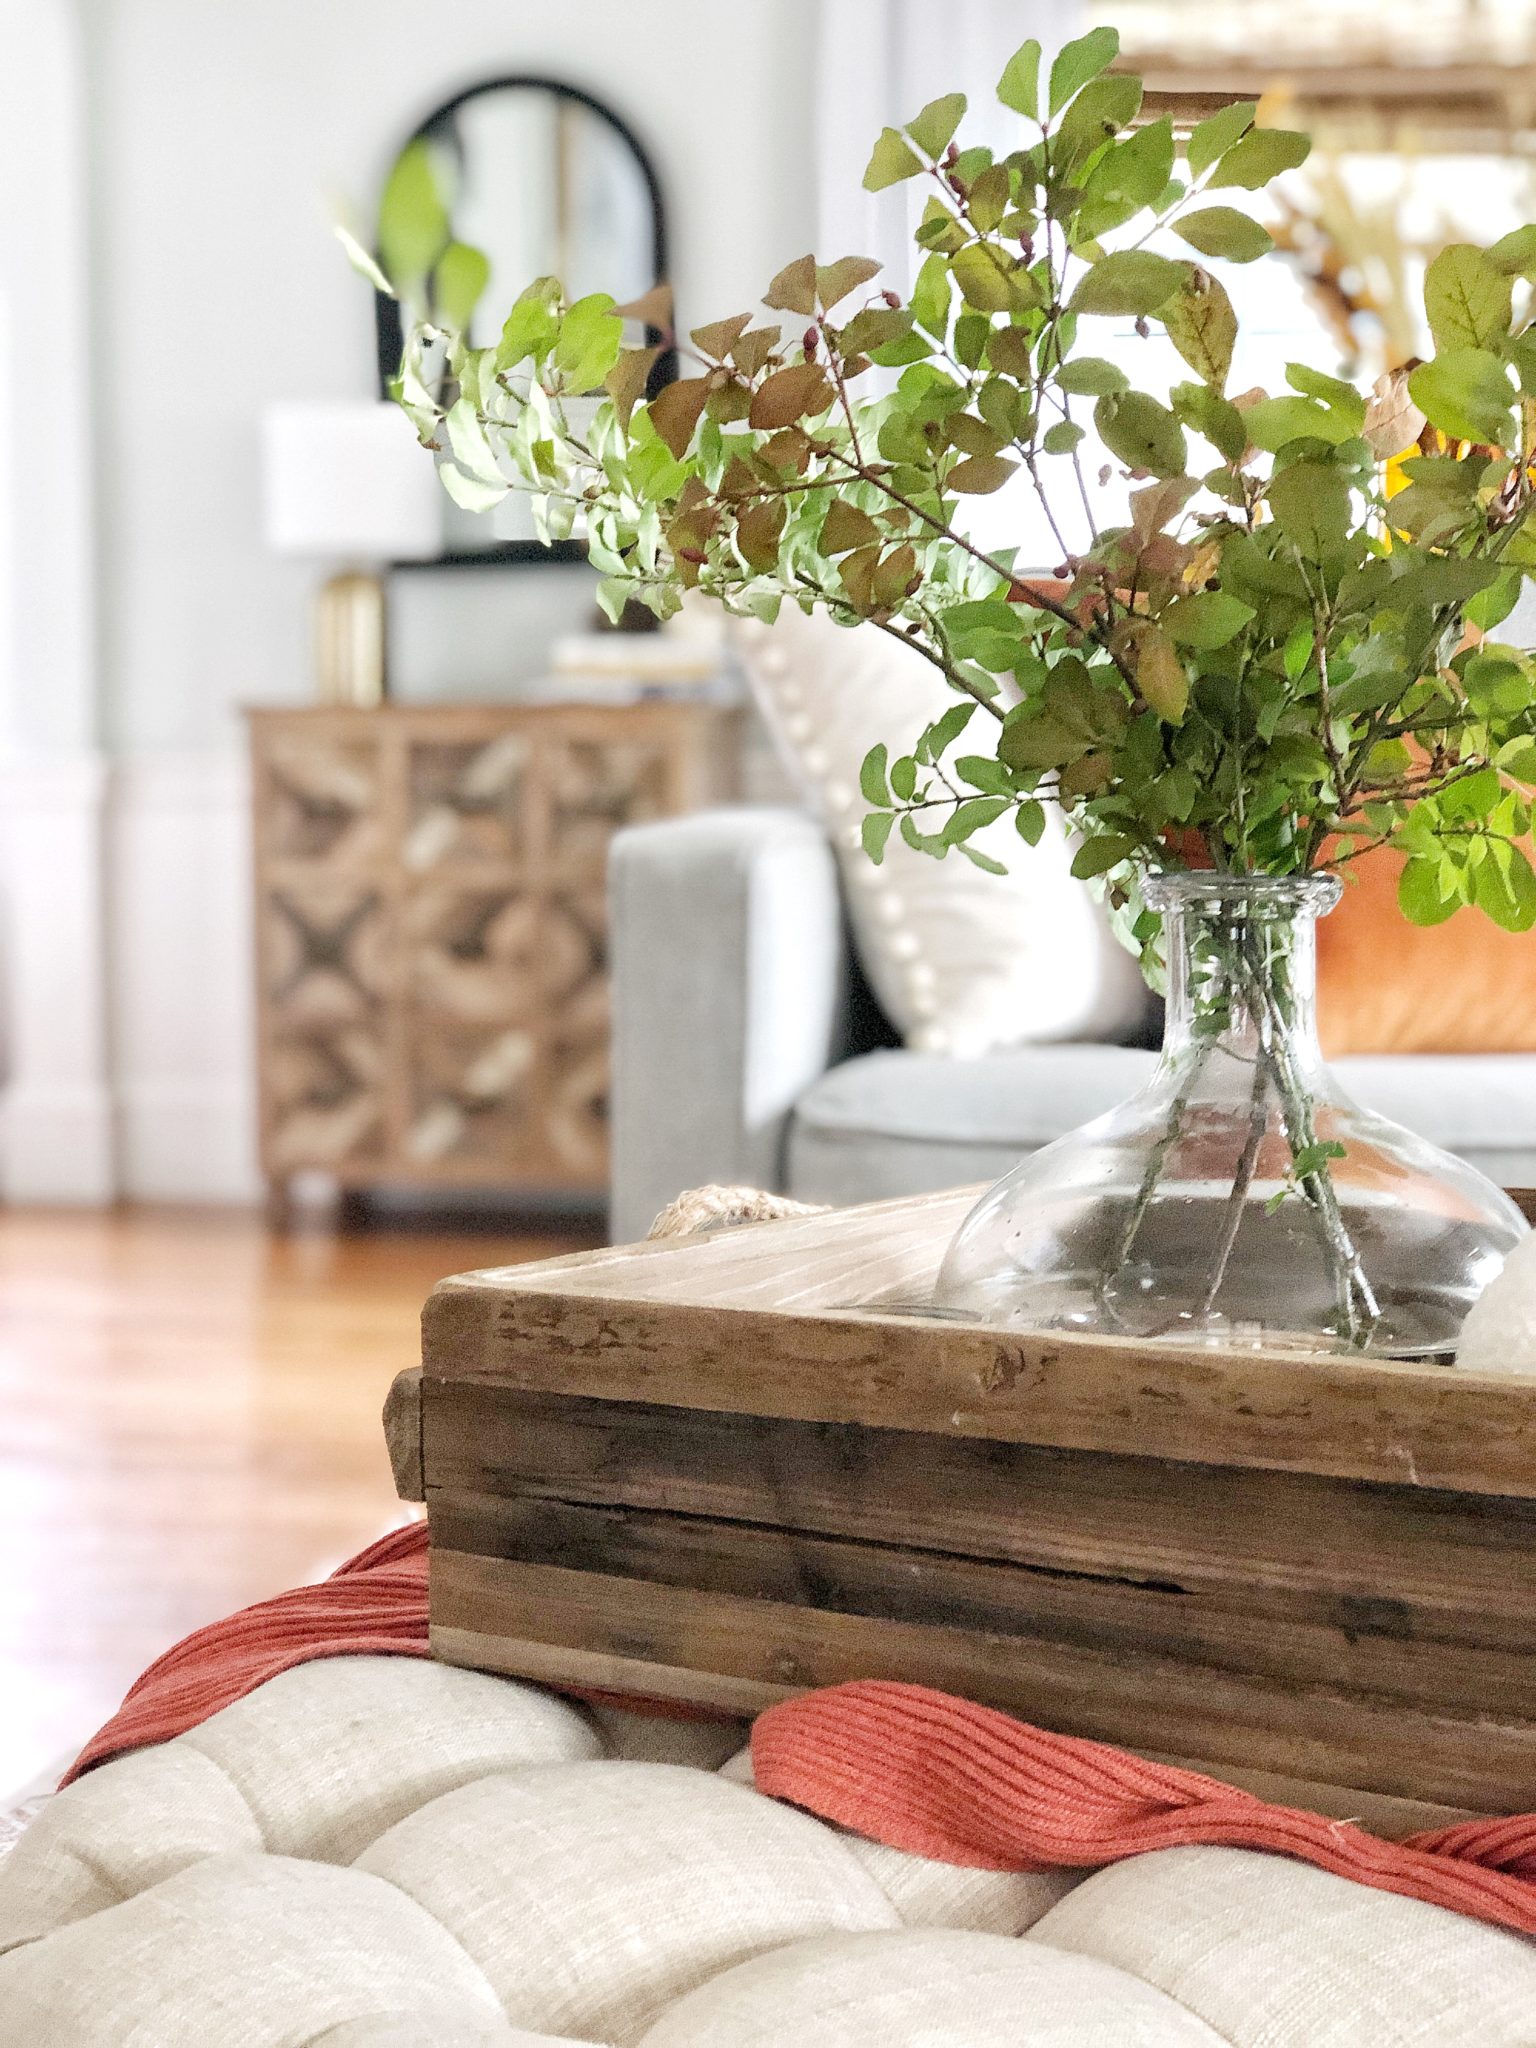
Other details that would work great are candles or books. I like to keep it simple so that we can still put our remote controls and drinks down on the tray. Since an ottoman is much softer than a coffee table, placing a drink on top of the fabric isn’t exactly safe. I always need some type of hard surface/tray on top to hold our beverages.
I love how the fresh yard clippings add such a beautiful and natural pop of color. If I had added faux leaves or wheat it would have a much different look. Plus if you clip from your yard are free and I don’t think seasonal decor should cost much.
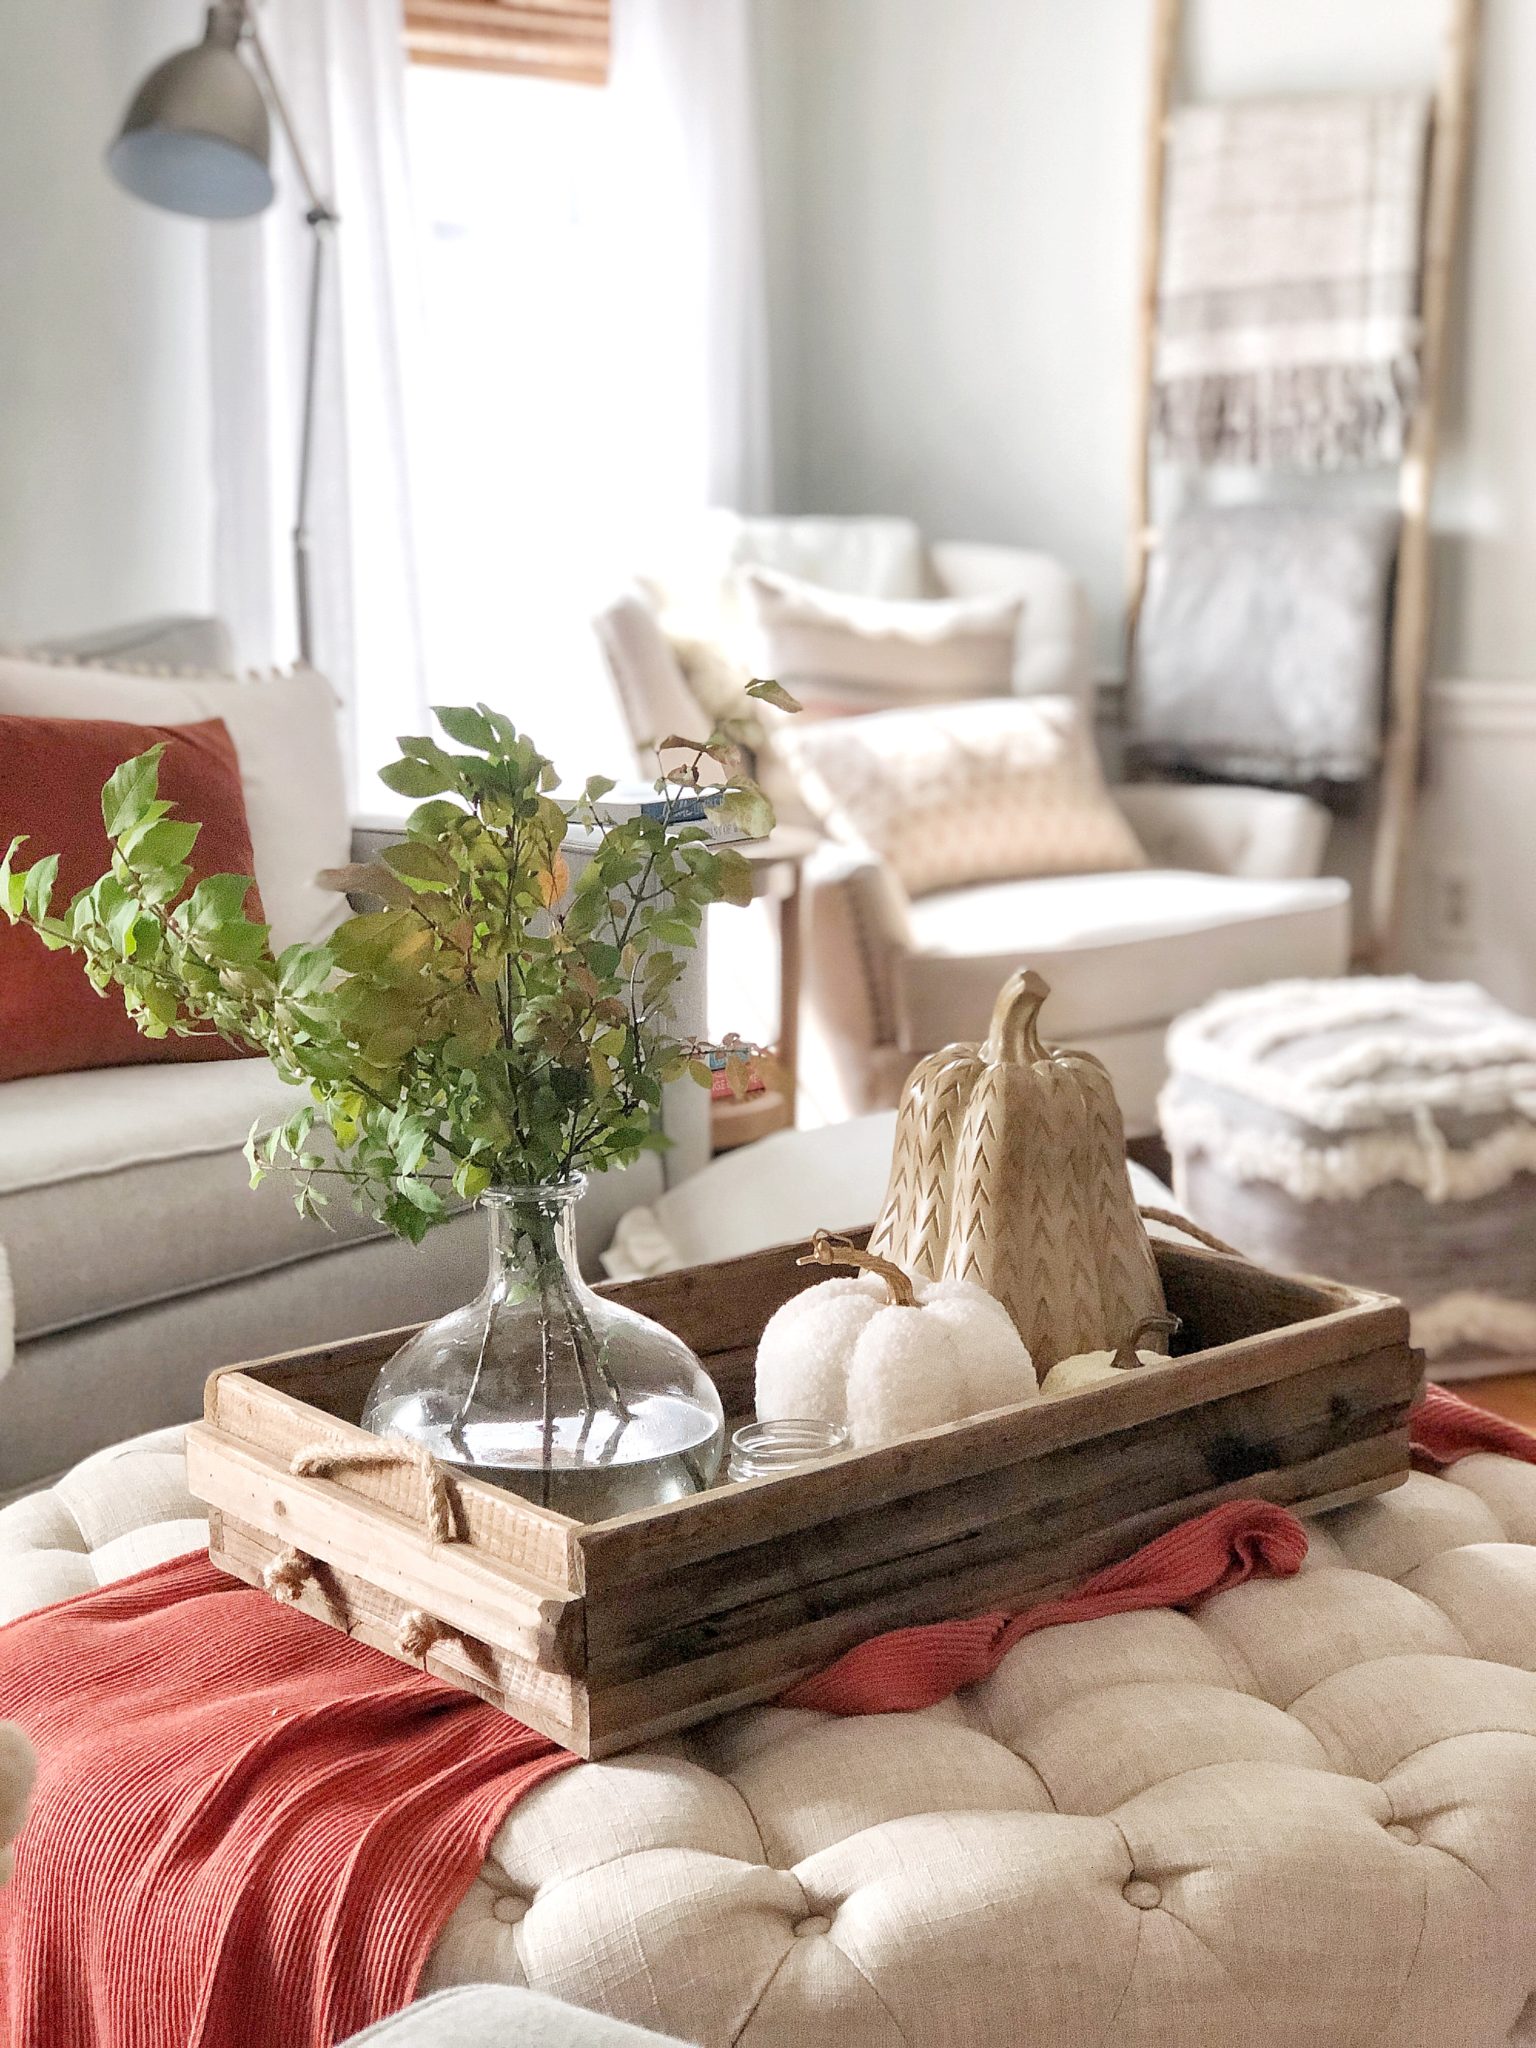
Other fall elements in our living-room include warmer toned velvet pillows, some seasonal art and a few decorative fall accessories like wheat and pumpkins. I try not to go too crazy I still like simple and minimal in my seasonal decorating. I hope this inspires you with how to create a cozy fall coffee table. The ideas are endless of course, have fun and be creative with what you use/repurpose!
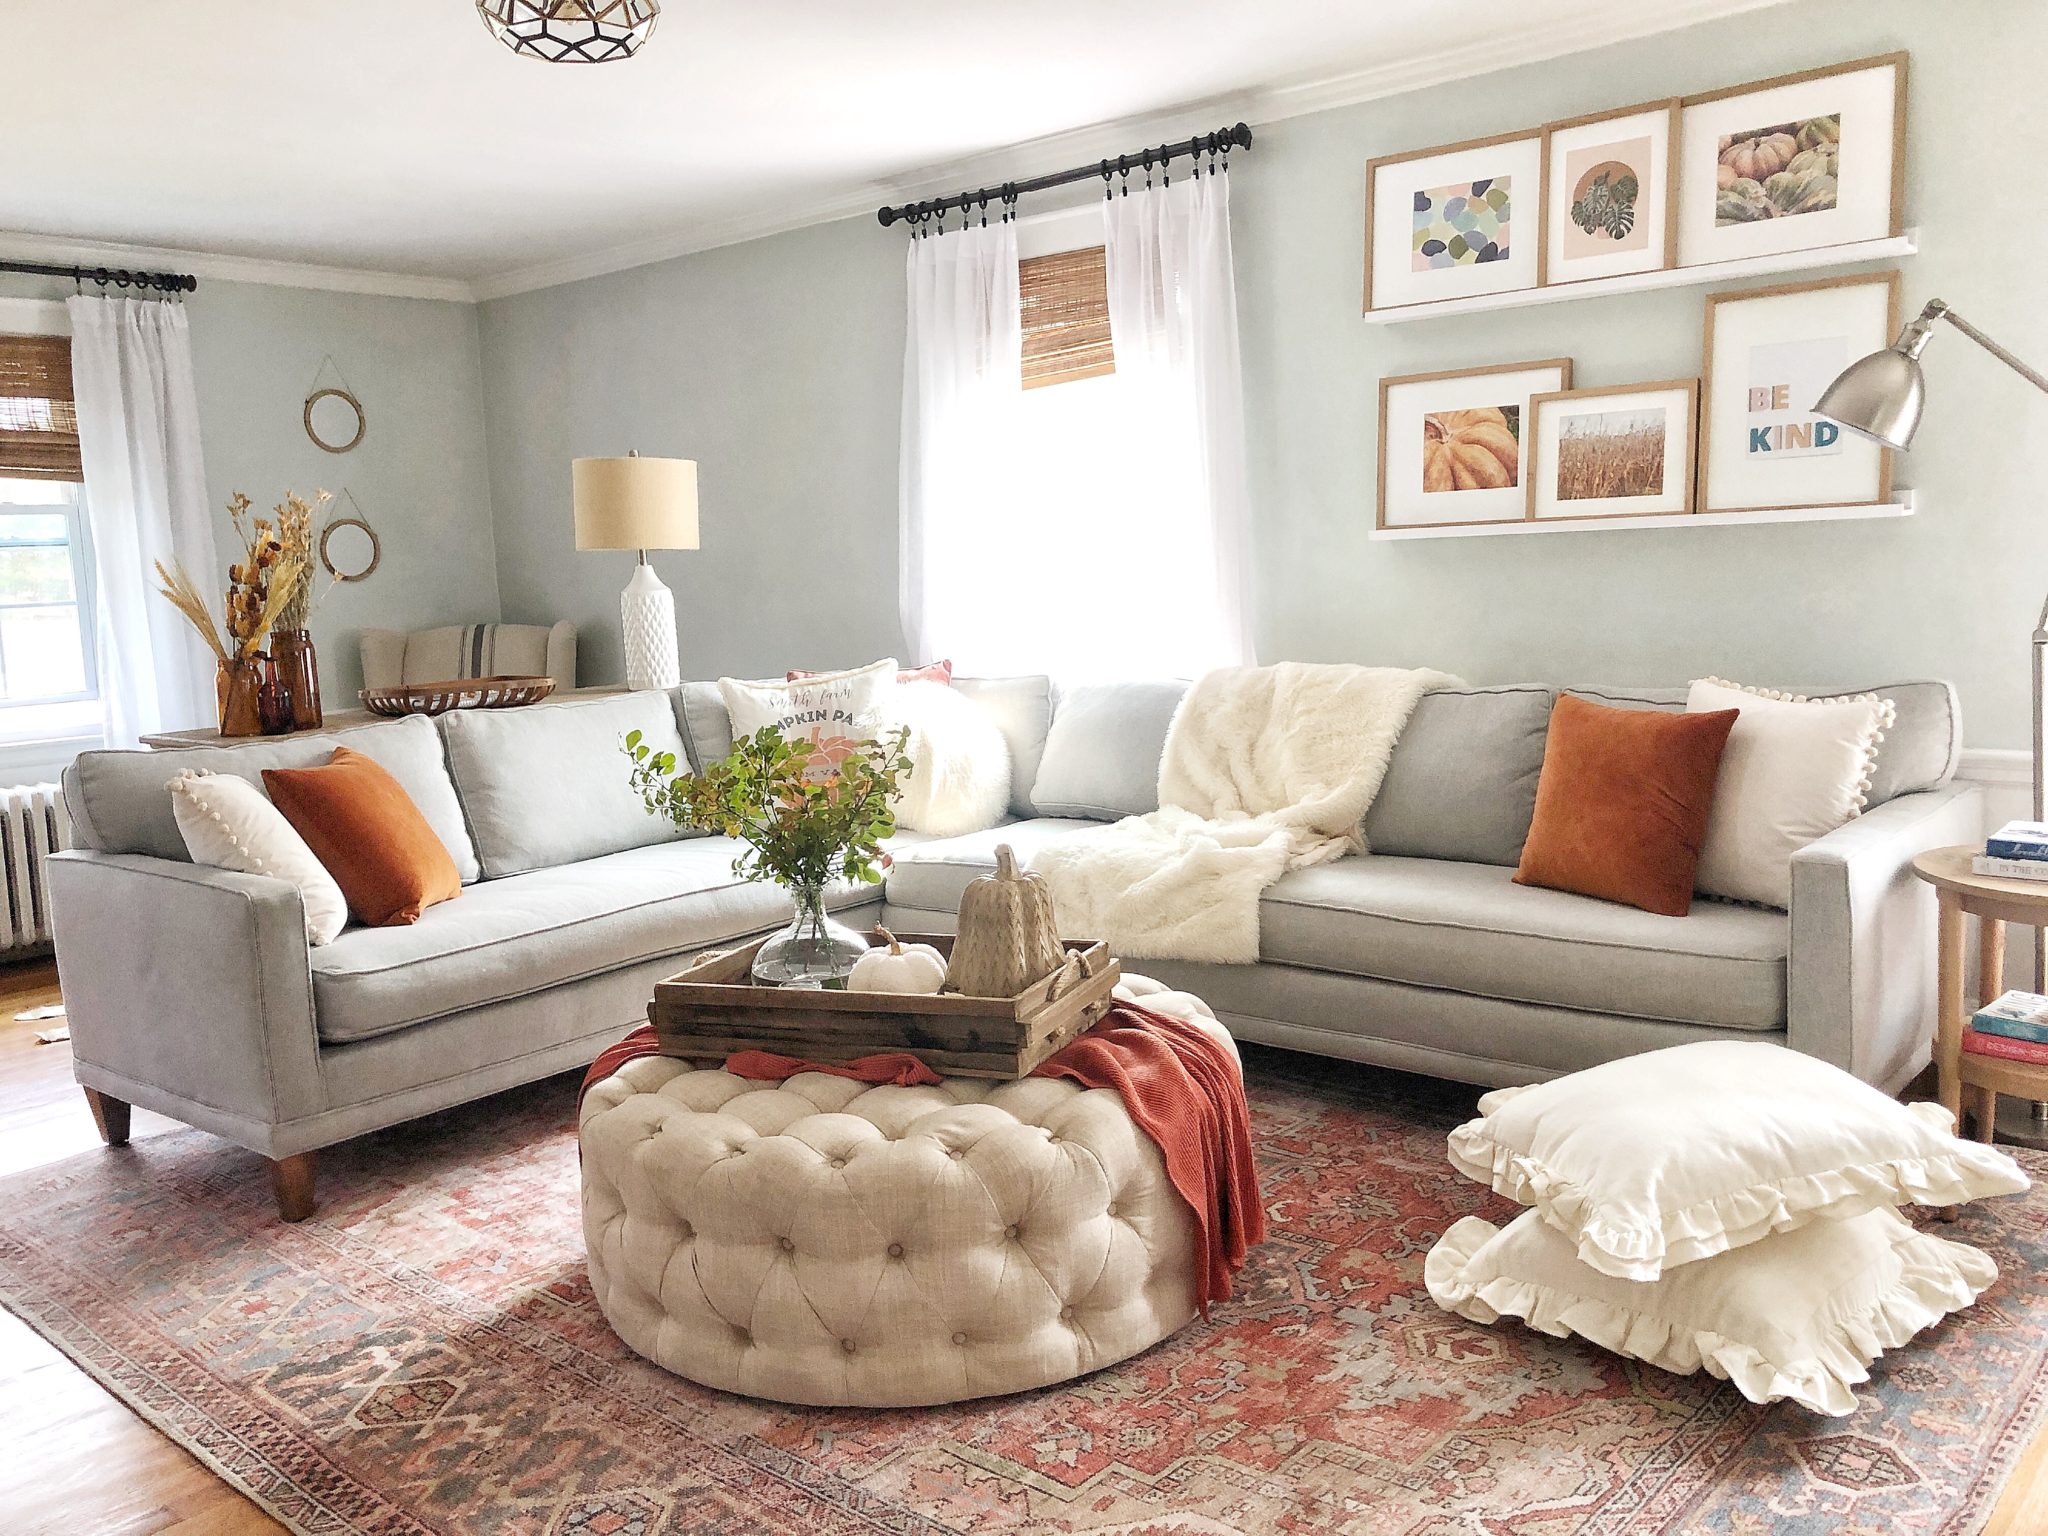
I hope you enjoyed seeing my living-room decorated for fall as well as how I style my coffee table (errr ottoman) If you want to learn more about our art ledges see this post. For more ideas be sure to follow along on my Instagram at Jordecor If you’d like more fall inspiration hop on over to some of my other talented friends/decorators to see their homes as well!
Click on blog name below to follow our fall loop:
Happy Decorating Friends,
Jordan
Shop This Post:
read the full post >
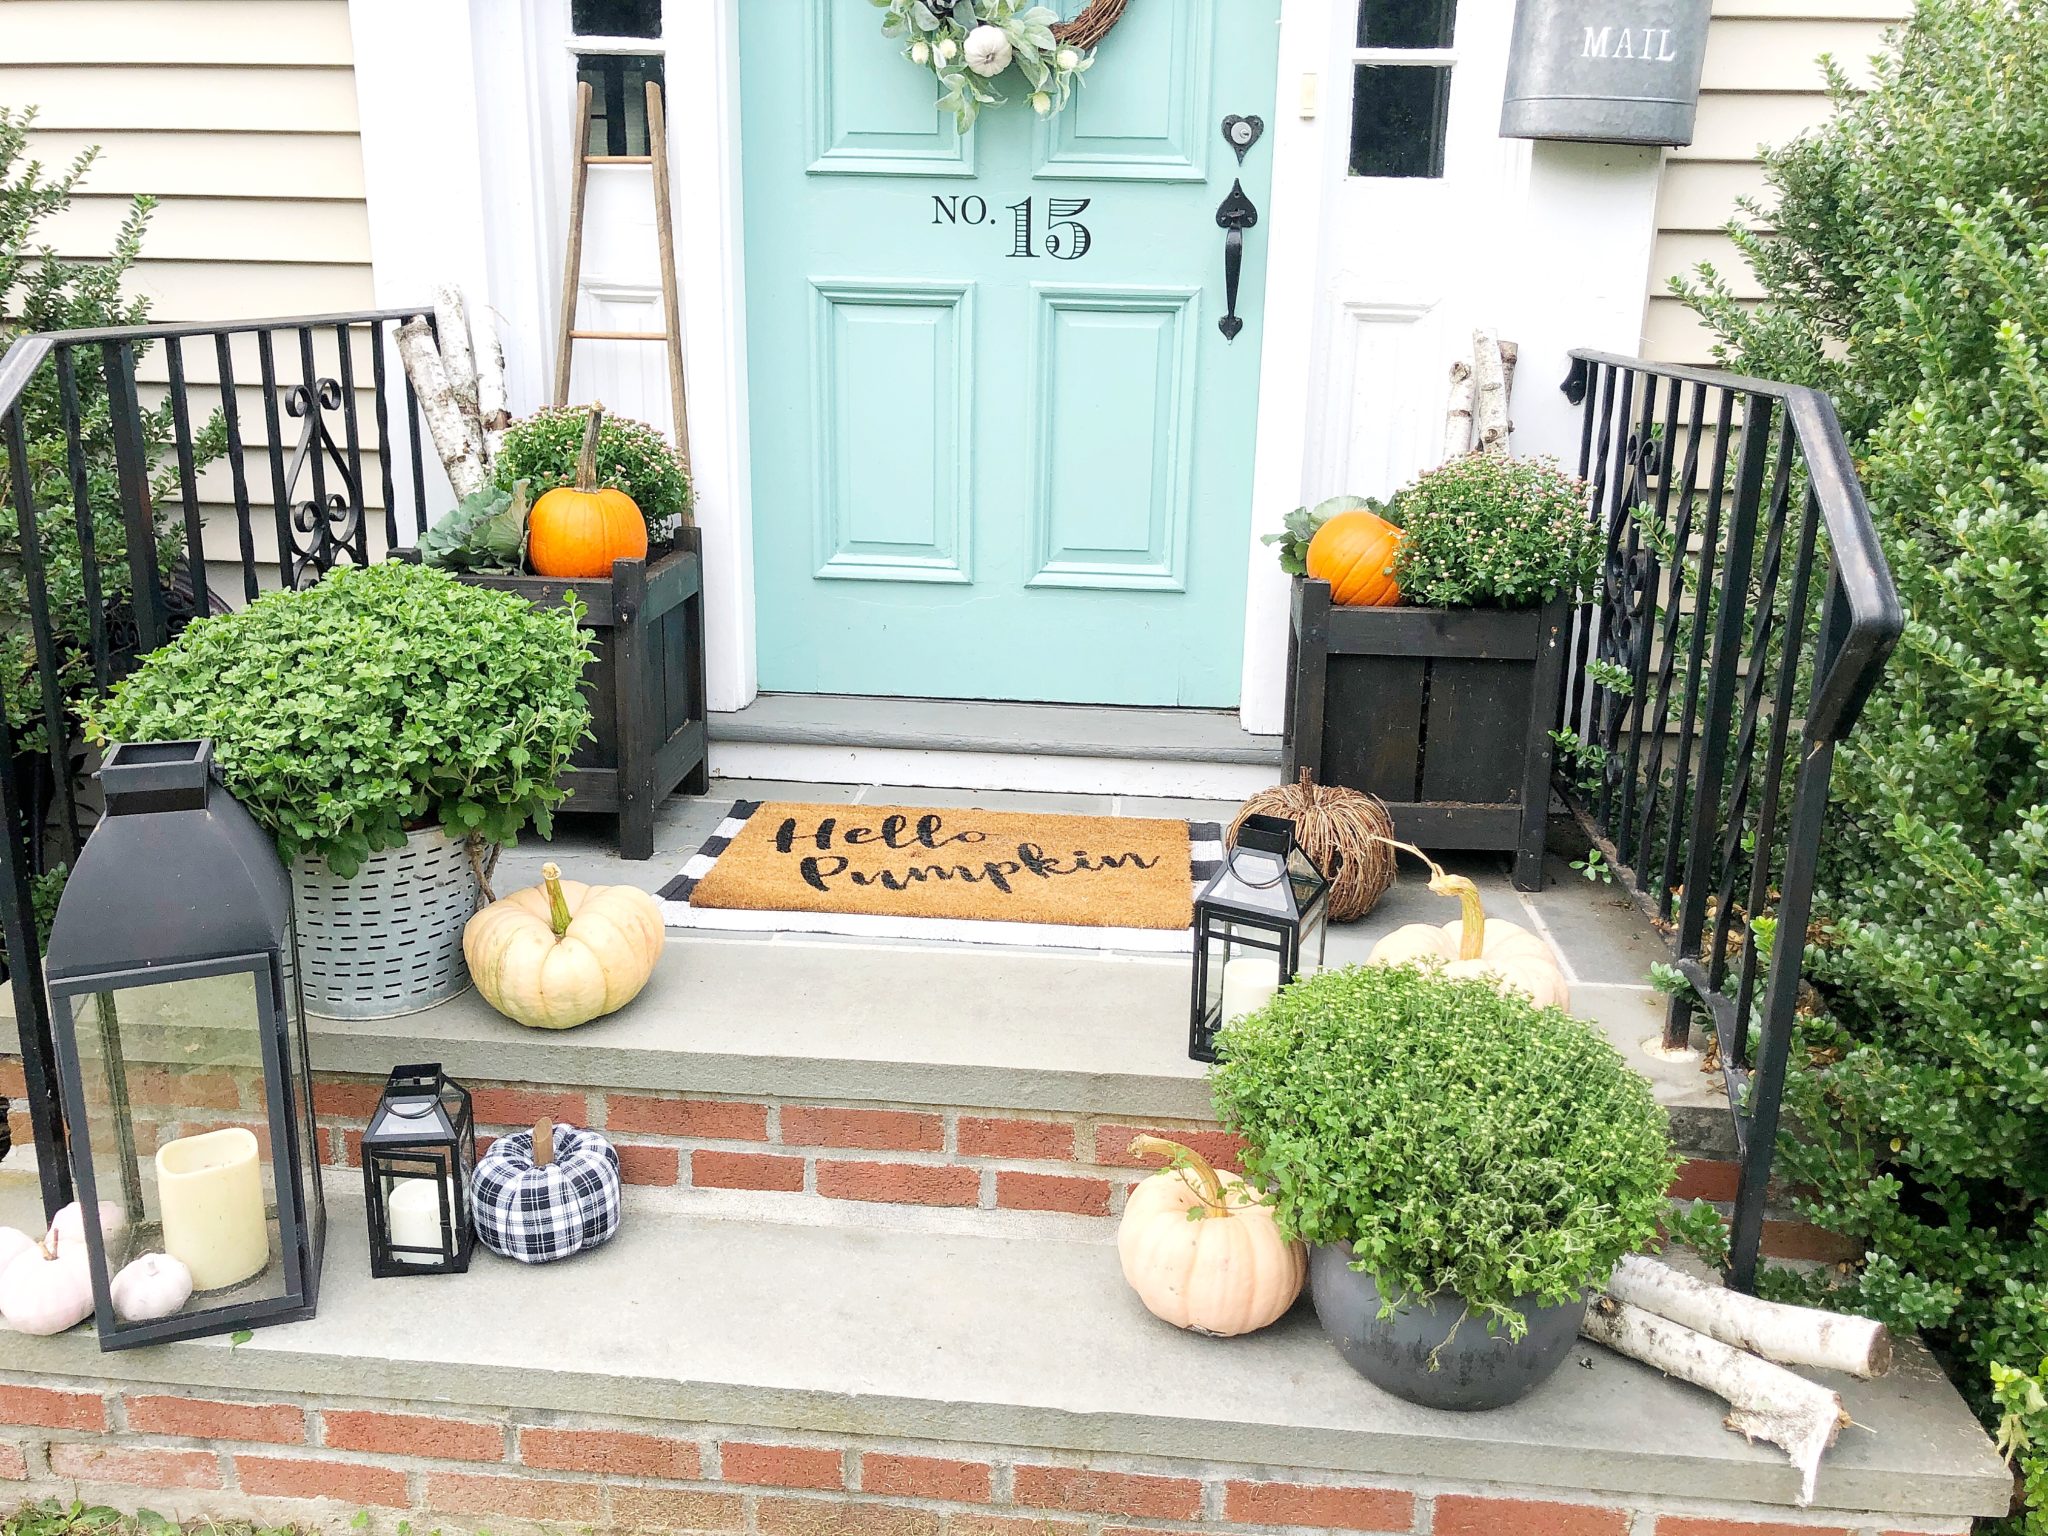
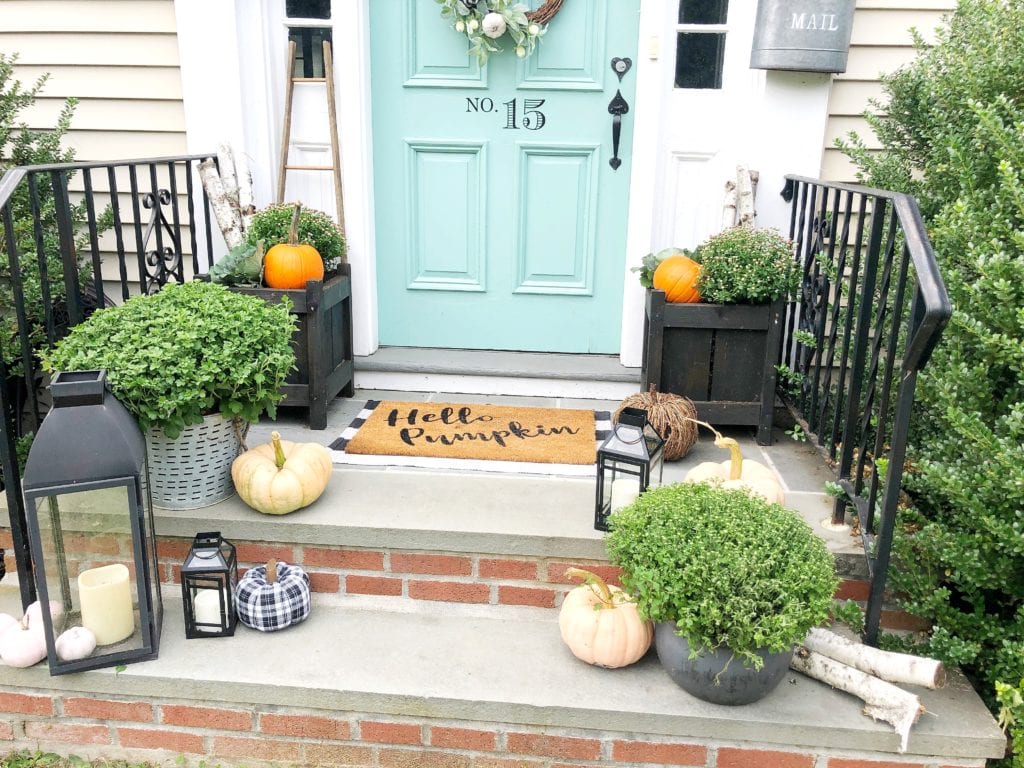
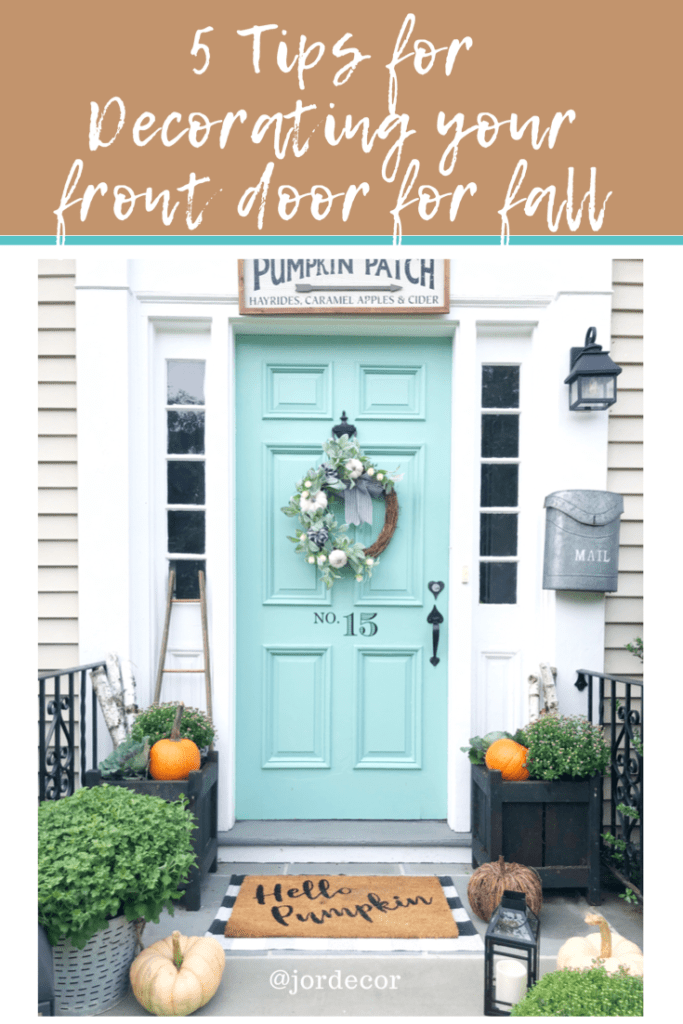
I’m so excited to share my front door with you all for the fall season! Our front door is one my favorite thing about our home. I love that the color which is St. Lucia Teal by Benjamin Moore, adds so much character and a pop of color to the front of our house. I’m going to show you how I decorate our front door for fall as well as what fall produce to add if you have planter boxes. Let me help you make your front door beautiful and ready for fall!
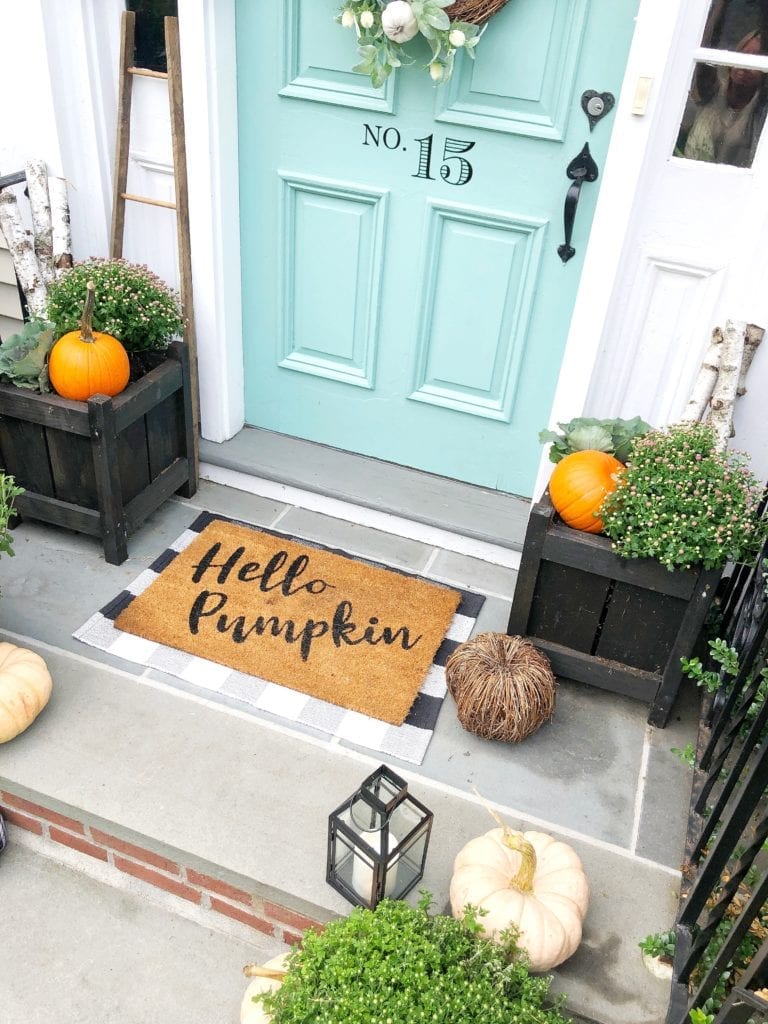
Tip 1: Choose your flower planters wisely!
Look at the space on either side of your door. Be sure to keep that sizing in mind when selecting a flower pot or planter box that will flank your door on either side. You really want to fill that space. Our front stoop is wide so it’s important to find something that fills the space on either side of the door vs. just a tiny little pot with mums. Here I filled our planter boxes with fall produce which Ben built in this post .
Fall Planter Box:
- Medium Size Mums
- Cabbage
- Birch Logs
- Pumpkins to fill other areas
I love making my own fall planter box. However you can find these pre-made at big box hardware stores as well as local nurseries. If you don’t want to deal with planting them all yourself this is a faster more convenient option. Also when purchasing mums I like to purchase ones that haven’t fully bloomed yet. Look for flowers still in their buds and you will get a longer use out of them
Tip 2: Pumpkins
Nothing says fall more on your front porch like Pumpkins. If you purchase them a little early and are nervous about animals getting them, spray them with a little clear Polycrylic spray to keep the insects away. When purchasing your pumpkins for your front door look for a variety of sizes, colors and textures of your pumpkins. Cinderella pumpkins are my favorite for this. Selecting pumpkins for your front door area that are distinct will add so much more interest and style to your set up.
Don’t be afraid to mix real and faux. Its more cost effective to purchase a few faux pumpkins that you love and put those out with a few real ones. I love reusing and that I don’t have to buy as many real ones which does add up.
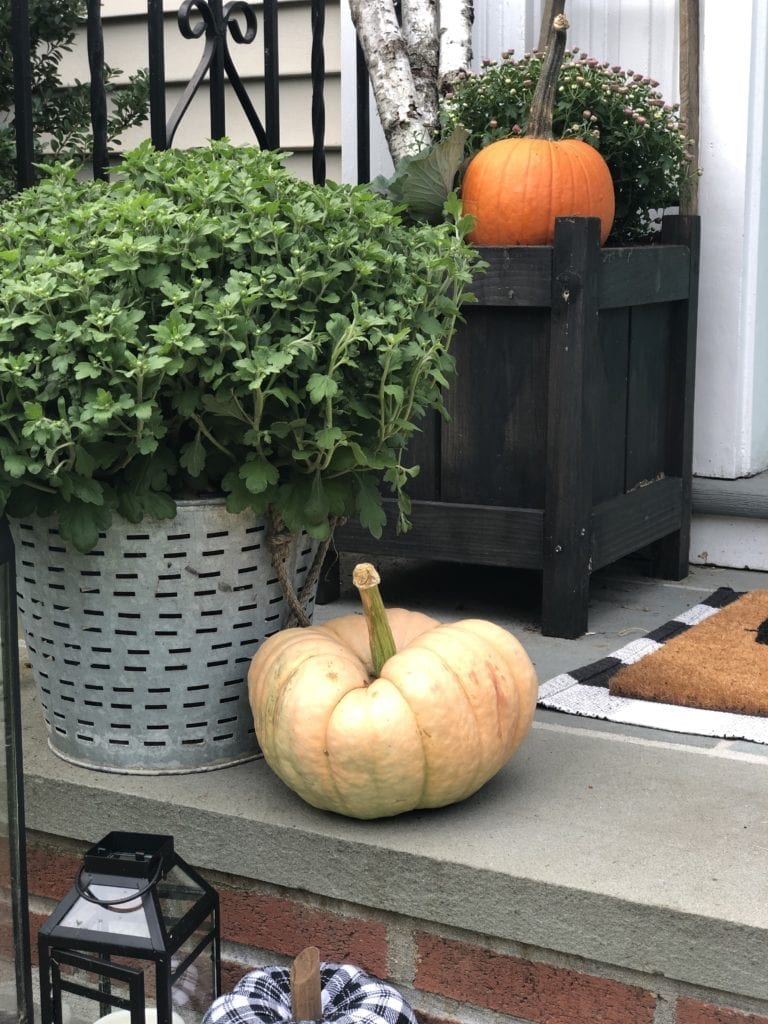
Tip 3: Welcome guests with a fun door mat!
There are so many fun door mat options out there! I love finding one with a cute or funny seasonal saying. Using a base layer underneath the door mat also makes your front door look more inviting and pulled together! I went with a black and white buffalo check theme so I love a base layer that pulls that thematic color.
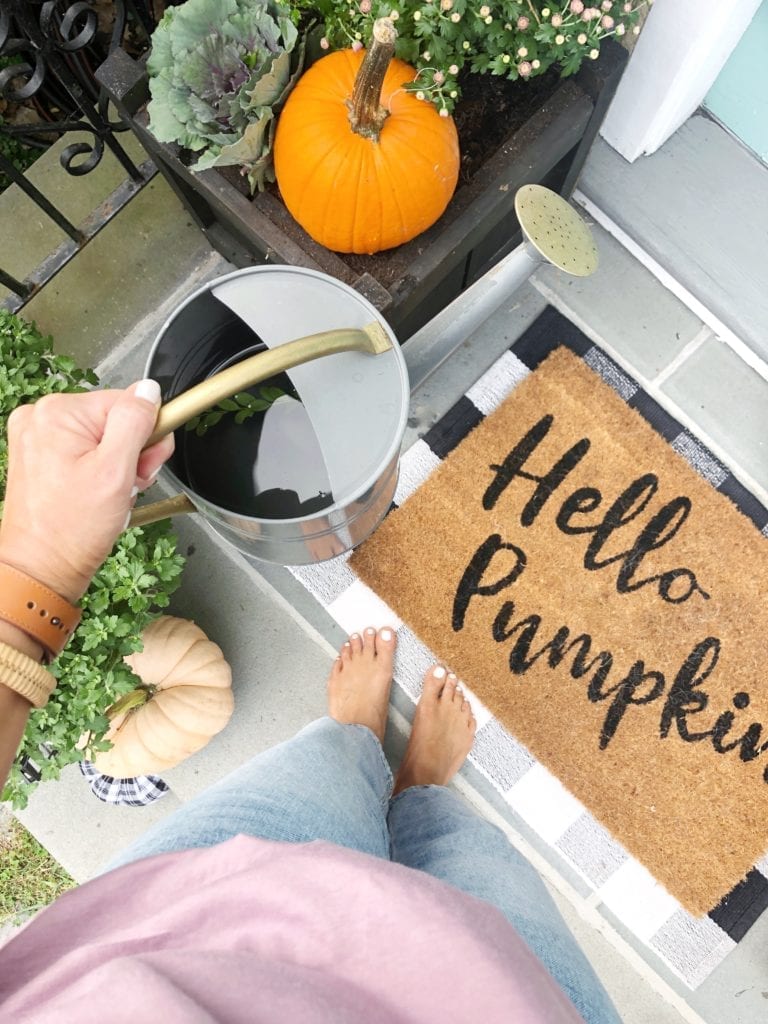
Tip 4: Step it up a notch!
If you have steps leading up to your front door they are screaming for some fall decor and produce! Use your steps to lead your eye up to the front door. They are built in raisers for seasonal decor. I don’t like putting decor on my steps that are perfectly symmetrical. So if the bottom left step has a large lantern the bottom right step will have a large mum and pumpkin. I’ll then reverse it for the next step up. Take advantage of your beautiful steps and get extra mums and pumpkins for them! You’ll thank me later 😉 Just be sure people can still walk up the steps. Our front door gets very minimal use. The only person that really walks up here is our mailman.
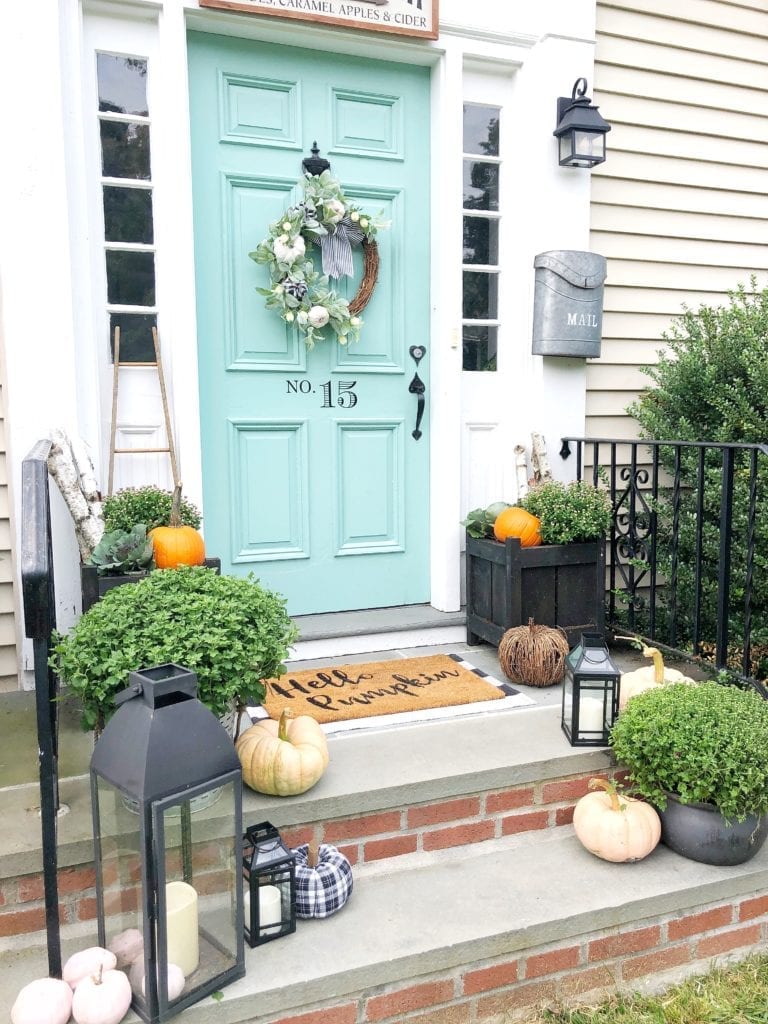
Tip 5: Adorn the door and beyond!
Last but not least is leading the eye up to the door and above. I actually love putting pumpkins above my door but just haven’t found mini pumpkins yet. A beautiful wreath or a little hanging basket with fall florals. Makes the perfect finishing touch for your fall front door. I take it a step further and hanging a sign above the door because we have the open moulding space for it. It just brings more curb appeal and interest to your front door. As you can see we also have our house number on our door with a decal.
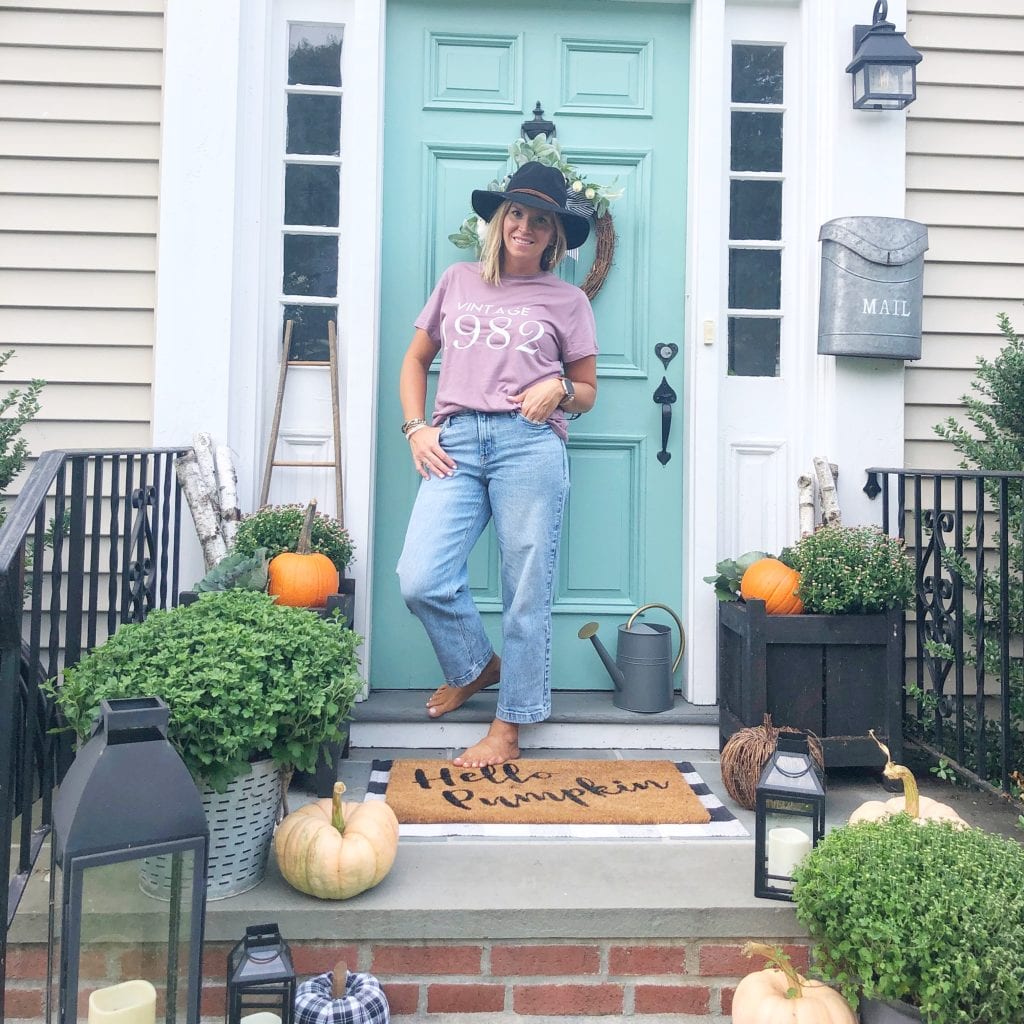
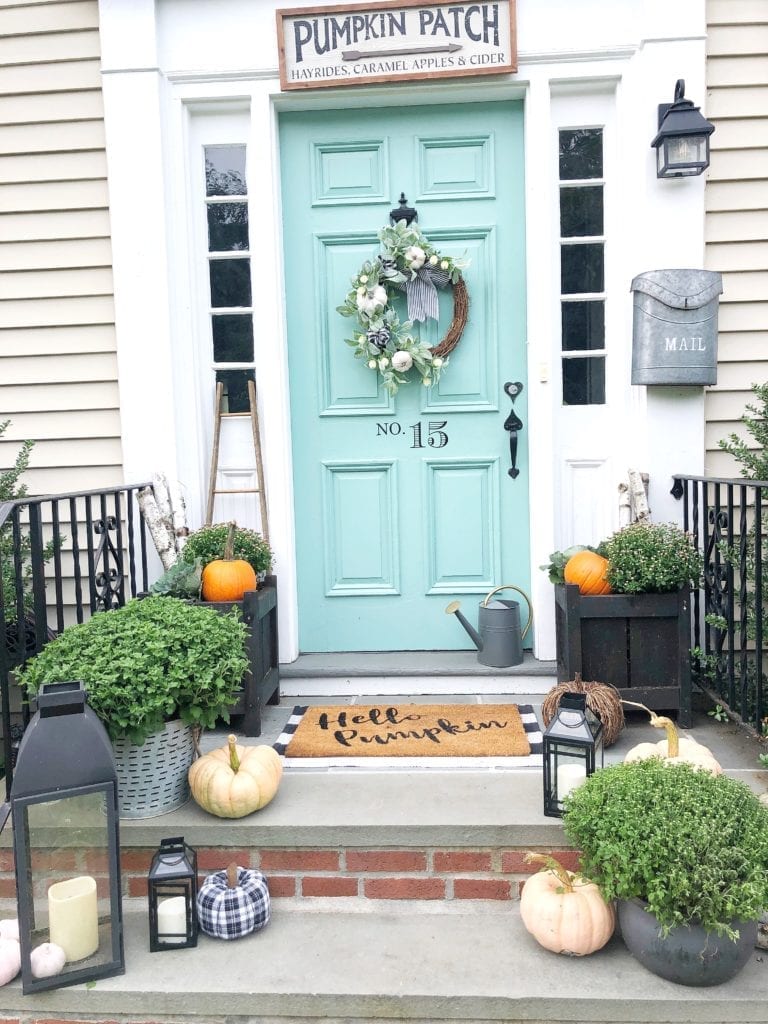
It’s all these extra details that make your home stand out and add interest to your door. I love sharing these details and ideas with you and I hope you find them useful this fall season! We are living in a time where it might not be safe to welcome guests inside our homes. Let’s let the exterior of our home shine this fall season and give those passing by a glimpse into our love for our home and those inside.
Happy Decorating,
Jordan
Shop this post:
Pin for later:
read the full post >
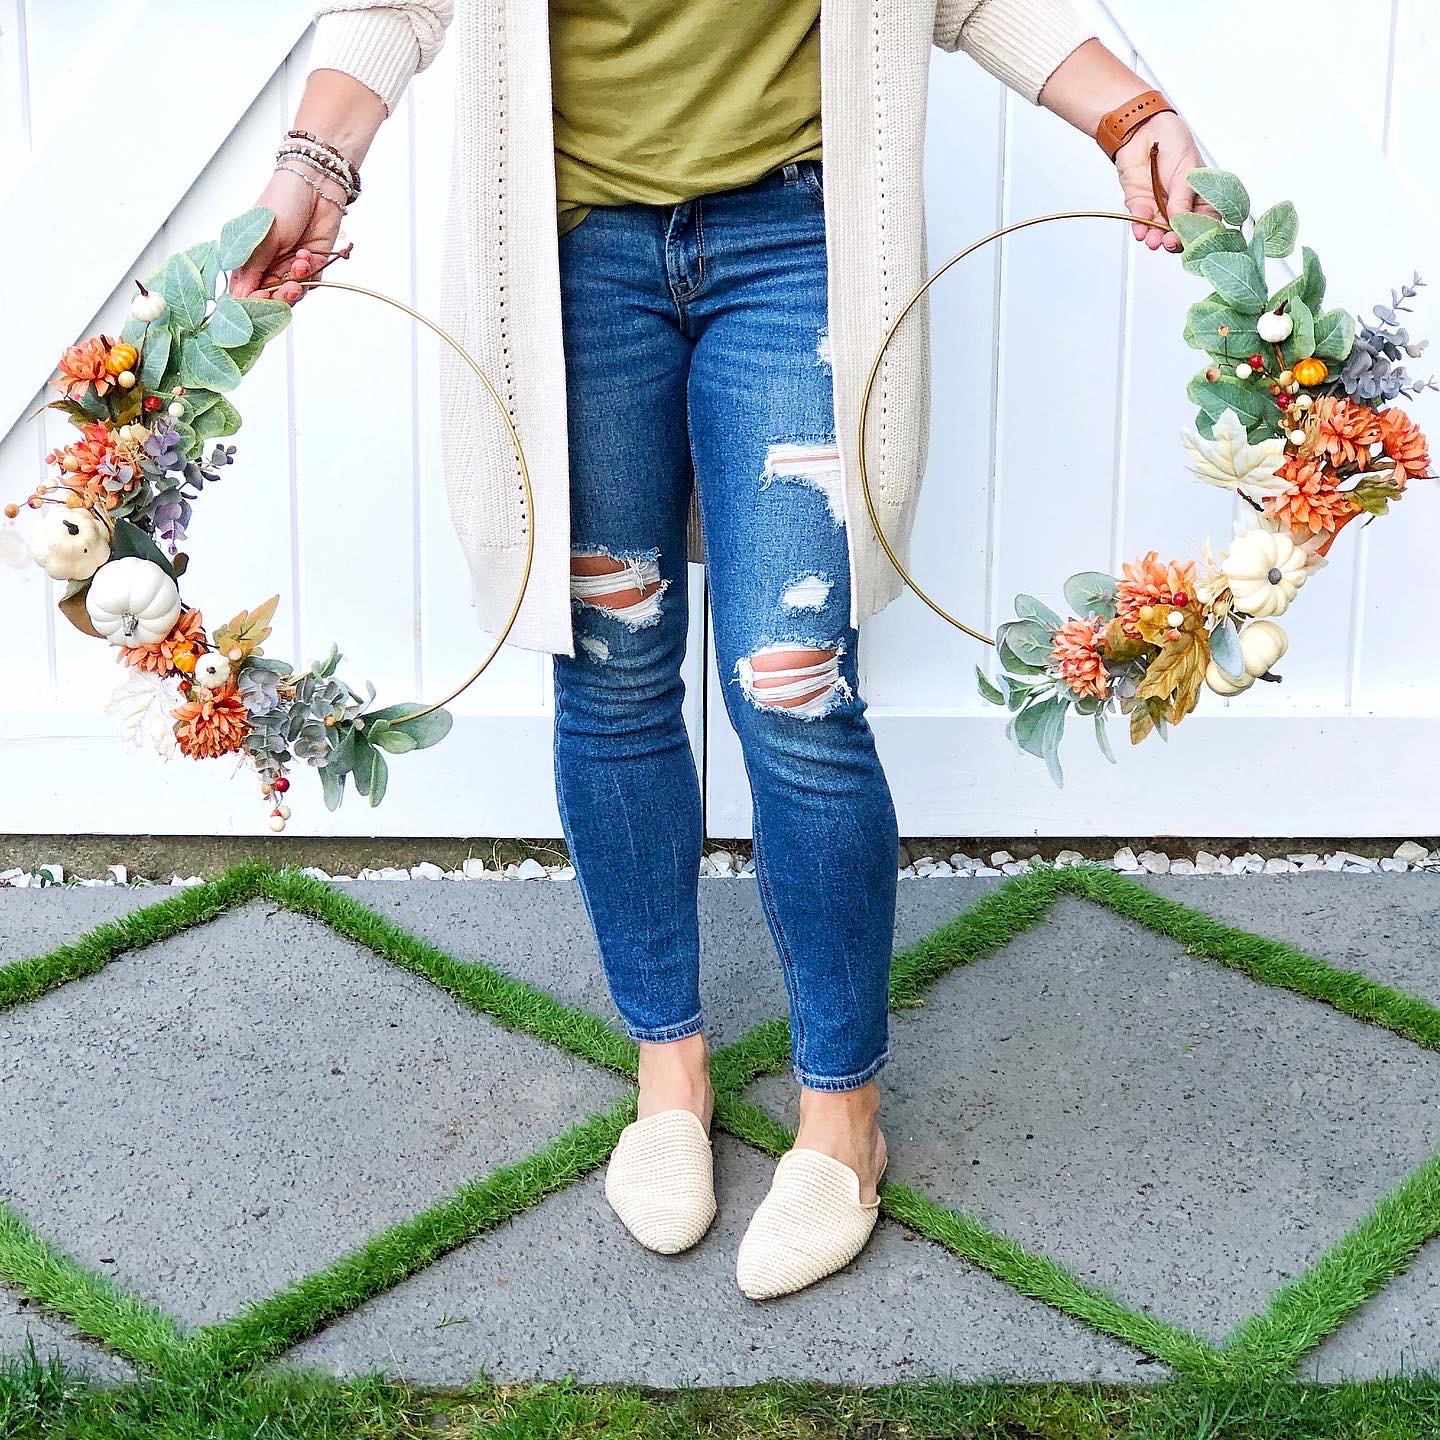
As one season winds down and another begins, I love to get a little craft! One of my favorite decor items to make myself is a wreath. I like that they are fairly easy, can be done in so many different ways and adorn your house to welcome in that new season. Living in New England we definitely have all four, so I love getting inspired by the what the the vibe of the season is and let our home reflect that. I shared these over on my Instagram @Jordecor and everyone loved them so I thought I should share them here too.
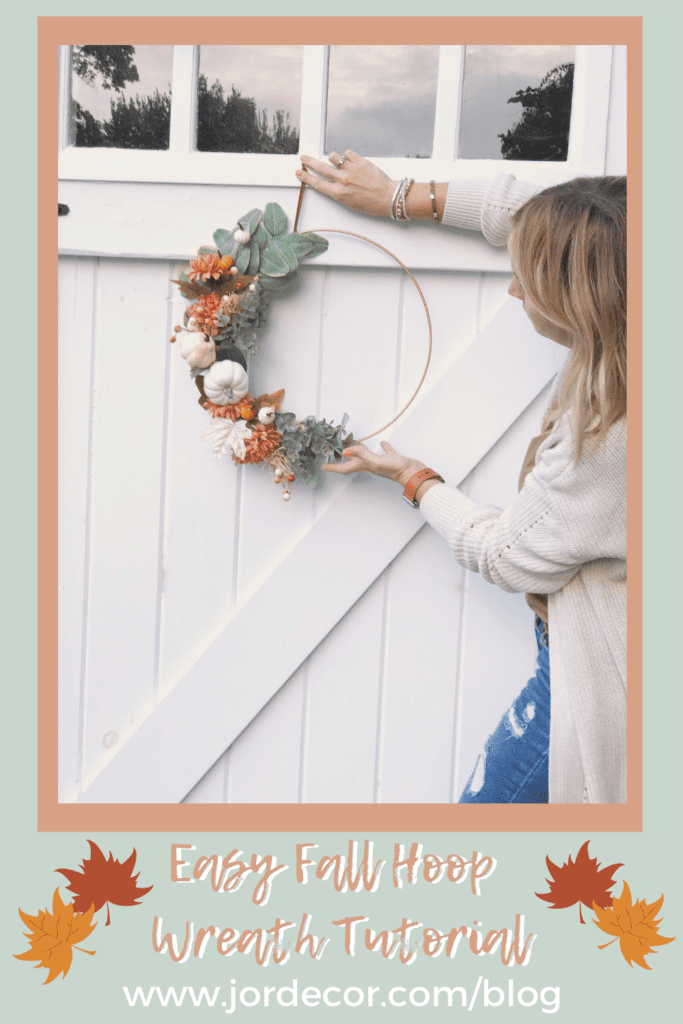
Today I’m going to create a very easy hoop wreath tutorial. I created two simple Fall Hoop Wreaths for our new barn doors. I like that they aren’t too big and bulky. Plus they have a more modern vibe than the grapevine counterpart which is a bit more rustic. Plus they are super easy!!

Fall Hoop Wreath Supplies:
- Hoop Wreaths
- Wire Cutters
- Floral Wire
- Variety of Floral stems/picks
- Fall Garland
- Hot Glue Gun
- Small mini Pumpkins
Supplies:
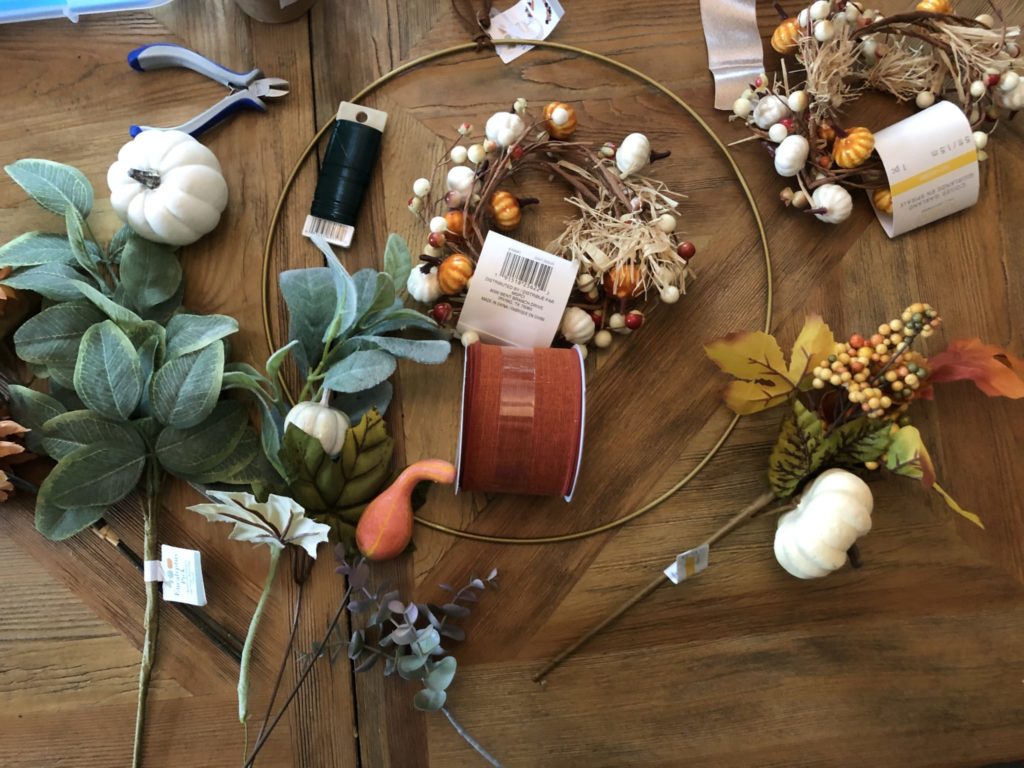
Fall Hoop Steps
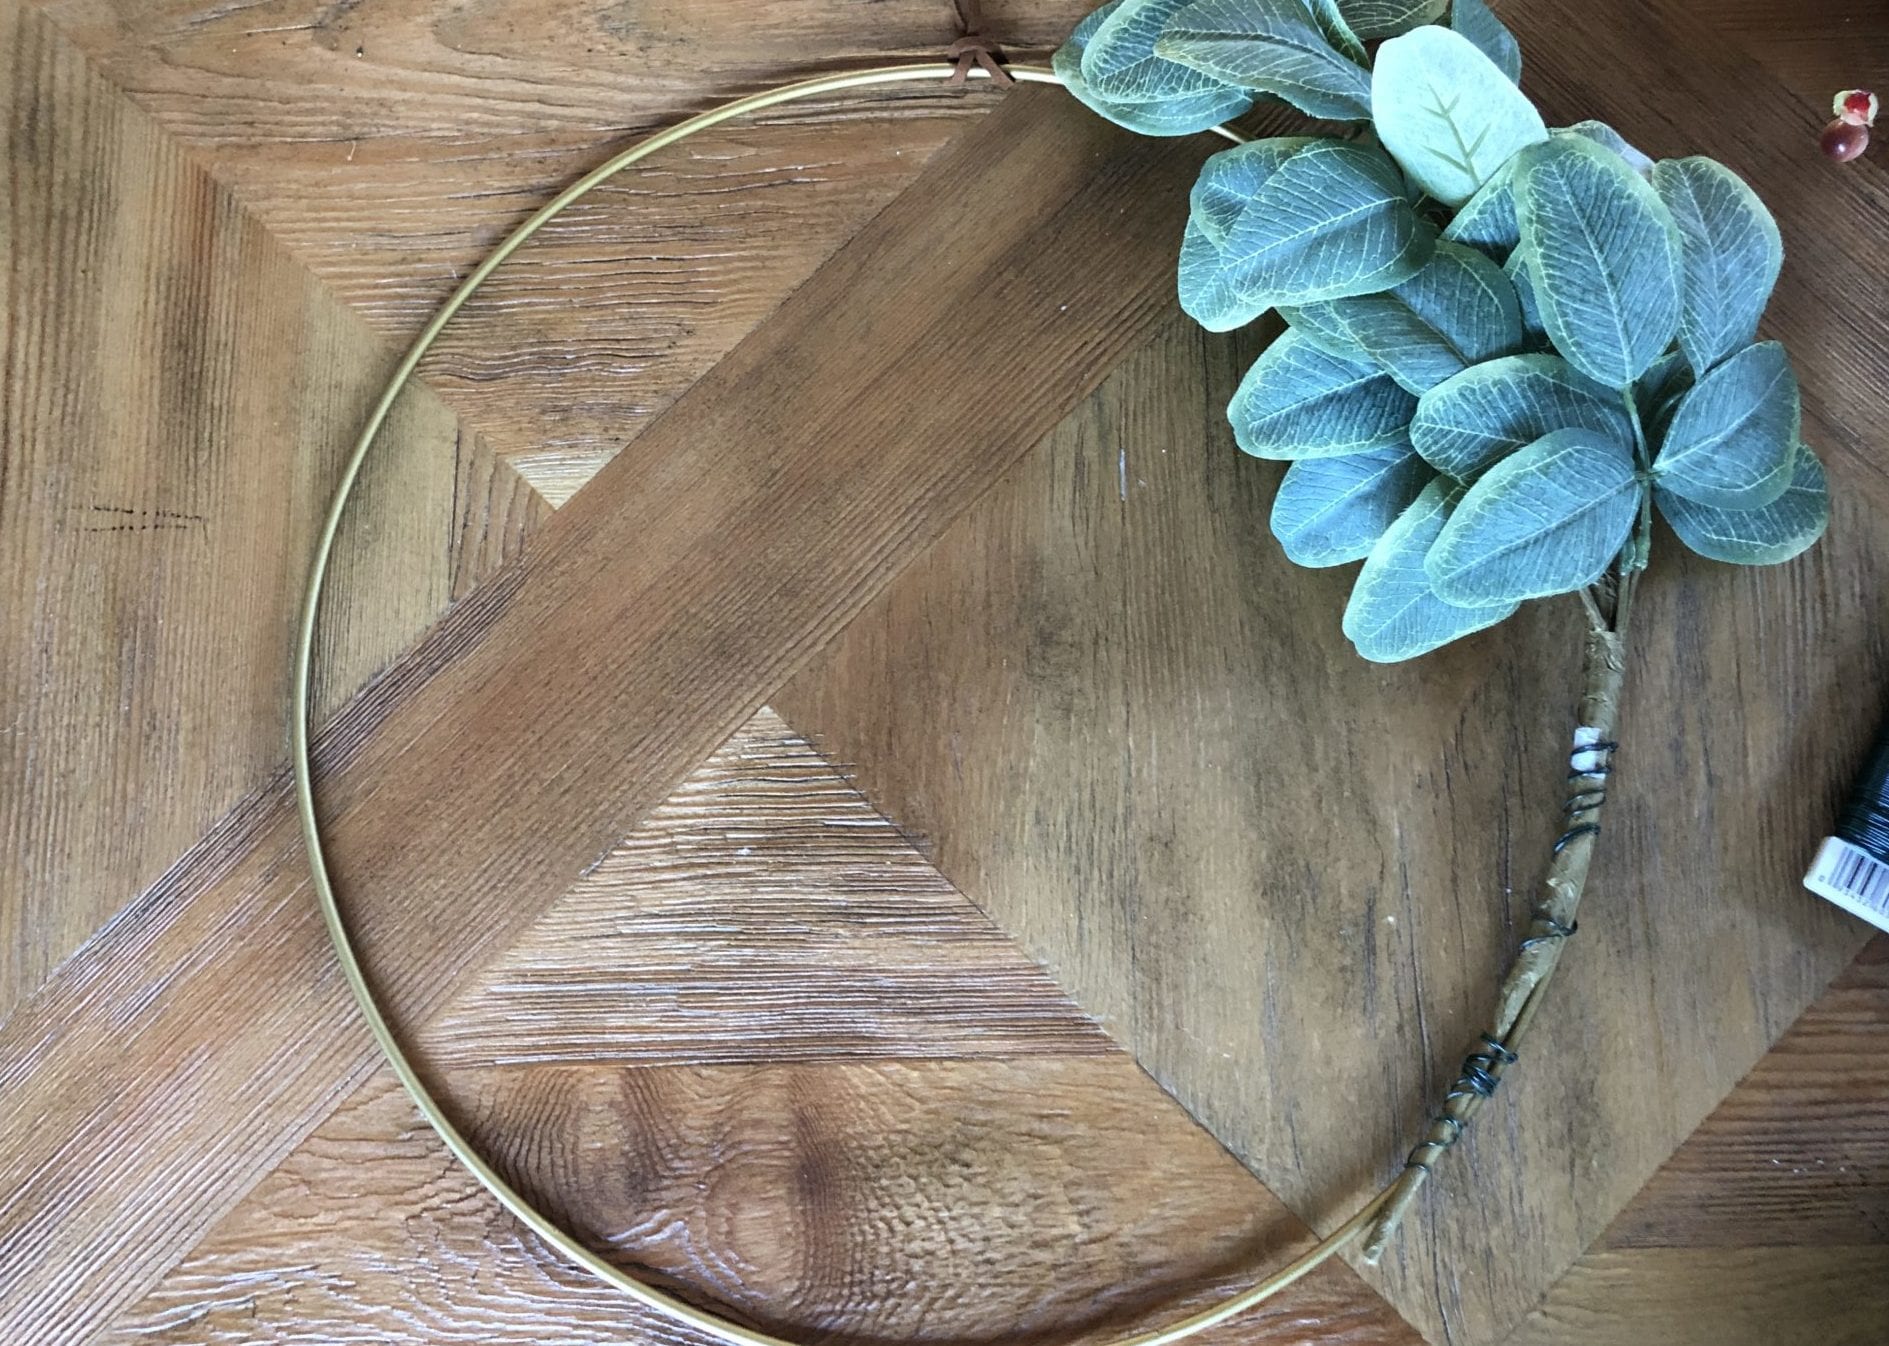
Step 1: Start by adding your larger florals to the side of your hoop wreath. You will attach the stems by wrapping the floral wire tightly at the base of floral pick. I added my leaf-y picks first and was sure to leave a little space in between to add more florals, pumpkins, etc… in between them. Be sure to curve the stem around the hoop so it goes in the direction of the circle. Your wire cutters make it easy to trim florals of the larger stems and also to trim the wire if you need smaller pieces.
Step 2; Add in other florals in your color scheme. I found these peachy-orange mums at Target Dollar Spot and I loved the faded orange look to them. I overlapped the head of the floral over the leaf stems so they fill in the spaces.
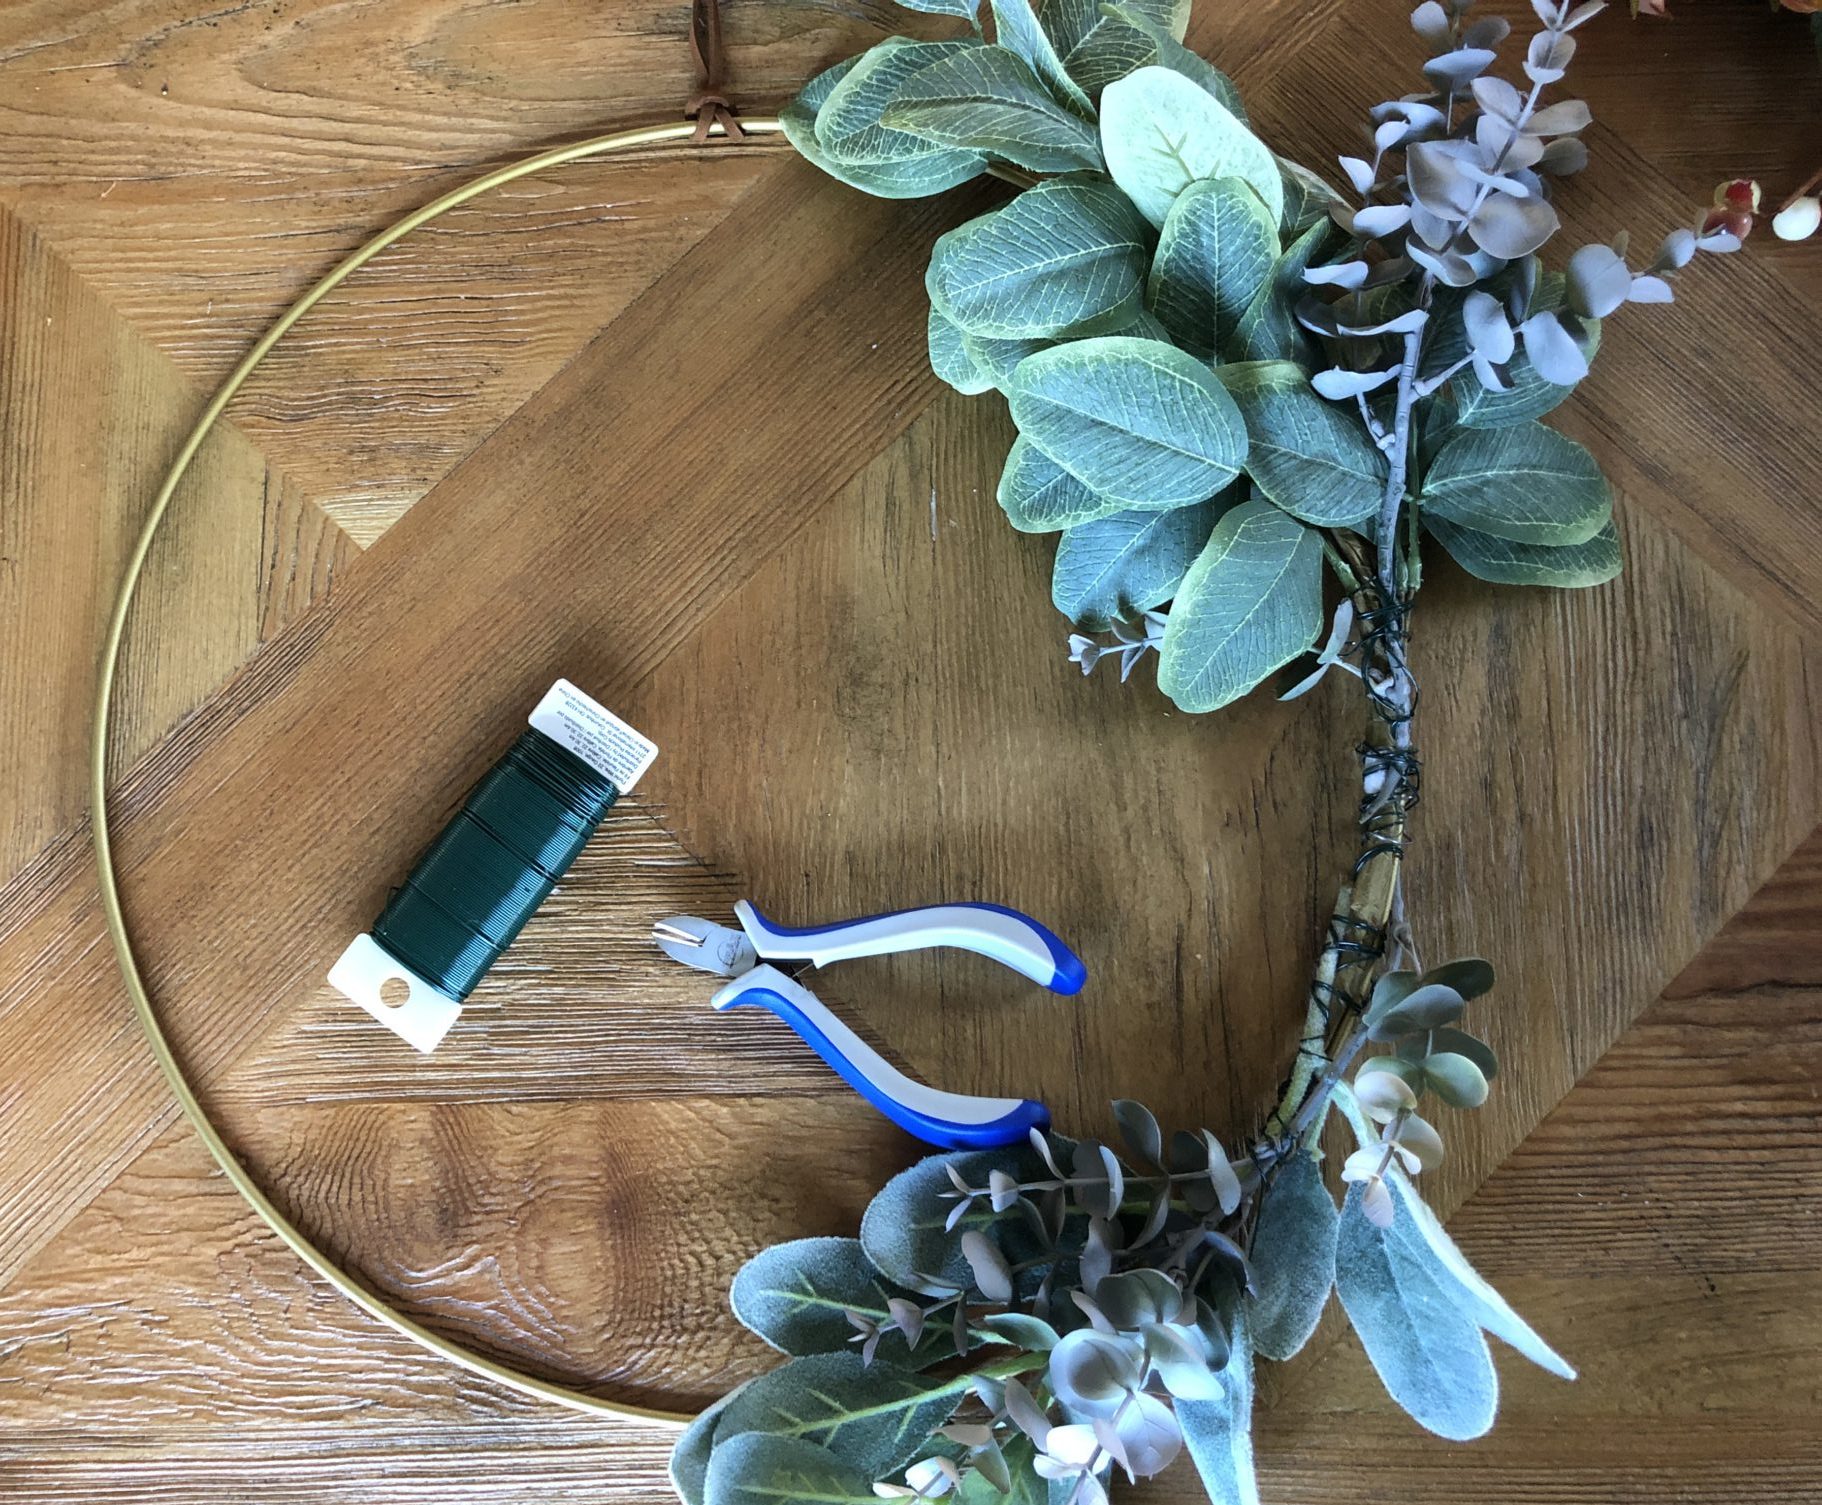
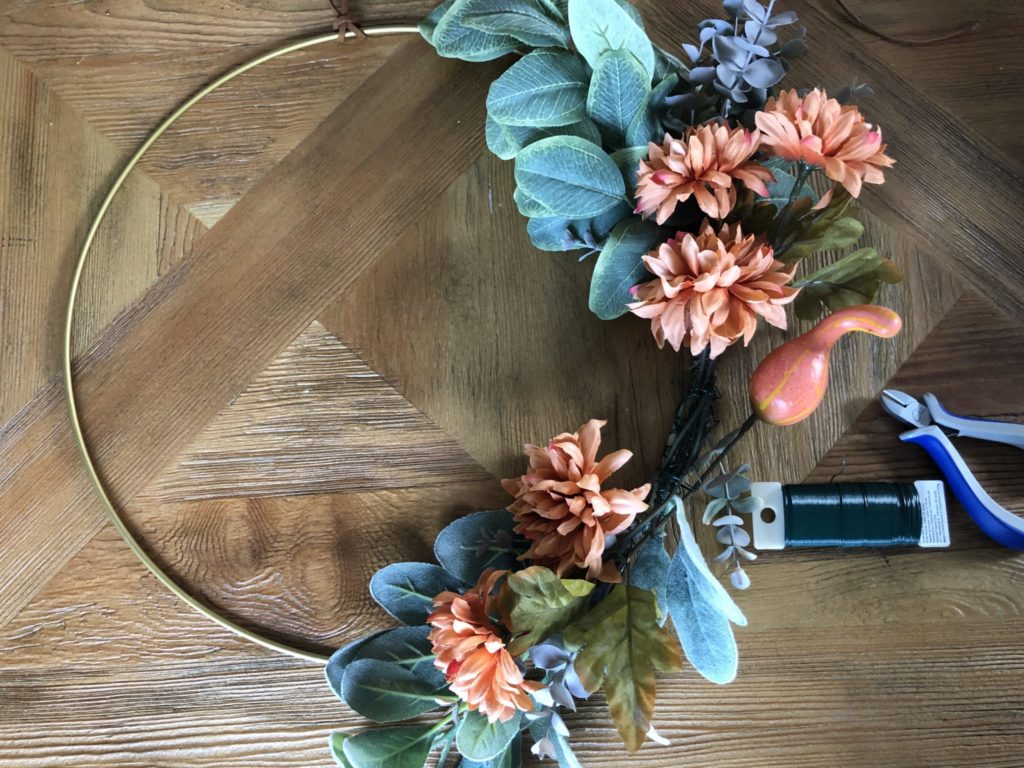
Step 3: As I continue to layer different textures leaf and floral stems around the wreath I’m working my way towards filling the center area or gap that I’ve created. So I’ll now start to use some faux pumpkins, squash, artichoke or other fall inspired produce. If there isn’t a wire you can attach to the hoop then get your hot glue gun powered up and apply hot glue to attach some of these items.
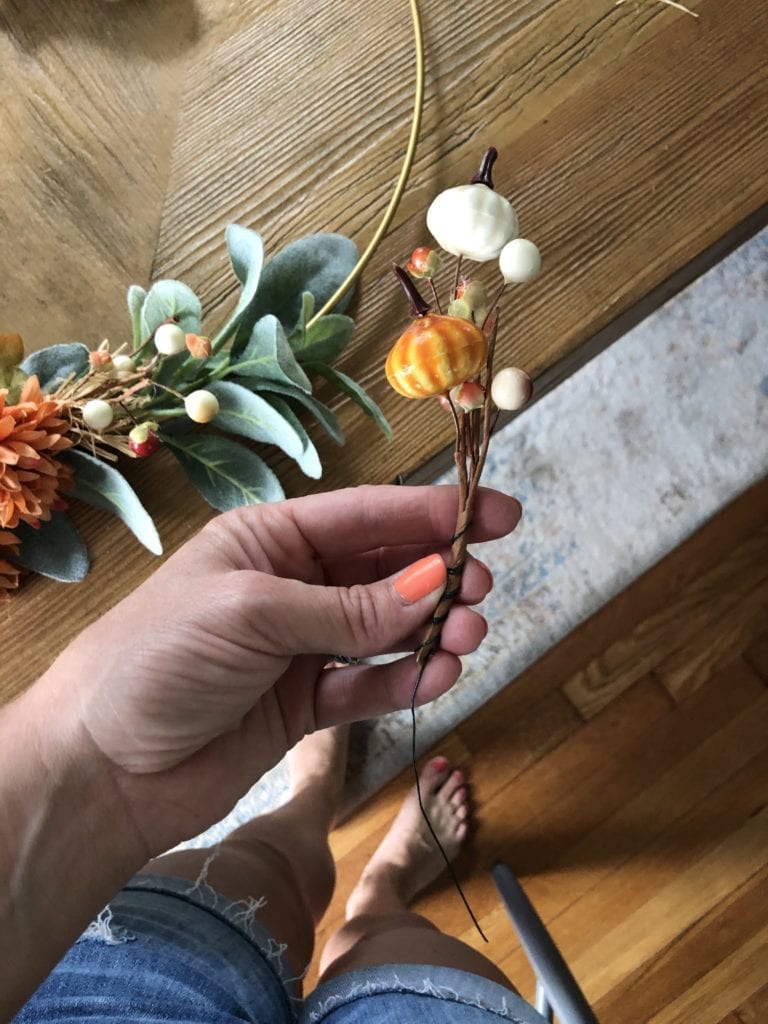
Step 4: I cut up a garland that had berries and cute little pumpkins with straw and attached some floral wire at the base so that I could pop these in between some of the leaves and florals just to add more texture and interest to the hoop wreath. Here you can see how they look on our barn doors.
Finished Fall Hoop Wreath:
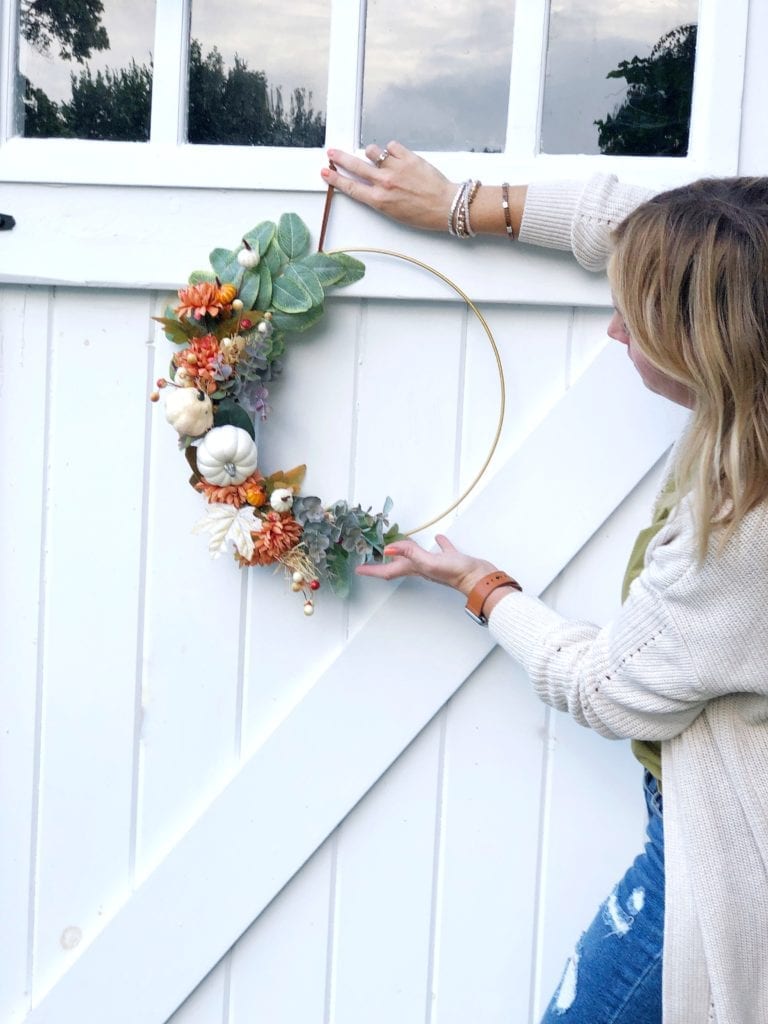
I tried two different methods to hanging these. The first is the little leather strap or small ribbon, underneath the window and then below here you can see I used a thicker ribbon and placed it over the door, hanging in front of the barn window. I’m not sure which I like better but I do love these modern looking wreaths. 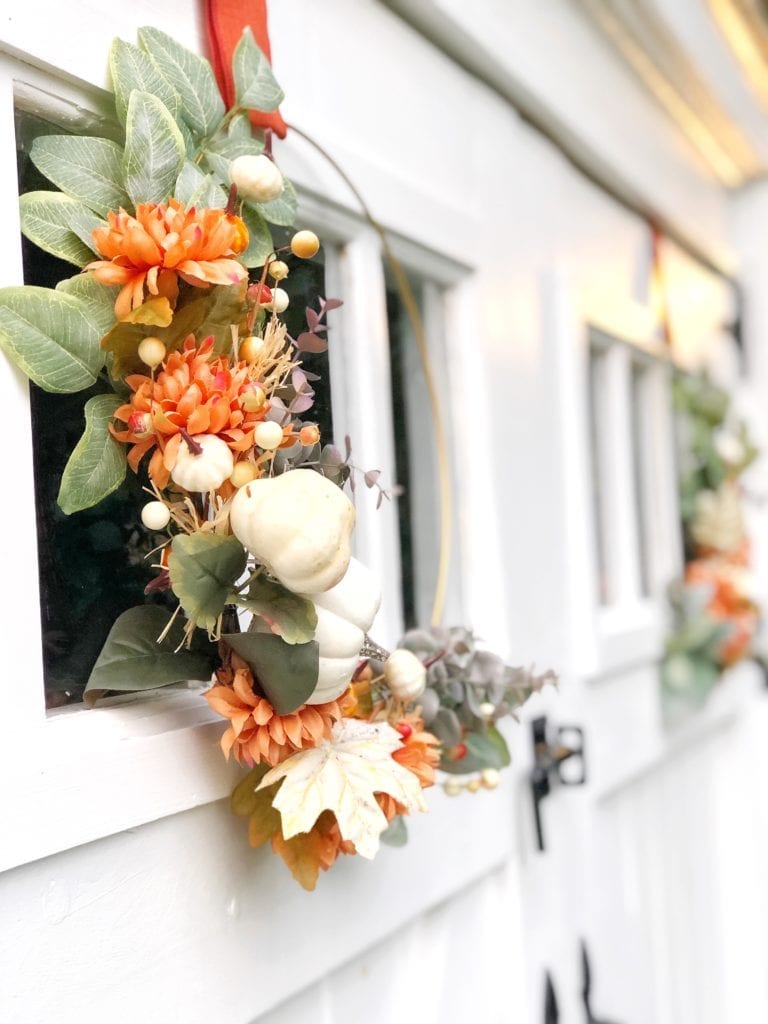
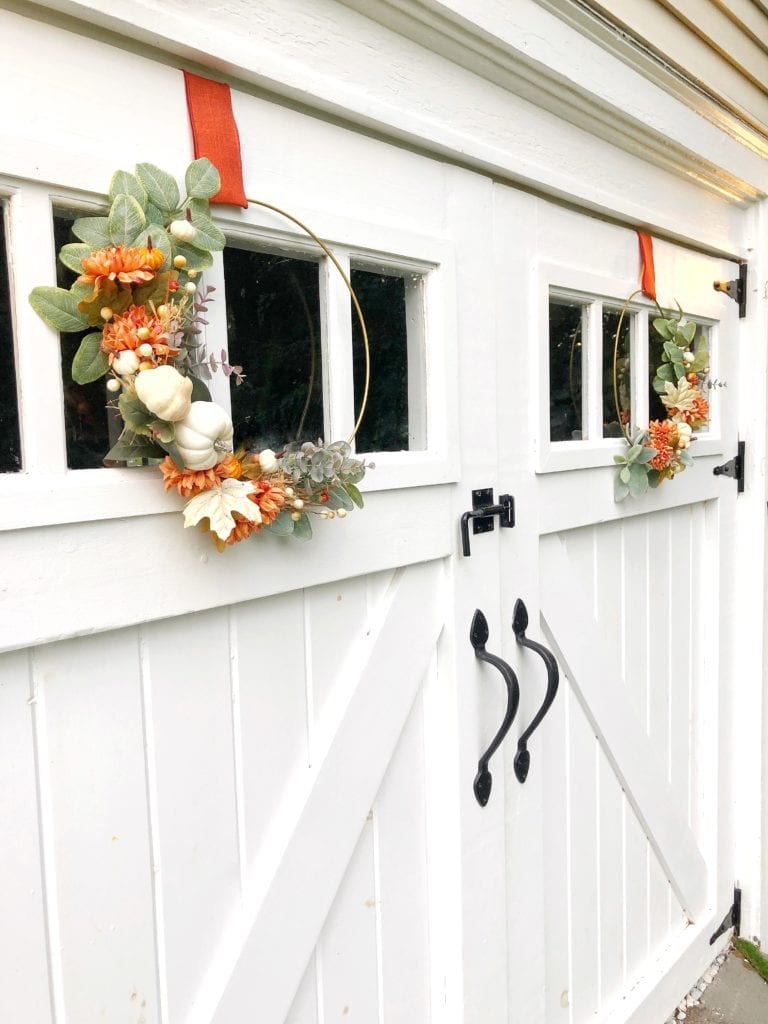
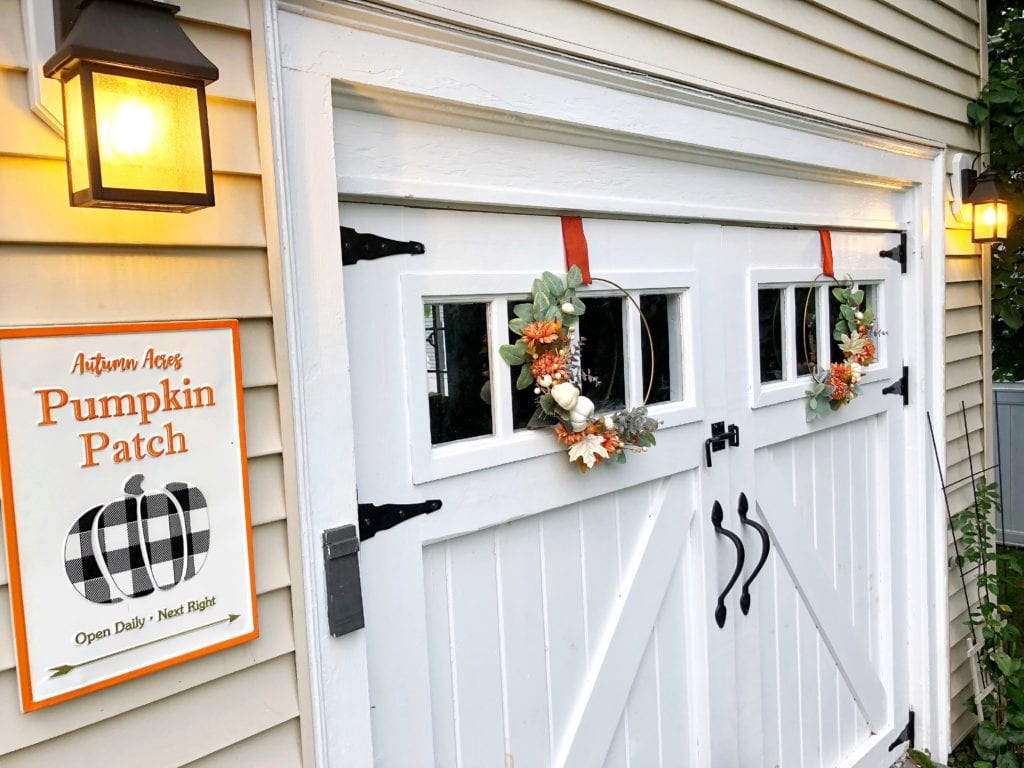
I sure do hope you give these a try! They are so easy and really pretty for any interior or exterior door. You can even get creative with hanging them on other areas of your home too, in front of a mirror or window would be cool too. Let me know if you create them and I’d love to see!! Please share on social media and tag me!
Happy Decorating!
Jordan
Shop this Post:
Pin for Later:
read the full post >
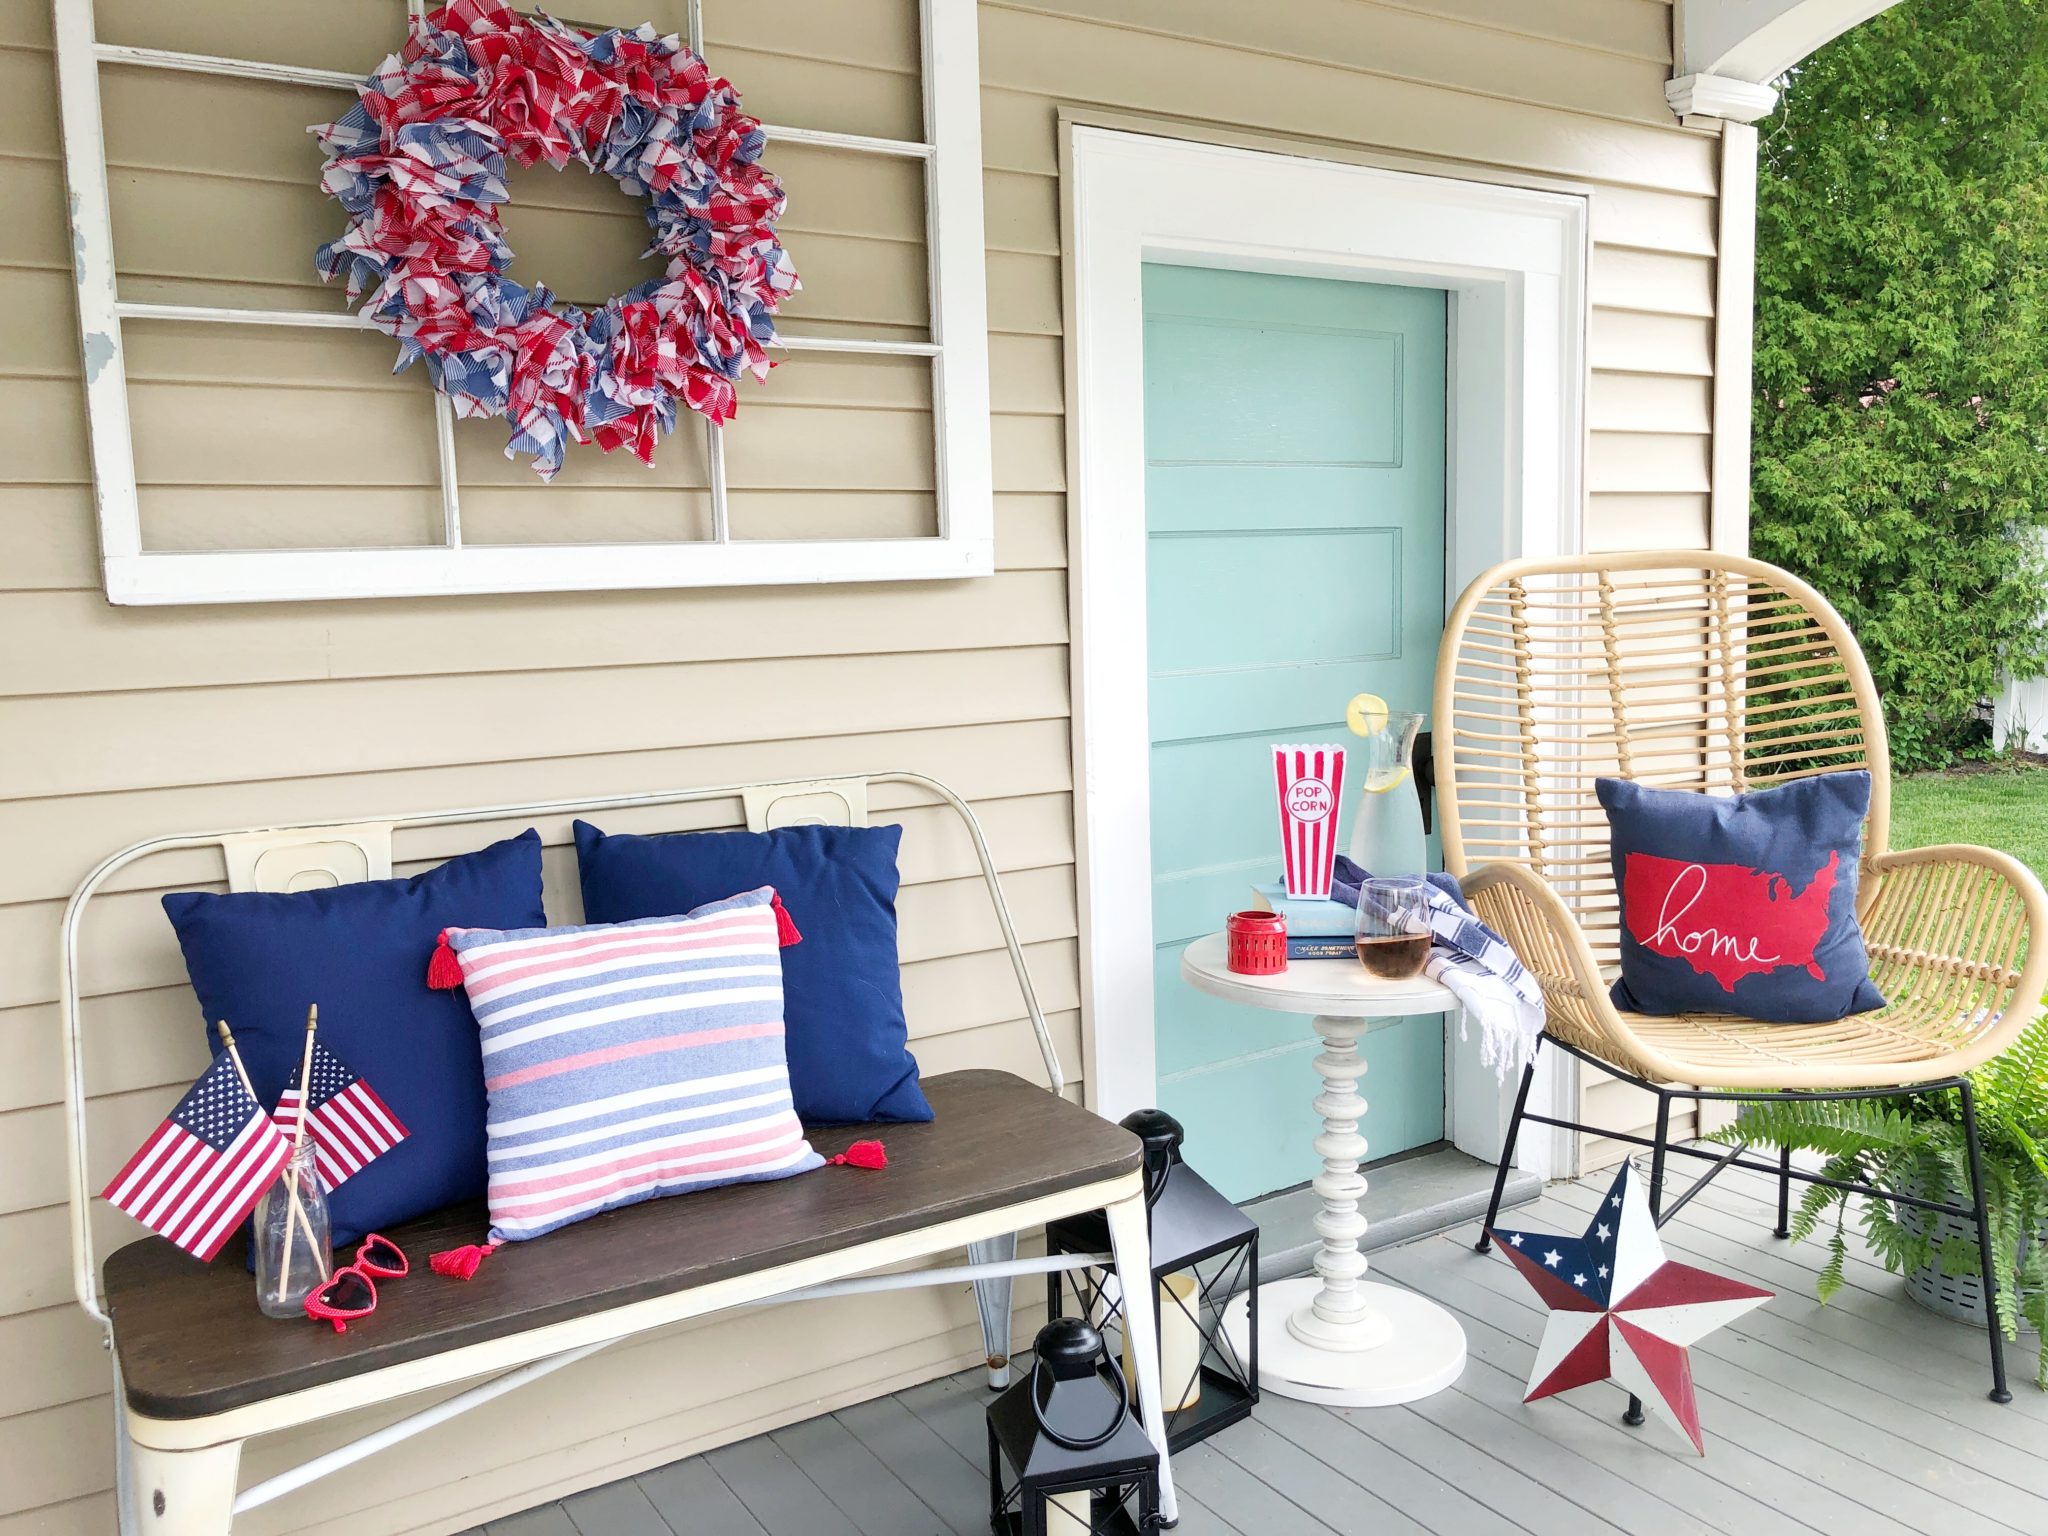
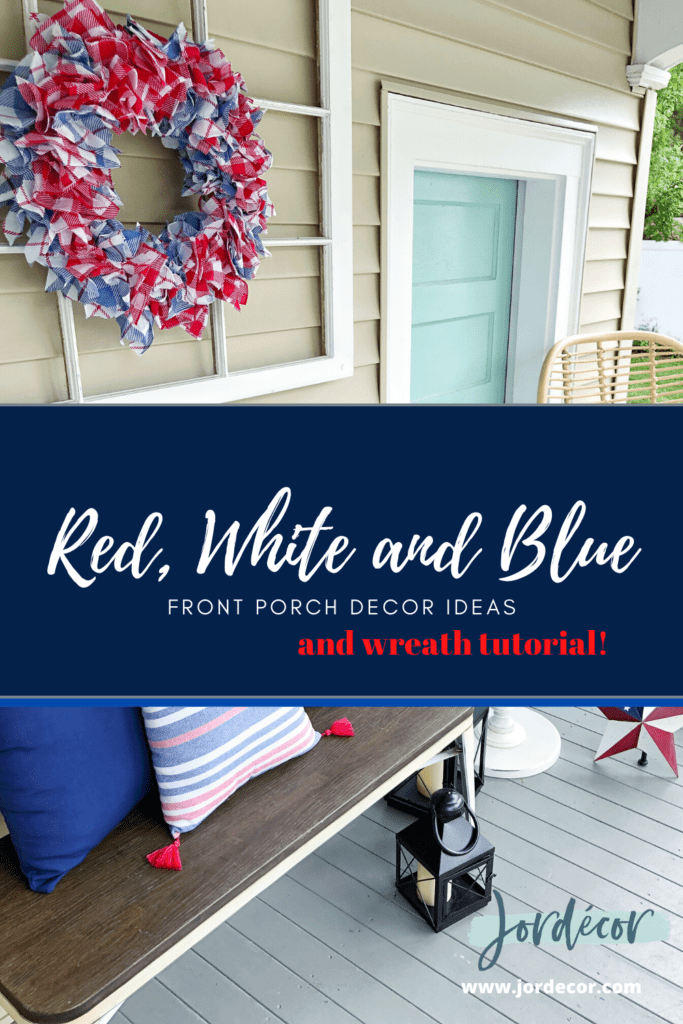
Today I’m sharing some ideas for decorating your front porch or patio for the 4th of July! I love decorating for the seasons it’s a fun creative outlet. I also enjoy seeing how the looks I create change from year to year. It usually only takes maybe one new item and a couple DIY’s and I have a unique look. Head over to @jordecor for more decor ideas!
Let’s start with this cute 4th of July handkerchief wreath. I found the handkerchiefs at the Target dollar section. This wreath was so easy and inexpensive to make! I used a pool noodle as a base which is in the outdoor section at Target and is less than $5. I duct taped the pool noodle together. Then I cut my handkerchief into squares and used a hot glue gun to gather/bunch them in the center and then glued them all around the tube with hot glue. I found that gluing three at a time one on top, one in the middle and one the bottom, then working my way around the tube made for a great pattern.
Here is how the wreath looks with the rest of my 4th of July decor! I love using this old window frames as a backdrop for my wreaths and my porch decor otherwise this wreath wouldn’t have the same impact here. The pillows I had from previous years and they are from Target Dollar spot.
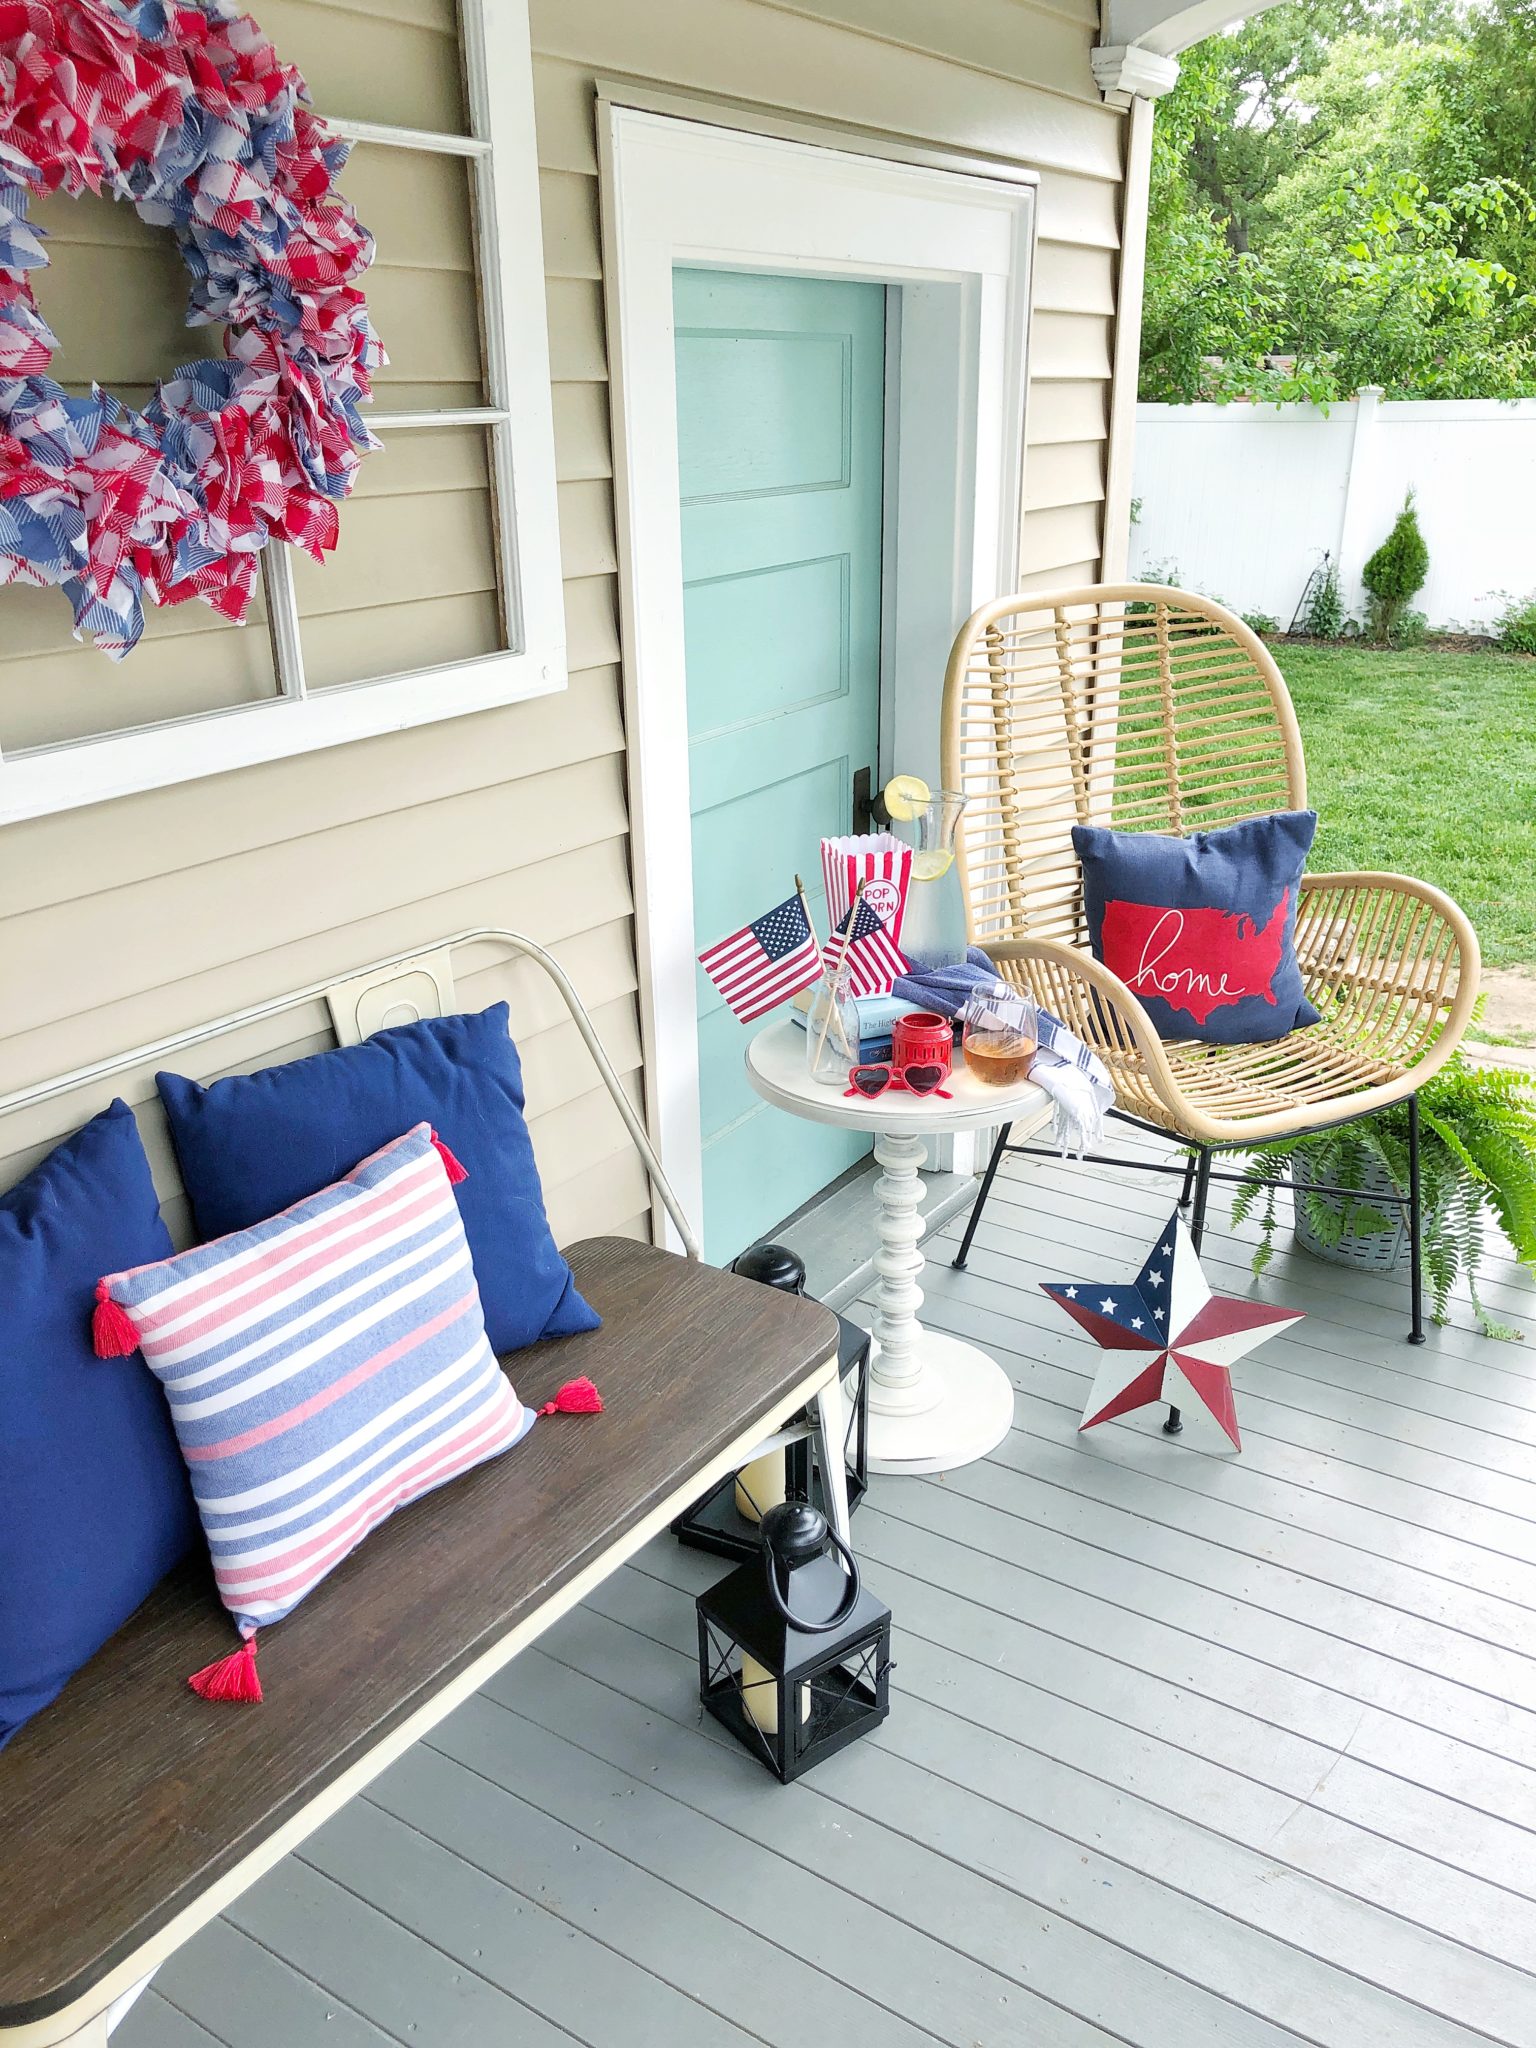
This year I decided to add this chair and side table that was previously in our bedroom. It’s more of an outdoor chair that’s no longer sold from Target. However, if you are looking for something similar for your porch I love THIS set. I’m always moving this chair around the house, quite frequently. I love it out here on the porch and actually it has been a really comfy spot to have my morning coffee in the rain or if it’s too hot for the patio!
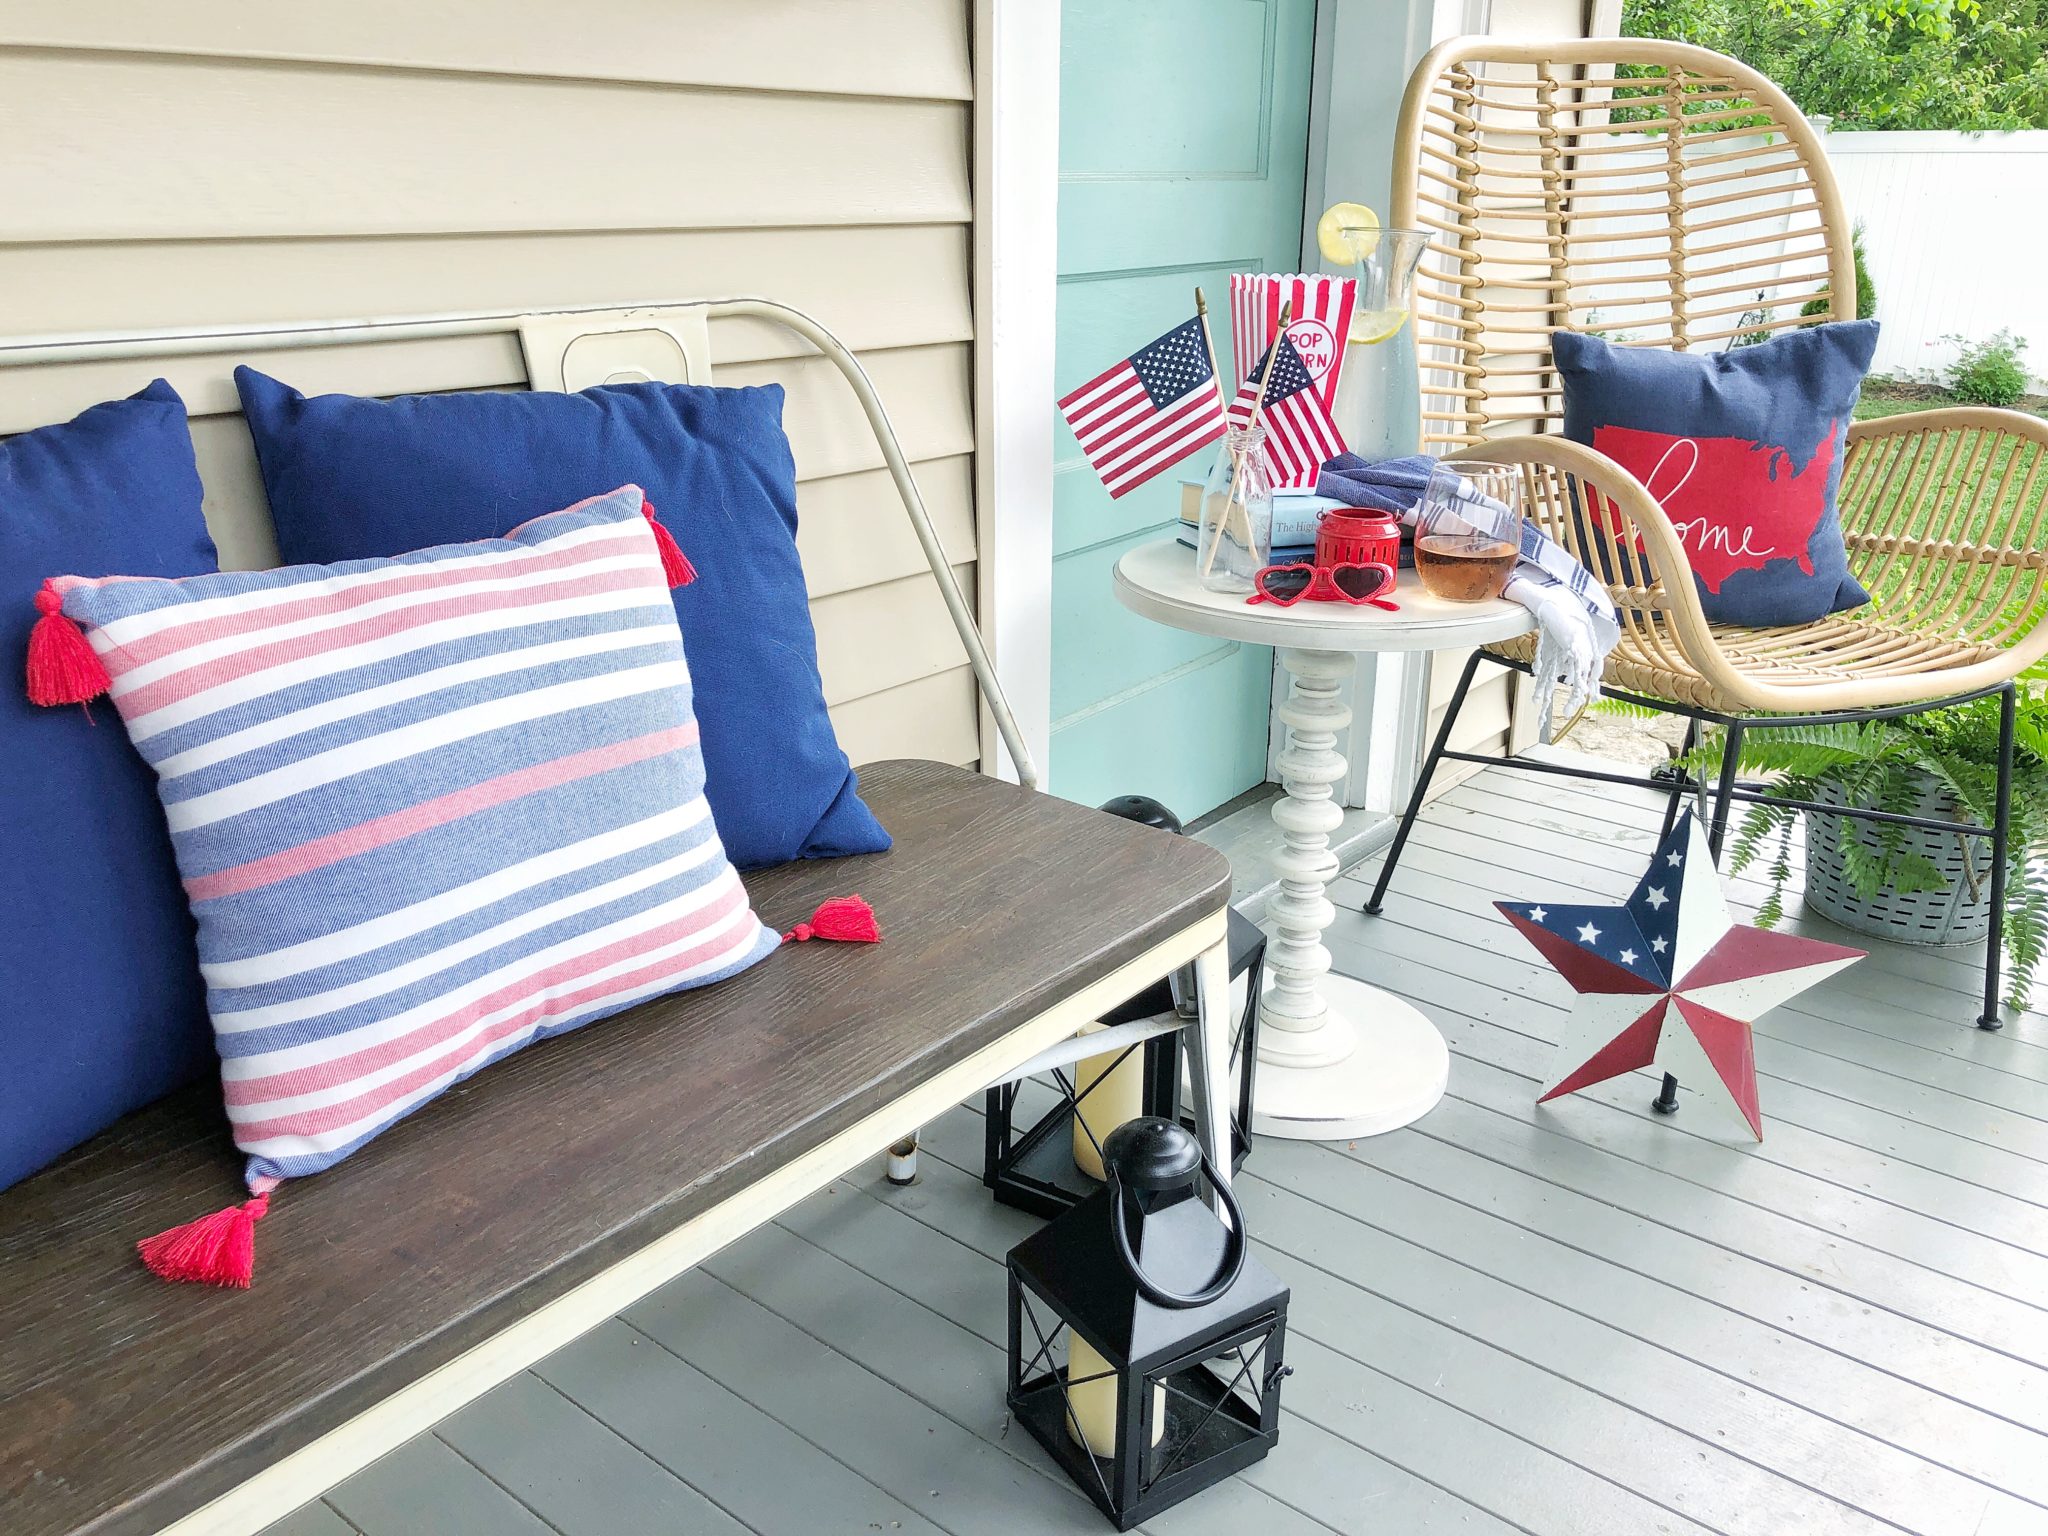
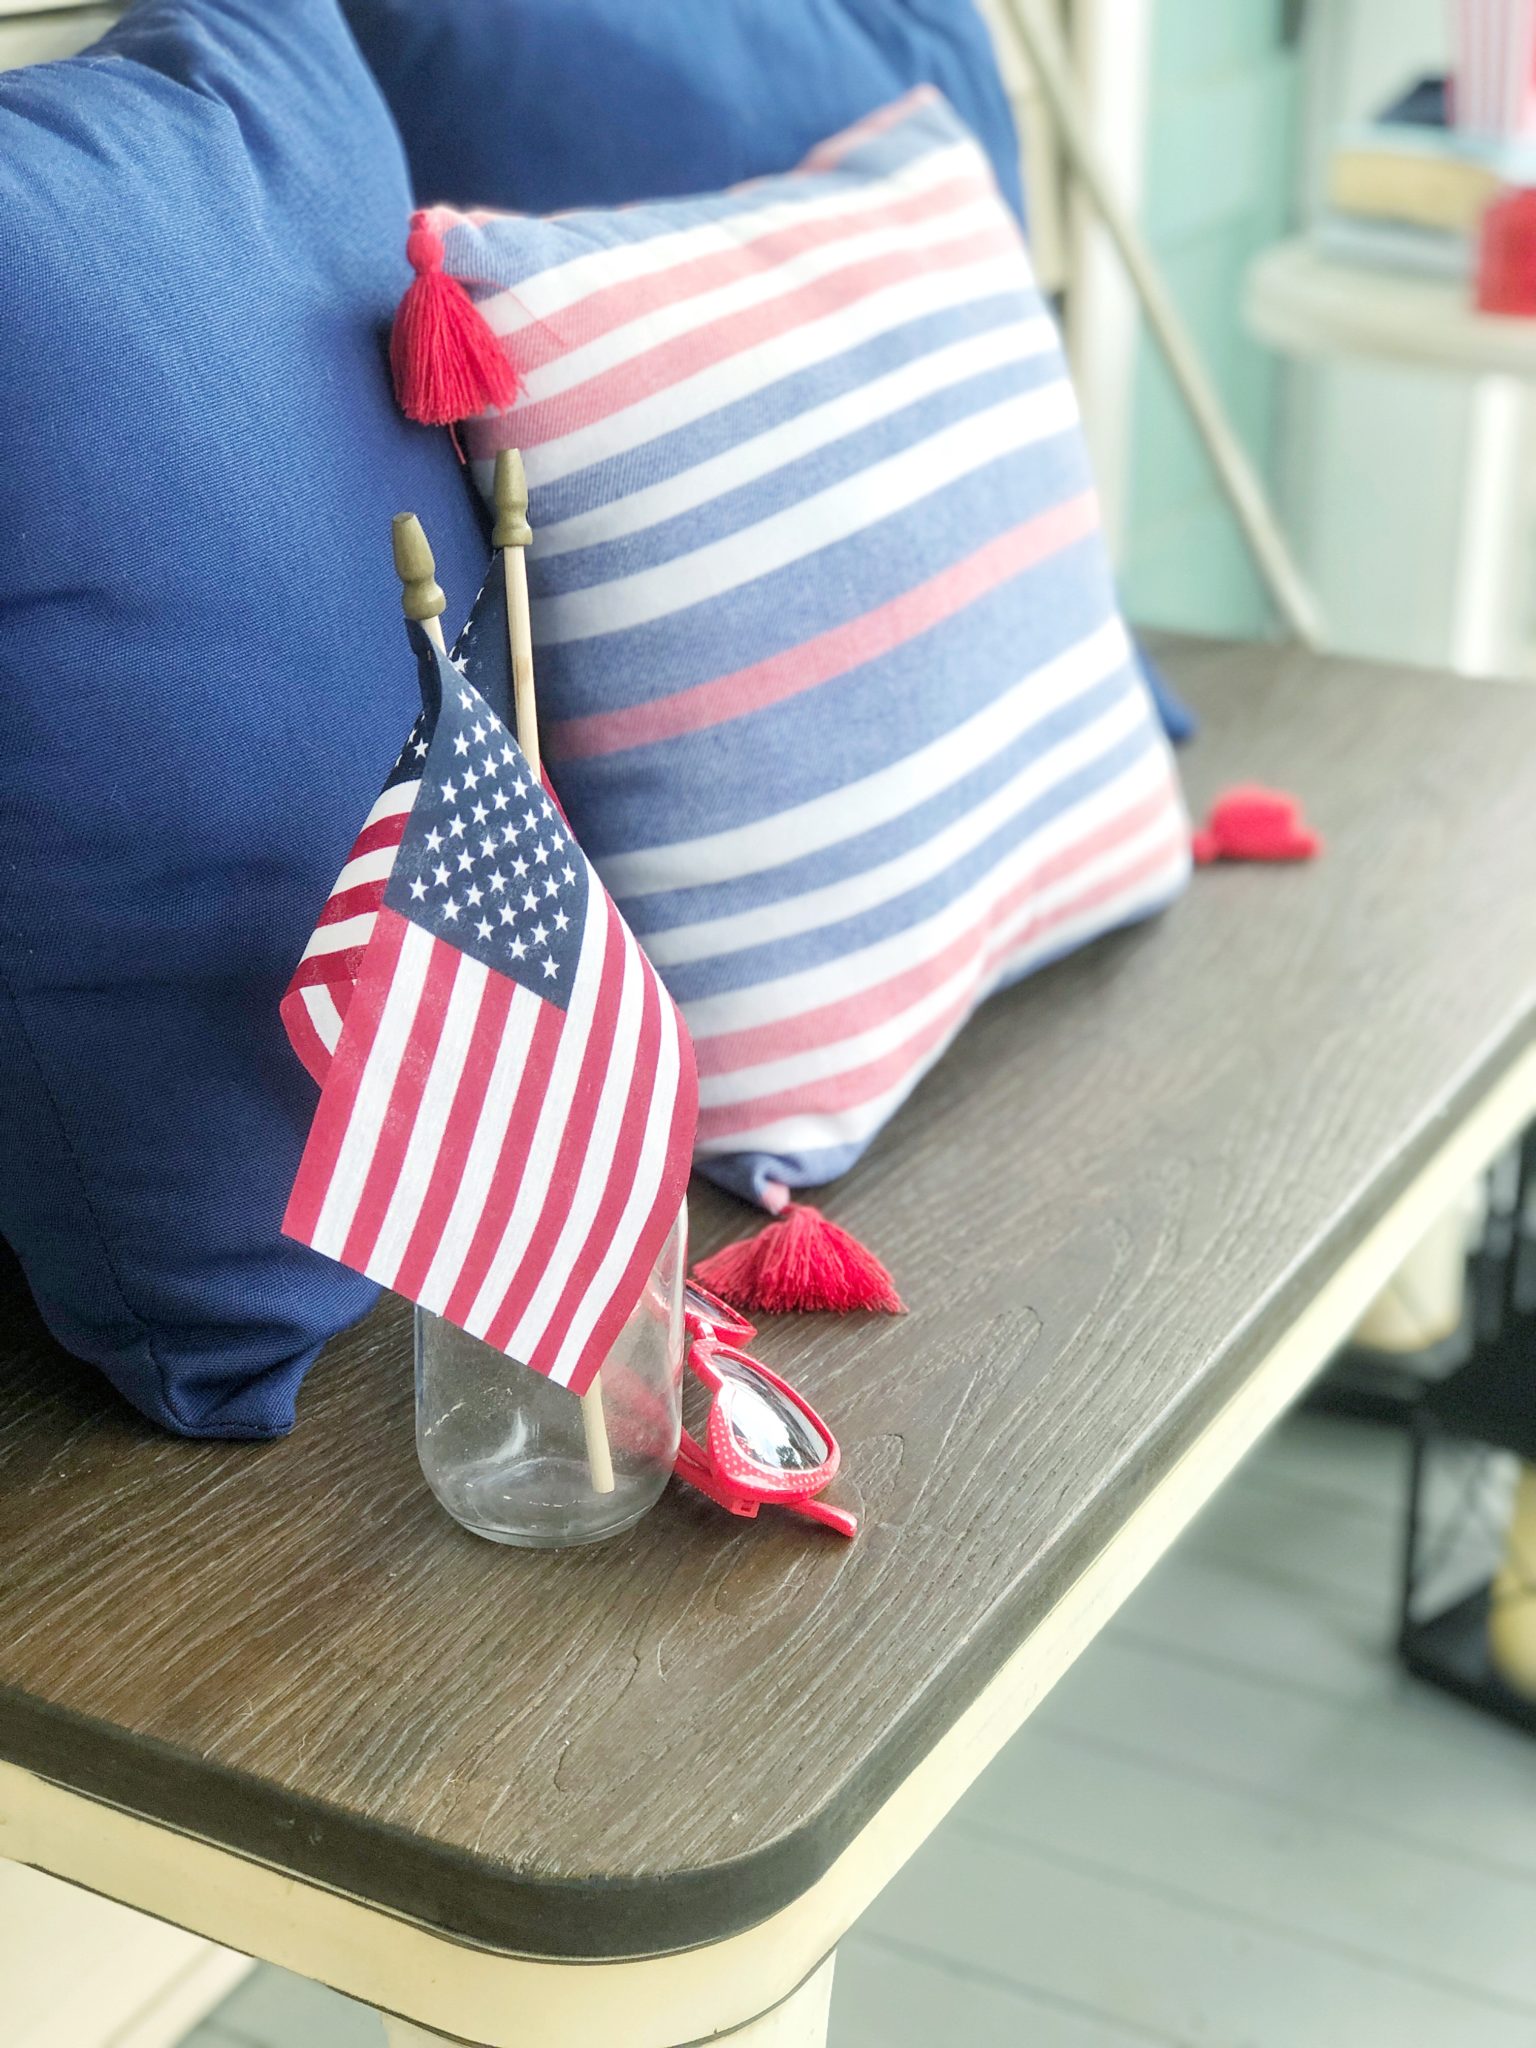
I added some fun pops of navy and of course red to tie in with the wreath. A few flags in a milk jar add that patriotic flair. I love the nostalgia of the milk jar and the popcorn containers they make great 4th of July decor/accessories.

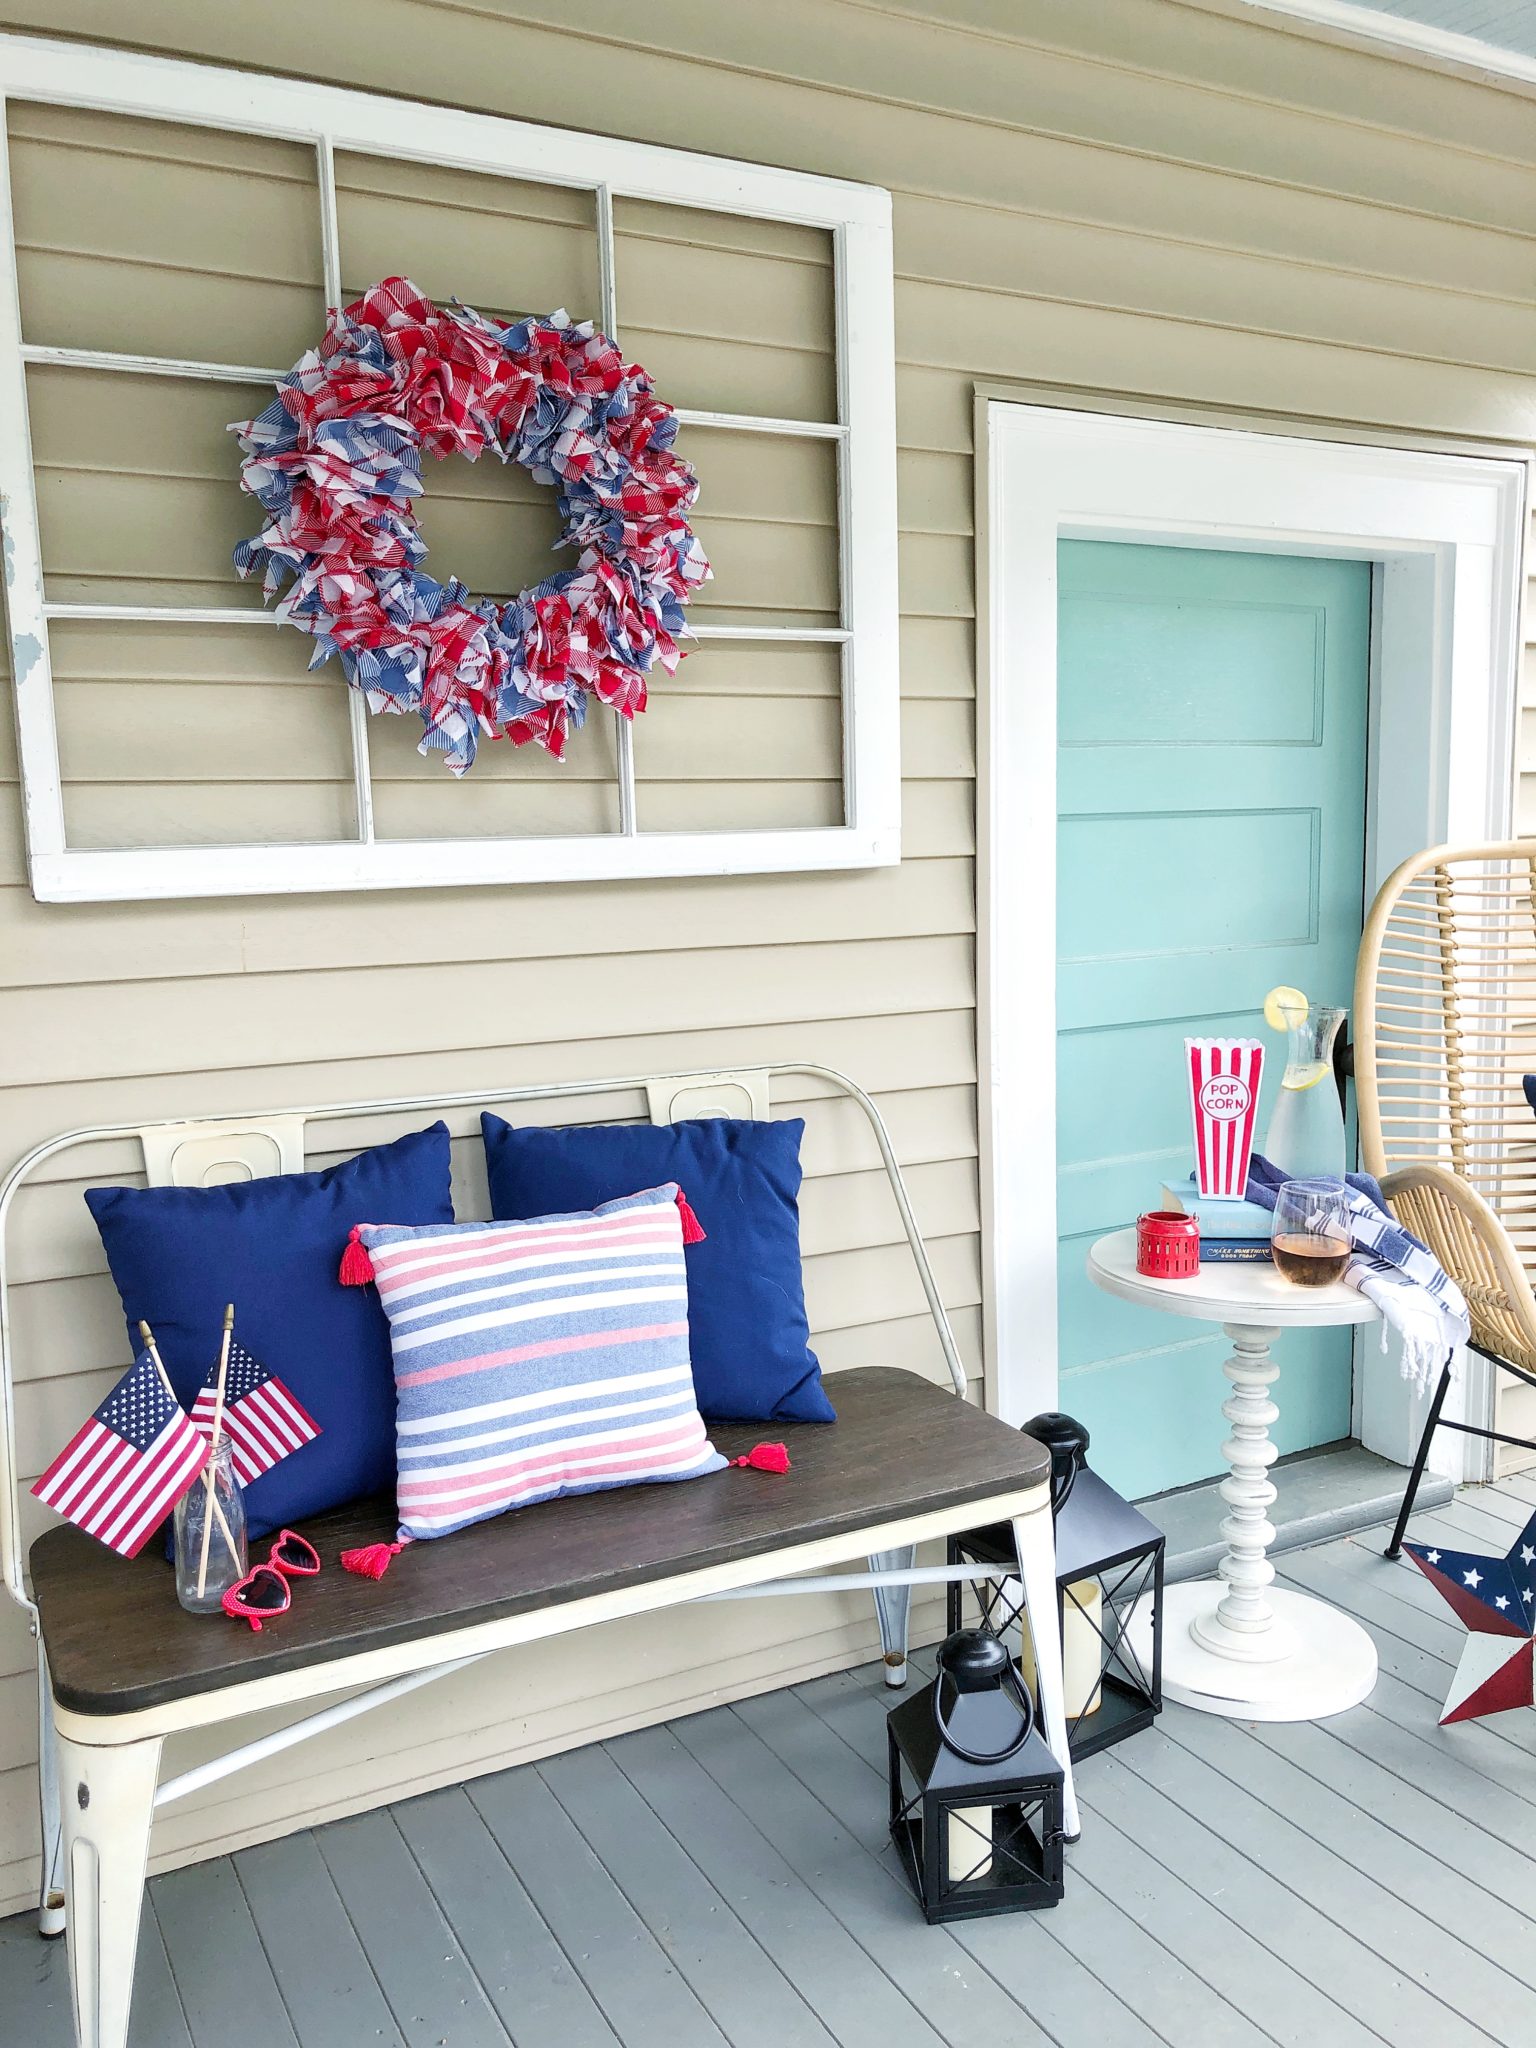
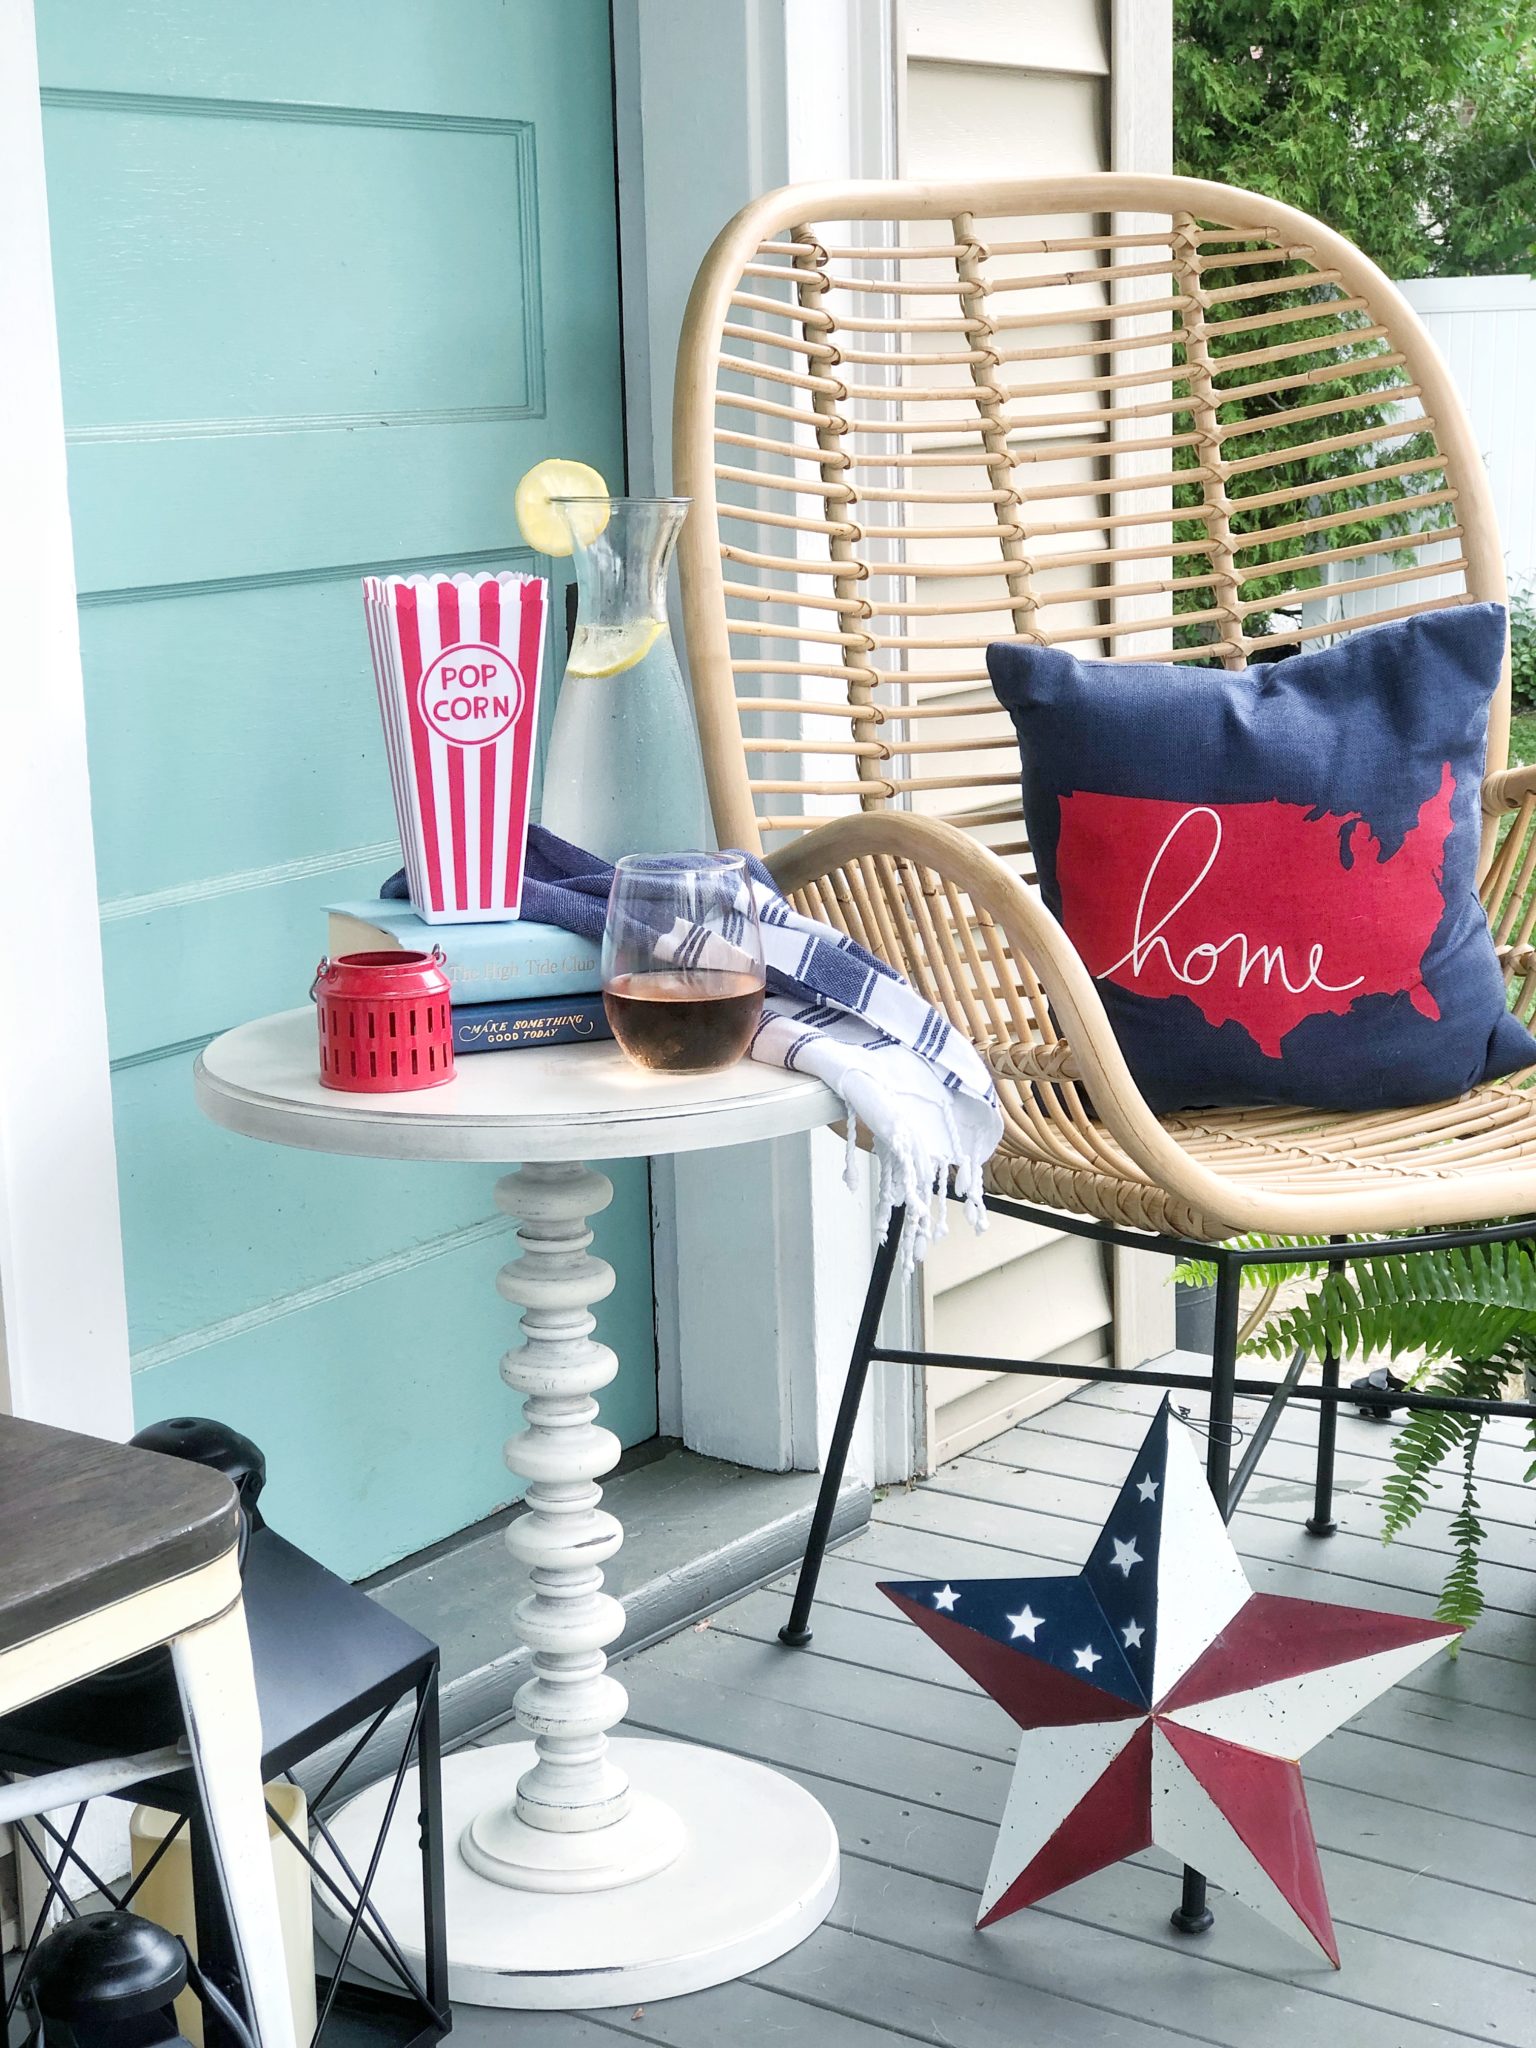
I hope you enjoyed seeing how I created this handkerchief wreath for 4th of July and all the other little Red, White and Blue touches I added to our farmer’s porch for summer. I’d love to see how you are decorating for the seasons come follow over me on Instagram to see more of our day to day projects and life!
Happy Decorating!
Jordan
Shop this Post:
Pin for Later:
read the full post >
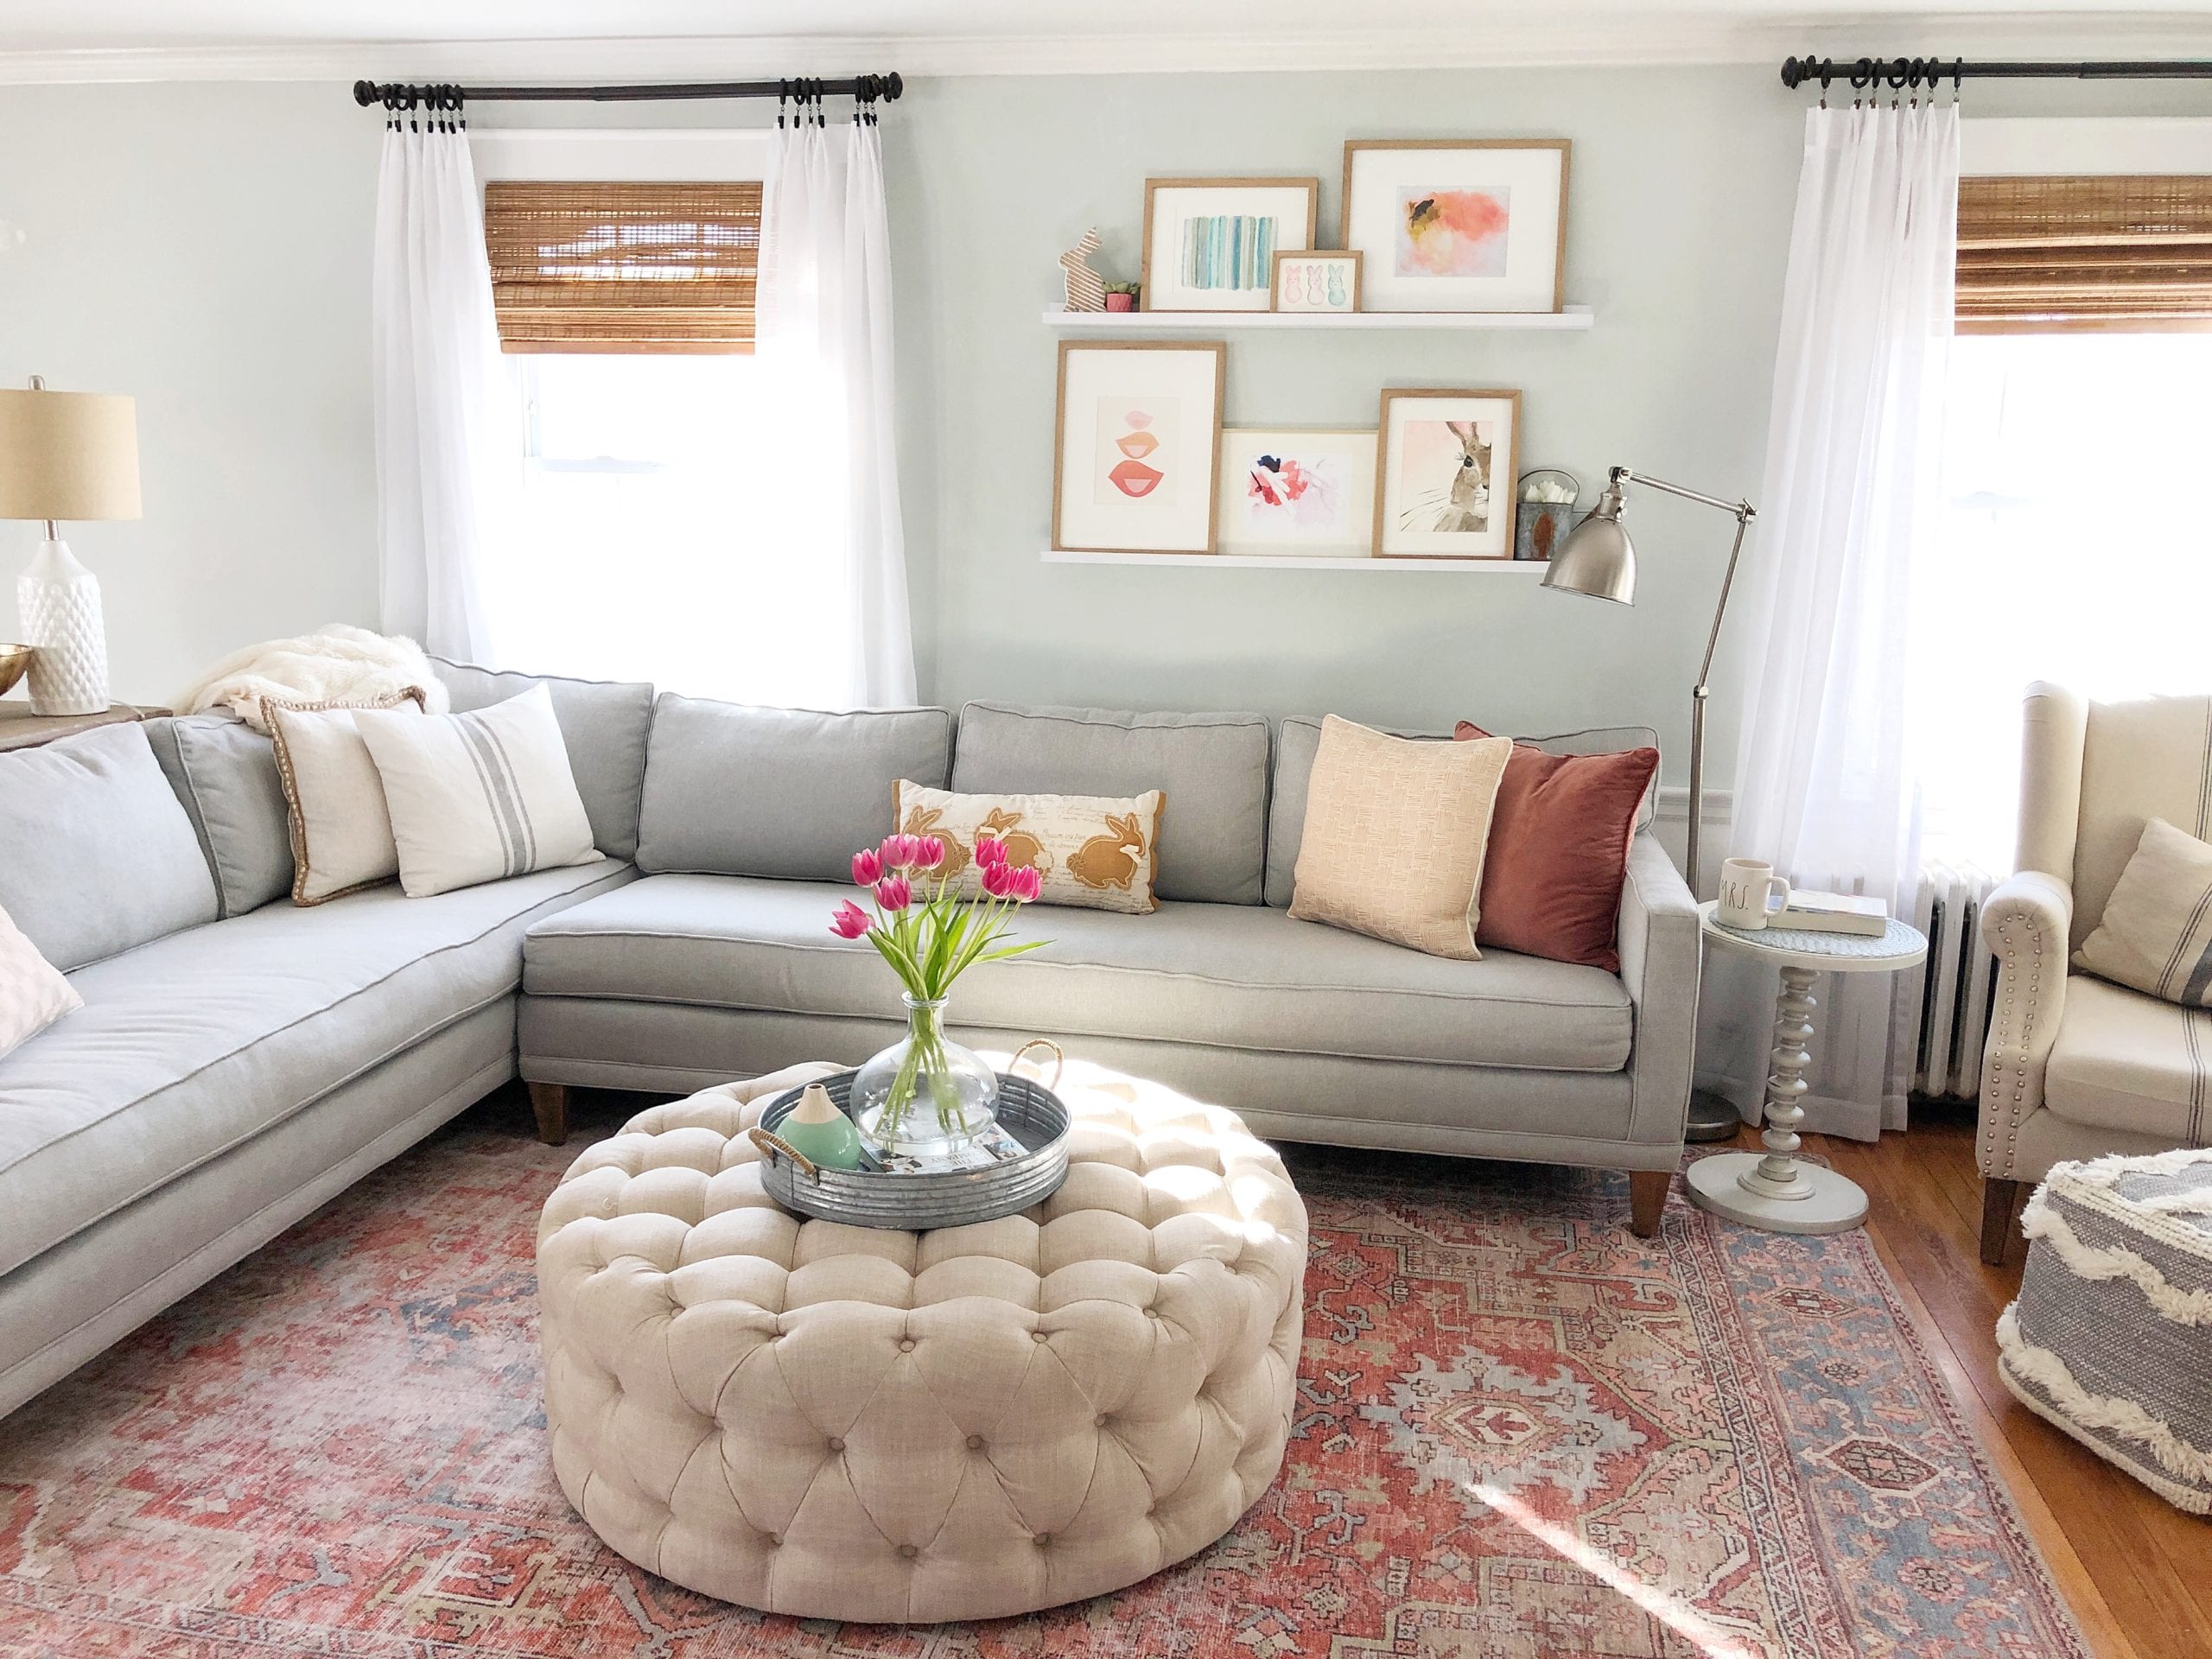
Happy First day of SPRING!! Today on the Blog I’m sharing some simple ideas for adding spring to your home. I’ll be sharing two specific areas with you my mantel and our art ledges. I hope you find it inspiring for your own spring decorating!
I thought I would welcome Spring with a little tour of our living room. Before I do that, a lot has changed in the world since my last post. I know this isn’t going to be our usual spring season. We have a lot of uncertainty ahead of us. One thing that isn’t changing is that our home is our sanctuary, it’s our safe place. Literally now more than ever, it is time to look at your home as the refuge it is. I don’t want to spend too much time talking about Covid-19, yet it’s our current reality. I know you are constantly being bombarded with information and don’t need more here. So I’ll just simply say that I hope this post finds you well, healthy and staying home so the first responders and medical care professionals can do their work. Let’s remember that we are all in this together and I know we will emerge with an even better sense of compassion and appreciation for each other.
Bringing Spring into your home:
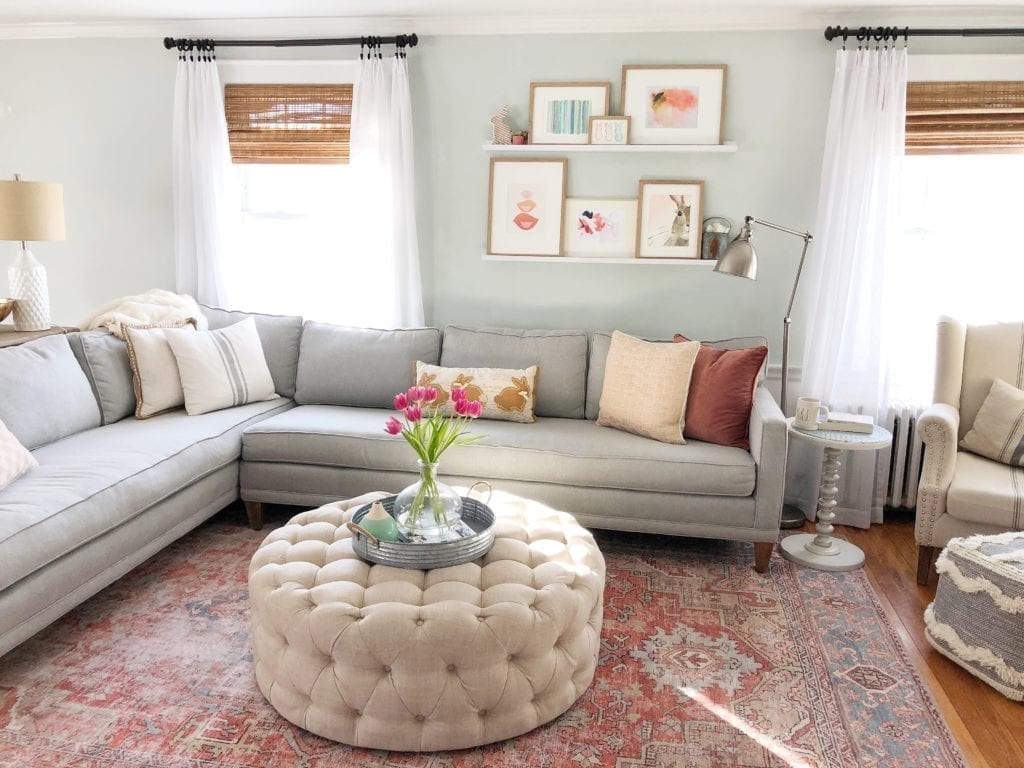
You’ll notice a few common threads in my living room – florals and greenery. I honestly feel like spring might be the easiest season to decorate. It’s as easy as adding extra florals and greens into your space for an instant boost of color and freshness.
For our Spring mantel I hung these two lattice boards on either side of this beautiful new sign from Jenny at The Little Bird she is offering my followers a discount code JORDECOR10 if you’d like to browse her shop, times like this it is important to support small shops. Spring reminds me of all things pretty in nature so I thought this sign was perfect. She has many others as well that would be perfect in your home!
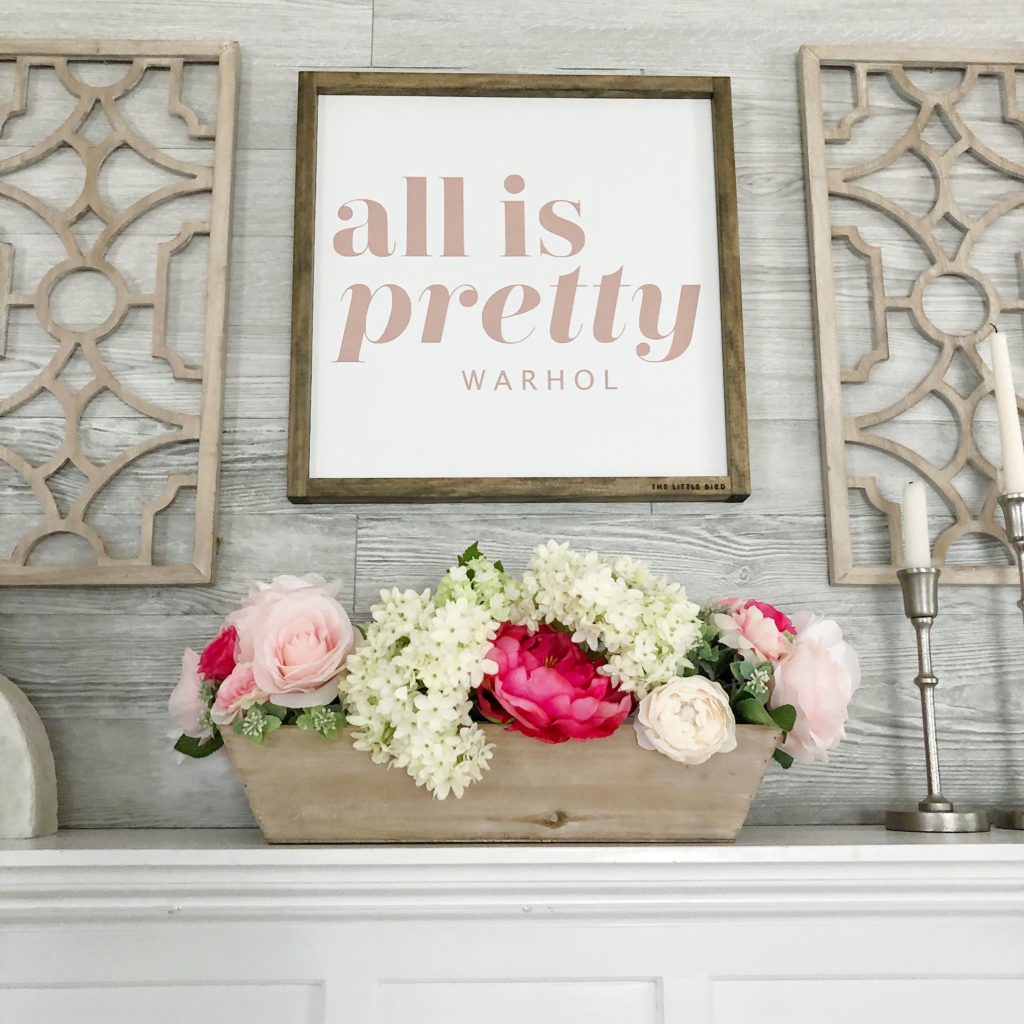
I also incorporate items to my mantel that move your eye from the corners and then back up. You don’t have to create a perfectly symmetrical design. I actually like mixing up the items on the sides so they aren’t exactly even. The candle sticks add height, the books and watering can balance the other corner.
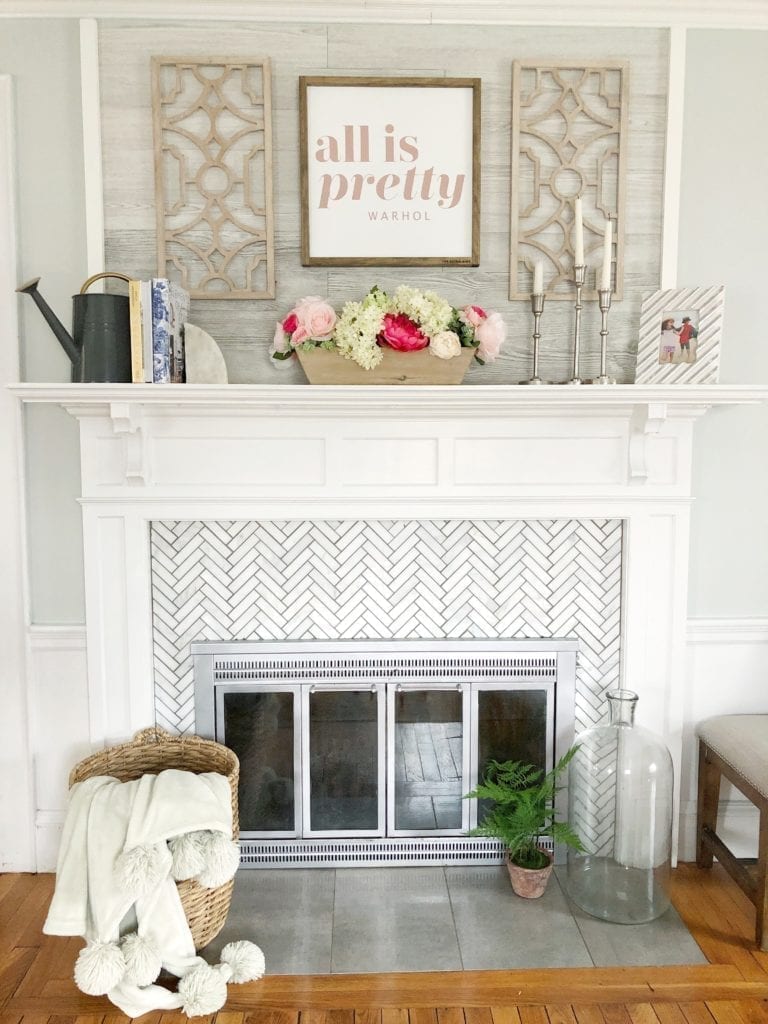
The trick with adding florals to your space in the Spring is not to be scared to mix fresh and faux. This is the season to embrace an abundance of florals in your home. Plus it’s totally fun and OH SO PRETTY, so experiment with it. On my ottoman a simple glass vase of fresh tulips and on my mantel a grouping of faux floral bunches layered inside a wood planter. Using a variety of flower types and vessel types for example wood vs glass adds interest. The color adds continuity.
Greenery can come in the form of faux plants, real plants if you are so inclined ( I can’t seem to keep any alive) and simple green wreaths. Place them around the room on side tables and even on your mantel to bring that freshness into your space! If you do real plants please teach me a thing or two… 😉
SHOP SPRING FLORALS:
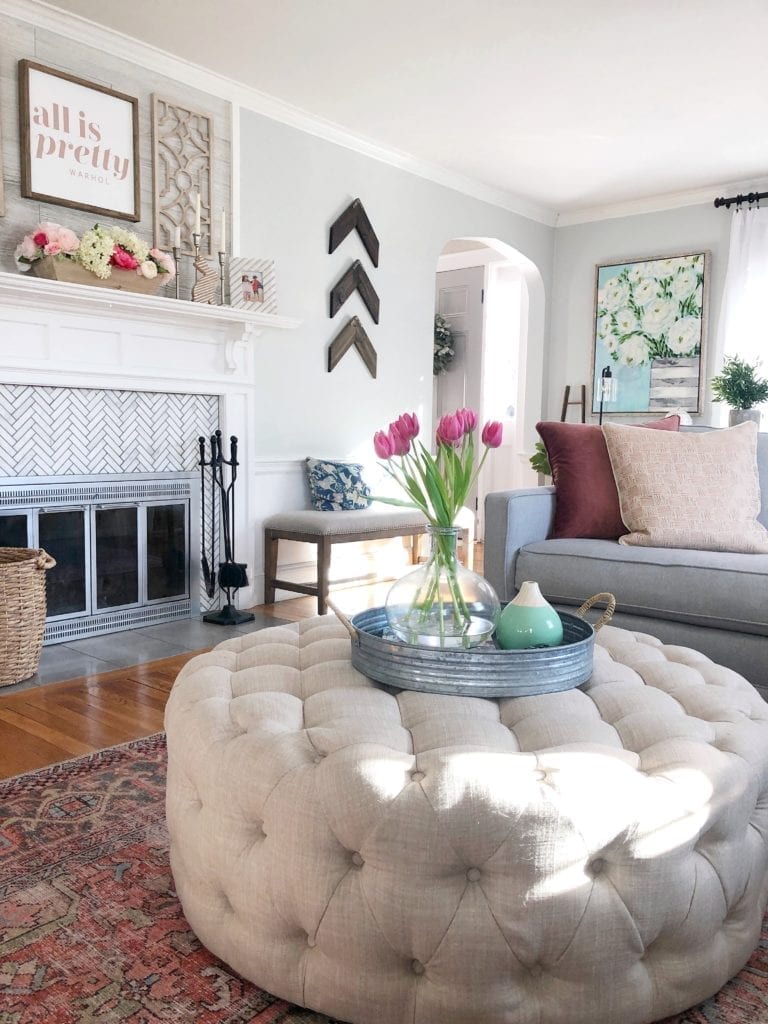
As you can see Art is also a large contributor to the spring vibes in this space. The large floral arrangement art piece is quite the focal point on the wall. This exact painting I purchased many years ago from Pier 1 and I don’t think it’s available but this is similar. A large piece of art always adds quite an impact in a room. I love this one especially in the spring/summer. Fall and Winter I tend to switch this specific piece out because it just doesn’t fit the season as well.
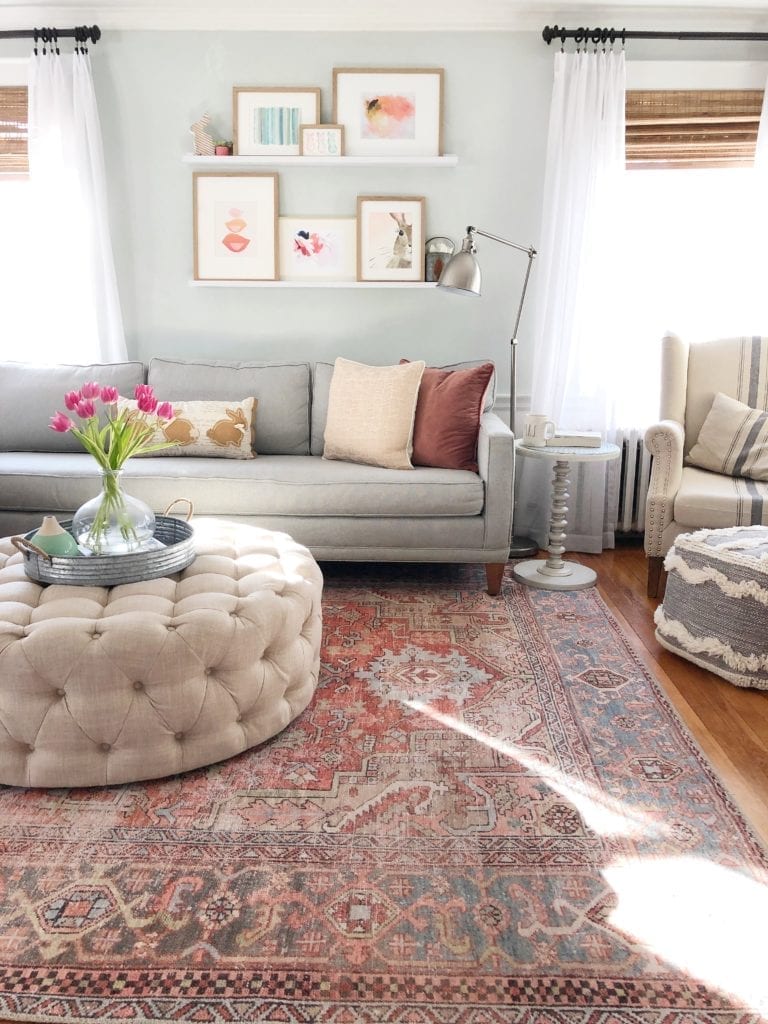
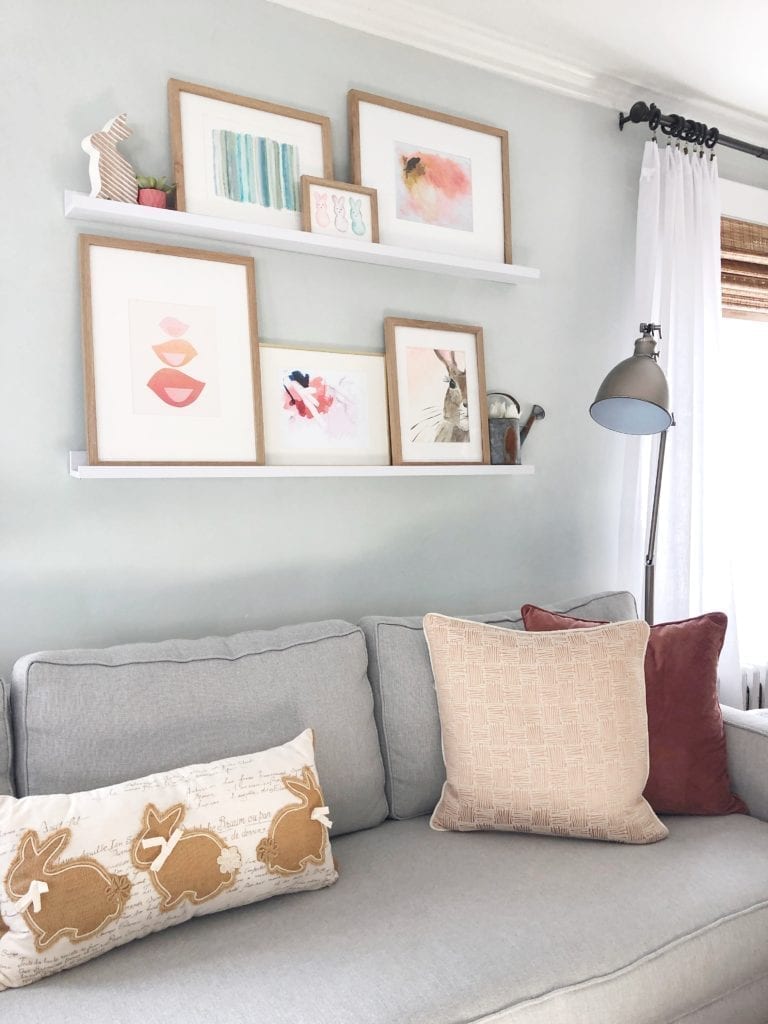
We recently got a new sofa which we are loving! It’s so much lighter in the space and the bench cushions are just so clean looking. I decided to go with this rug because I love the warmer tones and patterns. On this side of the room I’m mixing smaller pieces of artwork on our gallery ledges. I love these ledges so much. I have so much fun mixing different art pieces, family photos and even my own art/kids art.
Tips For Styling Art Ledges
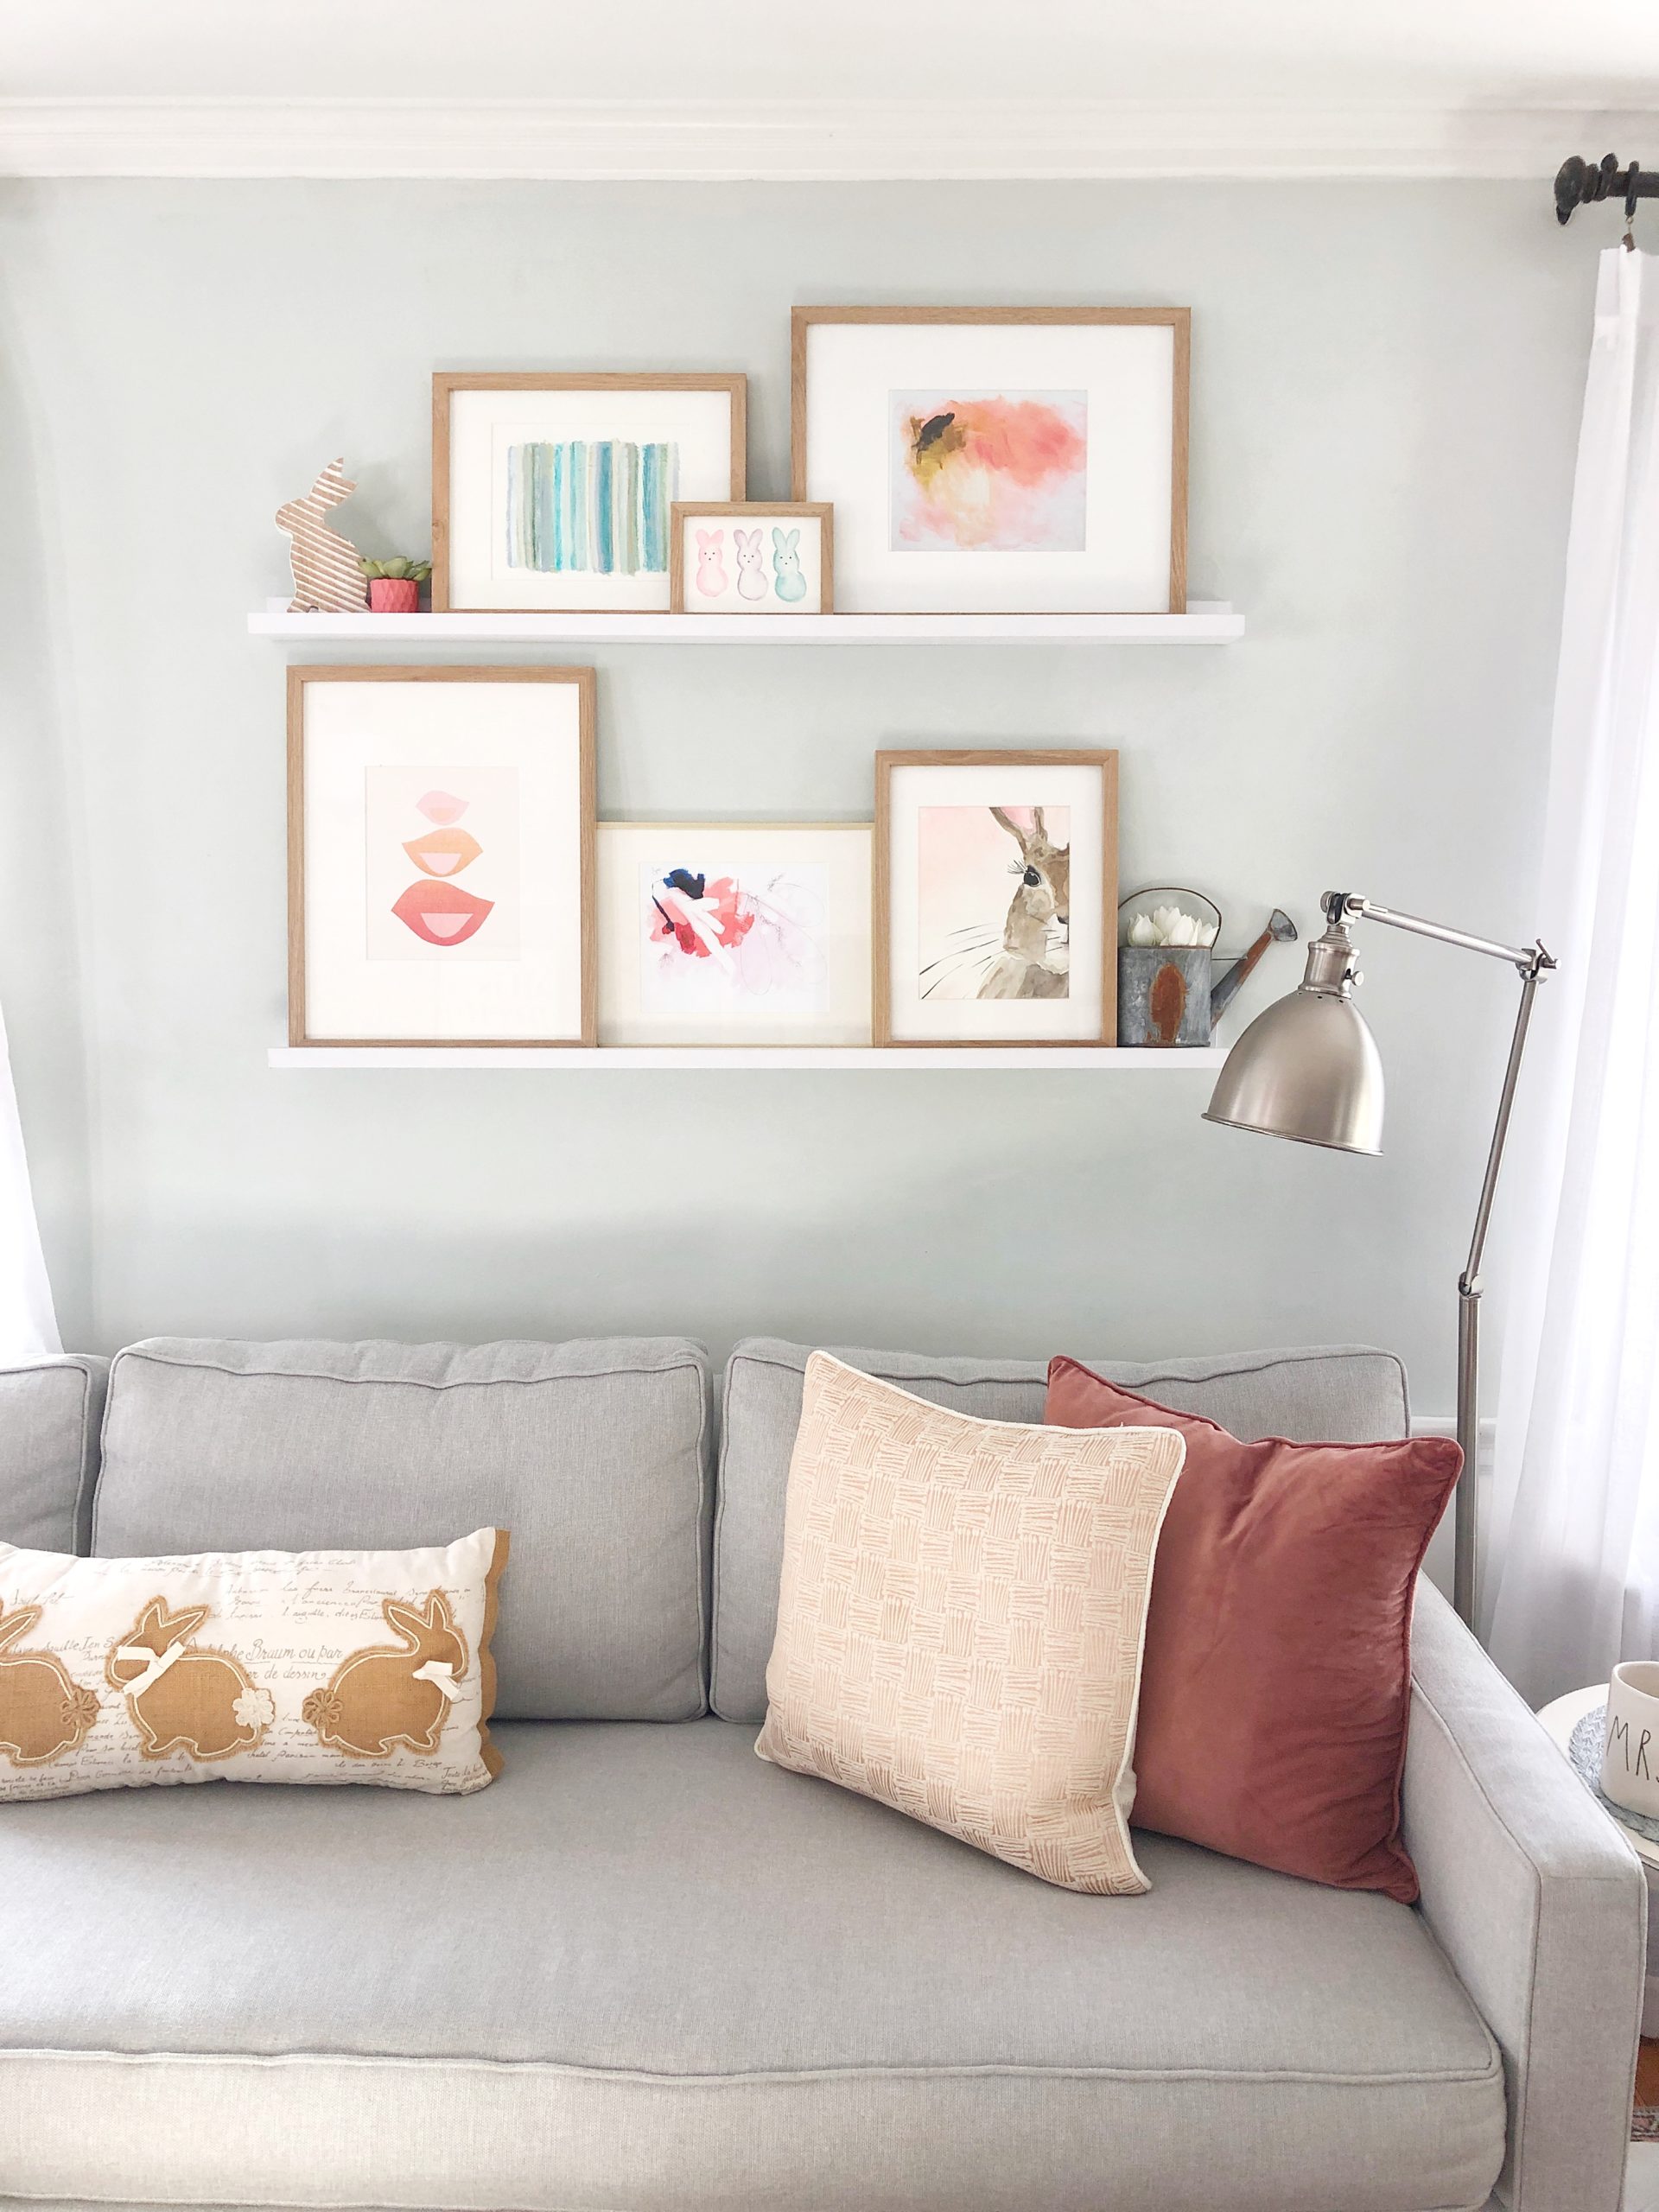
I’m excited to feature Abstract Artist Megan Carty and her beautiful prints to our gallery art ledges. Top right and bottom middle are two of her paintings printed on canvas and they are beautiful!! I love mixing things up each season and incorporating new artists to our walls. *An affordable way to add art into your home is to purchase prints from local artists OR GO ON ETSY and pop them into frames with large mattes. I like to group together a mix of different styles and mediums to make a more interesting focal point on the wall. As you can see I tried to keep the colors consistent with pinks!
If you like this Bunny Print I painted it last year and its for sale HERE
My final tip for bringing spring into your home is PILLOWS! A few new pillows or pillow covers can freshen up your sofa or bedding and add a new color/design to your space. I updated the lighter pink pillows which are from Home Goods and brought up this cute bunny pillow from storage that I purchased several years ago. I linked a few that I thought were similar and cute.
Thank you friends for stopping by, please stay safe and healthy! Also, share with me your home decor by following me on Instagram and tagging me in your photos! I love connecting with you there.
Jordan
*this post contains affiliate links which means I may make a small commission off of any product I recommend here. Please know this helps support my business and blog. As always all opinions are my own
Shop Spring Pillows
Shop my Living Room
Pin For Later:
read the full post >
During this slow down between Christmas and New Year’s we’re still enjoying the twinkle of our Christmas tree a little longer and pops of Christmas red in our living room decor. Not as much the chaos of unwrapped gifts and toy parts sprinkled all over the floor… however I know in due time those will have a place too. Everyone has their own timeline of when Christmas/holiday decor comes down. In the next week I’ll be putting ours away, as well as donating, organizing and purging items from our home. While, I love the coziness and magic that all the Christmas decorations add, I also love the simplicity and “nakedness” if you will, of our home post Christmas. It looks much more open and clean. If you are wondering how to keep some of that Christmas charm while still decluttering below are a few items that I tend to keep around.
This post may contain affiliate links where I earn a small commission on your purchases at no additional cost to you.
5 post Christmas Decor Elements:
I keep these items around through January and February to keep our home feeling cozy.
- Birch Branches
- Greenery
- Textural Elements like faux fur blankets/pillows
- Candles
- Wood tones to bring warmth to kitchen counters or shelves
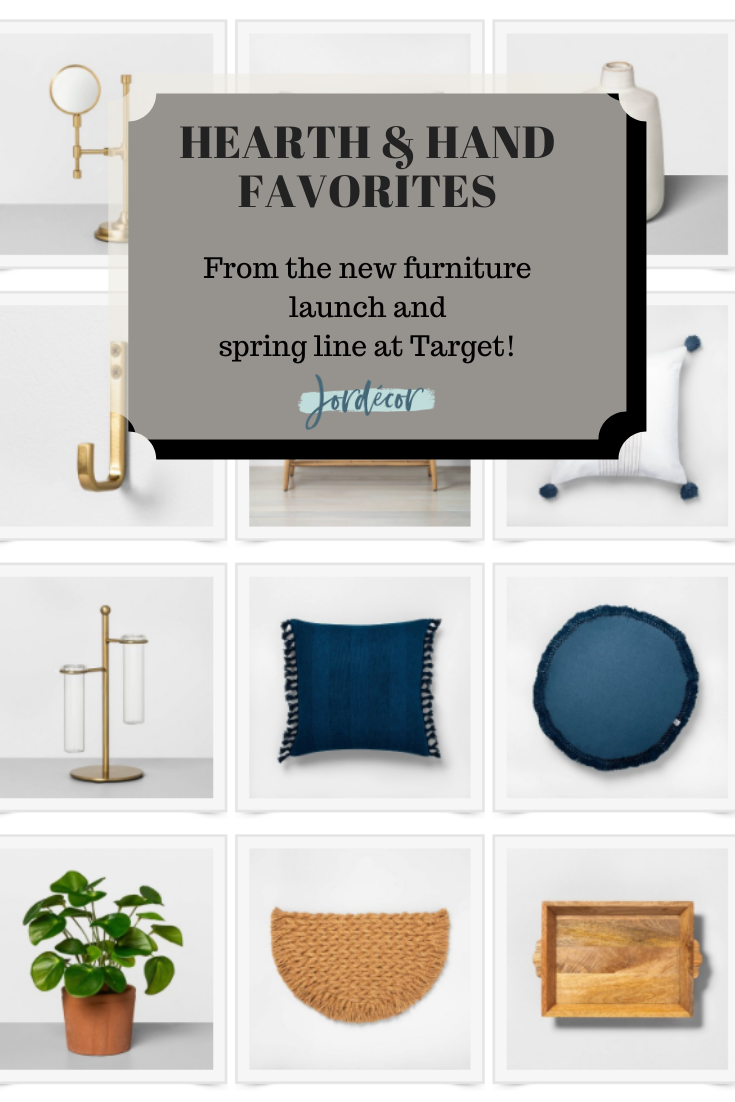
If you are looking for a little decor inspiration look no further than my favorite place…Target. The Hearth and Hand collection from Target just released their new FURNITURE line, yes you read that correctly! And it does not disappoint! I love the muted wood tones and clean lines of the new dining set. I can’t wait to see what else they come out with for furniture this spring. The spring decor line also launched and not that I’m going to start decorating for spring anytime soon there are a few pieces that caught my eye that are beautiful like the faux plants, vases and pillows. I thought I would share some of my favorites below. If you have any Target gift cards it may be a good time to shop! Let me know if you have any favorites!
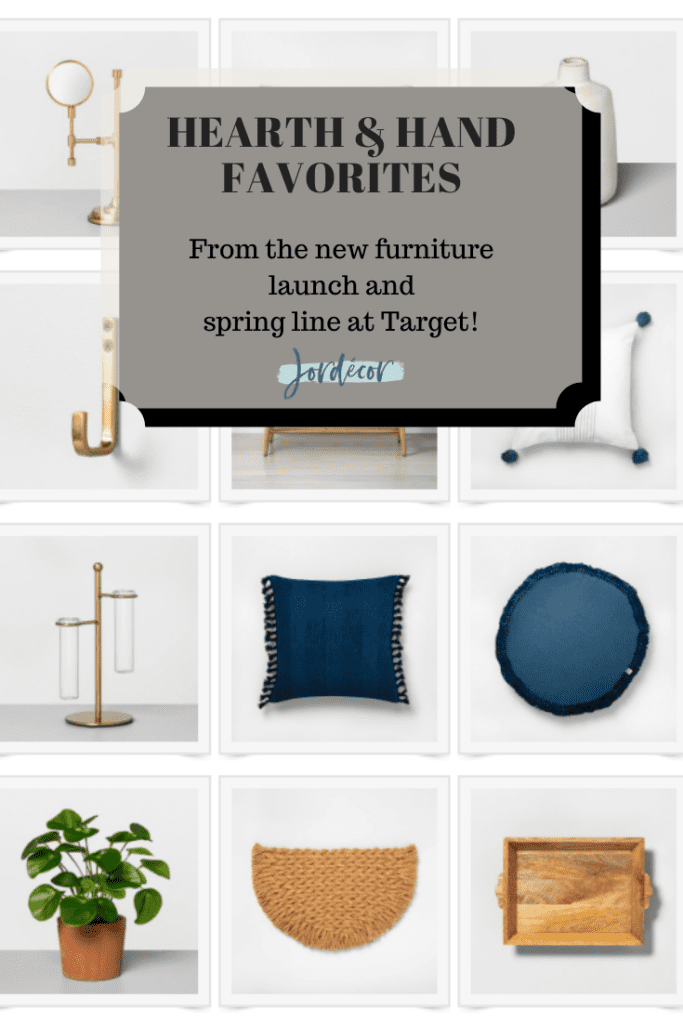
My Favorites from the new Hearth and Hand from Target:
Click on any of the photos below to shop.
read the full post >
*This post is in partnership with Christmas Tree Shops and That! As always all thoughts and ideas are my own. Thank you for supporting the brands I love!
The timing of this post couldn’t be anymore perfect. I’m writing this while watching the snow fall from our large dining-room window. We’ve been hit hard in our house, this fall/winter with sickness. A beautiful snowfall is the perfect time (and excuse) to stay inside light a fire, bake a delicious meal and put on a Christmas movie. I’m excited to be partnering up with Christmas Tree Shops and That! to share with you a beautiful themed tablescape for your holiday gatherings this month.
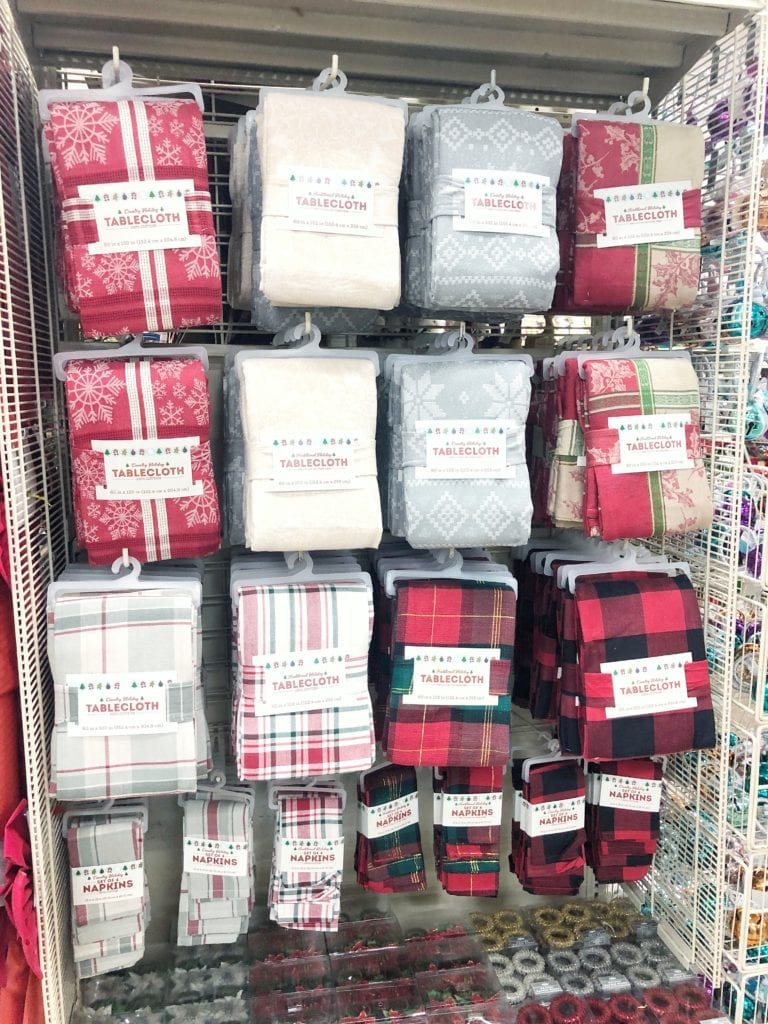
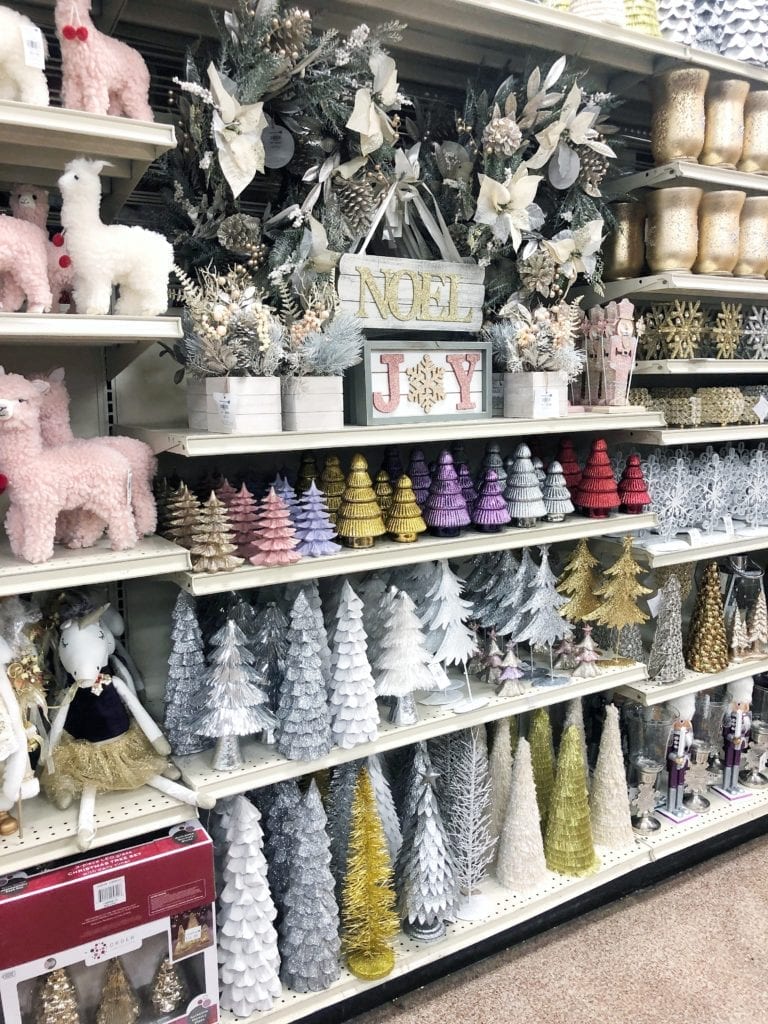
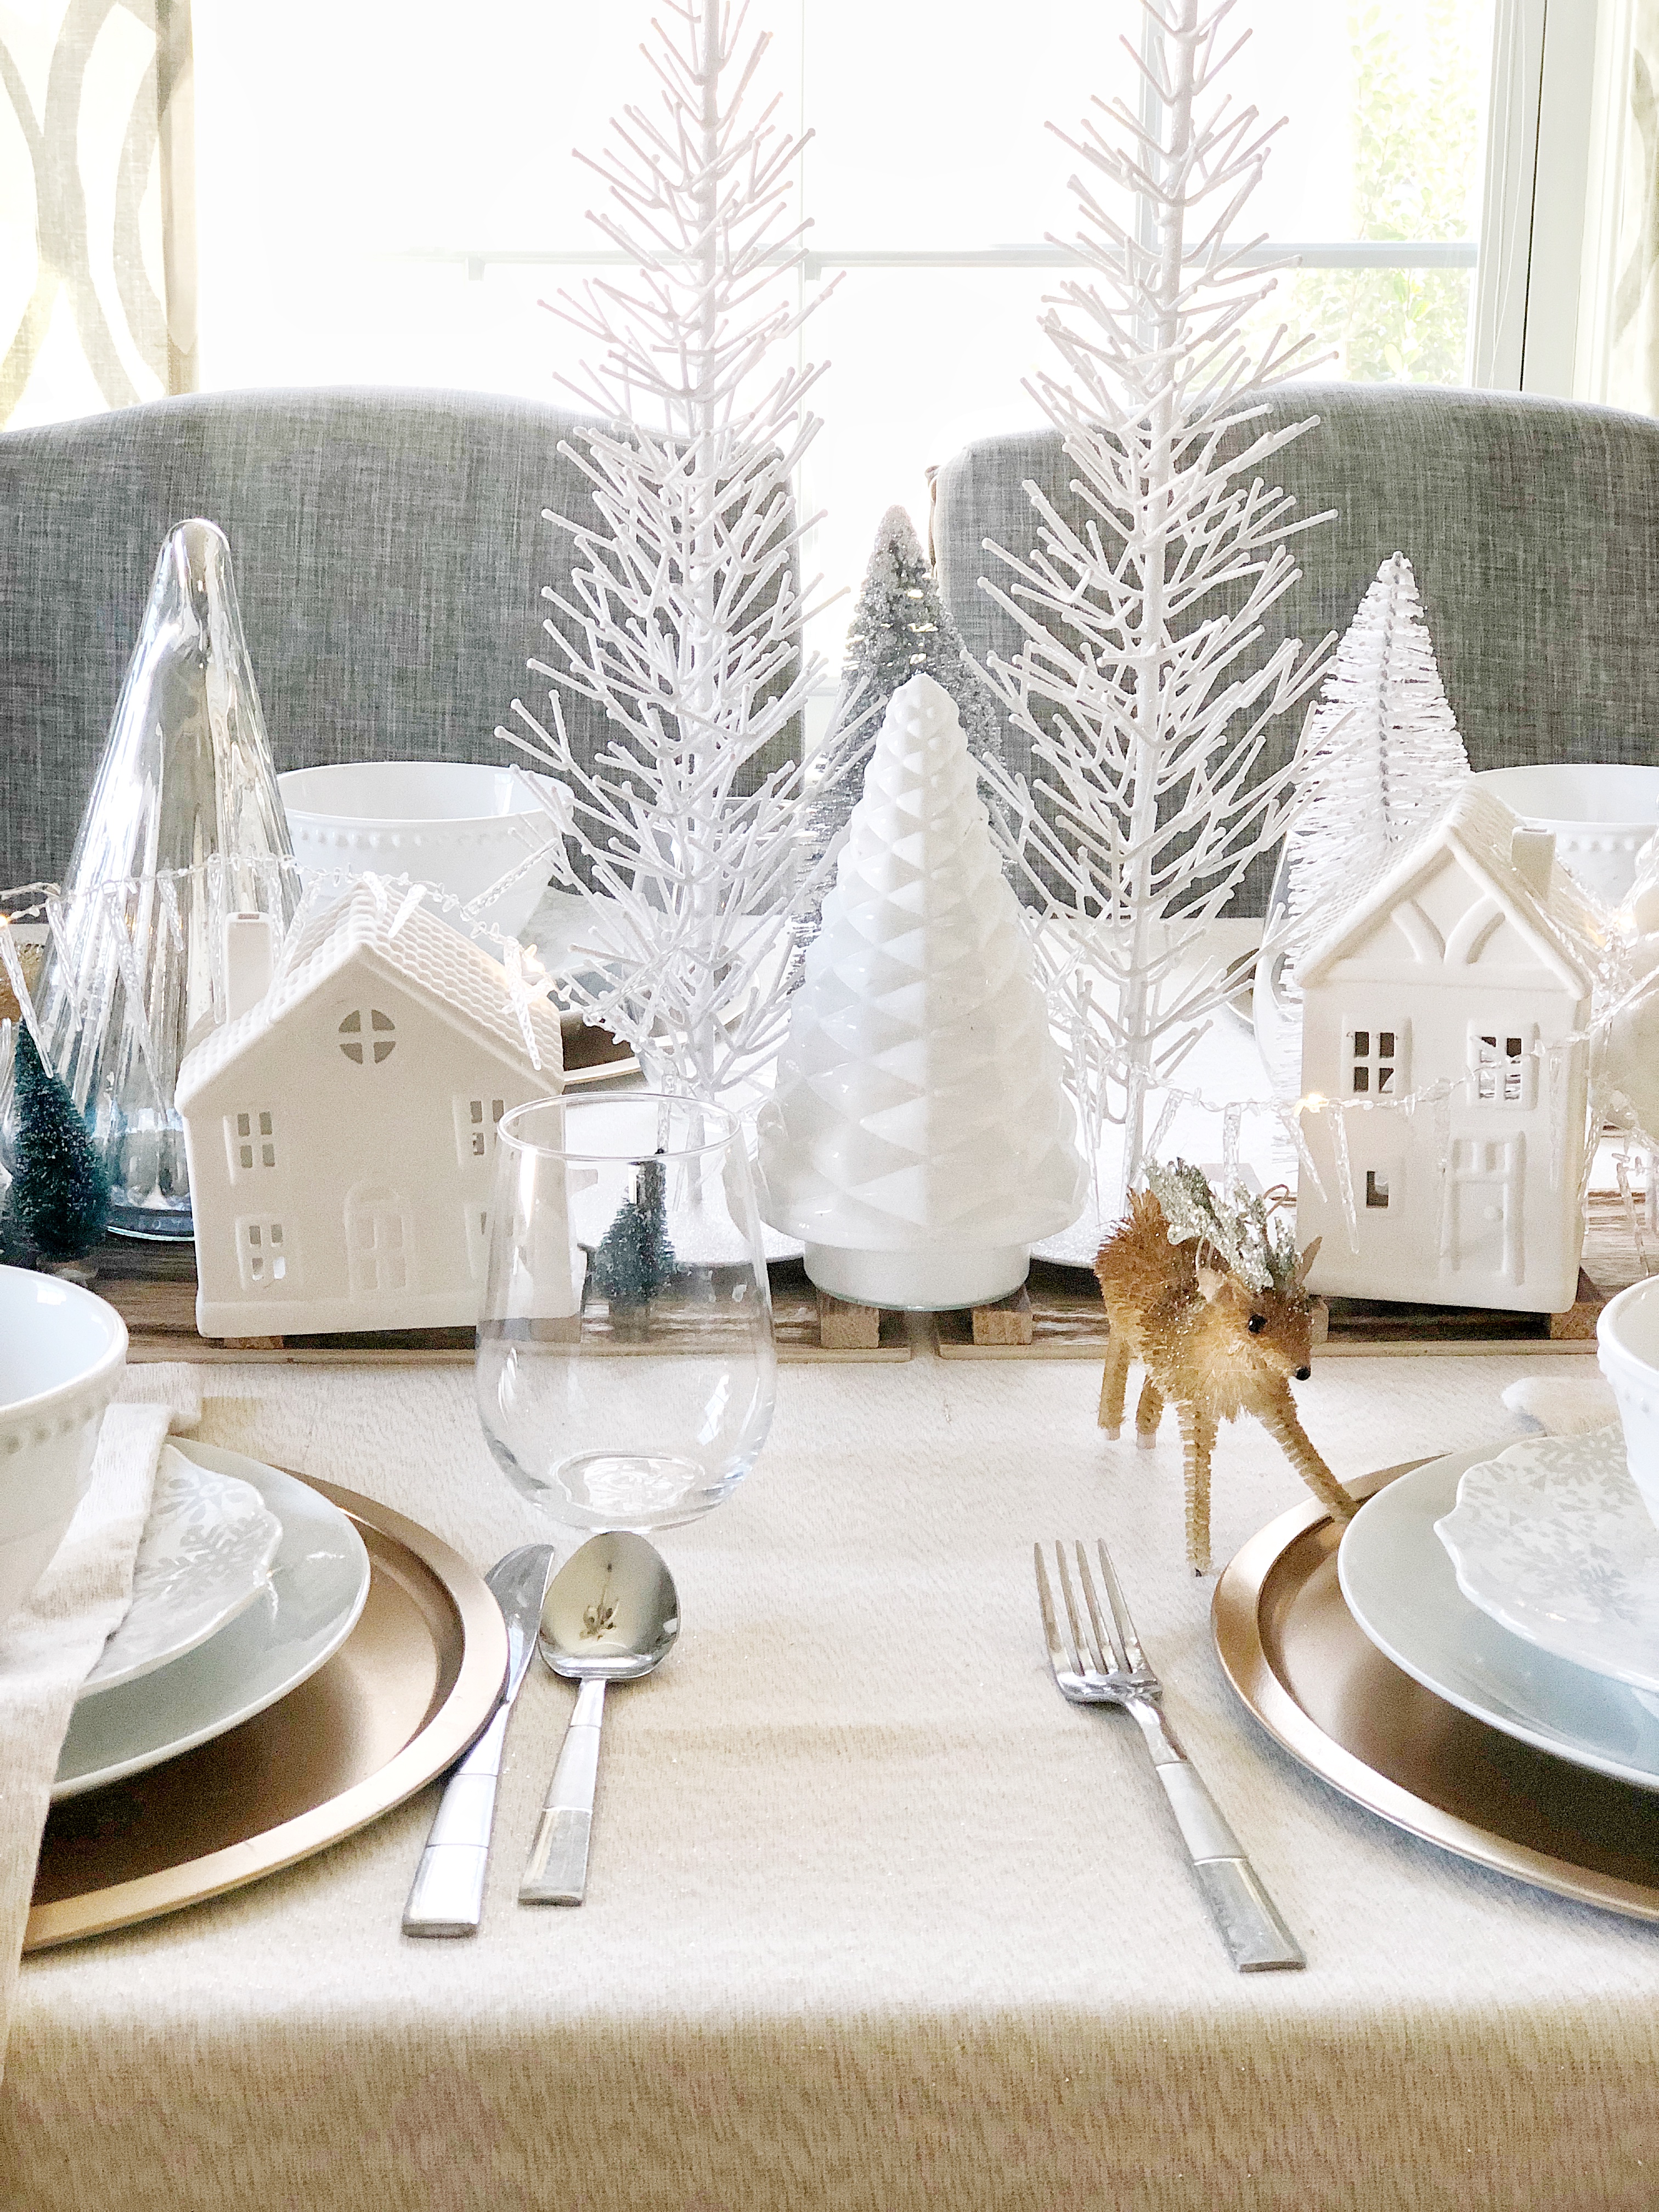
I love going to Christmas Tree Shops and That! to get inspired each season and pick up a couple new items to decorate with. This excursion was no different as while shopping I fell in love with all their holiday decor but especially their woodland themed ornaments, snowflake plates and other winter accessories. Whenever I’m going to set a table for a holiday party/dinner I take inspiration in and walk around the store, then I really focus on what is catching my eye. I typically love reds and holiday greens but I thought it would be cozy to add whites, golds and other textures into my dining table this winter.
Layering your Dining Table
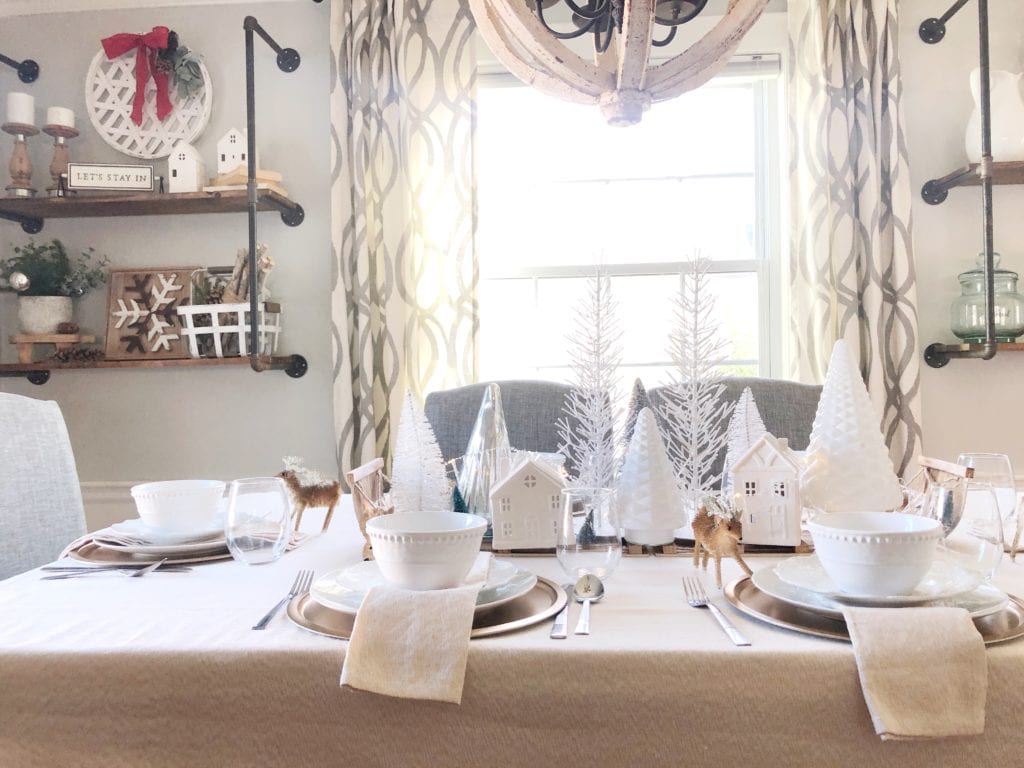
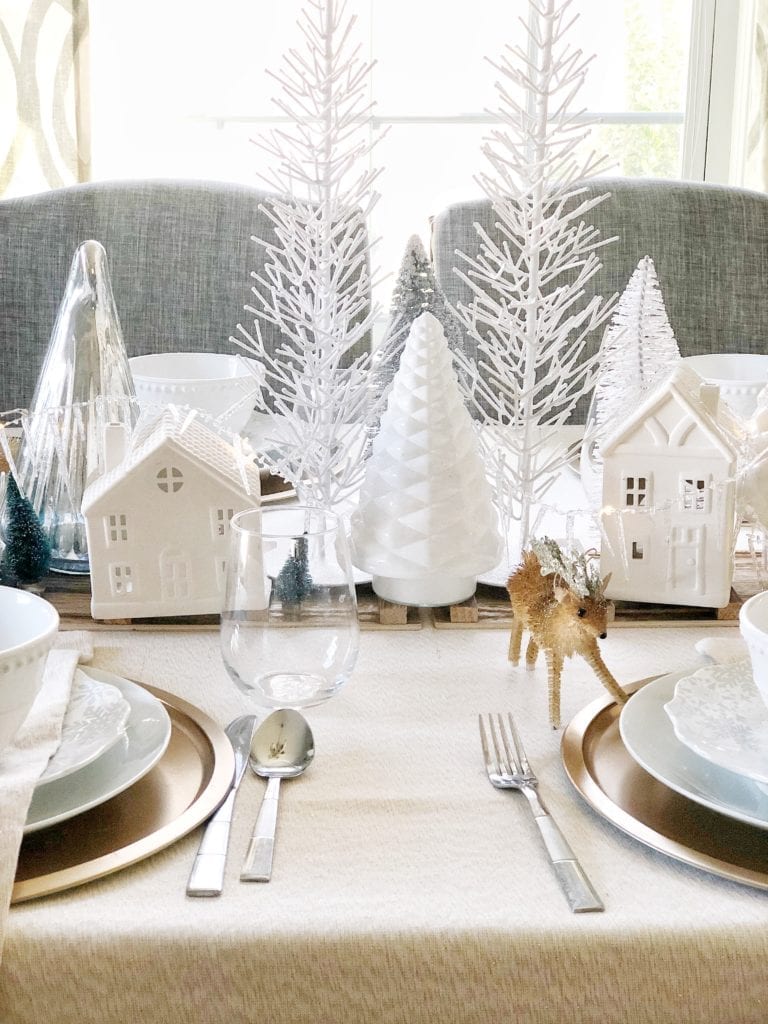
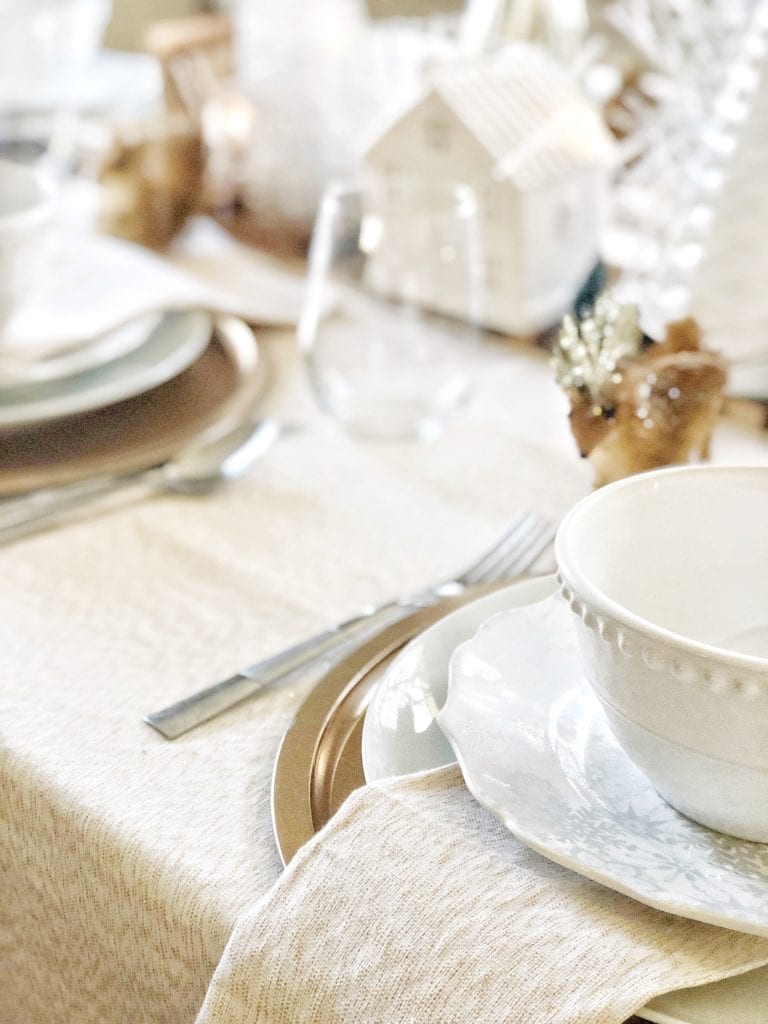
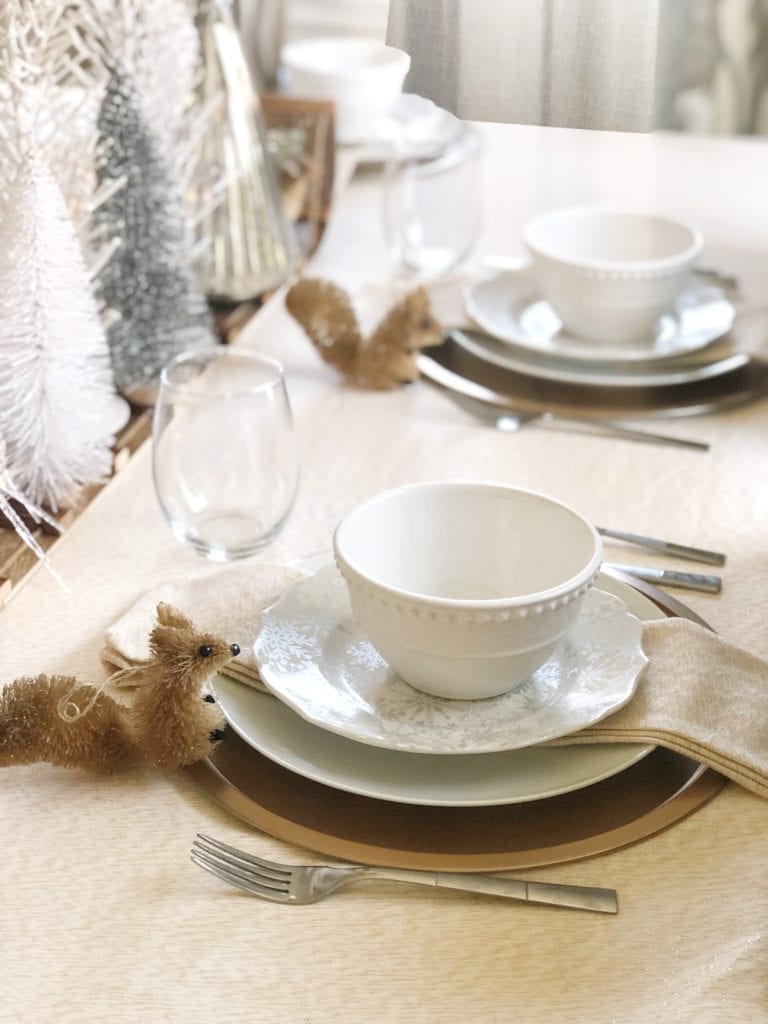
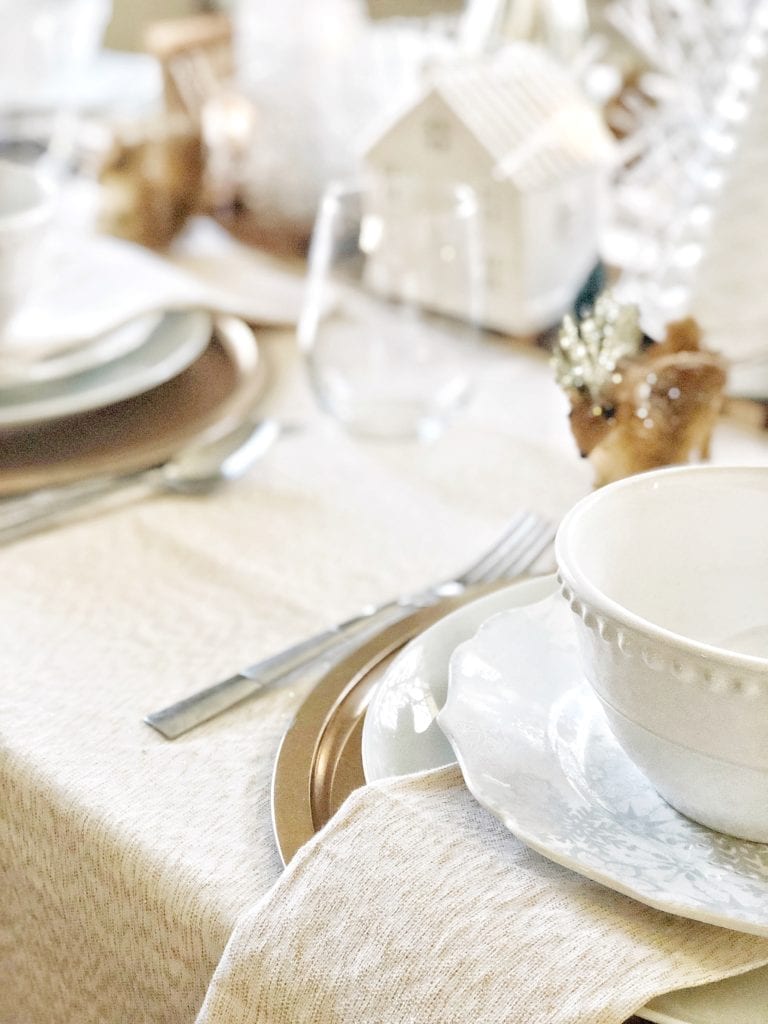
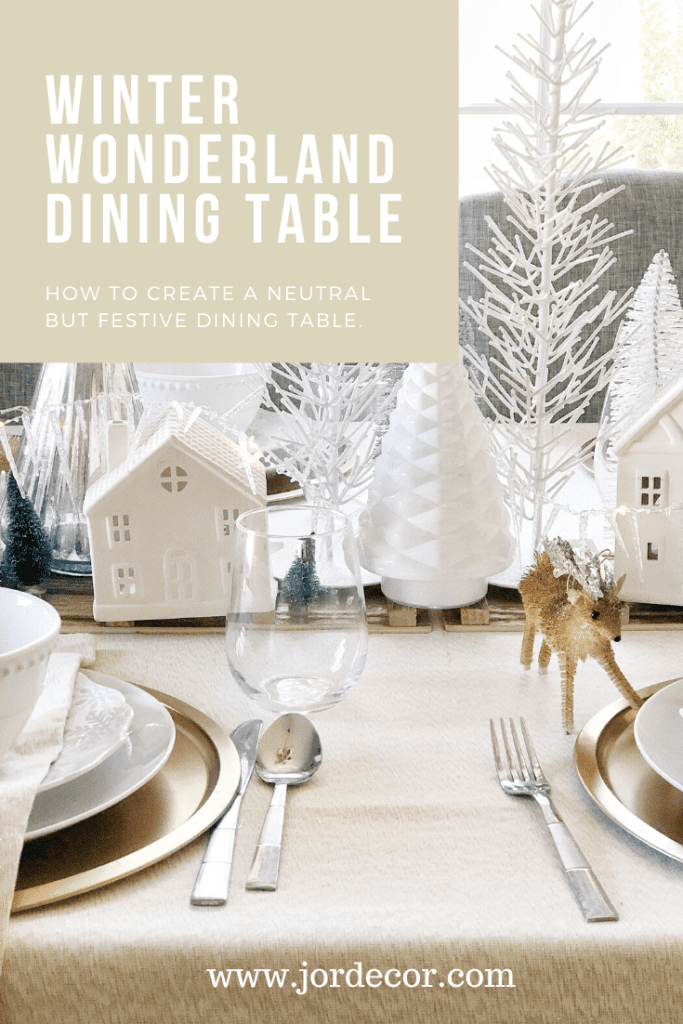
Creating a beautiful table all starts with the theme and then layers. I always start with a runner or table cloth and build up from there. Christmas Tree Shops and That! had so many great options for table clothes. I choose a white and gold specked cloth, they usually always have coordinating napkins too. From the tablecloth you want to add your charger, dinner plate, salad plate or bowl. After that you can top it off with a name tag or a special little accent that ties in with the theme. I loved scattering these little ornaments around the table as woodland creatures. These snowflake salad plates are the perfect addition to my Winter Wonderland dining table. I absolutely love the shape of them and the design.
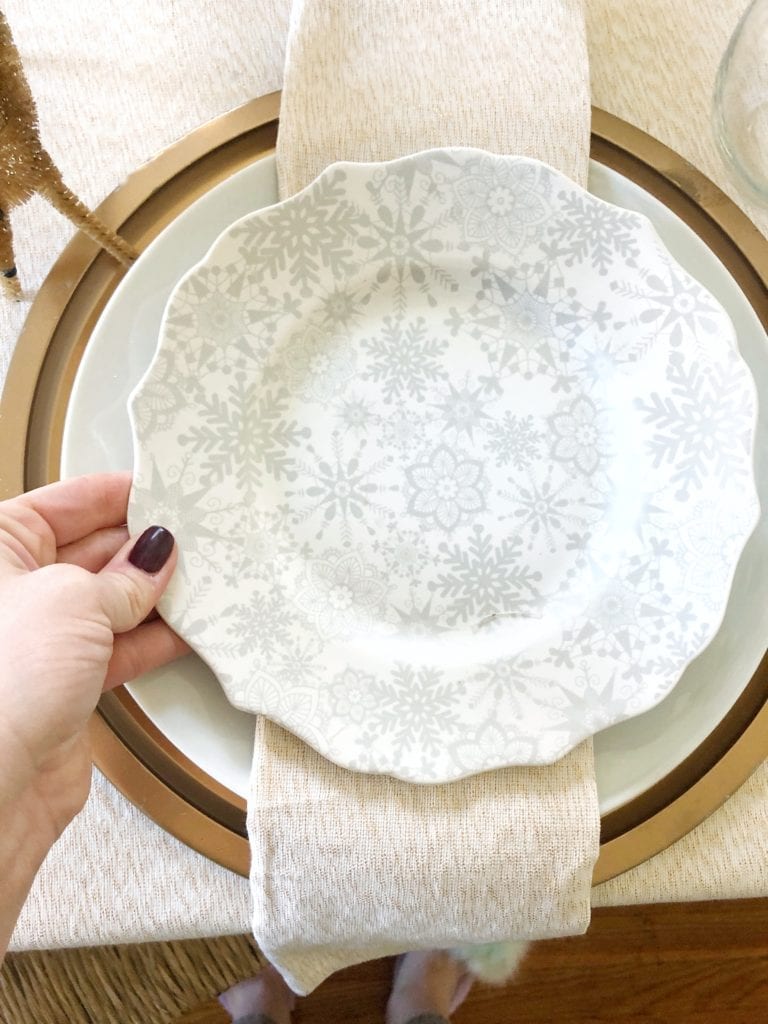
When you are going neutral in decorating always be sure to add in a mix of textures and metallics. Lots of white can be boring so I love the texture the ornaments add to the table as well as the metallic trees and table cloth from Christmas Tree Shops and That!
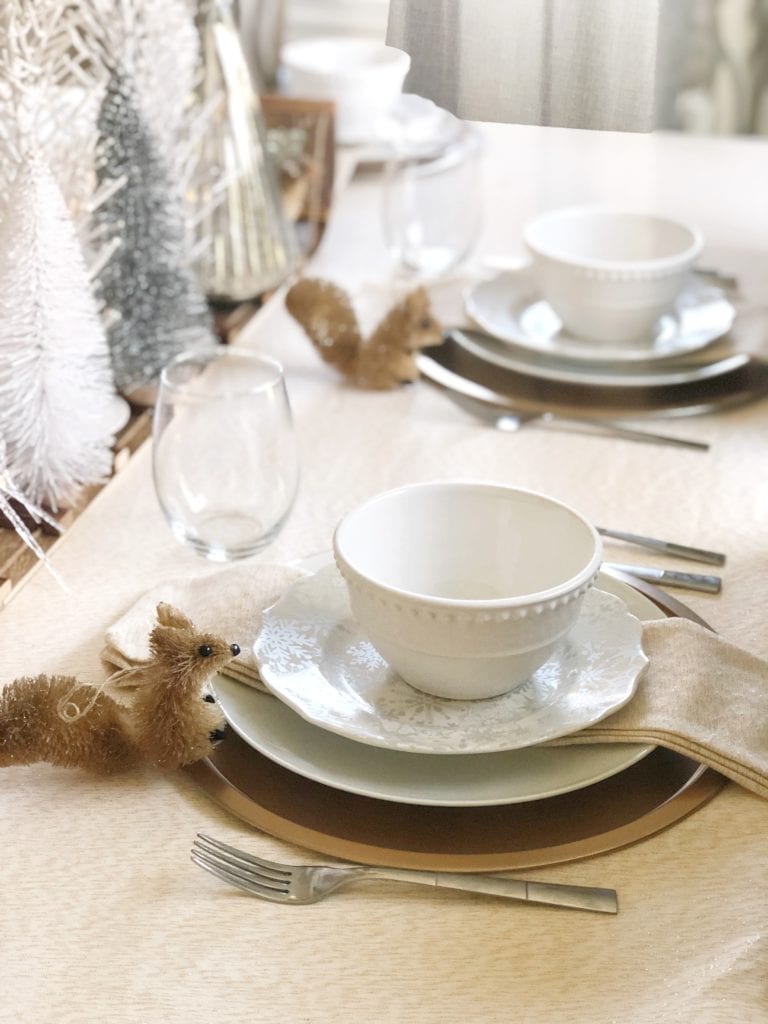
Creating a Centerpiece
A centerpiece should tie in with your theme and create interest on the table with out being too large or distracting. I purchased these white metal trees from Christmas Tree Shops and That! then I mixed in some other glass trees and bottle brush trees I already owned. I had these mini sleds I placed down first and then scattered trees of varying heights and some cute ceramic white houses in between that. You could create the same effect with a table runner or wood. Twinkle lights woven through out the centerpiece add a little special twinkle.
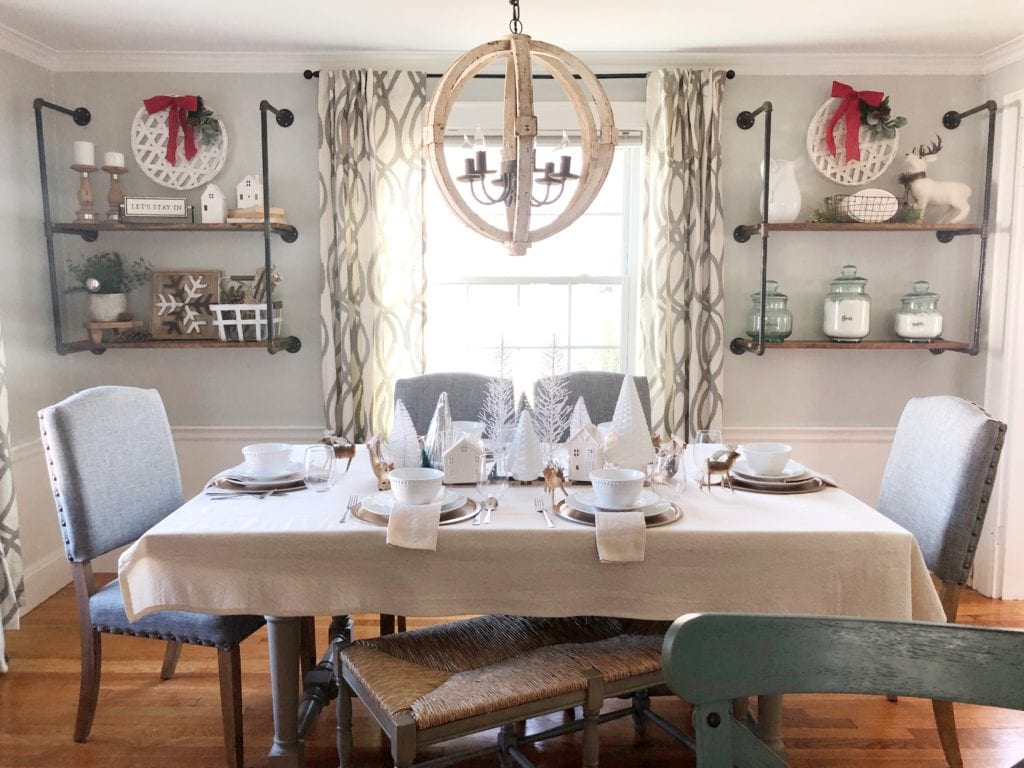
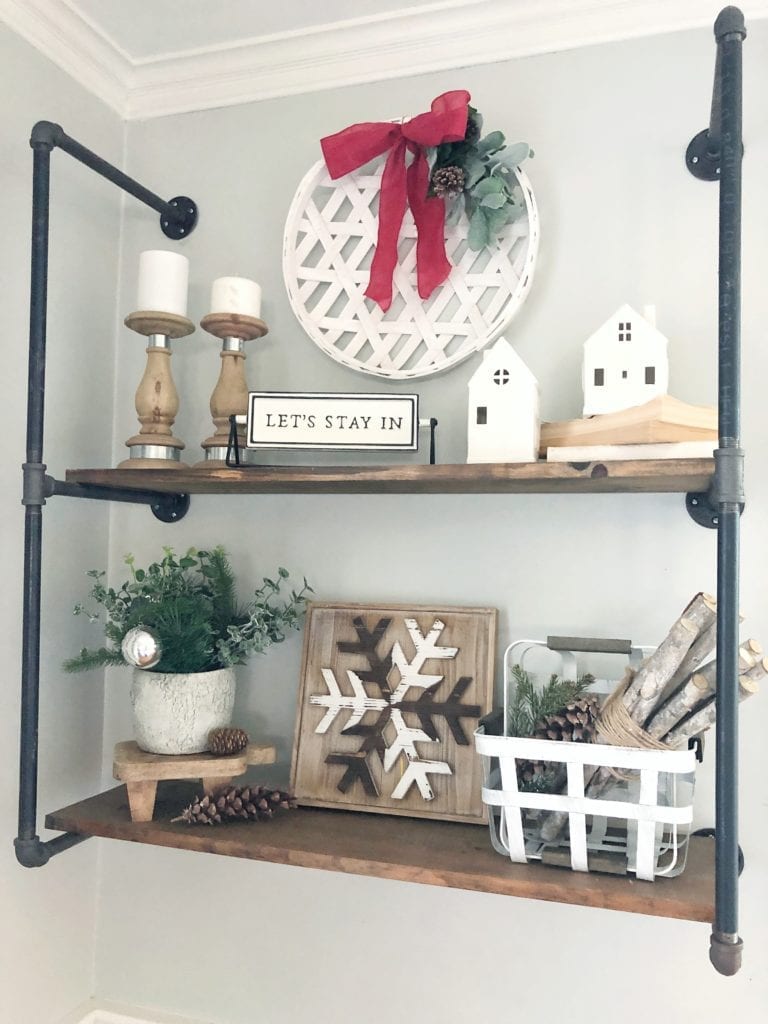
The fuzzy woodland deer on the top right shelf was another Christmas Tree Shops and That! find it looks so cute on our pipe shelves.
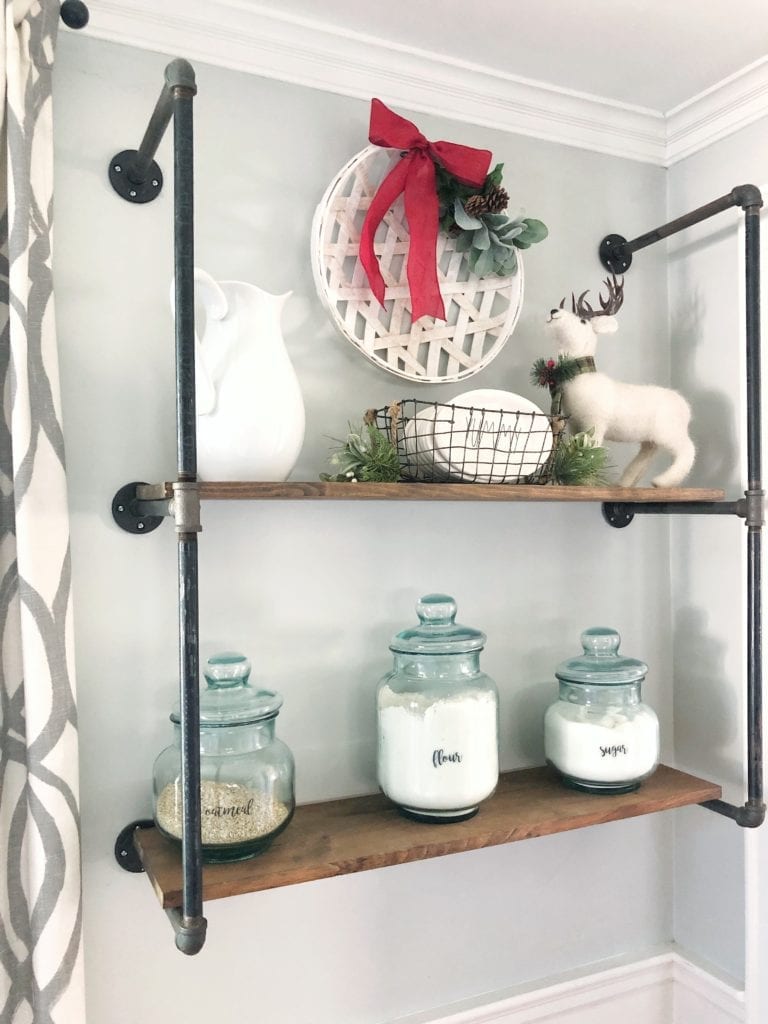
I also found this potted greenery with silver ornaments in it and snow dusted boxwood stems. Since my table is fairly white and metallic I wanted to bring in some reds/greens on the shelves to make it feel Christmas (y) too!
The kids absolutely love the table decor this year, they are so excited to eat all their meals here and play with the woodland creatures. We will definitely be using these as ornaments too! Be sure to check out Christmas Tree Shops andThat! for all of your holiday and Christmas decor needs.
Thank you for stopping by and I hope you enjoy and visit all the other talented bloggers sharing their festive Christmas dining tables today as well. Click below for more inspiration!
Southern State of Mind | At Charlotte’s House | A Tufted Life | Jor Decor | Aratari at Home
Jordan
Pin For Later
read the full post >
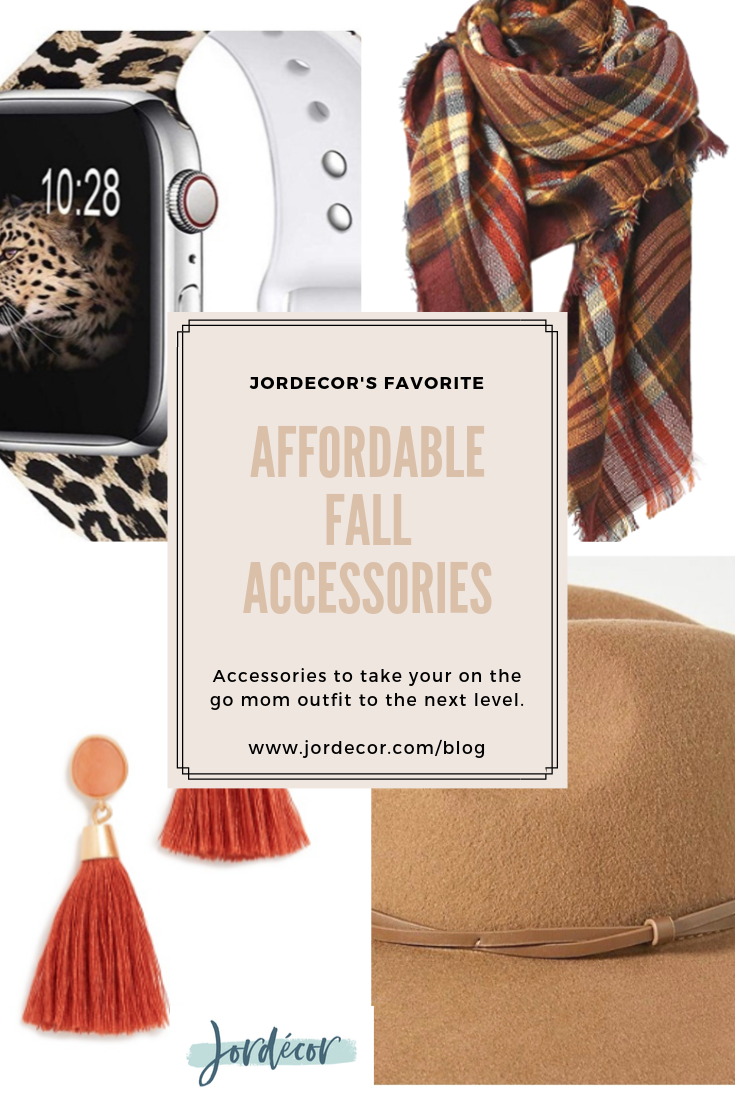
I love taking a simple jeans and t-shirt outfit up a notch with a fun hat or scarf, especially this time of year when you want to utilize all the layers before the big heavy jackets come out. Sometimes a simple accessory change can complete a simple outfit, especially if your a mom and getting dressed quickly often involved a t-shirt and jeans look. I find the trick with accessories is to not go OVER board with them. I love choosing one or two (max) to be the statement of whatever outfit I’m putting together. If I’m going to do a hat I’ll probably nix the oversized sunglasses and stick to simple smaller frames. It’s all about finding balance with your own style and what you feel good and comfortable wearing.
I thought it would be fun to share 5 categories of my favorite fall accessories that I’ve been loving, wearing or wanting! Finding simple and understated accessories can enhance your outfit and add to your own personal style/ take on an outfit.
*post contains affiliate links that help support my blog

Sunglasses
In the fall I love a good pair of oversized sunnies, I probably won’t splurge on a pair because they aren’t something I wear all the time, only when I want to dress up an outfit or look a little more chic. I like to splurge on classics that I know I’ll wear day to day like classic ray-ban styles. When I want to experiment with, new to me shapes, I go to Target, Nordstrom Rack or Madewell for an affordable pair.

Hats:
A great hat can really kick up a casual outfit and dress up a simple one. I tend to go for comfortable outfits since I’m not in an office setting and a cool hat is always a fun way to add some personality. Baseball caps are my day to day, go to style because they’re great for hiding unwashed (or let’s face it sometimes unbrushed hair) in the fall/winter I look for baseball hats that double as a cozy layer. Like this neutral one above.
Jewelry:
Over the years I’ve noticed myself gravitating less and less to big statement jewelry. This shift probably happened after Griffin was born and when I stopped working in a professional classroom setting. As a teacher I loved adding big earrings and necklaces to dress up my work outfits. However after becoming a stay at home Mom, and dressing more casual, big necklaces were just something the babies could grab and pull off. The last couple years my obsession has been delicate and feminine, less is more style necklaces. If I want to dress them up I’ll layer the lengths of them. My friend over at Ave Hope Designs is one of my GO TO’s for this style of necklaces. If I want to make a statement I’ll add a big earring like some of these below.
Watch Bands:
Yes, I also like changing out my watch bands. Please tell me I’m not alone. Once I discovered how affordable they are, it’s such a fun way to switch up the look of my apple watch. I can take it from sporty to casual/dressy with two easy clicks. Here are some that I’m wearing this fall.
Scarfs:
I’m always a fan of adding layers in the cooler weather that include some type of either cozy texture or cool pattern to an outfit. If you have a simple jeans/t-shirt situation going on, adding a great scarf is a perfect fall accessory. In addition a leather jacket on top of that is a signature fall look. I shared a few ways I like to tie my scarf and saved it to my Instagram story highlights which you can find HERE
There you have it my favorite affordable fall accessories that I’m currently wearing or loving. I hope you guys enjoy also seeing some fashion/style posts. It’s fun for me to switch it up from decor time to time and I really believe that styling yourself and your home are two very similar skills that can reveal a lot about your own unique style!
Jordan
read the full post >
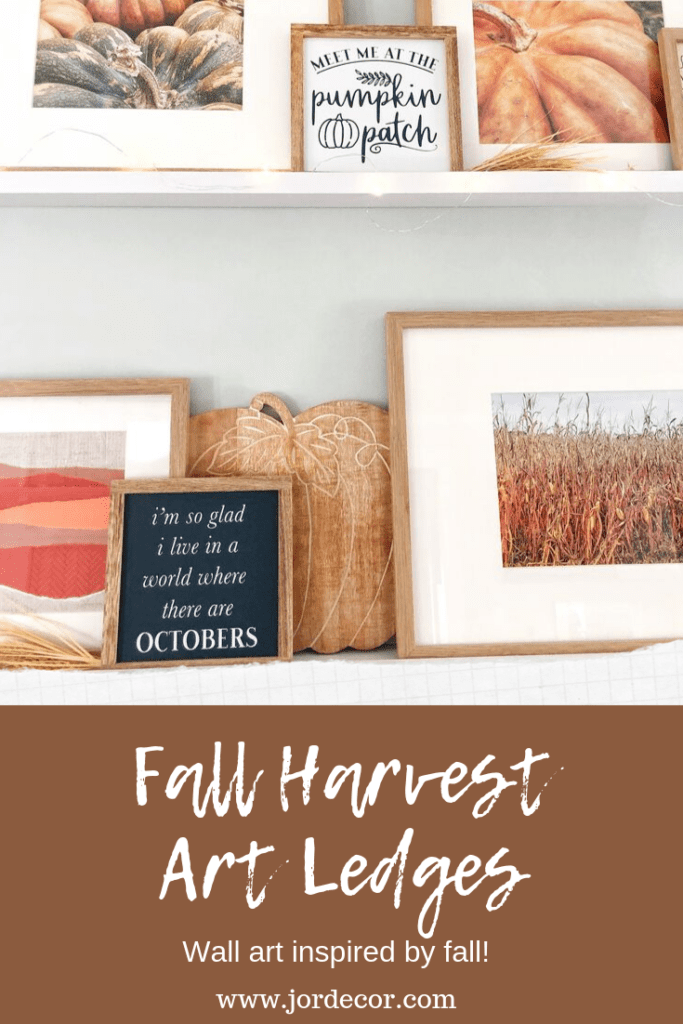
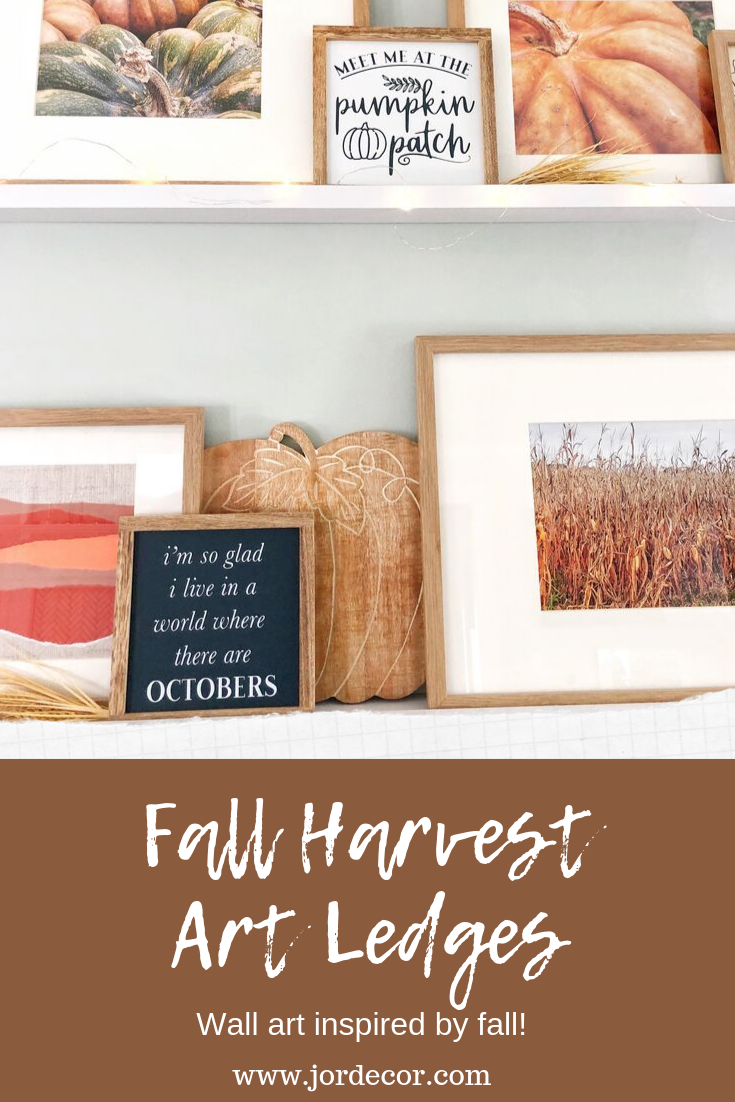
Ok, so now that it is officially F A L L I can finally share with you a bunch of fall decor inspiration with out wondering “hmmm, will they think I’m crazy decorating for fall, pre-fall?”. I’m excited to share with you some fall art ideas for your living room or any blank wall in your home. I’ve been enjoying our living room art ledges SO much. Sometime around last January-February we decided to take down a gallery wall and add ledges for framed art/photos etc… ever since that change I’ve really enjoyed switching up the art and mixing in different pieces for each season.
*this post contains affiliate links
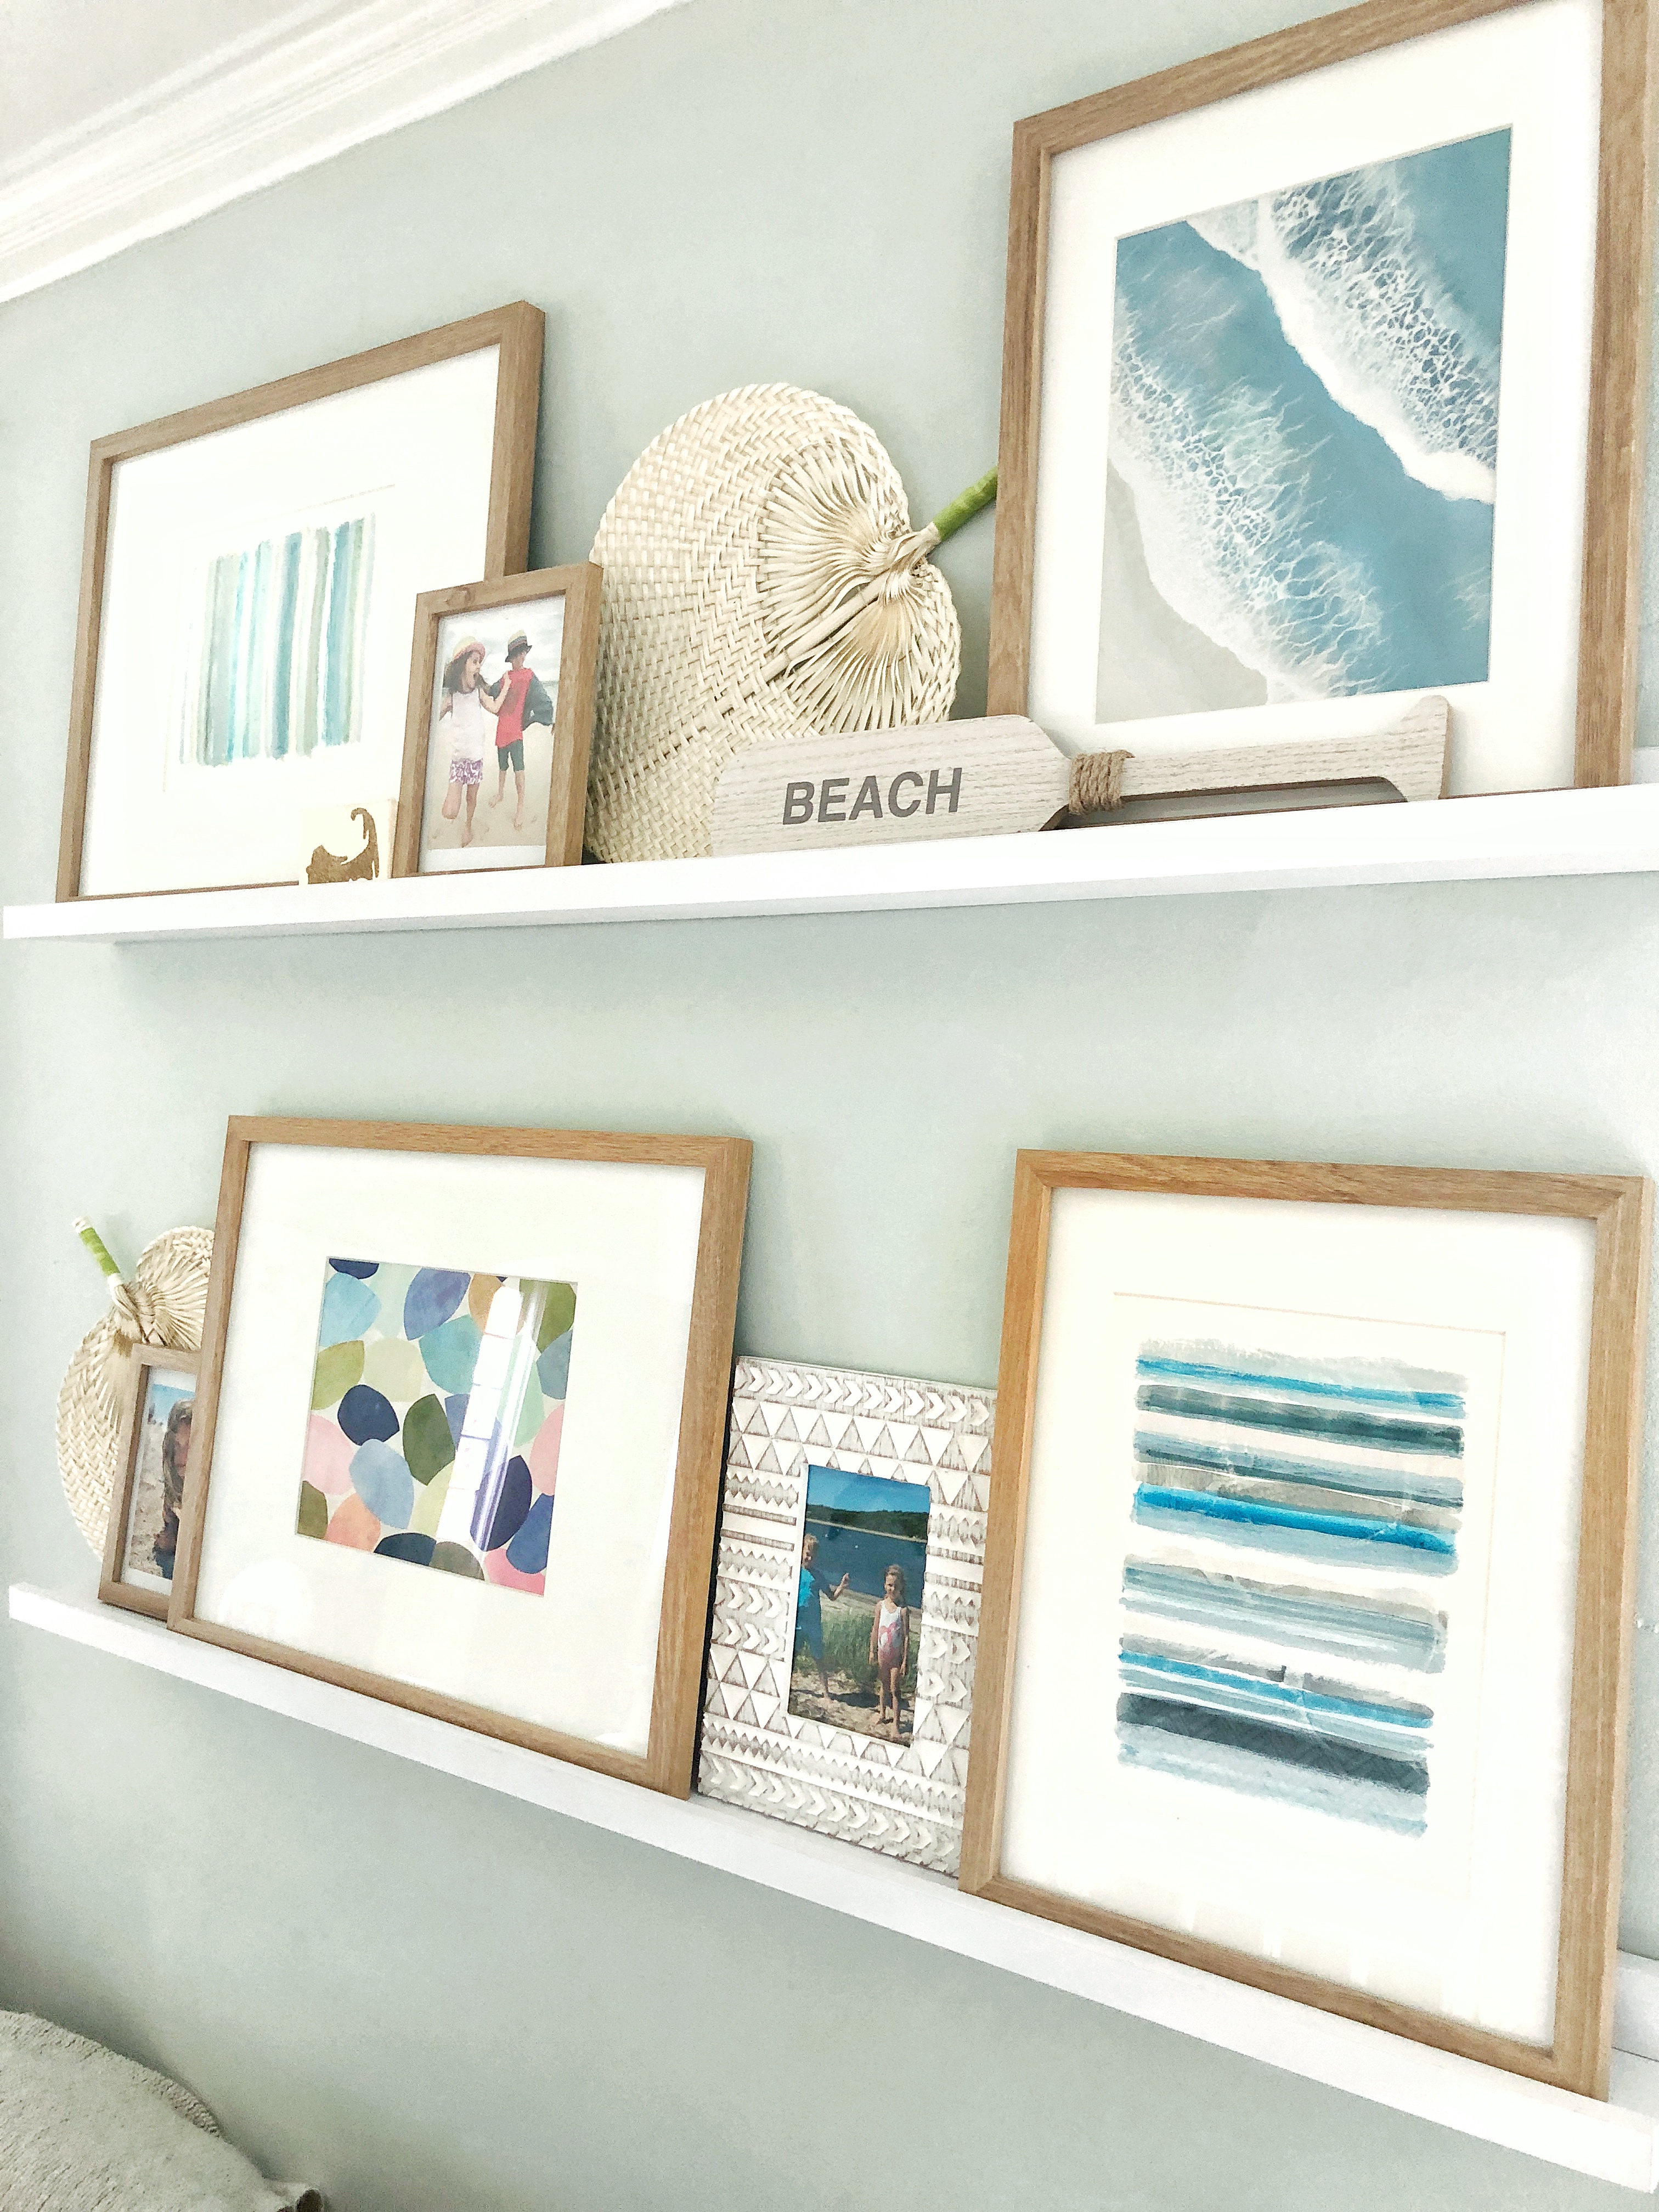
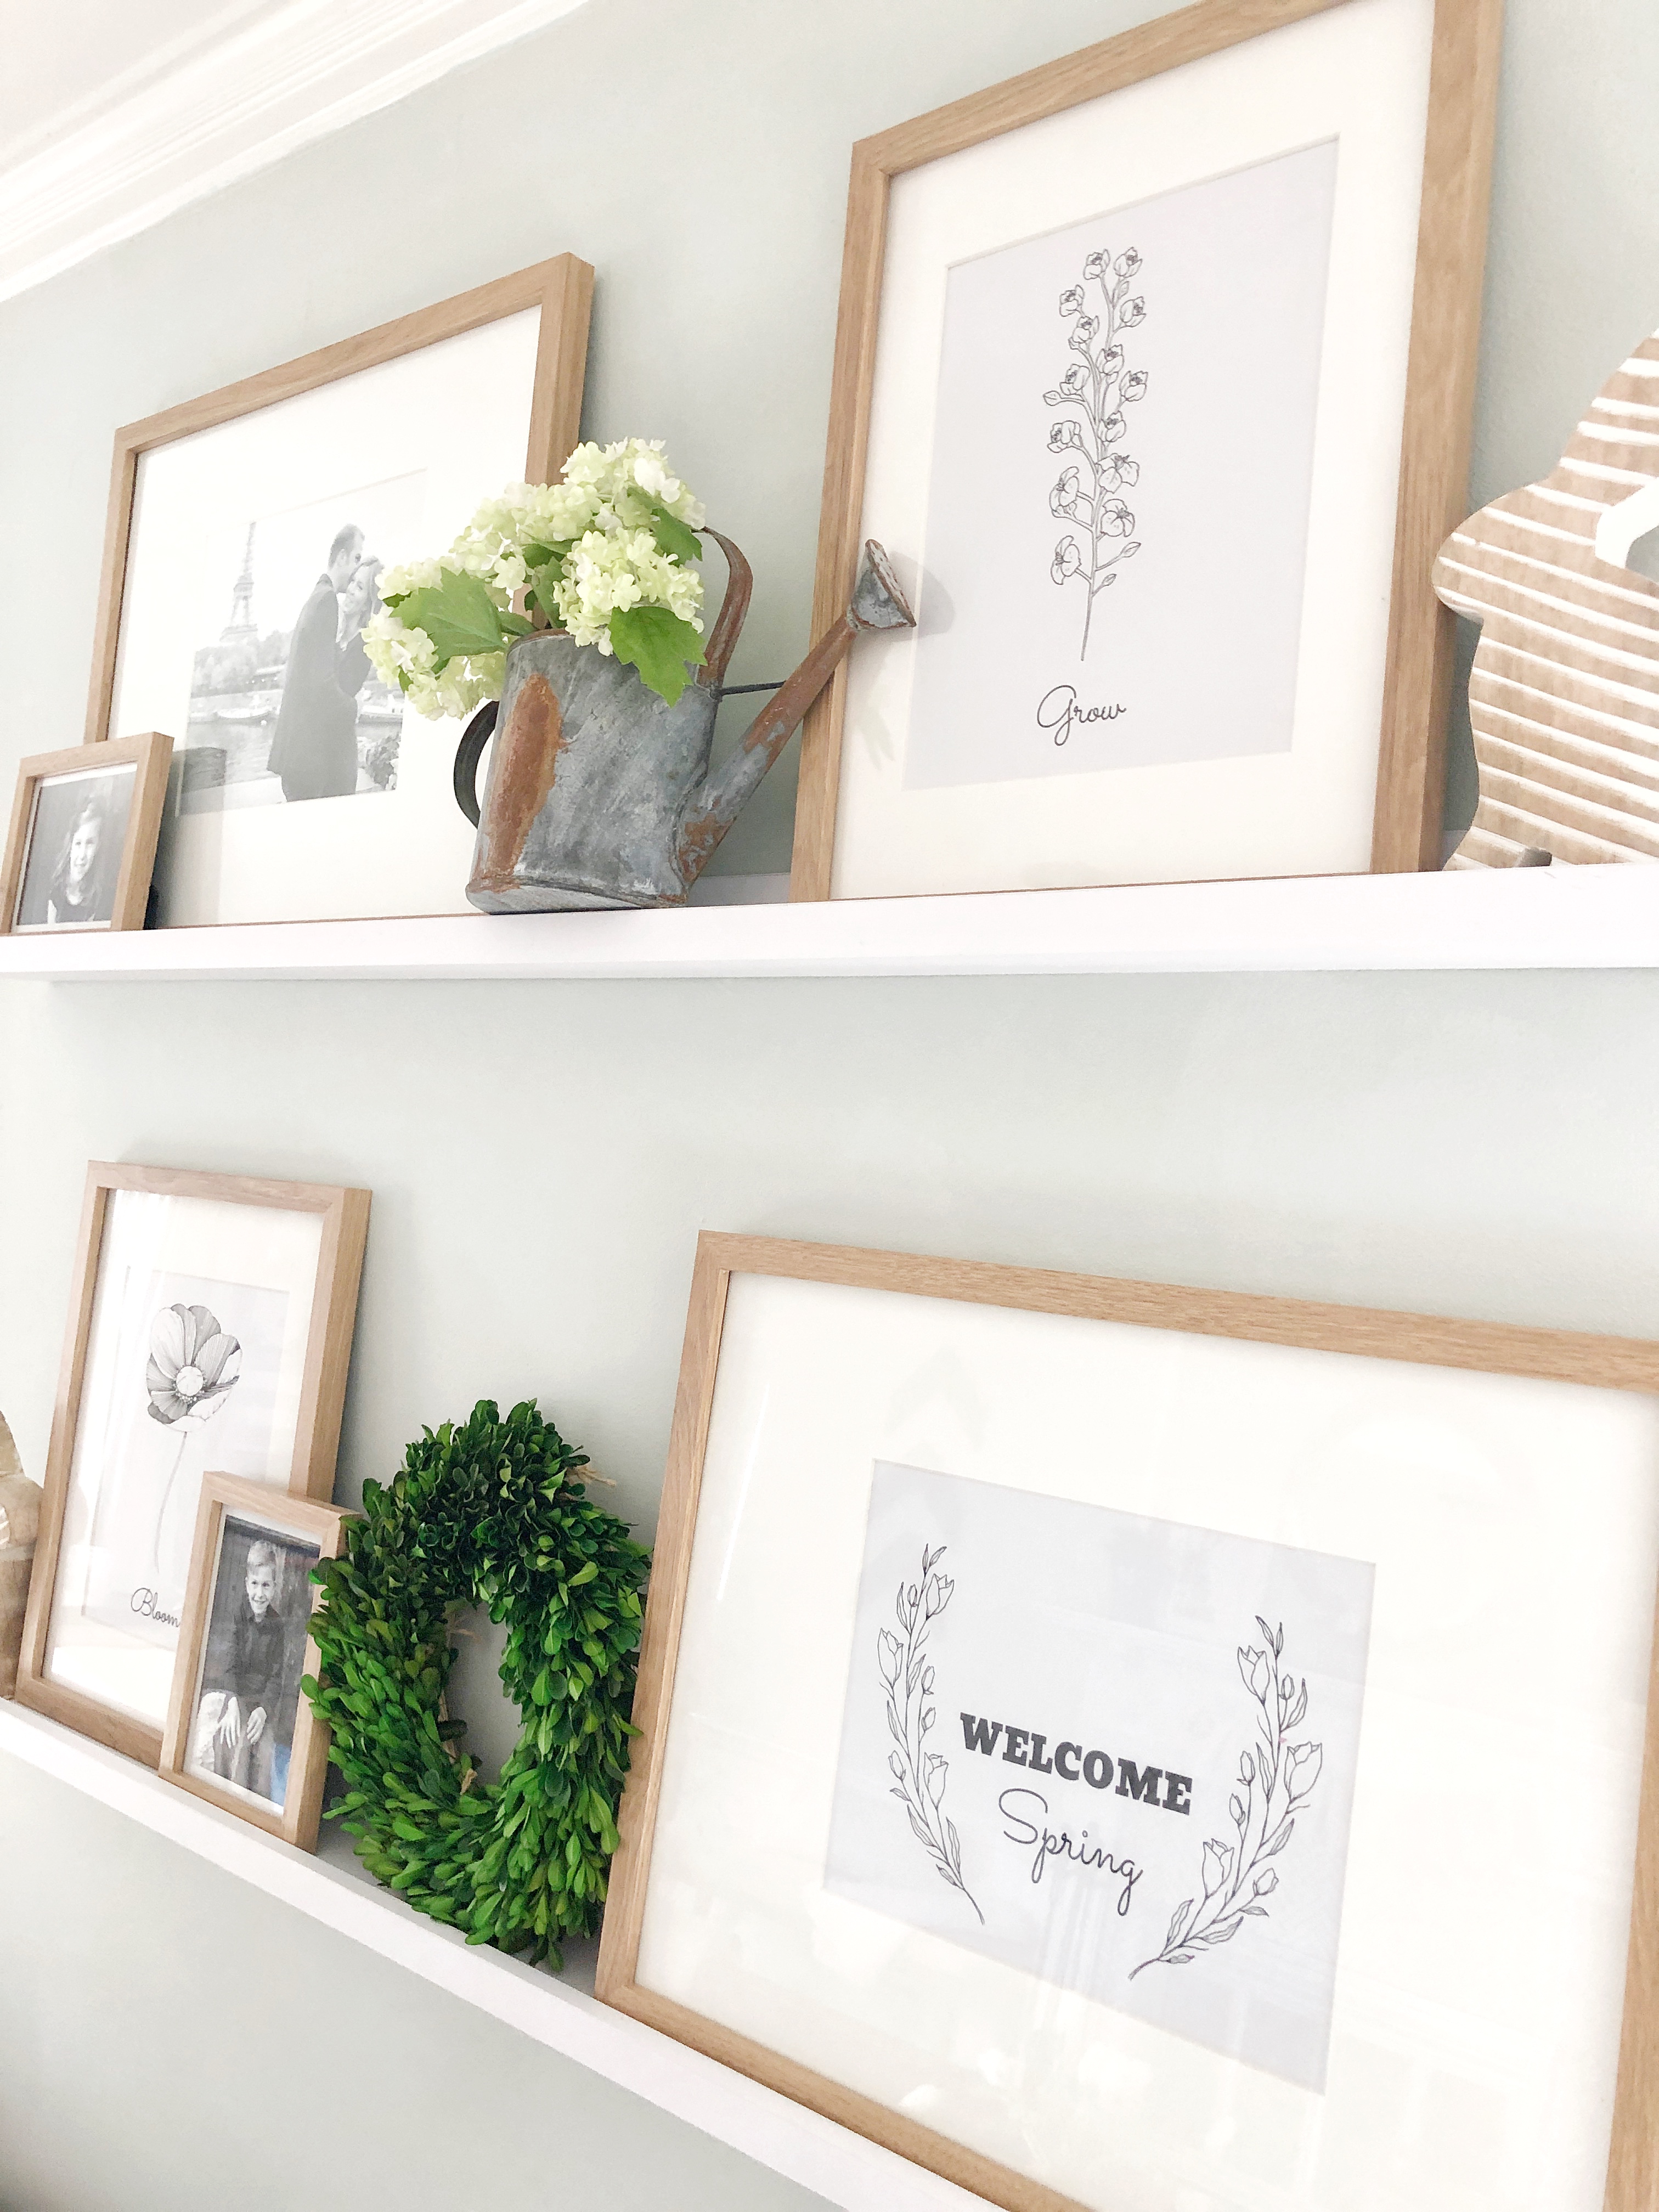
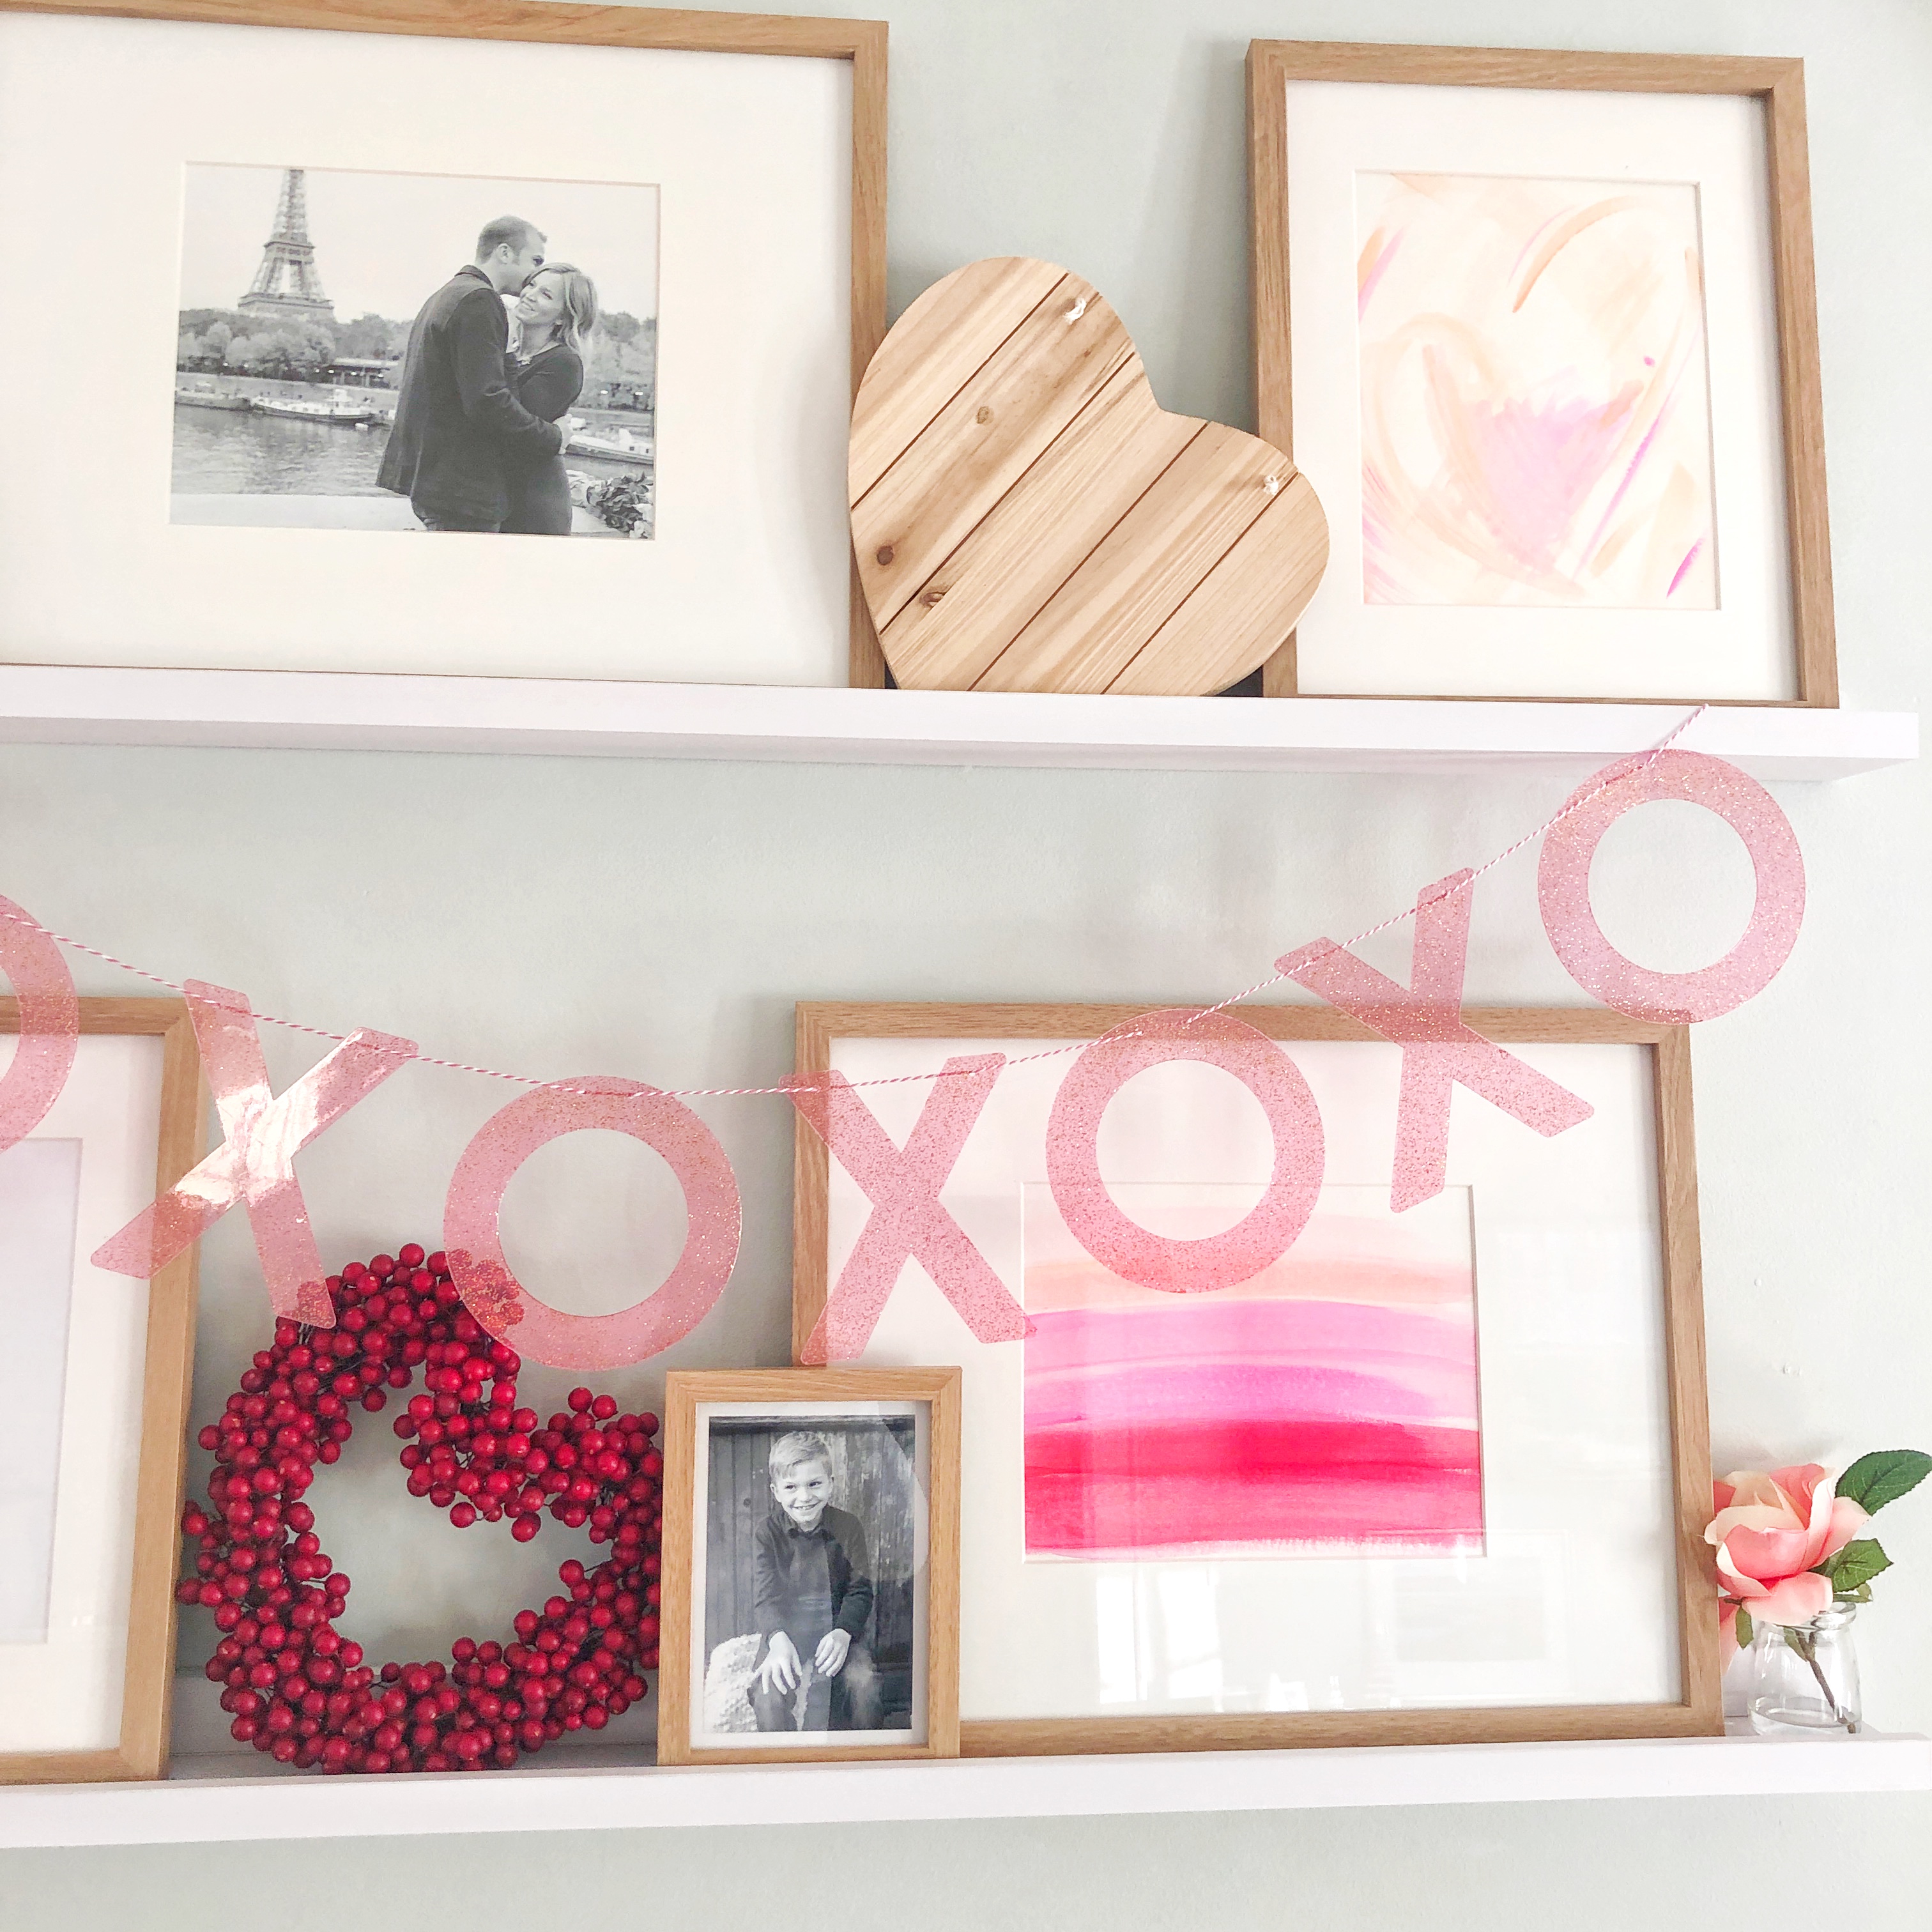
Here is a look back at what I’ve done the past few seasons/holidays…
Summer:
Spring:
Valentine’s Day:
If you are looking to decorate a main wall area in your home-and stuck on what to add I encourage you to consider adding ledges and simple clean line frames of varying sizes that you can swap out seasonally. It’s so easy and there are so many different things you can add to the frames. Here are some ideas…
Ideas for for art:
Kid photos
Kid artwork
Watercolor Prints
Photography
DIY art
Frame Paper/Fabric
Frame pressed natural elements (leaves)
Where to purchase art?
Local art studios/markets
How to decorate art ledges?
If you noticed from the past seasons I tend to choose a color scheme or a focal point and work off that. I always use a couple elements that wouldn’t be expected for example a small wreath, cutting board, banner, vase with flowers…or other seasonal decor. By mixing in other decorative elements to the framed artwork it really adds another layer of interest to the wall.
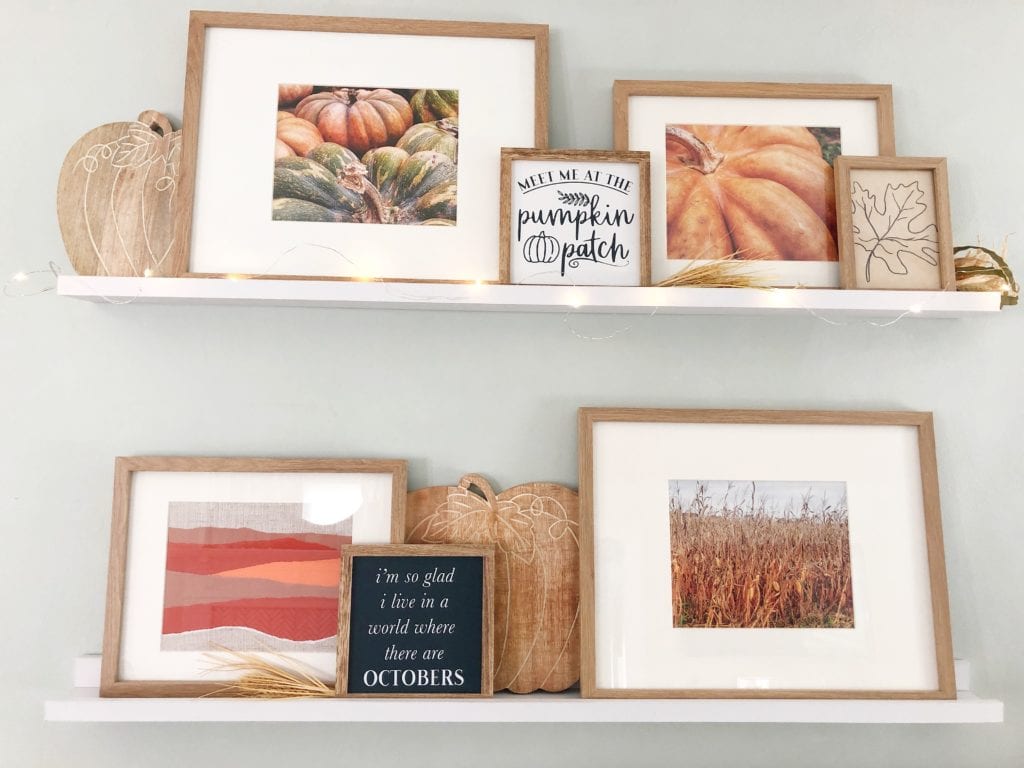
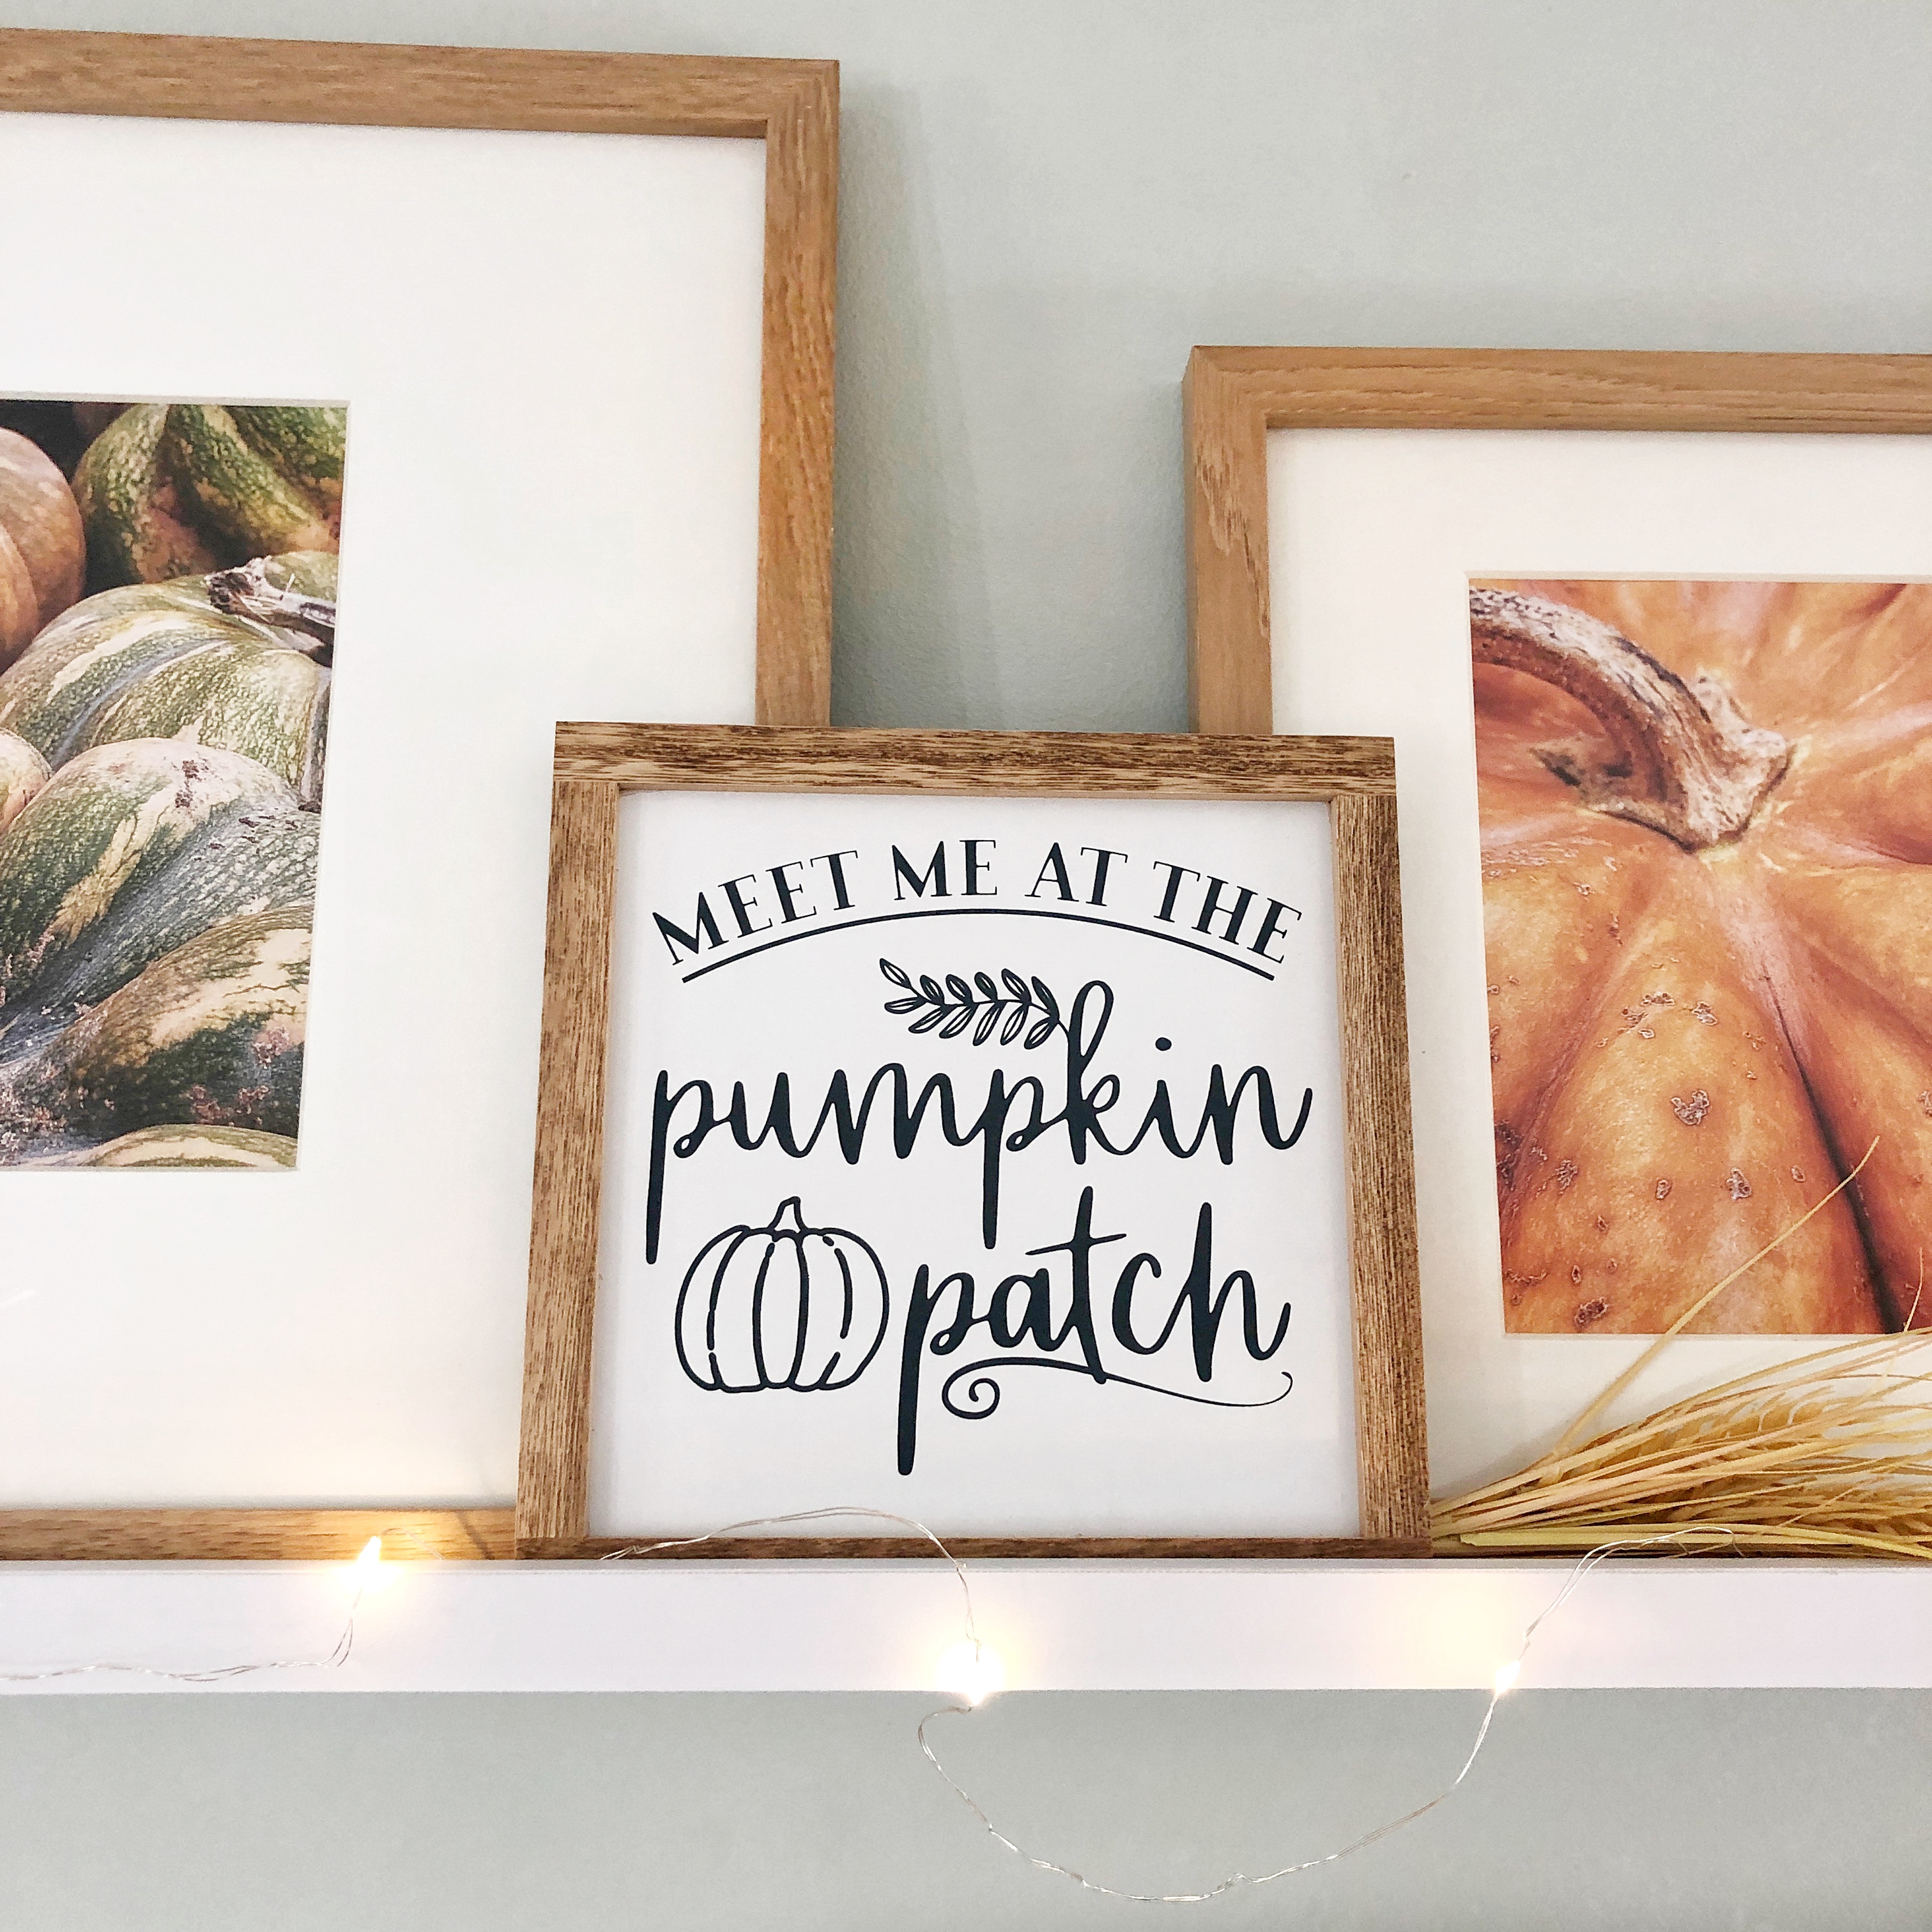
I’m really excited to show you guys what I did with the ledges this fall! I started with a package of two black and white wood framed signs from the target dollar spot because I noticed that their frames matched the wood ones we have on the ledges. I also loved the cute sayings about fall. I fell in LOVE with THIS set of art prints on Etsy and just had to include them in some frames. They are inexpensive because they are for download. I prefer this because I can quickly get the files emailed after purchase and bring them to a local print center. It’s such a quick inexpensive way to find wall decor, plus supporting an artist! Once I added these pumpkin harvest photos it basically took the whole display to another level.
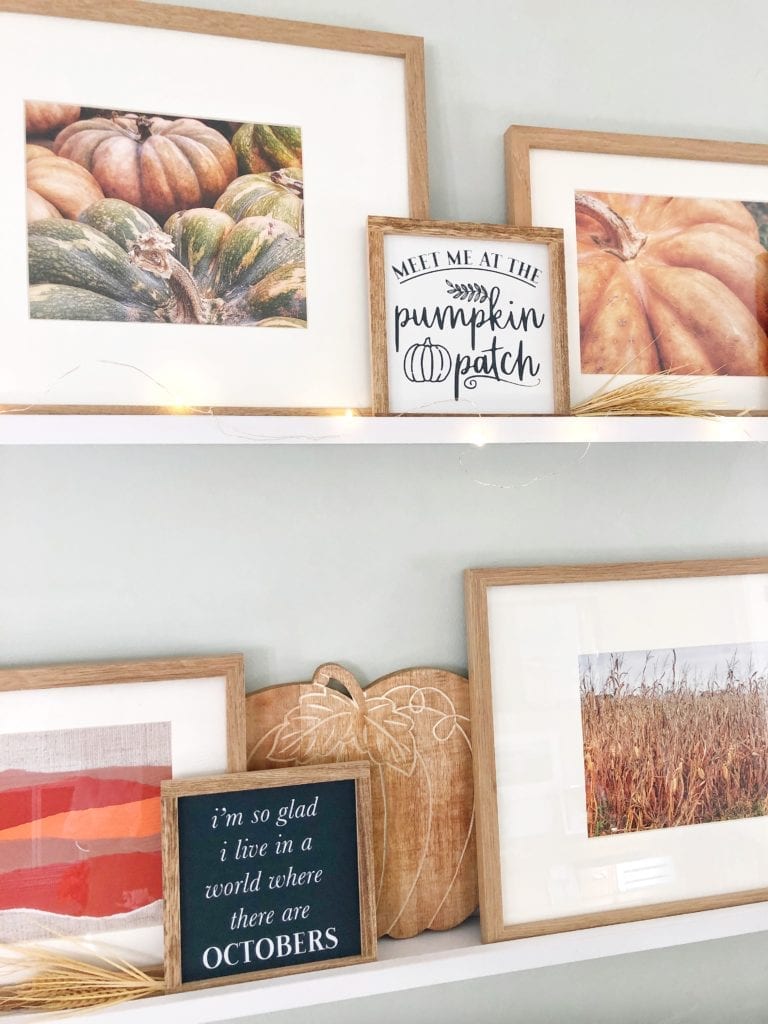
At first I tried making all my own art, which was fun but it was too much of the same thing. Once I mixed the photographs with my scrapbook paper abstract art (which I made by simply tearing paper in my color cheme and layering/overlapping it) the combination of fall signs overlapping the harvest photographs, is a lovely juxstaposition and adds more dimension to the ledges.
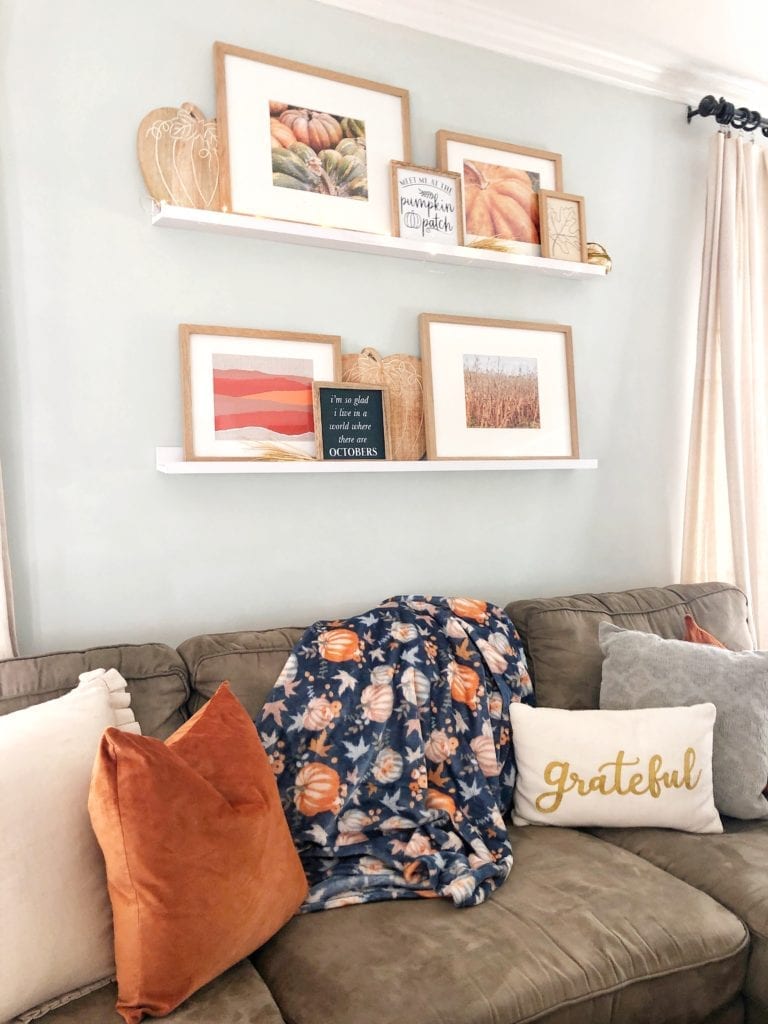
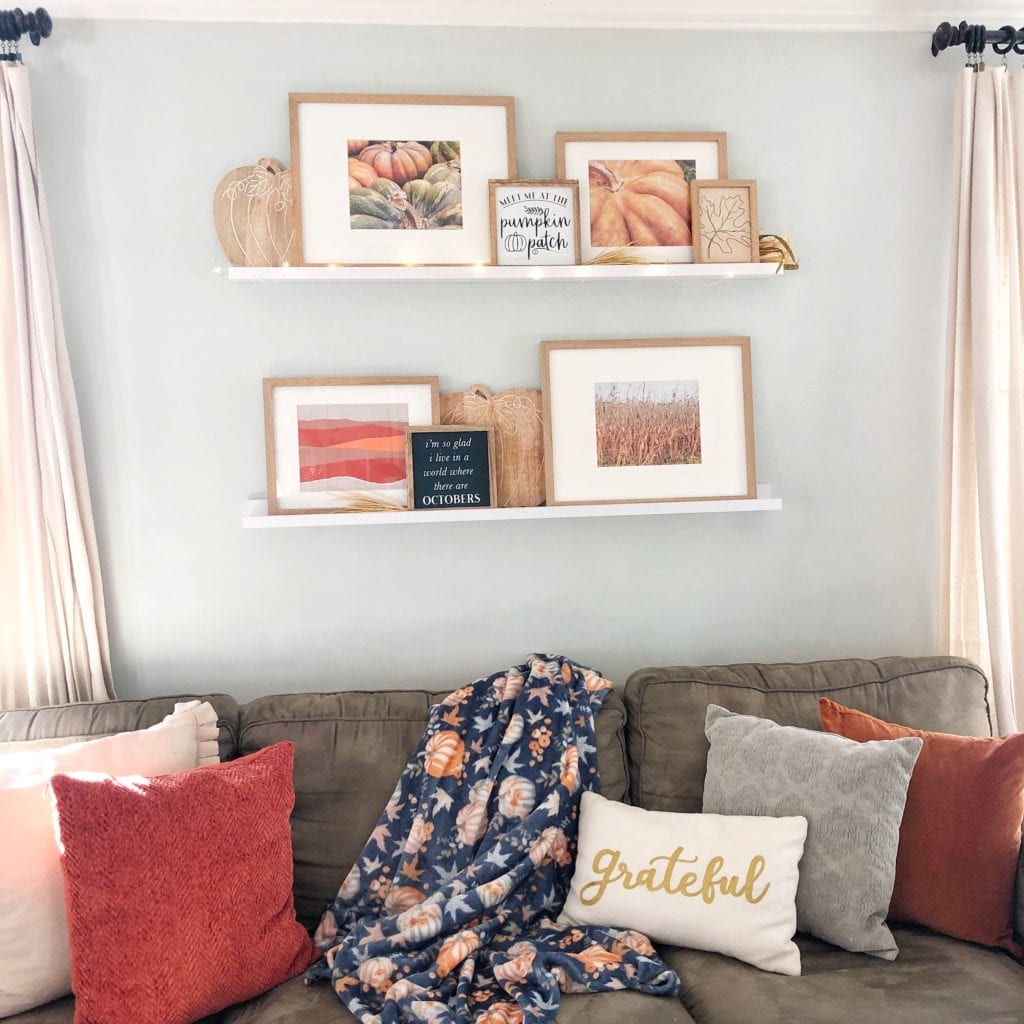
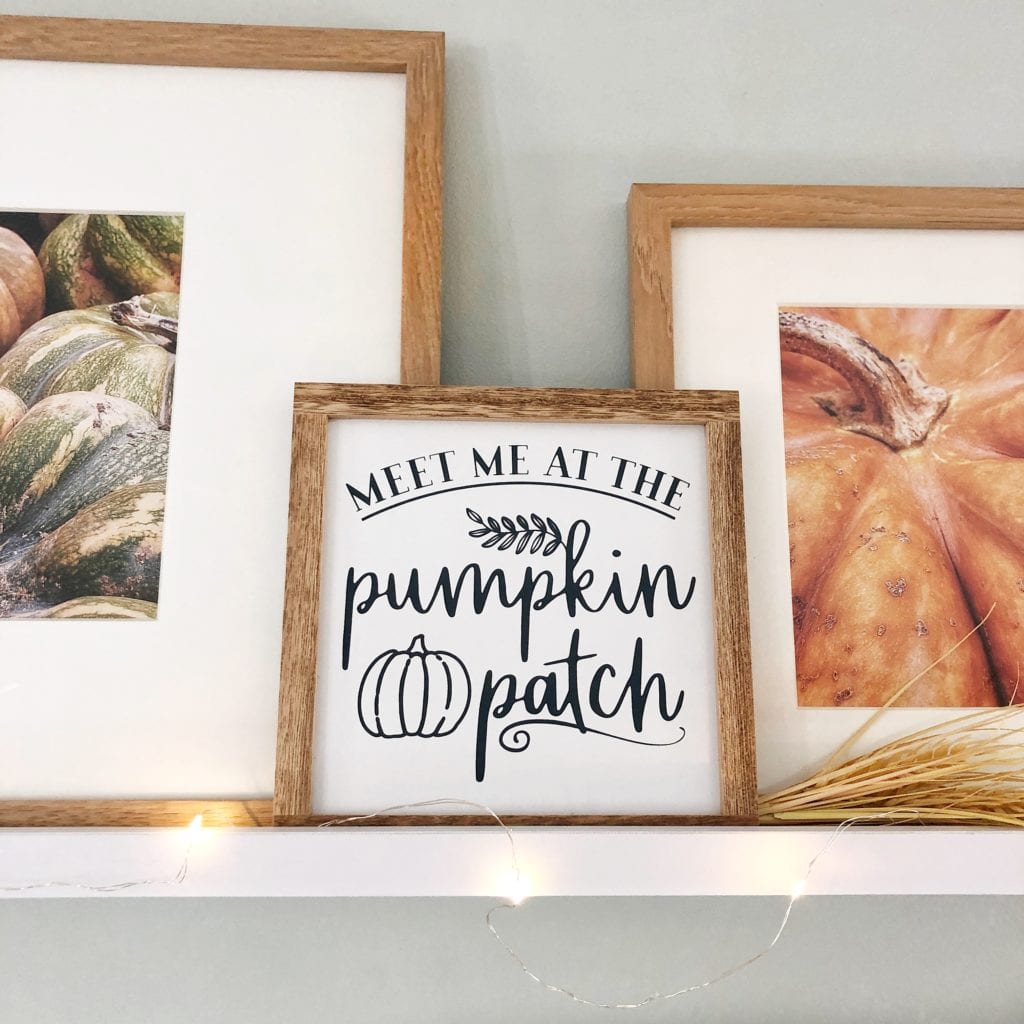
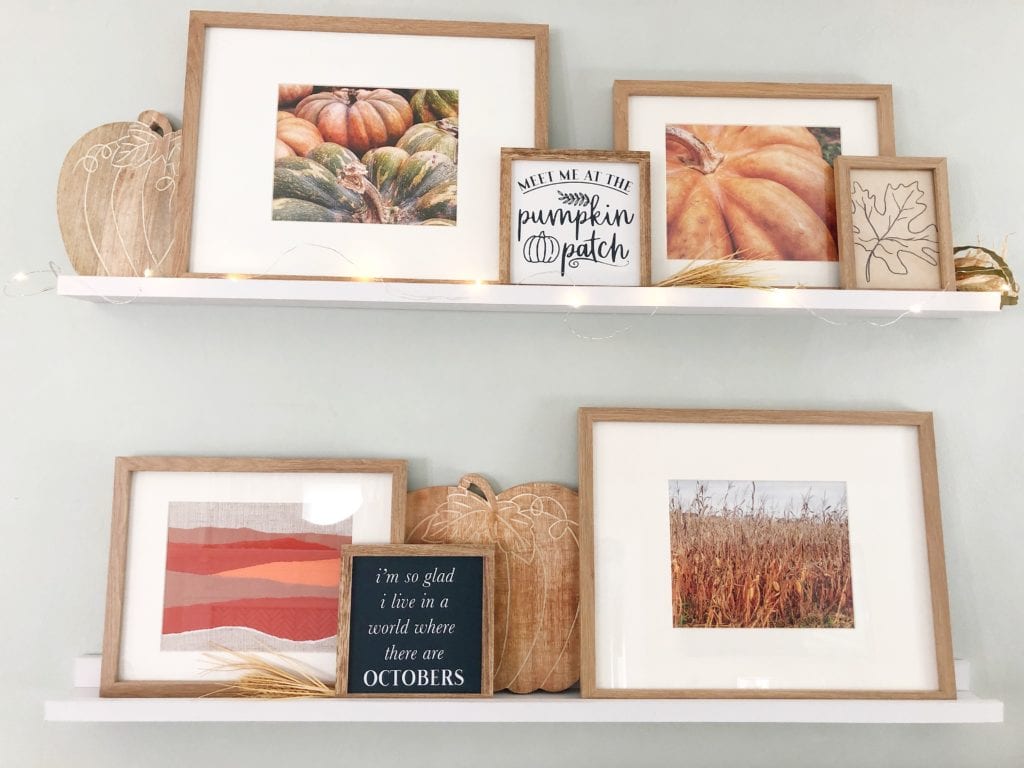
To finish off the fall art ledges and bring in more detail, I added some small wheat picks that I found in the target dollar spot section, I slid them between the overlapping frames and I love the texture it adds to the whole display. The pumpkin cutting boards peek through behind the frames giving more depth than just wall space. The twinkle lights just make everything extra cozy, too.
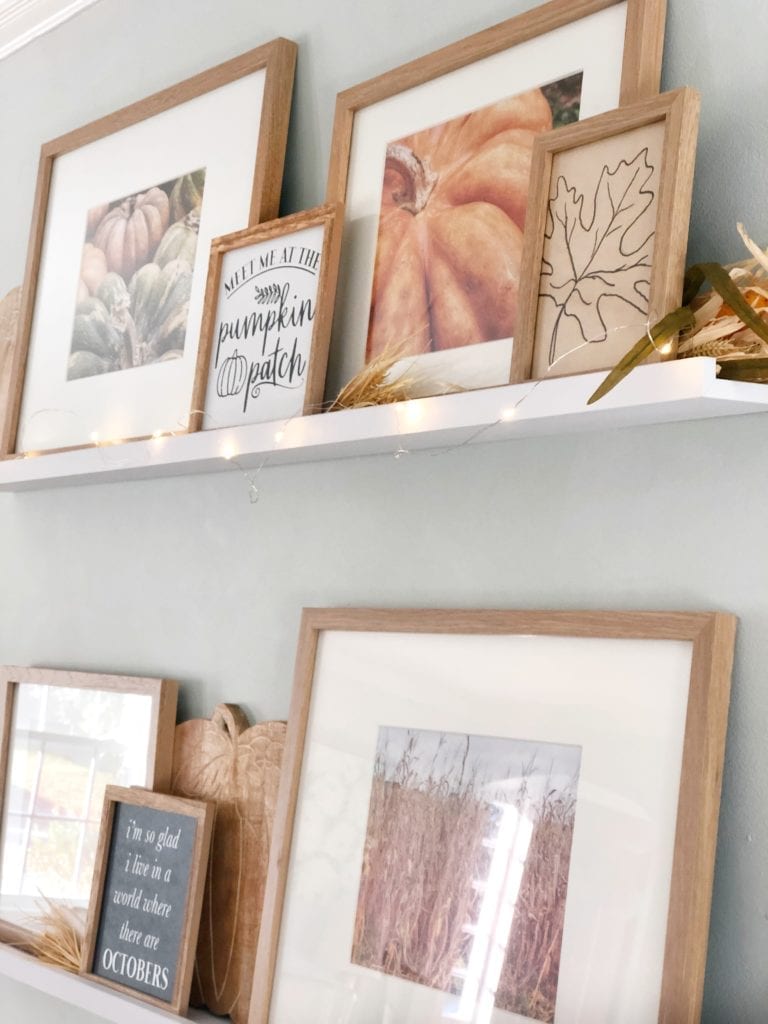
There you have it! My fall art ledges were very inexpensive, I didn’t even spend over $25 to change out this display, it was very easy and I love how cozy this wall space feels in our living room. What do you think of my fall art ledges? Do you have a favorite of all the seasons so far? I’m not sure I can decide! But fall has my heart for sure.
Shop this Post:
Pin for Later:
