


DIY Planter Boxes
I’m really excited to share how we made these simple and cute planter boxes for either side of our front door for spring. They are perfect for planting flowers, topiaries or even faux florals too! I was looking for something black and square shaped to fit either side of our front door but everything online was just too expensive. So we decided to make our own! Be sure to follow me over @jordecor for more fun ideas and projects!
Below I’ll share how you can make your own too. We also made a larger one that we just added an extra plank of wood in the side panel. But we are just showing you how to make two smaller size ones which measure to be:
- 18 inches high
- 14.5 inches wide
- 15.5 inches deep
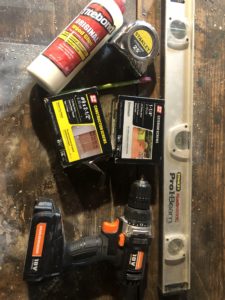
Before we start let me just preface that we aren’t avid builders and we don’t have a ton of tools (yet). I love that when you push yourself to try something new and succeed (even if you mess up a couple times) it helps build your confidence down the road to try other projects in your home. I’d say we are somewhere in the beginner/ intermediate range when it comes to building, so if we can do this you can too! We made our planter boxes using these supplies:
- circular saw
- drill
- exterior screws
- 2 1/2 inches
- 1 1/4 inches
- wood glue
- sand paper fine grit
- wood filler
- tape measure
- pencil
- stain
- exterior sealant
- brushes
- wood planks (we couldn’t find cedar but thats preferred)
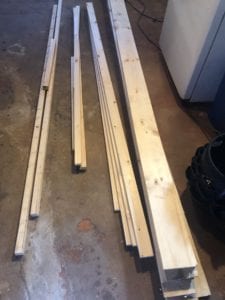
Wood Needed for the Planter Boxes
Note – the wood required is for two boxes. If you want to make just one planter box, cut the wood required in half (no pun intended)
- One 1x2x10
- Two 1x6x10
- Two 1x3x8
- Two 2x2x6
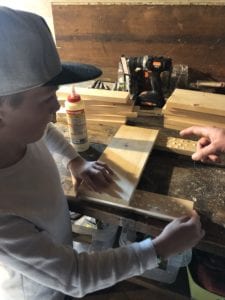
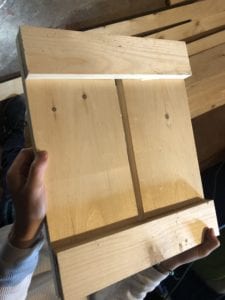
Step 1: Cut the Side Planks
You’ll need to cut the 1×6 wood planks to create the panels for your planter boxes. You’ll have two planks for each side, totaling 8 planks. Each plank should be 14 inches long.
Step 2: Cut the Top Trim
On each side we have trim at the top and bottom to add some dimension. These are from the 1×3’s, cut each one to 11.5 inches long.
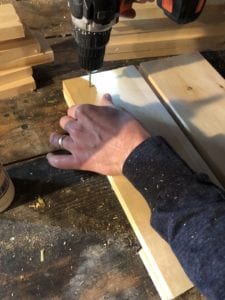
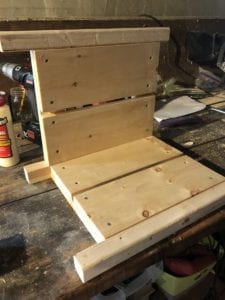
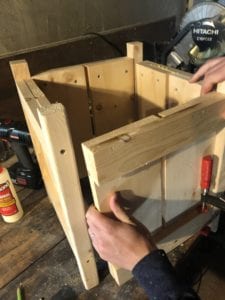
Step 3: Assemble Four Sides
Once you have the two panels and two trim pieces per side, let’s assemble the four sides.
To make 4 sides, we’re going to assemble one side at a time
First, lay the top and bottom trim pieces down. Put wood glue on each trim piece.
Then lay two of the side panels down next to each other, so the top and bottom is flush to the top and bottom of the trim pieces. Also, note how we are leaving a small space between the two panels. This is by design as the wood will contract and expand based on moisture in the air.
Then, screw 1 1/4 inch screws through the trim pieces into the side pieces (two on top, two on bottom). Notice how we’re screwing on the inside of the panel, so you won’t see the screws when looking at the box planter.
This it he final product of each side panel.
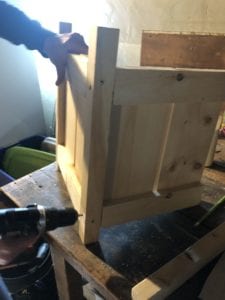
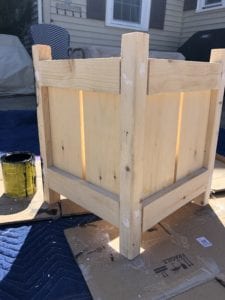
Step 4: Cut the Legs for the Box Planter
Next, we’re going to cut four legs for the box planter. Take the 2×2 and cut four legs, 18 inches each.
Step 5: Attach the Legs to the sides of the Planter
Attach the four legs to the sides of the planter. When attaching, measure these so legs run 1 1/2 inches over the top end, and the remainder (longer end) on the bottom. The bottom will have roughly 2 1/2inches on the bottom. This way the legs are longer than the top, but we have some extra for the top for aesthetics.
For this, we’ll use one 2 1/2inch screw for the top, and one for the bottom – for each leg on each side.
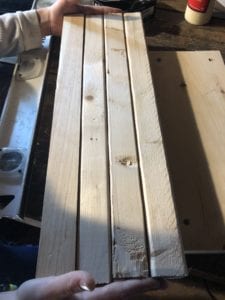
Step 6: Inside ledge
To hold the soil, we’re going to create an inside “ledge” on either side of the interior of the planter, having two “ledges” on opposite sides will rest small planks of wood – to hold the soil.
To do so, cut two 1×2’s and cut to the dimensions of the inside of the box, then screw from the Inside of the box using the 1 1/4inch screws. When you screw to the box, flip the 1×2 so the thin side is pointing up. We’re just doing this to create a ledge.
Then we’ll cut three 1×2’s to use as planks, to rest on the ledges we drilled.
Step 7: Painting and Sealing
Congrats, you made the planter box! Now time to gussy the box up with some painting and sealing. Specifically:
- fill screw holes with wood putty
- let dry
- sand
- stain with stain of choice
- use an exterior poly paint to seal over stain
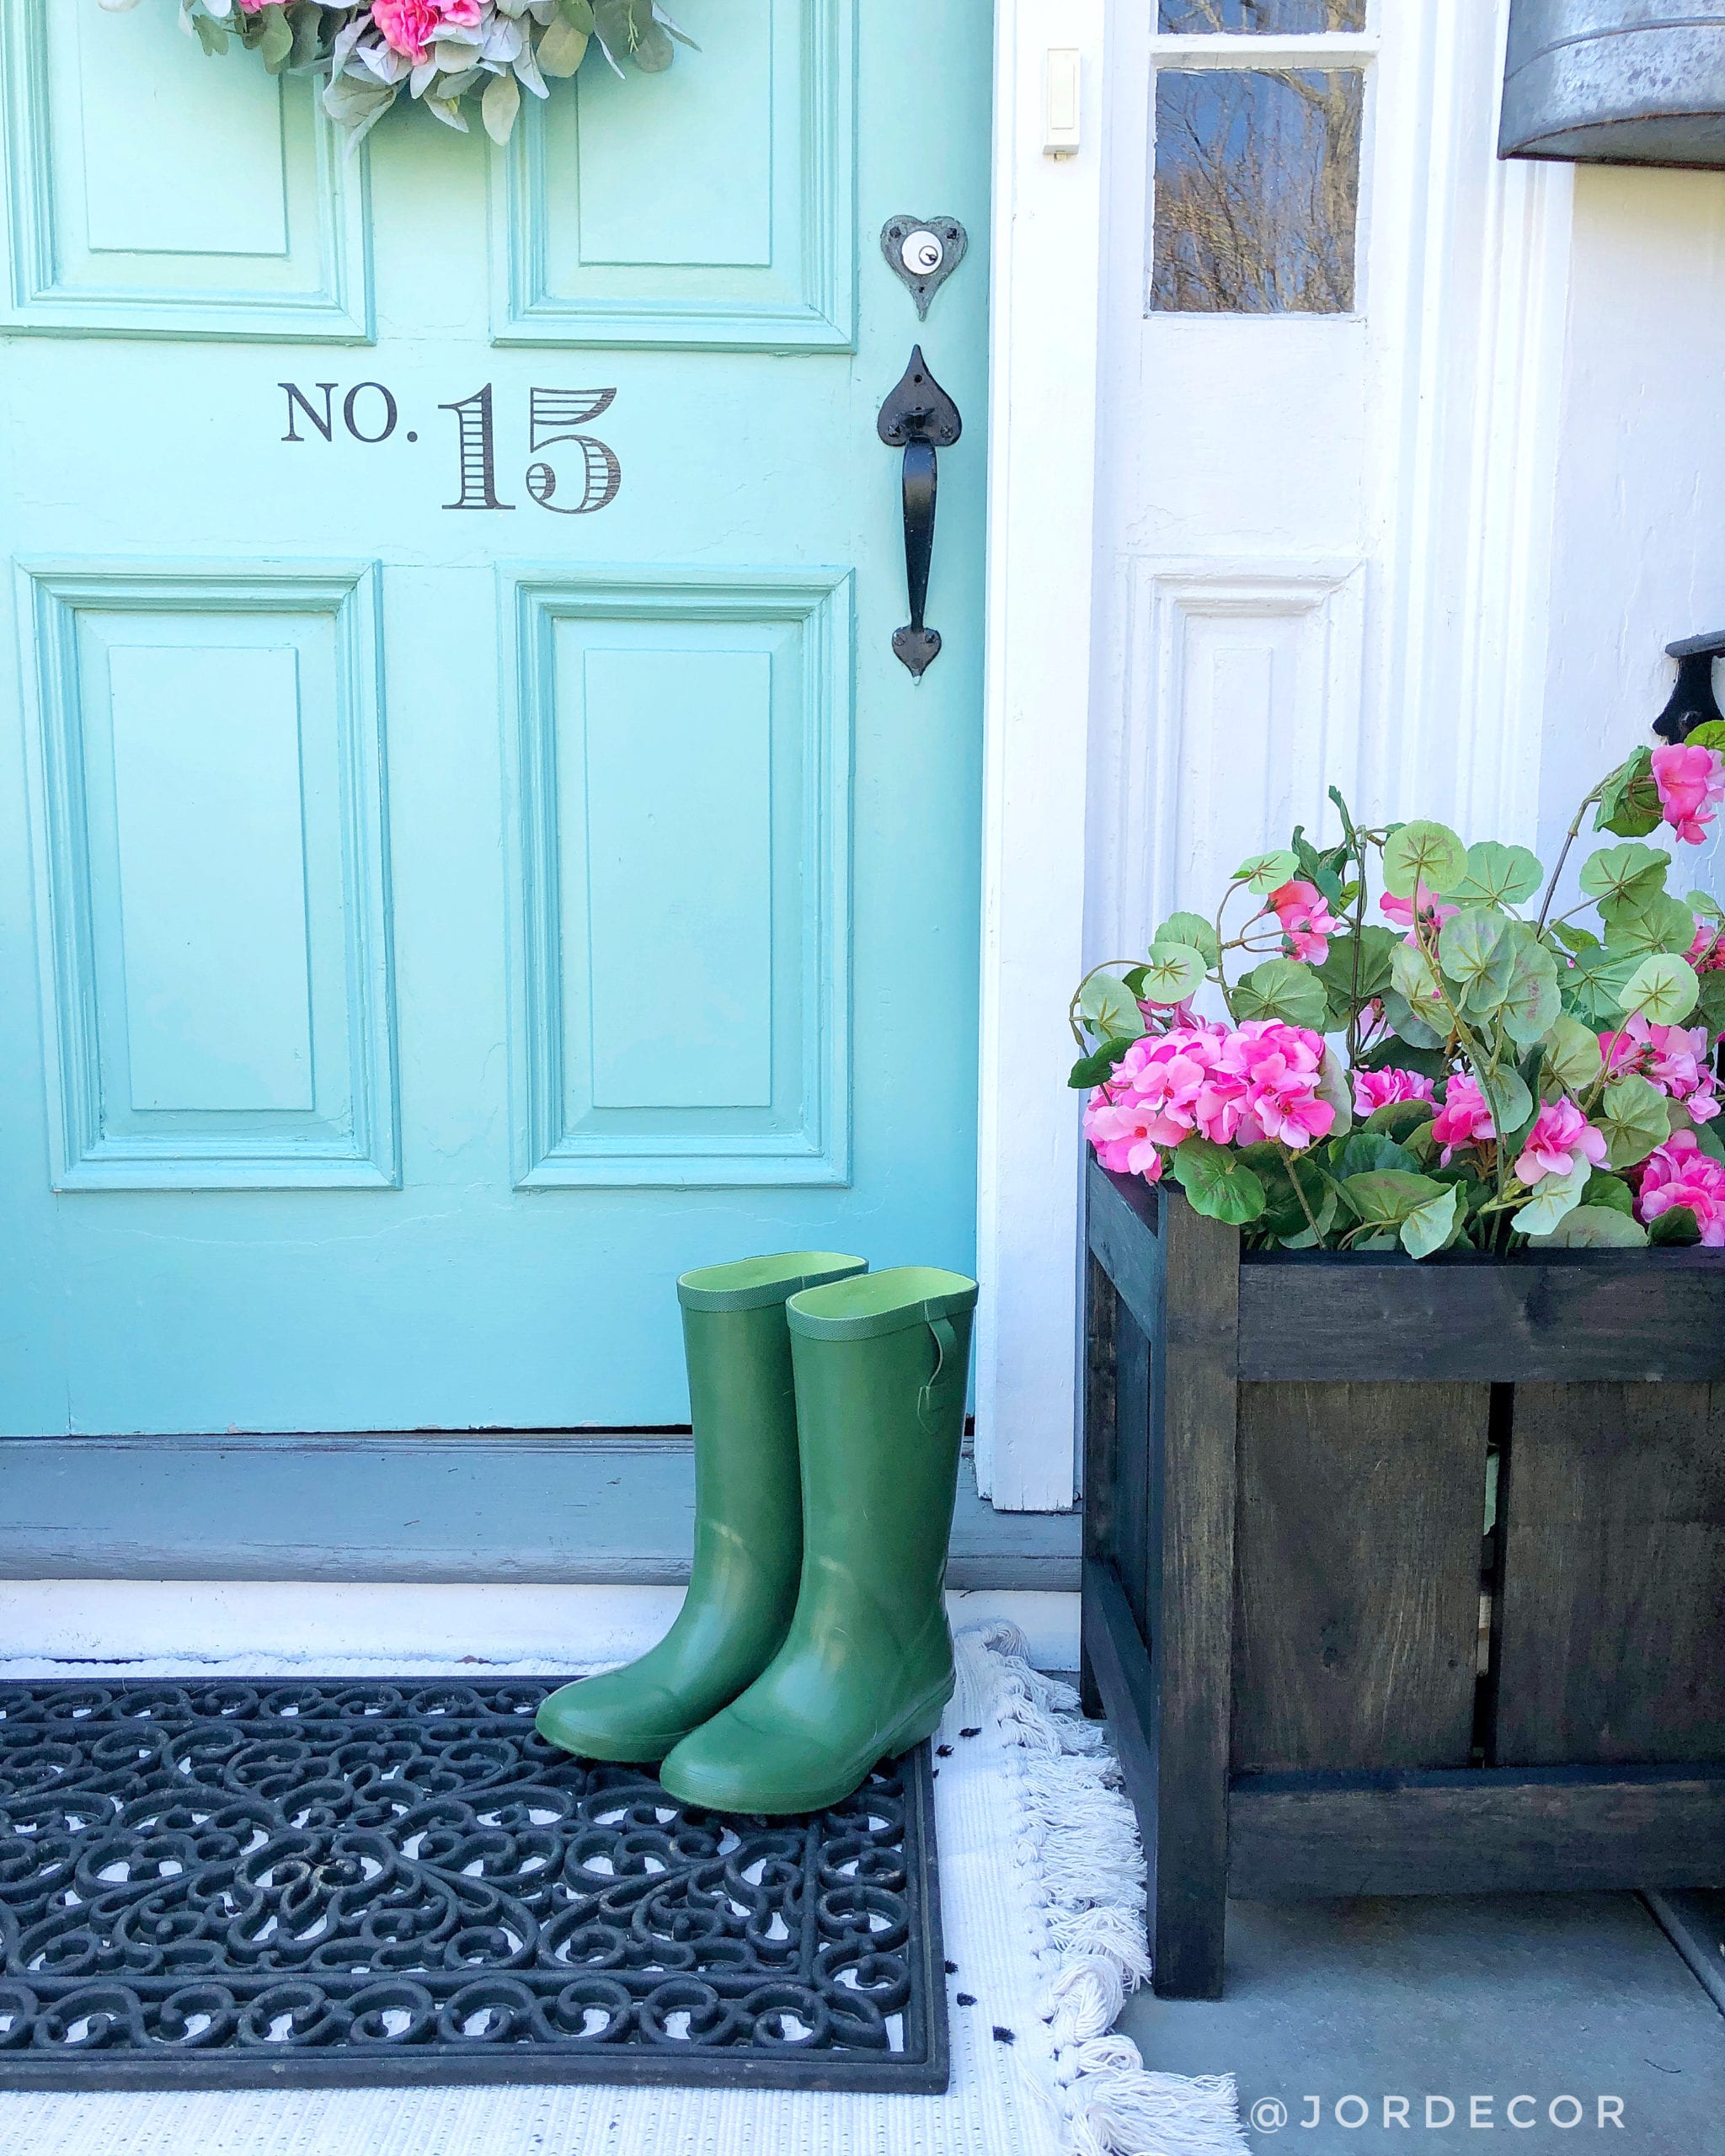
Here is how they look by our front door!
Final Step: Enjoy!
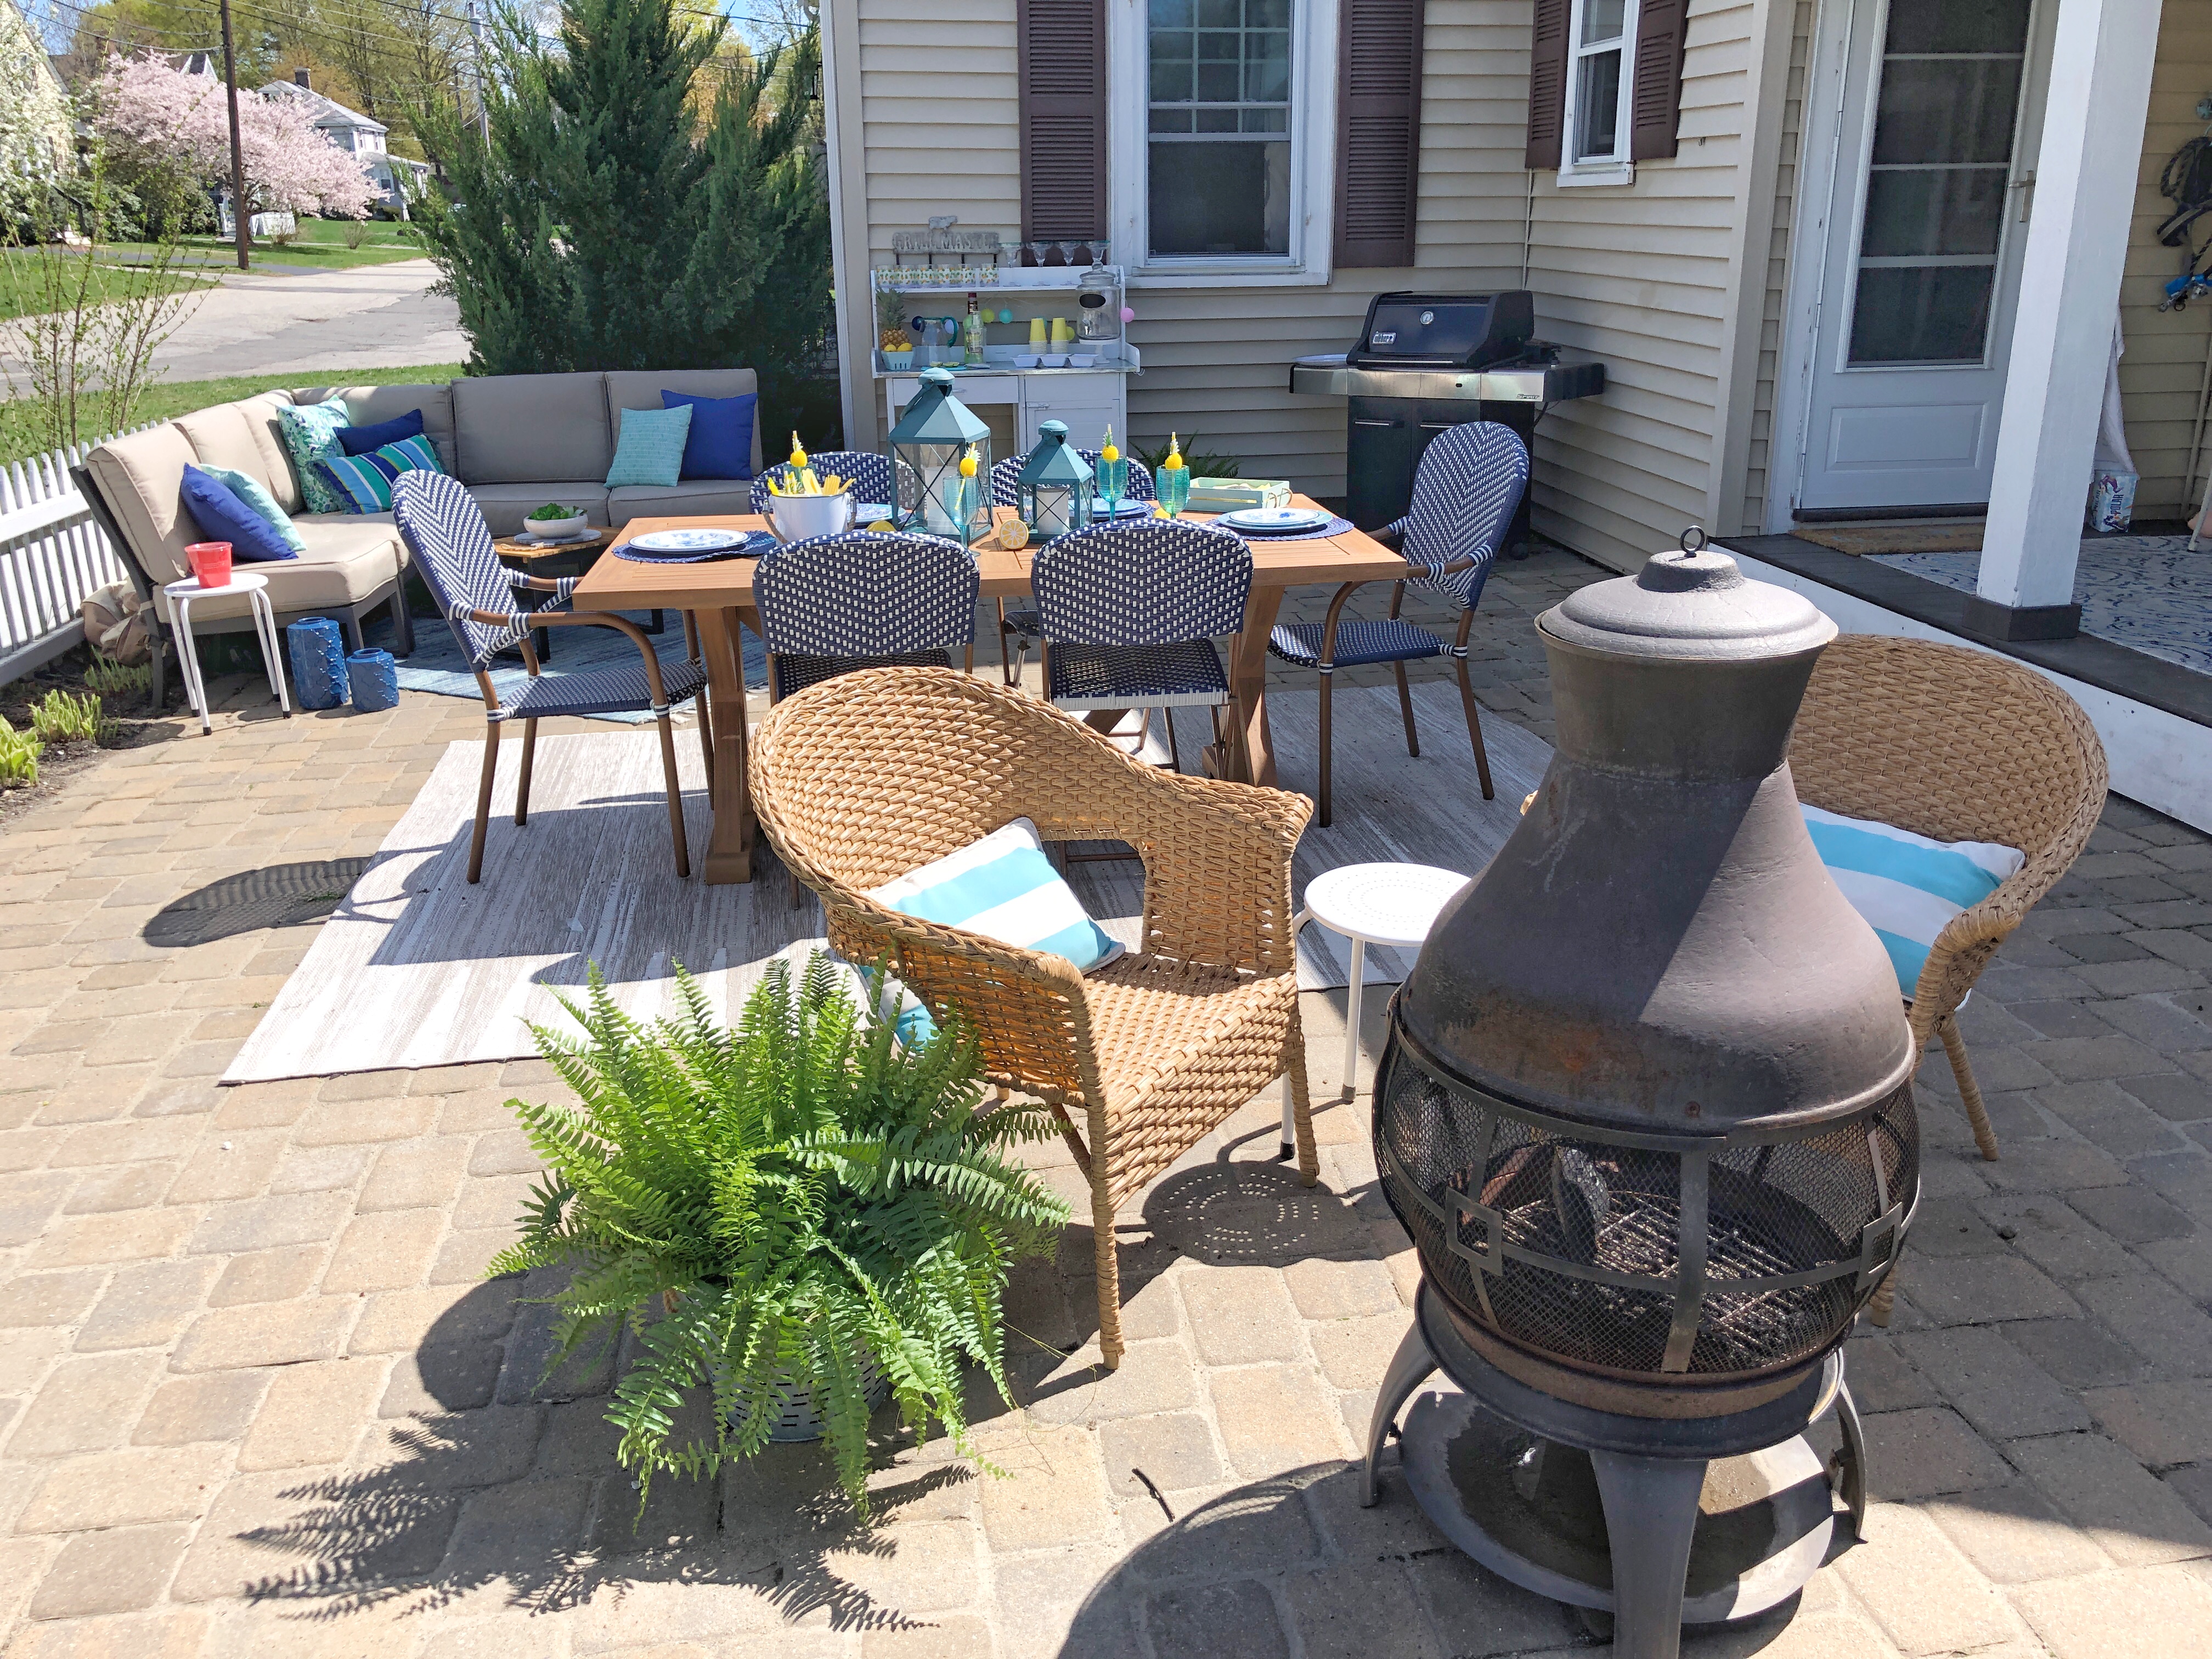
Now that your planter boxes are finished you are ready to add them to your porch, deck or patio! Add a plant a topiary or faux plants whichever you prefer. Here is how I decorated with my Planter Boxes with some faux plants bushes I had on hand for now.
Feeling Inspired to try this project larger scale for your garden? Check out Vintage Society Co.’s Raised Planter Box Tutorial!

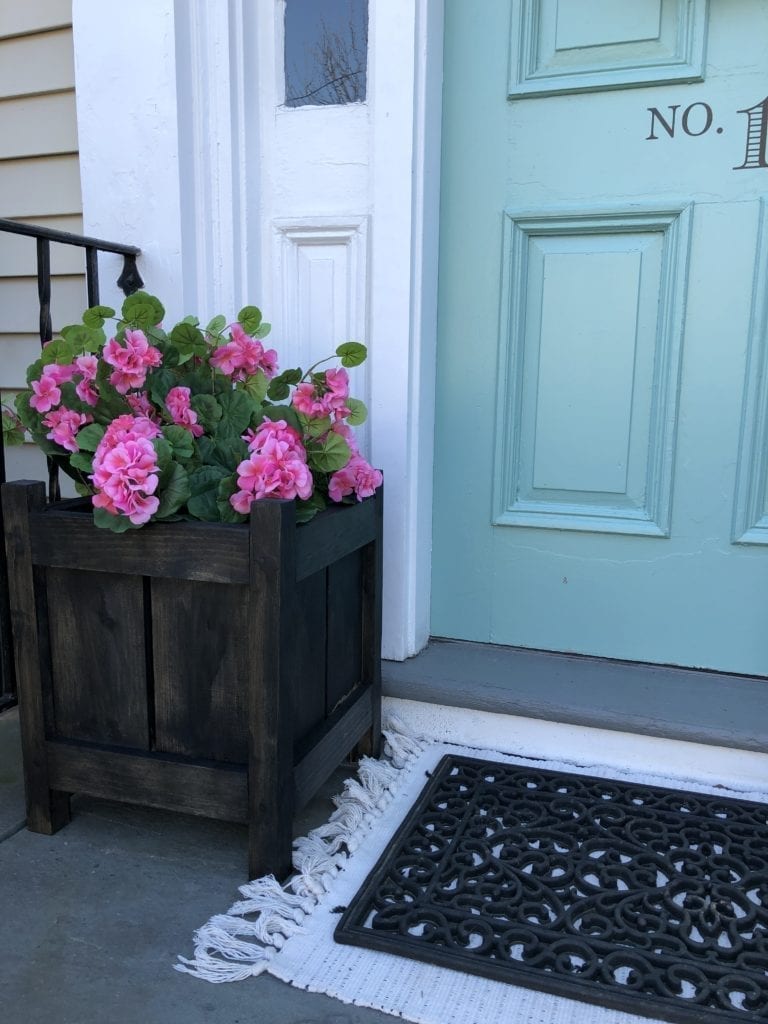
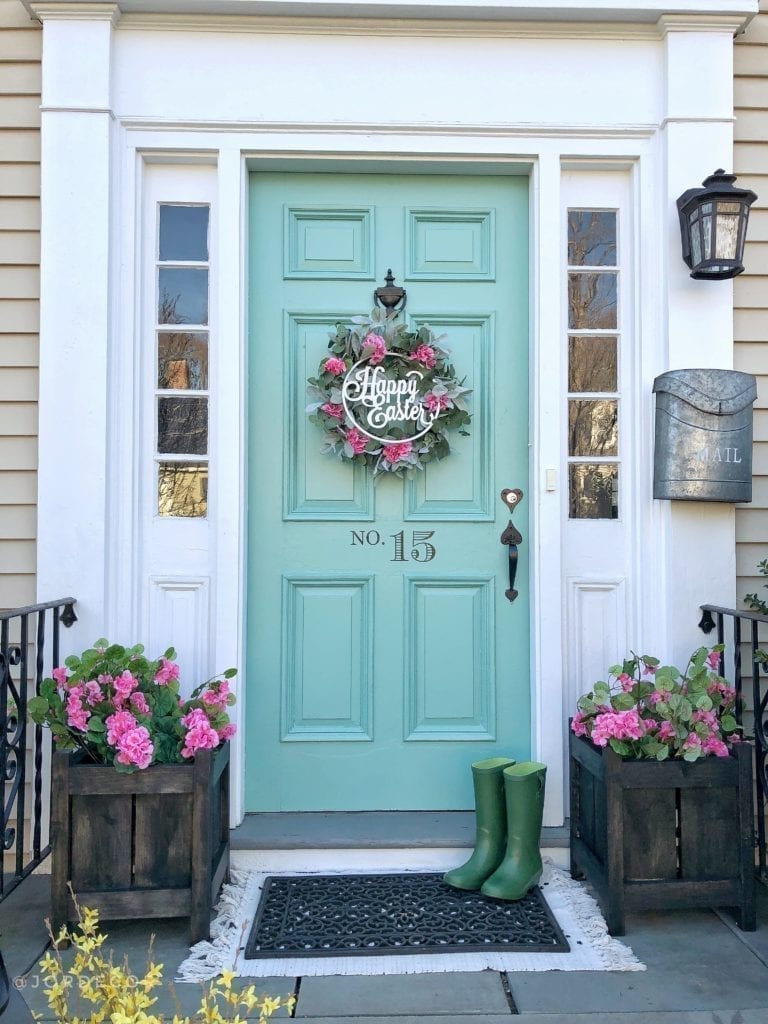
There you have it our simple planter boxes all ready for spring!! Now I do plan to add some real flowers/plants to these once the weather warms up. But I just had to fill them with these faux Geranium stems that I happen to have from when A.C. Moore was going out of sale and they were $1 each! So the good thing is that you can just put some faux branches in there for now until you are ready to get planting’.
Let me know what you think!
Love,
Jordan
PIN FOR LATER:
Leave a Reply


")


Really enjoyed reading your website and articles as directed by Pinterest . Beautiful Woodworking and colors in your work and designs.