


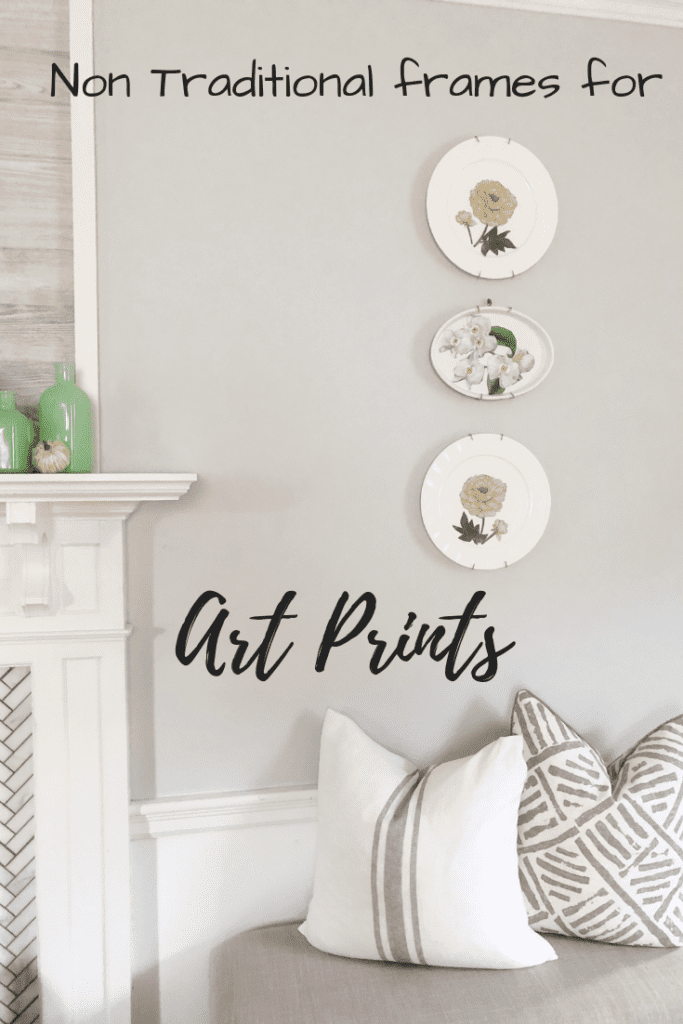
Non-Traditional Frames for Art Prints
*This post was sponsored by Tuesday Morning. As always all thoughts, ideas and opinions are my own. Thank you for supporting the brands I love.
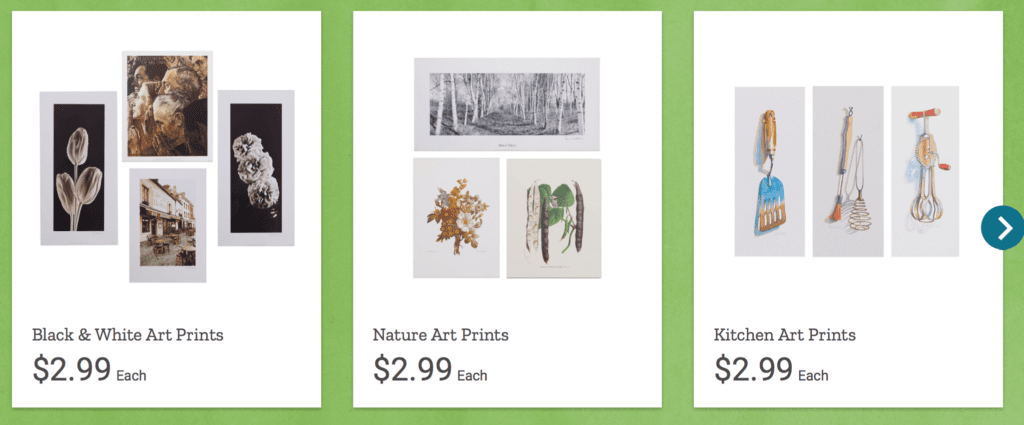
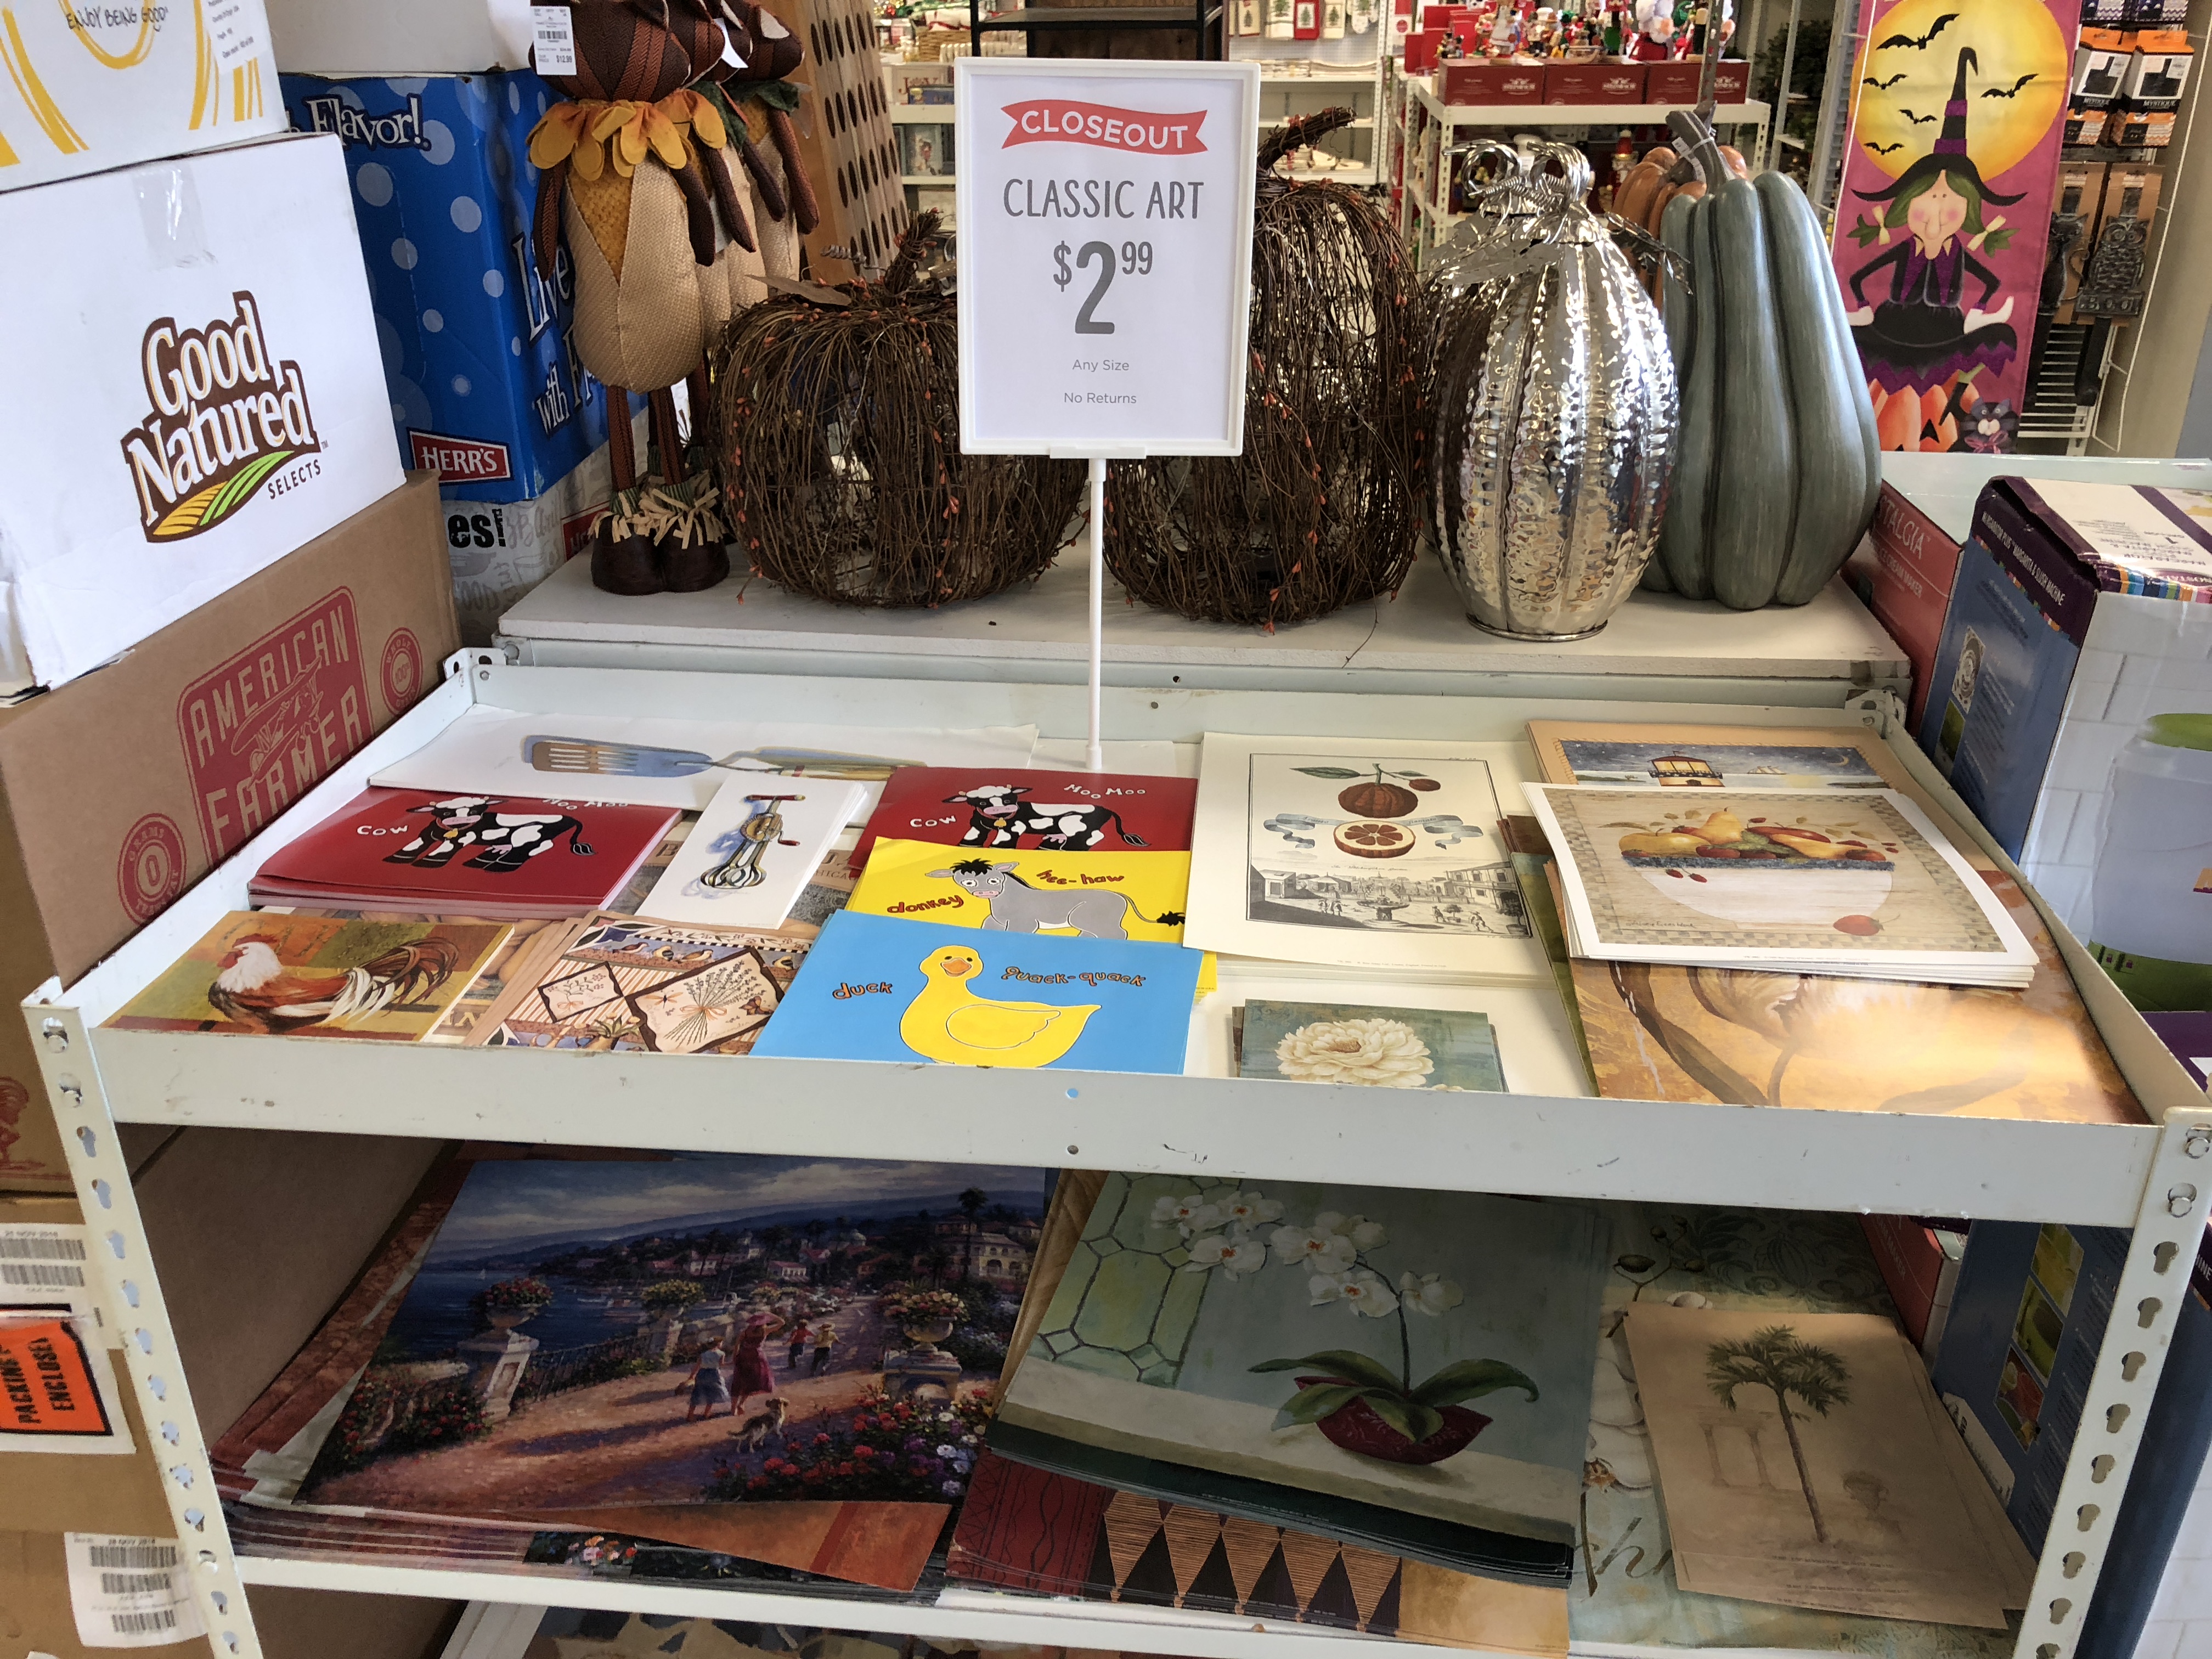
Hey Friends! For those of you that follow along on my decor adventures over on Instagram you know that I’m a frequent shopper at my local Tuesday Morning. They are a home decor store that sells unique items at 20-60% off department store prices. I’m super excited to be teaming up with Tuesday Morning to bring you some ideas for wall decor using art prints. I recently discovered that Tuesday Morning also sells unframed art prints in a variety of sizes/subjects for as little as $2.99. Yes, you read that right, under $3 and that is for all sizes! Keep in mind that each store has a different variety of prints as well. So what I share with you from my store may be different from your own. If you are looking for affordable wall decor I highly recommend checking out their art print selection. Be sure to head to the Tuesday Morning website to find locations near you.
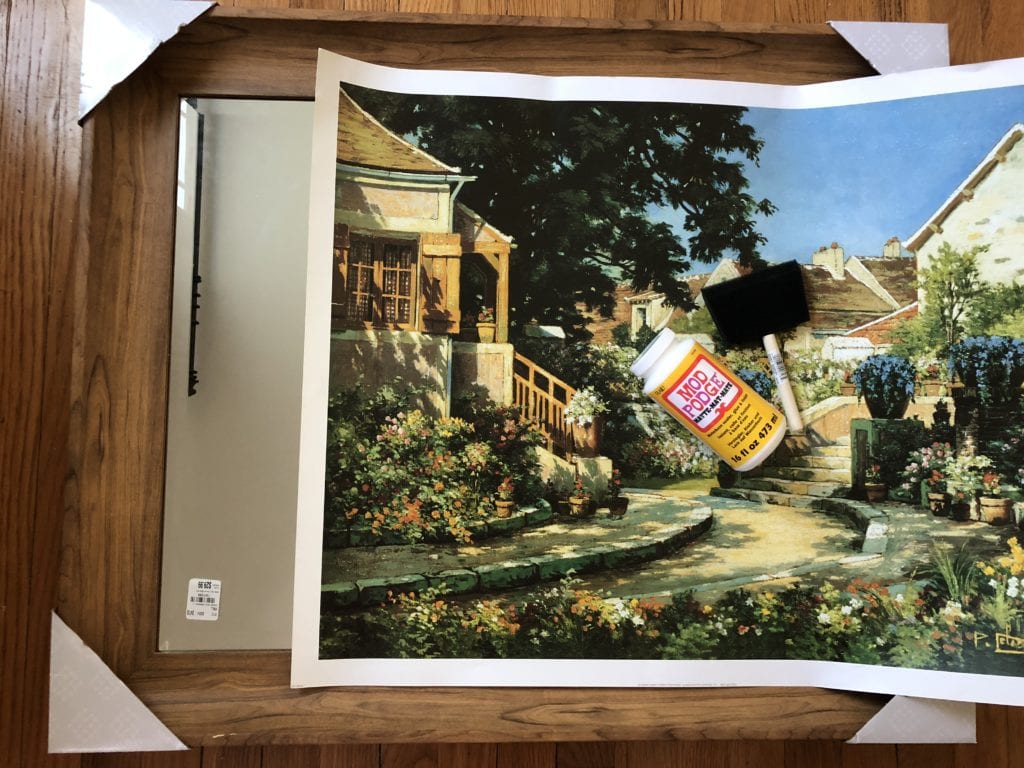
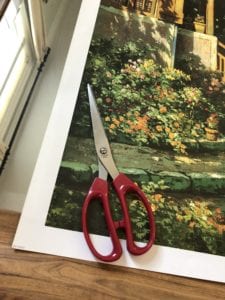
Part of the fun of using art prints is deciding how to frame them! Instead of choosing standard frames I thought I would take this opportunity to show you some different ways of using prints to create wall decor for your home in a farmhouse style. Tuesday Morning also has an amazing frame selection, however there may come a time when you can’t find a frame for a print you have. So here are a few different ways you can hang art prints with out using a standard frame. The only extra materials needed was modge podge, scissors, ruler and a foam brush.
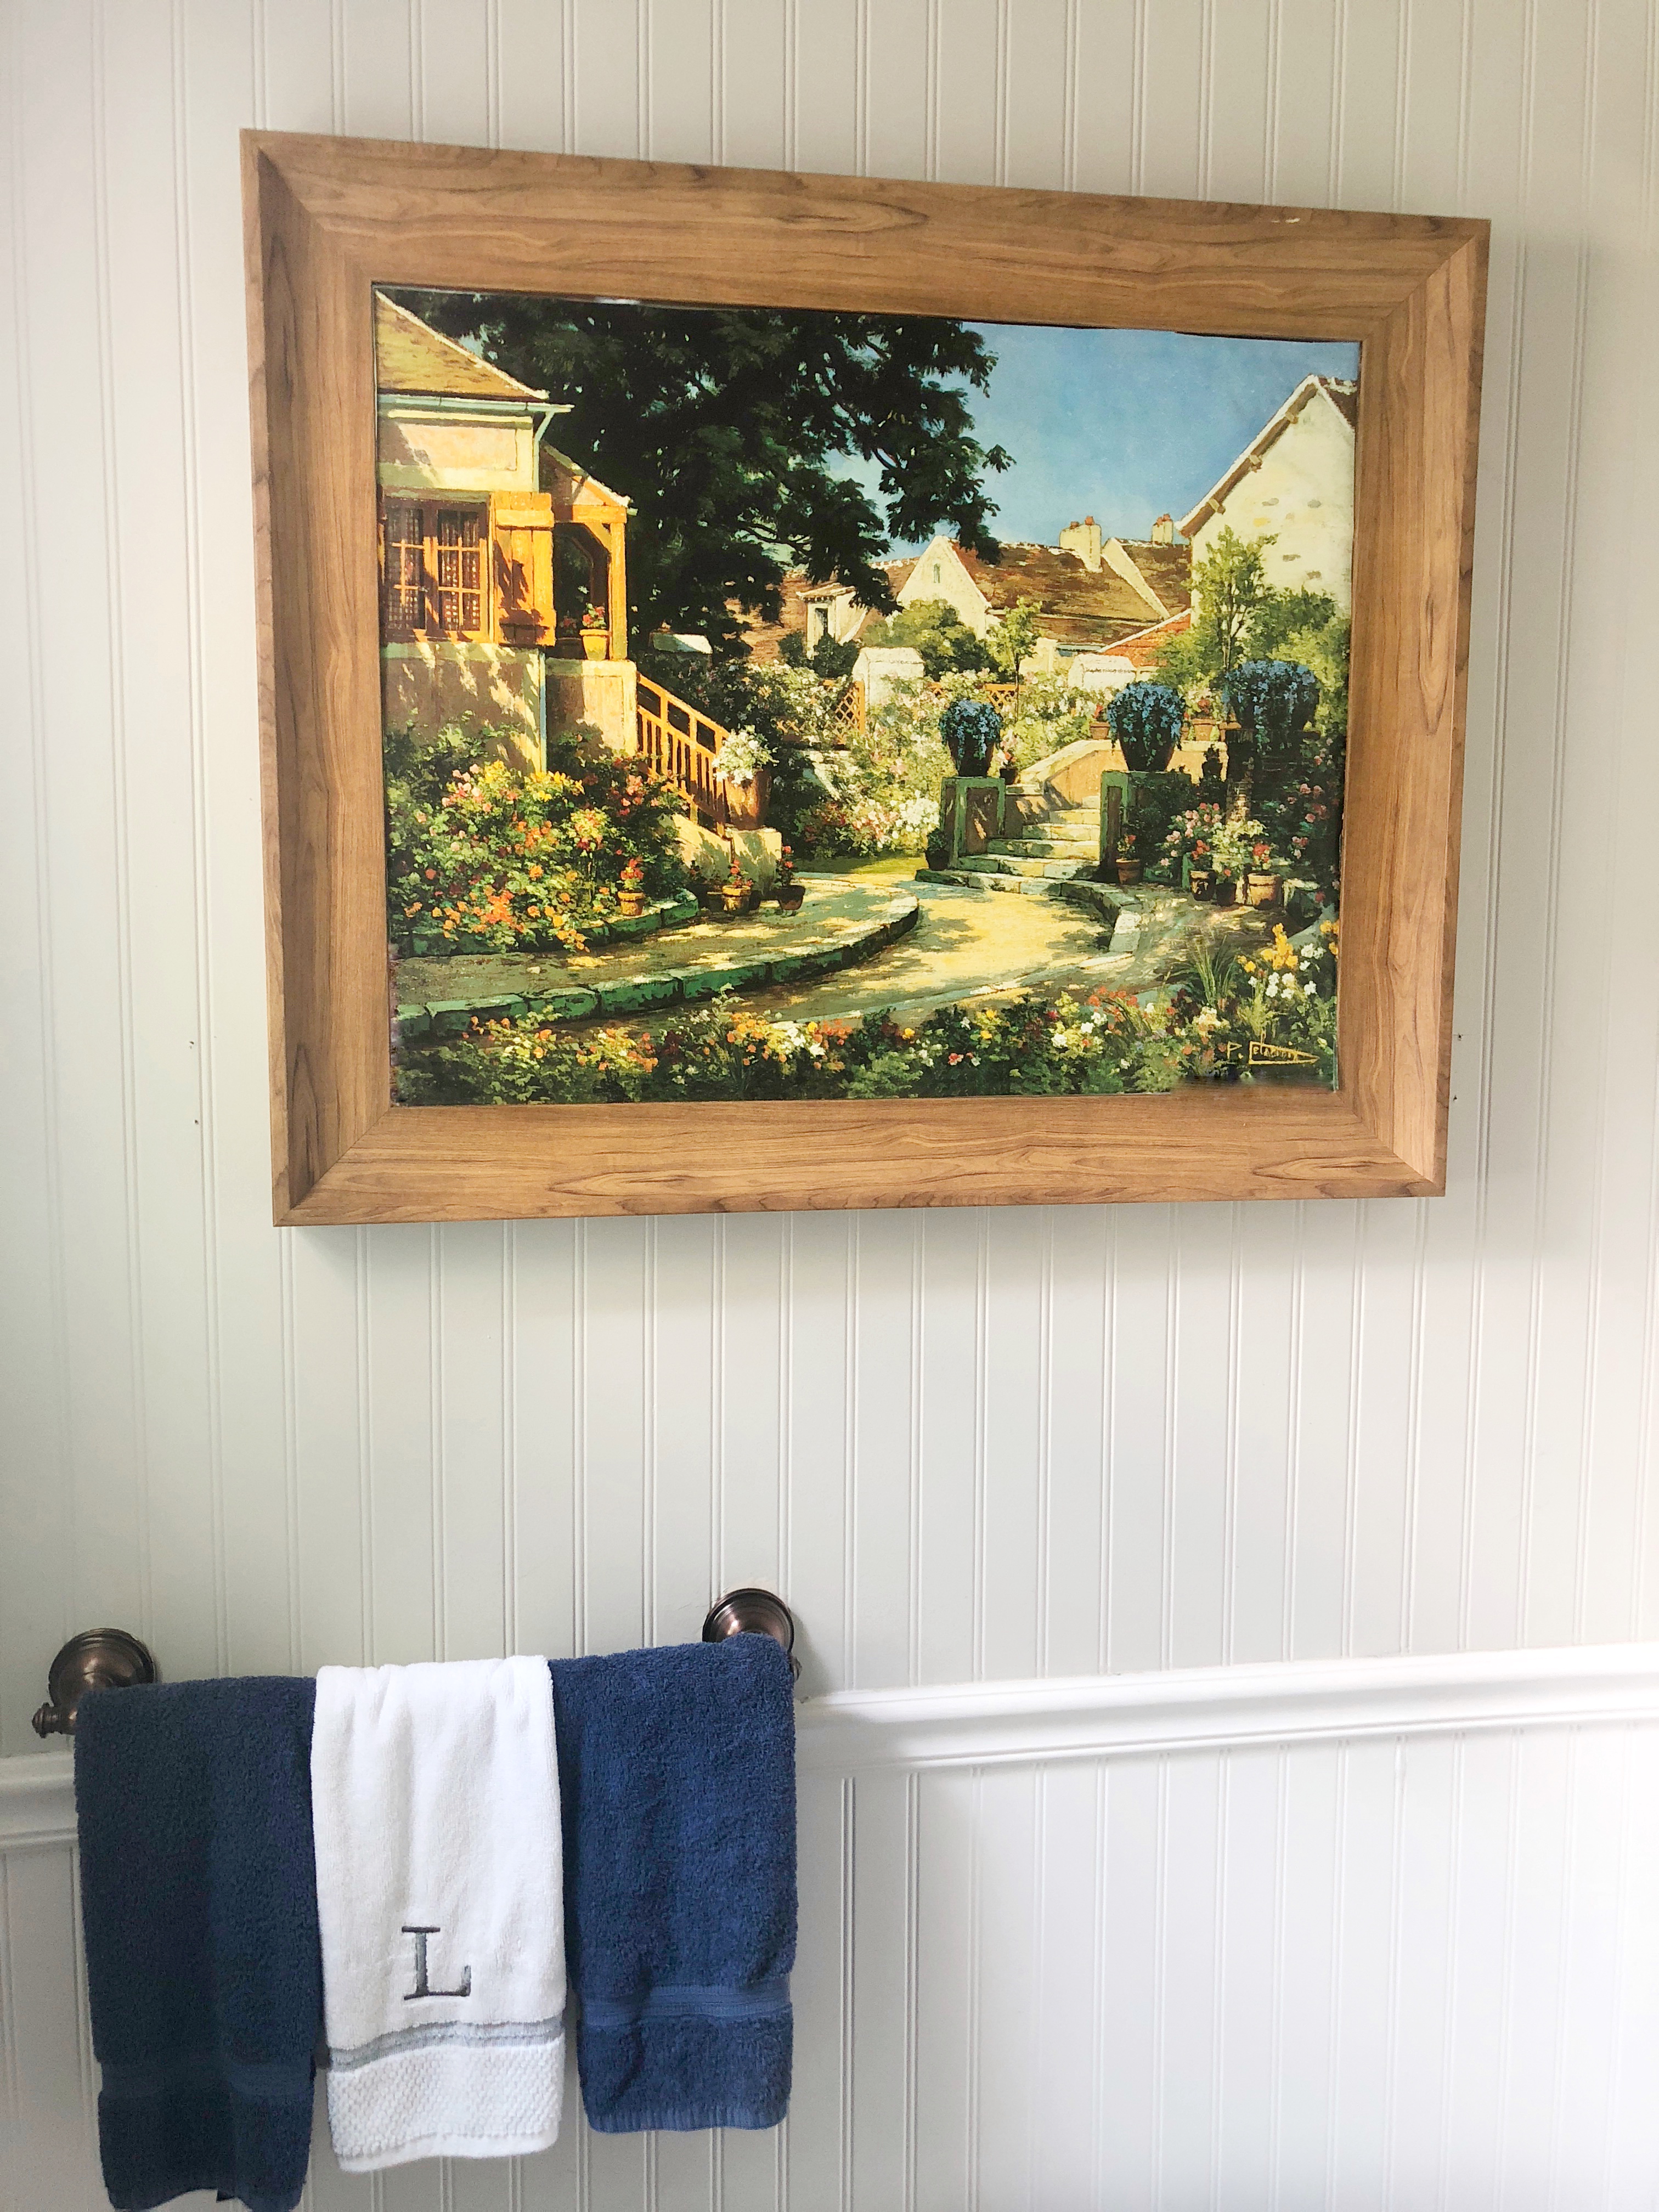
Wood Framed Mirror
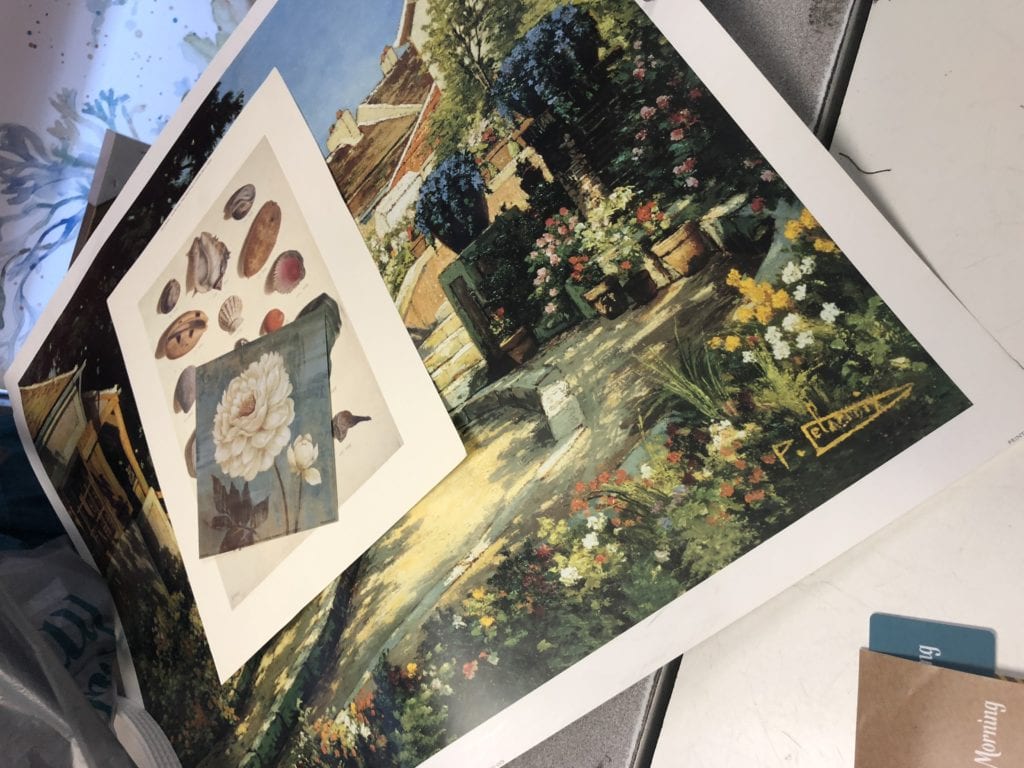
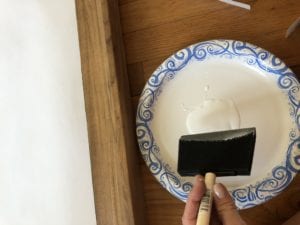
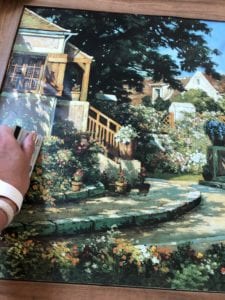
I loved the colors in this large print however I couldn’t find any large scale frames in the store. When I saw this large wooden mirror for only $29.99 I thought it would look beautiful. I simply measured the size and cut the edge of the print to fit inside the mirror. Using modge podge and a large foam brush I applied the glue to the mirror itself, then carefully placed the print on top of it, from center pressing out to the edges/sides. I also used a credit card to gently smooth the bubbles out toward the edges.
So here is that big blank wall I wanted a colorful pretty piece of artwork for. I love how the wood ties into those DIY shelves, the wood matches perfectly. Our bathroom needed some rich color and now it has it, all for under $40!

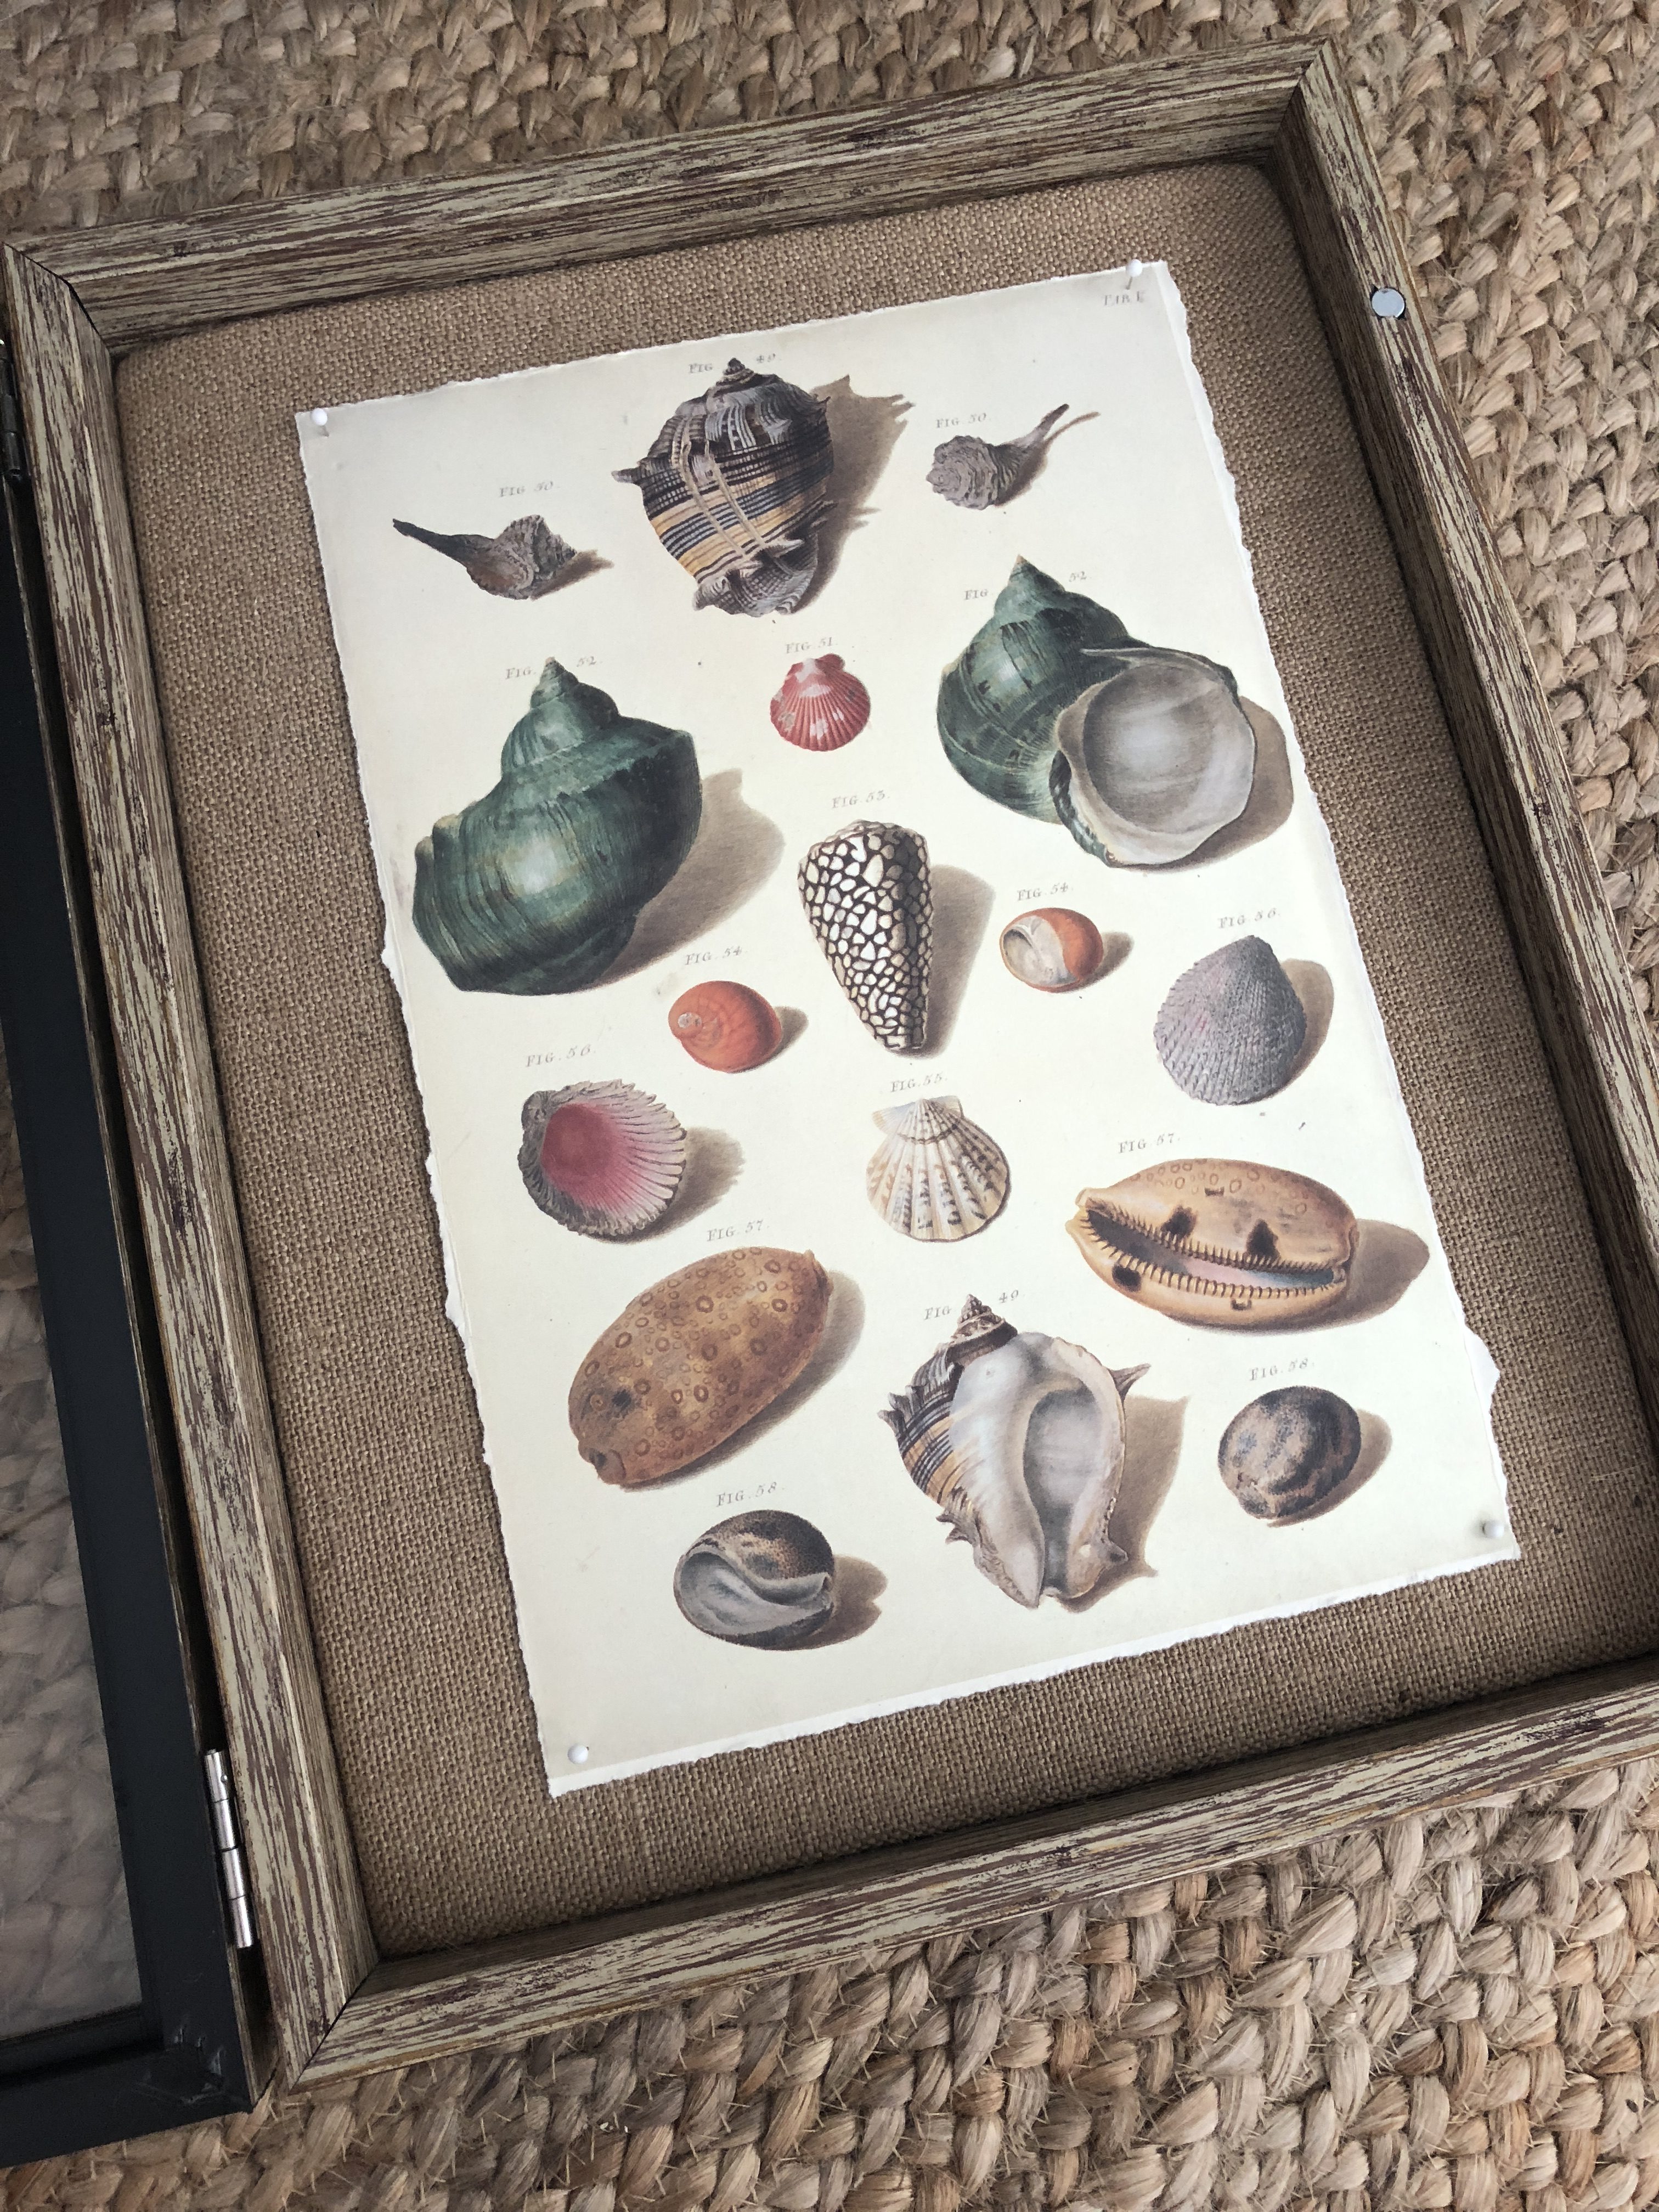
Shadow Box
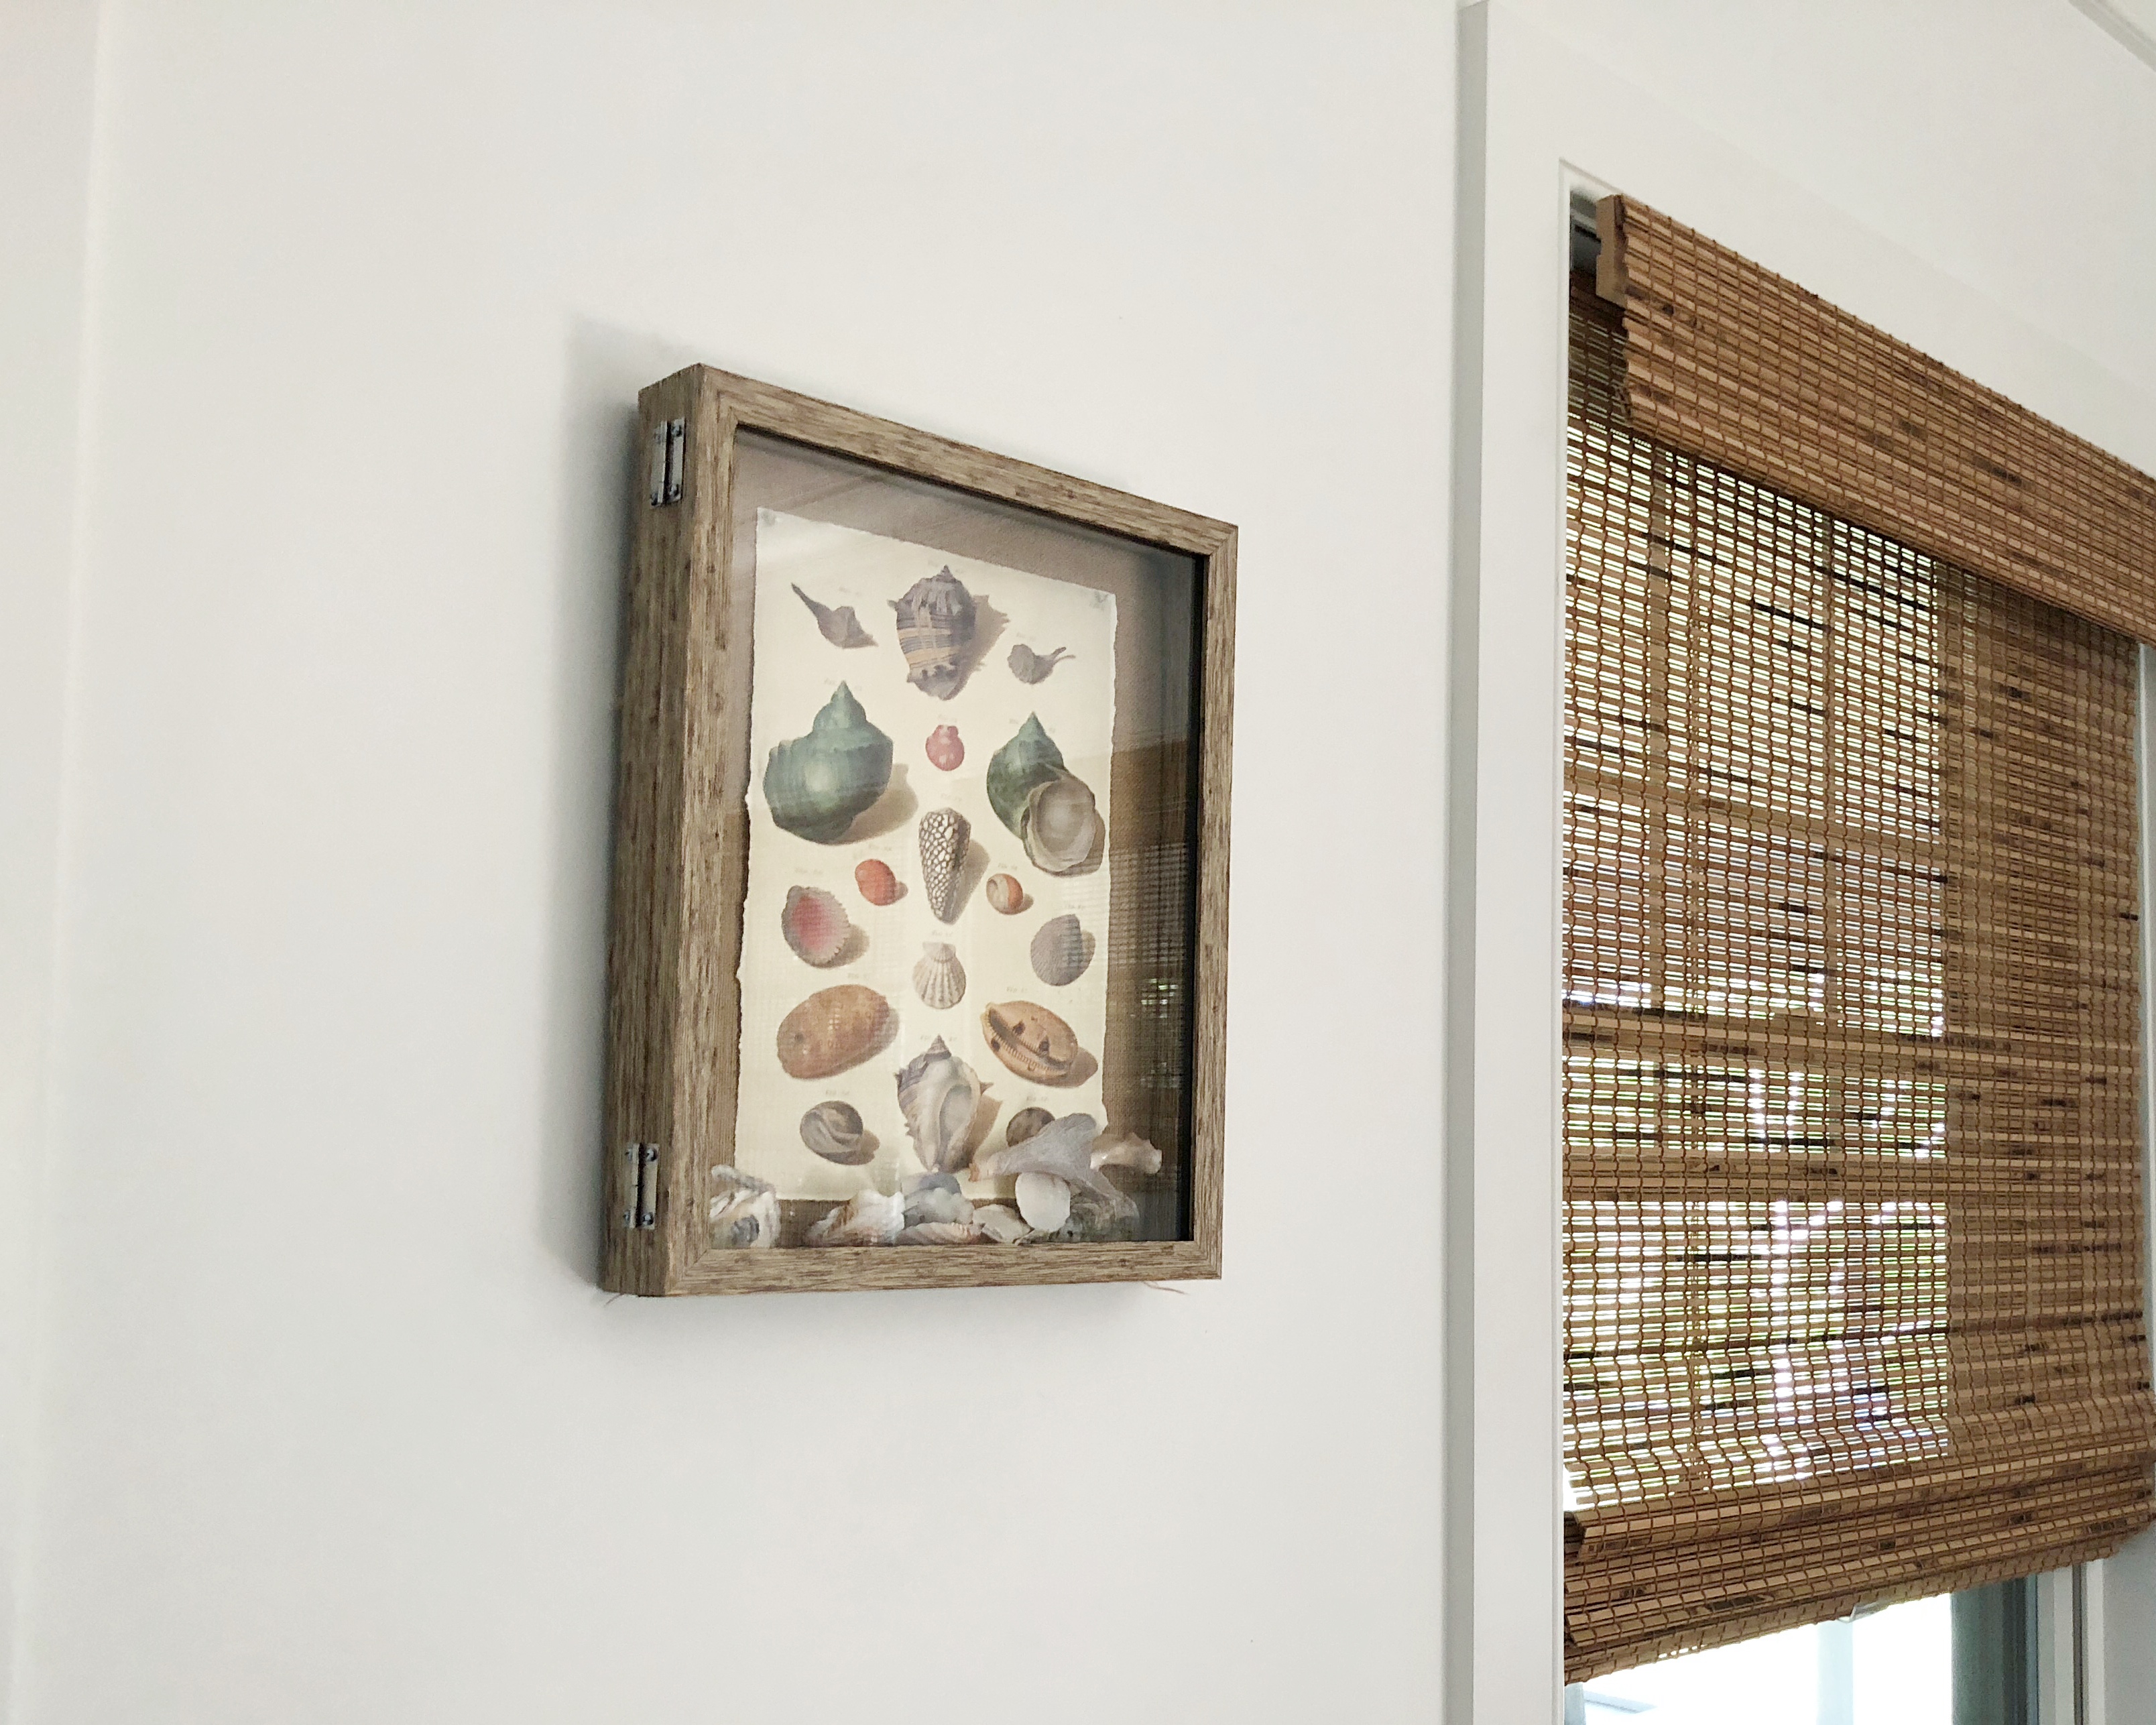
I love the depth a shadow box provides to a piece of artwork. I was so excited to also find this beautiful sea shell print at Tuesday Morning. So of course I brought it to the beach house last weekend, and added some shells we found this summer. Your print doesn’t need to be part of a collection to use a shadow box. I think shadow boxes make really fun frames. Tuesday Morning had a bunch of different sizes and colors in stock as well. I grabbed this white wash/wood one with a burlap insert. I decided to trim down the print with out using scissors to give it a more natural edge. To do this I made really strong folds, then slowly ripping the edges to give it that rough edge.

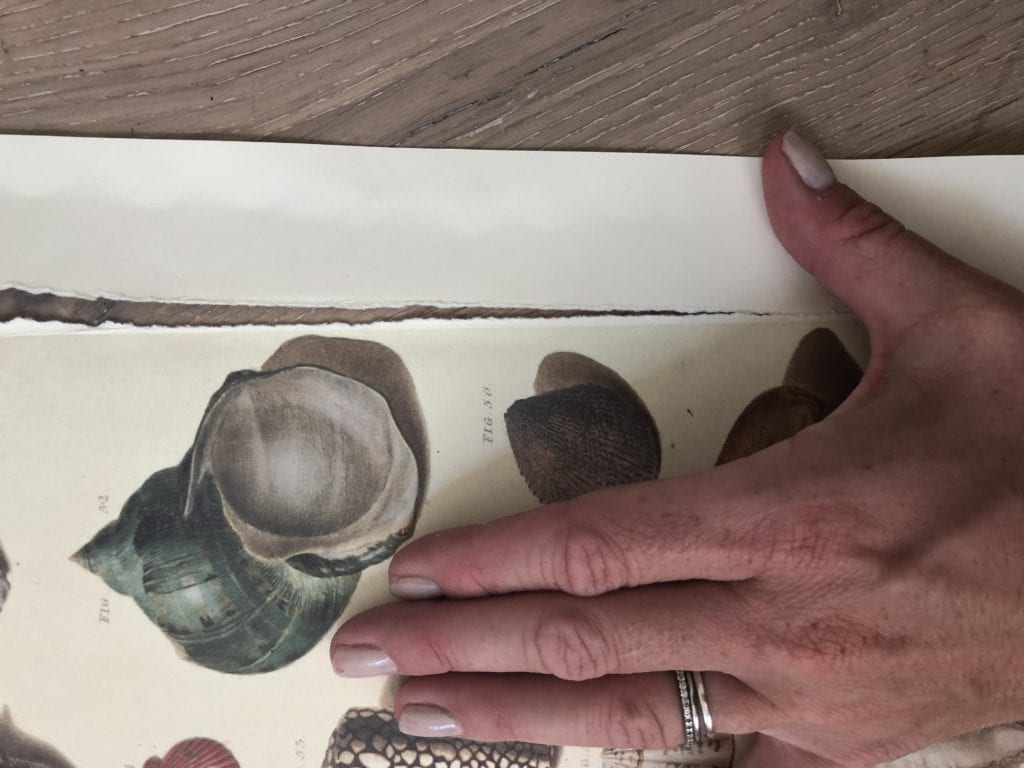
I love the look of a torn edge, it gives a more natural look which I think works so well with a print of natural objects.
What do you think? Isn’t a shadow box a beautiful way to frame an art print? I just had to add some shells inside.
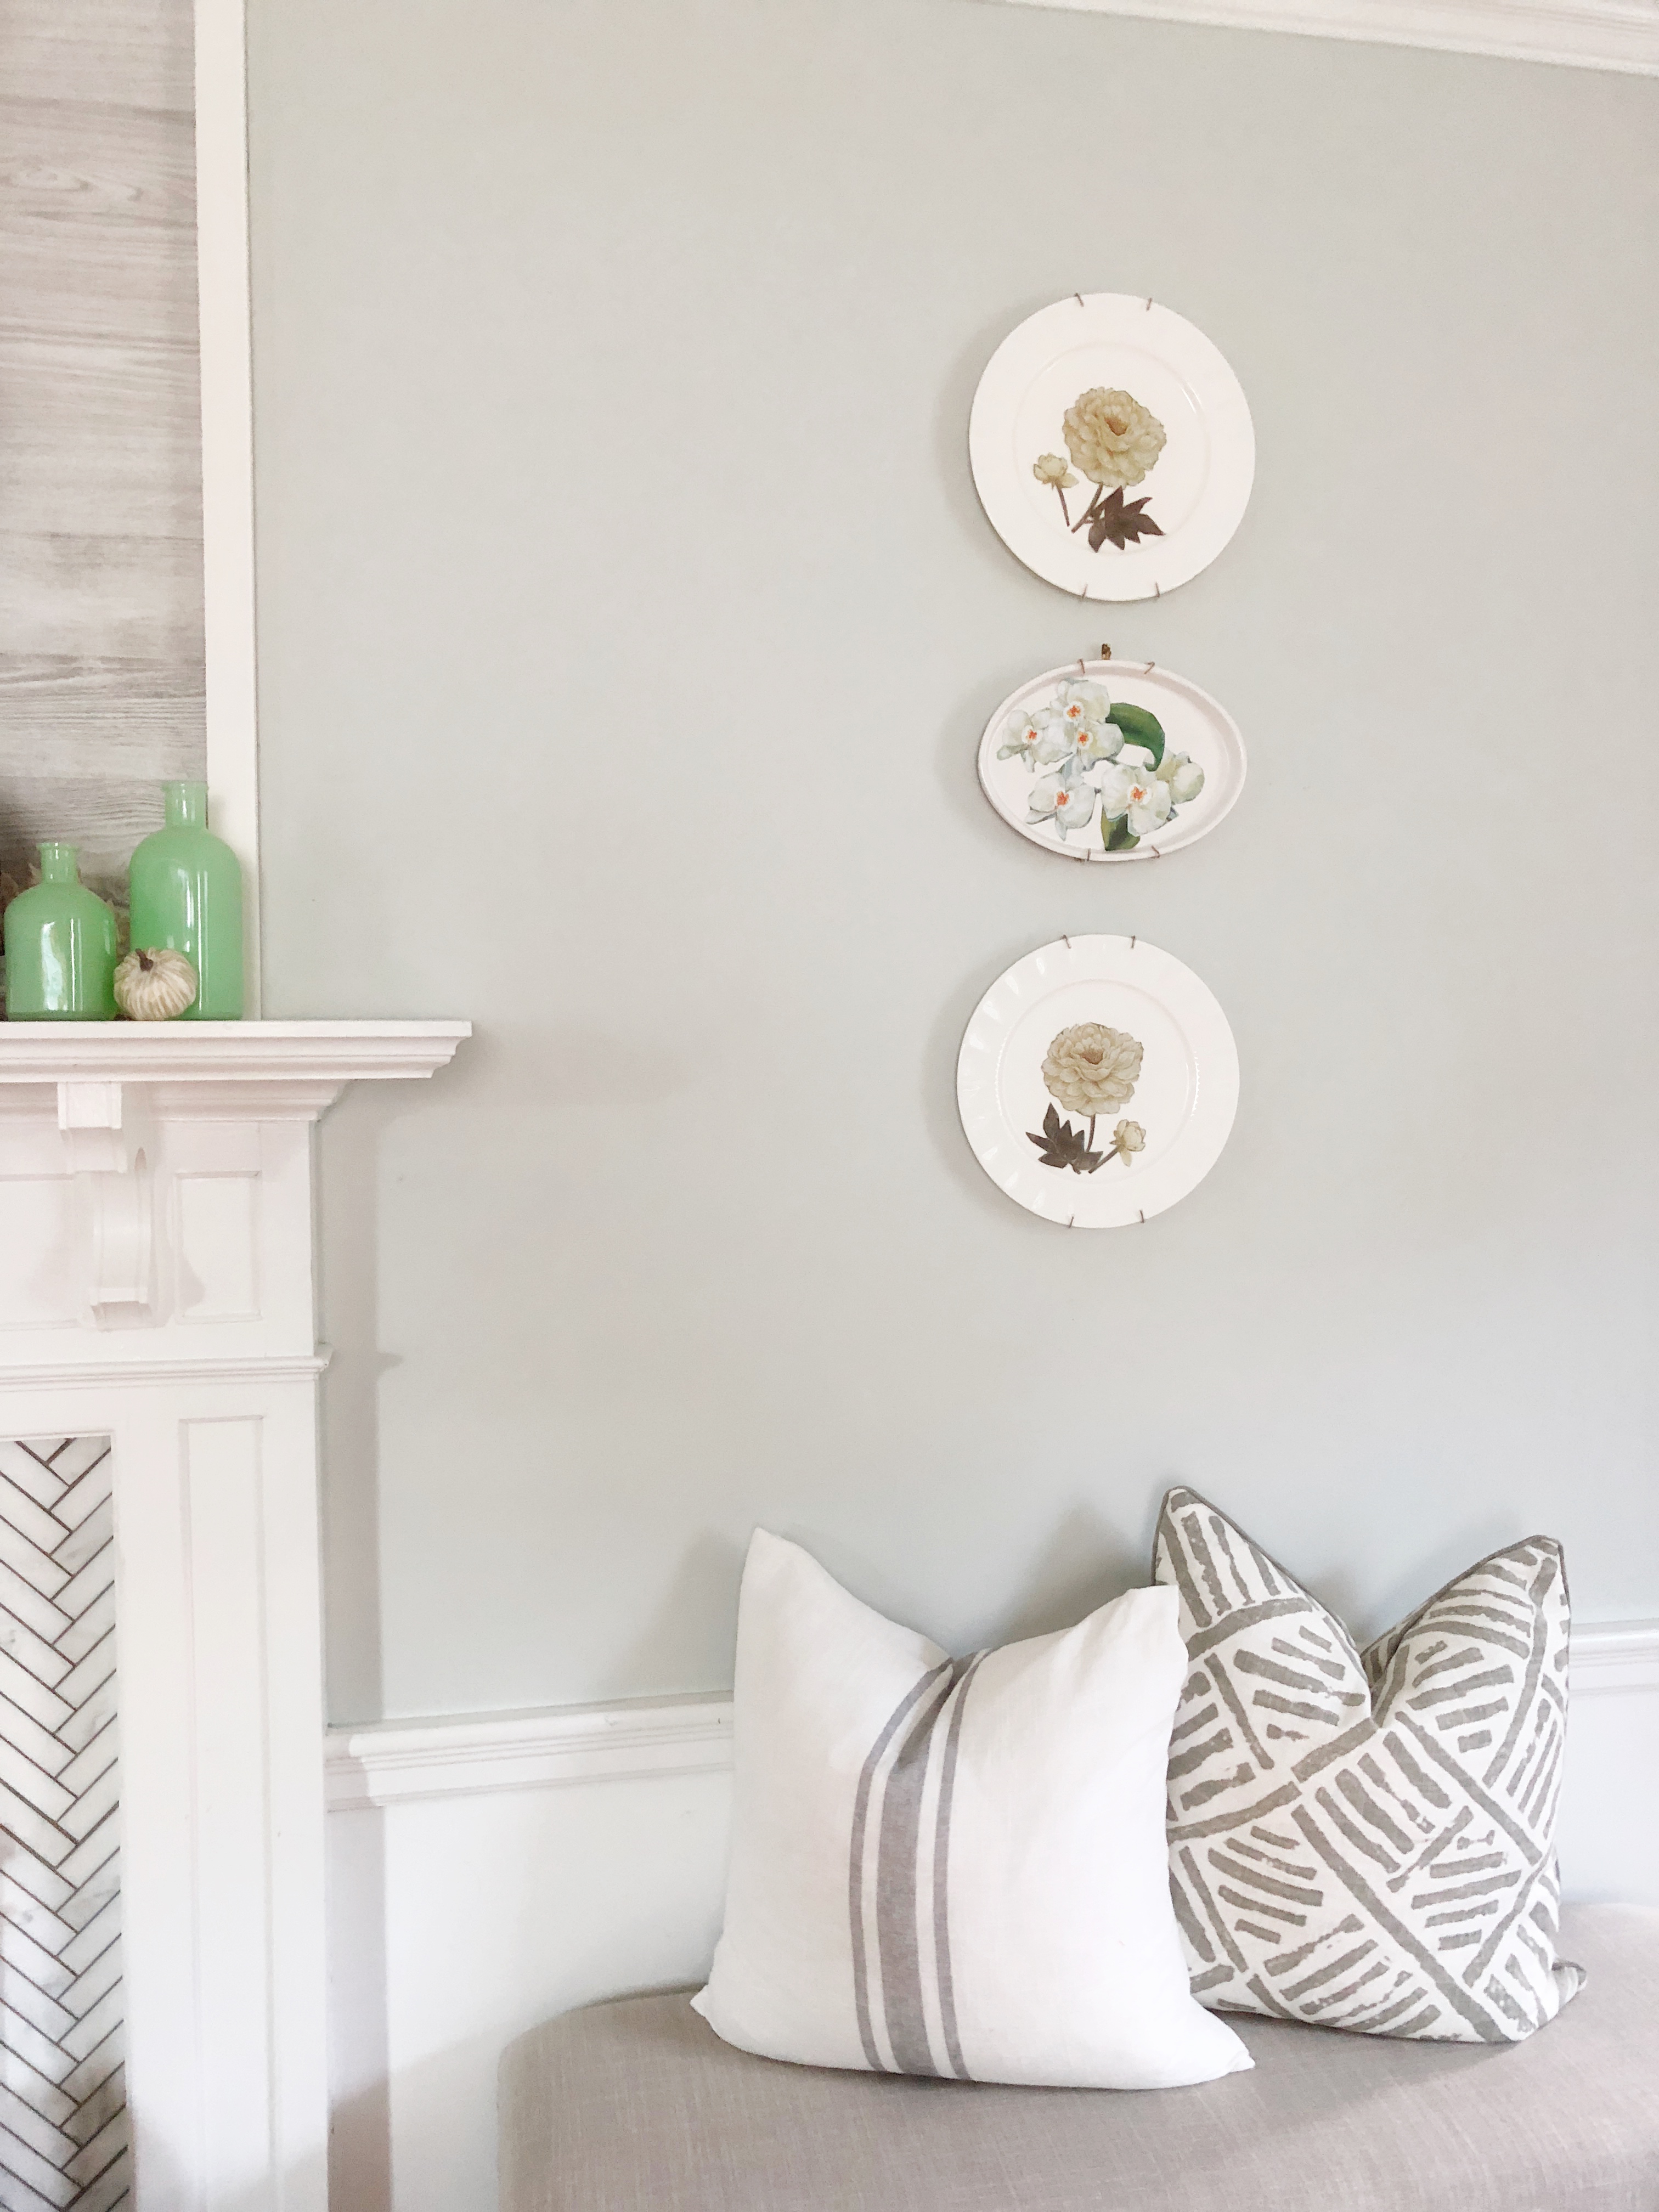
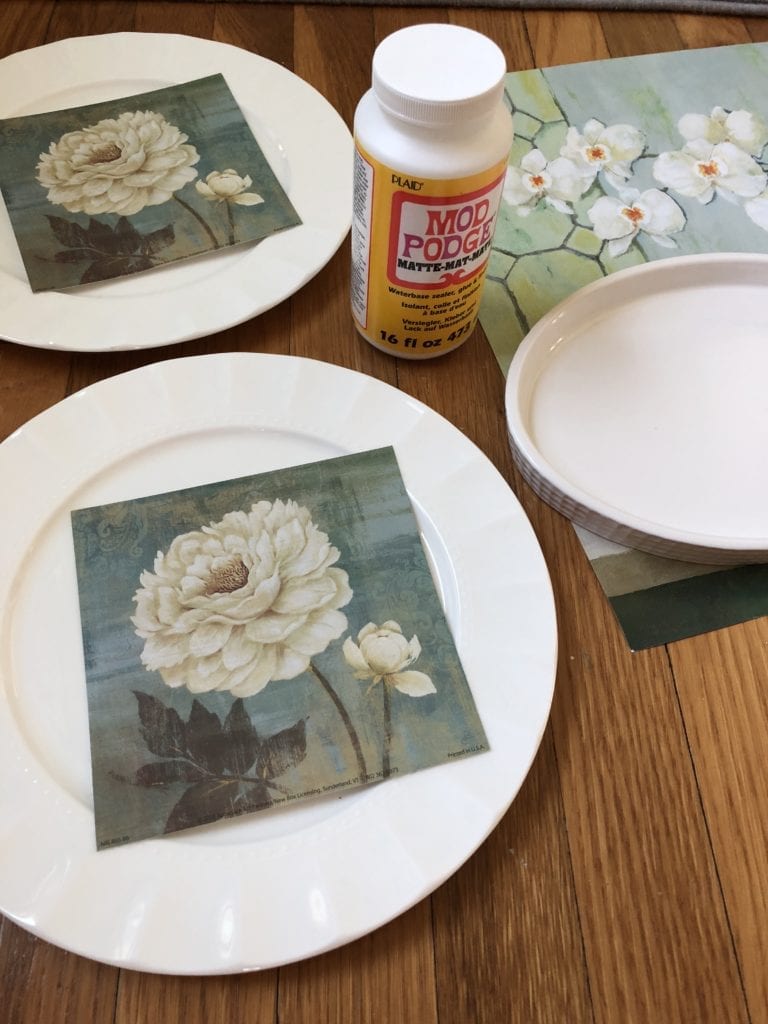
Platter & Plates
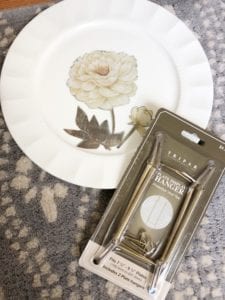
I love simple white ceramic plates/platters hung in groupings or gallery walls. I decided to take some of the smaller art prints and cut and paste them onto a set of three beautiful white dishes, which I also purchased at Tuesday Morning. One of my favorite parts of the store is their kitchen section. So many great dishes, pans and utensils at crazy good prices!
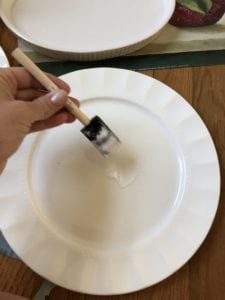
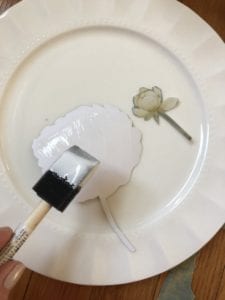
Using the plates as frames is as easy as going back to your elementary school art days… it’s basically collage (cut and paste)! Just cut your prints and add glue to the surface of the plate, I used modge podge again, put the paper down on the plate then I go over the image with a coat of glue again. Once it dries, it’s clear and makes the image look completely attached with the surface of the dish.
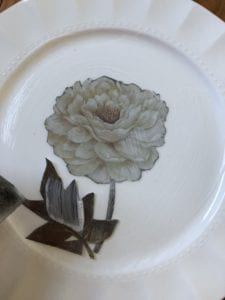
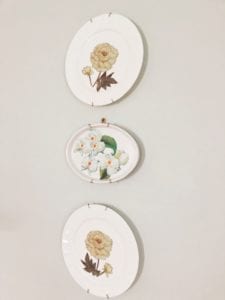
Once the print completely adhered to the plate I was ready to hang my new wall art! I had these plate hangers on hand. However I’m going to link my favorite ones HERE, that don’t show along the edge of the plate.
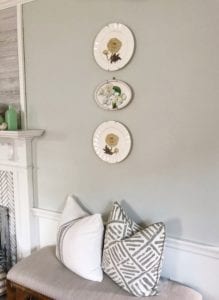
Don’t the plates make such a delicate and pretty statement on the wall? There are so many possibilities for these art prints and how you could incorporate them into you home!
I hope the next time you have an art print or photo to hang/frame in your home you’ll look for some unique ways to display it. Don’t feel stuck with traditional frames! Keep your mind open to what you have on hand or what you can find. If you have any empty walls in your home I would highly recommend checking out the selection of art prints at Tuesday Morning! The prices are unbelievable.
Thanks for stopping by!
Jordan
PIN FOR LATER:
Leave a Reply


")


Jordan,
You did an amazing job. You found ways to create that go above and beyond the norm. How fun it is to be greeted with such new, fun, and innovative ideas. You are brilliant. What a wonderful way to view in depth so
many possibilities. You have the creative edge and then some.
Thank you so much Faith!!! I’m so appreciative of your feedback and support!!!!