


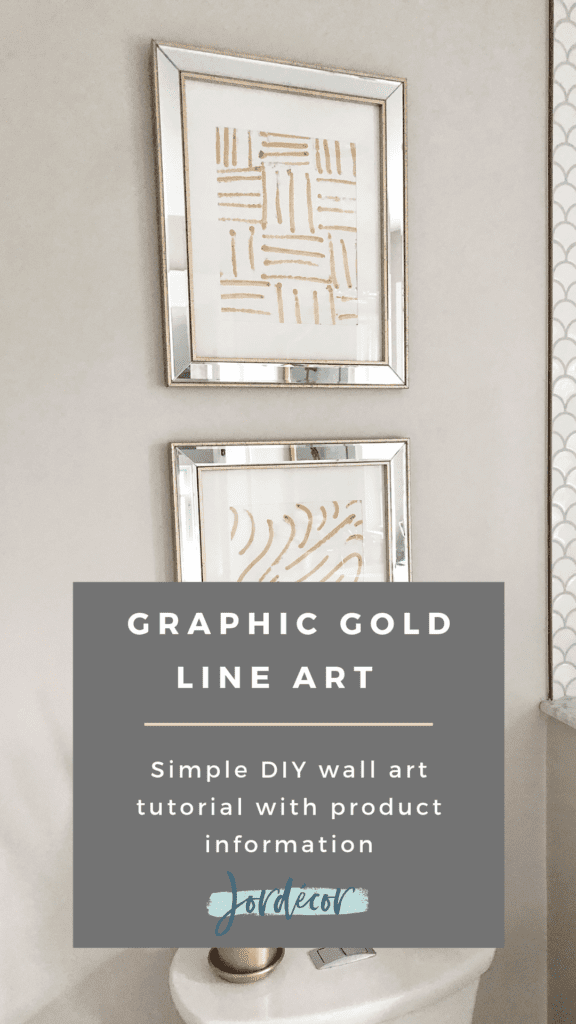
Graphic Gold Line Art
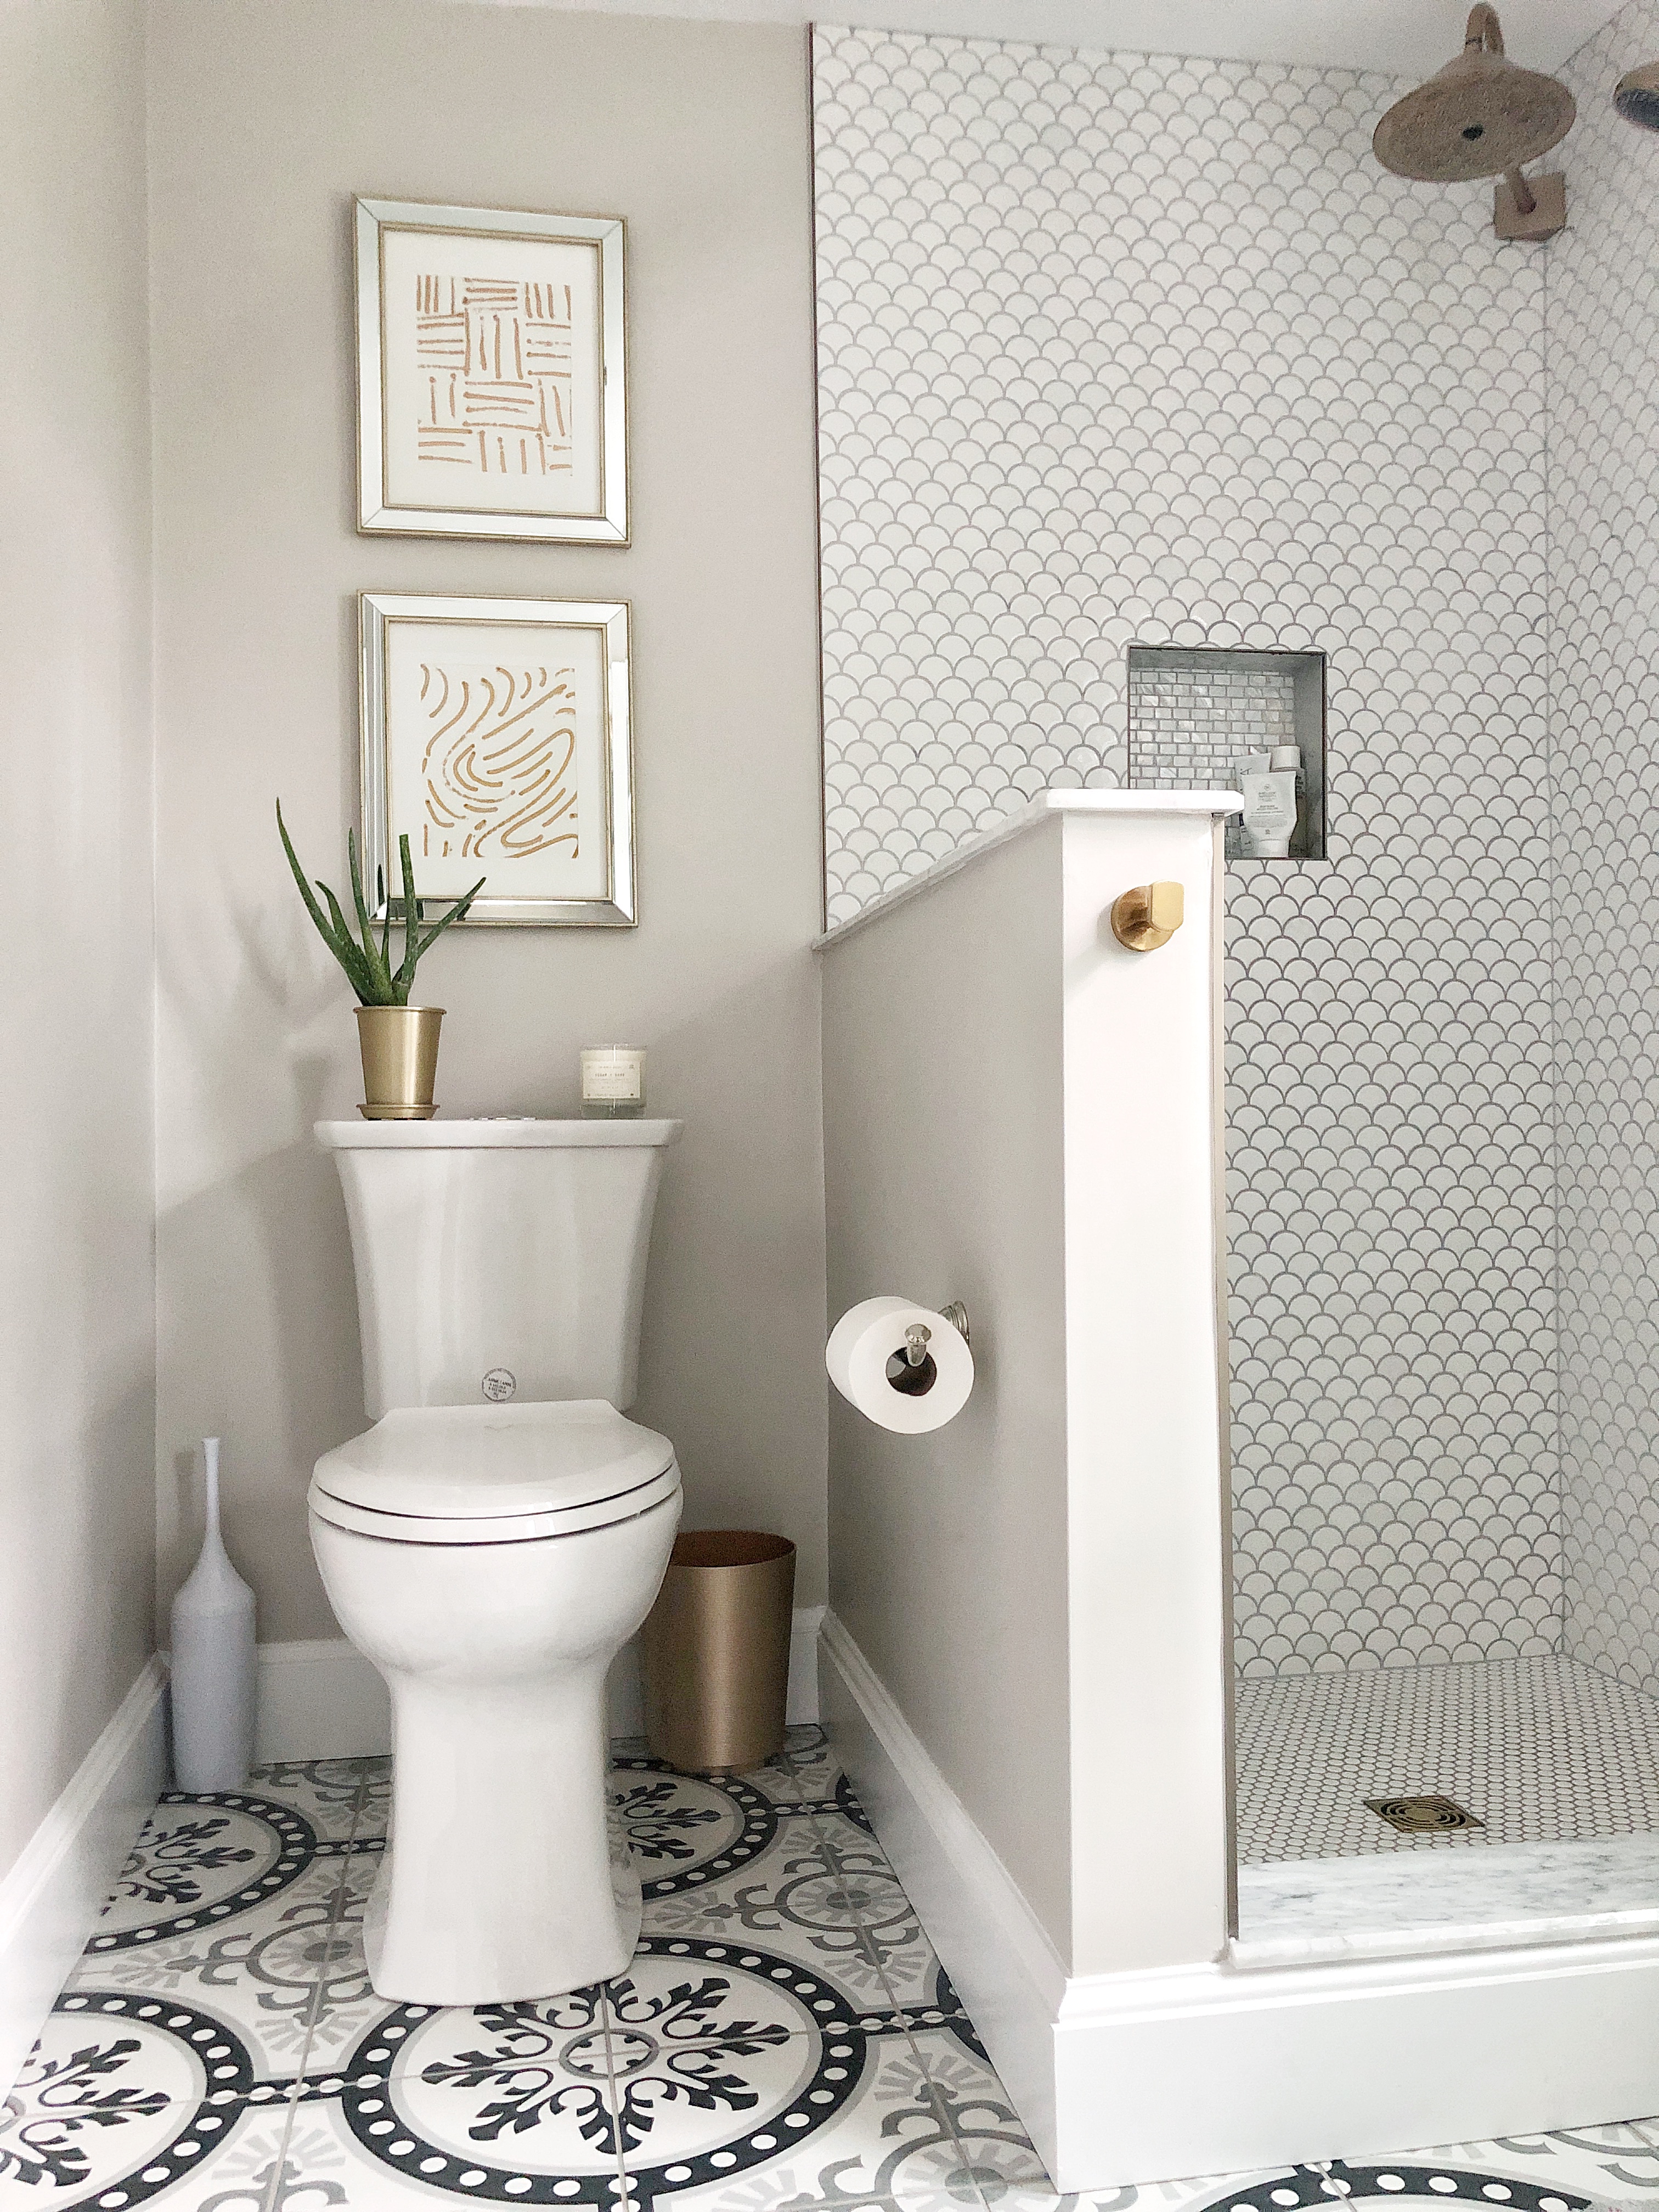
This is not the official reveal of our new master bathroom- this is the I must create affordable art for this little bathroom of ours to make me feel like it’s finally complete. I’m going to share how I made simple, modern and inexpensive gold art designs for our bathroom. But you will also get a sense of how our master bathroom turned out from this post! All that is left is the glass to be installed around our shower. There was an issue with the sizing due to the marble thresholds. It is literally getting fixed today or tomorrow, so we are excited for that!

I’ve been searching and trying to find some artwork that would complete this little wall over our toilet. I went back and forth between different art medium ideas; photography, watercolor, fabric, pen and ink sketch… I knew I wanted something simple and modern looking. The idea of a lot of color or pattern made me worry it would be too much with the bold floor pattern and fun shower tile. I also didn’t want to spend a lot of money.
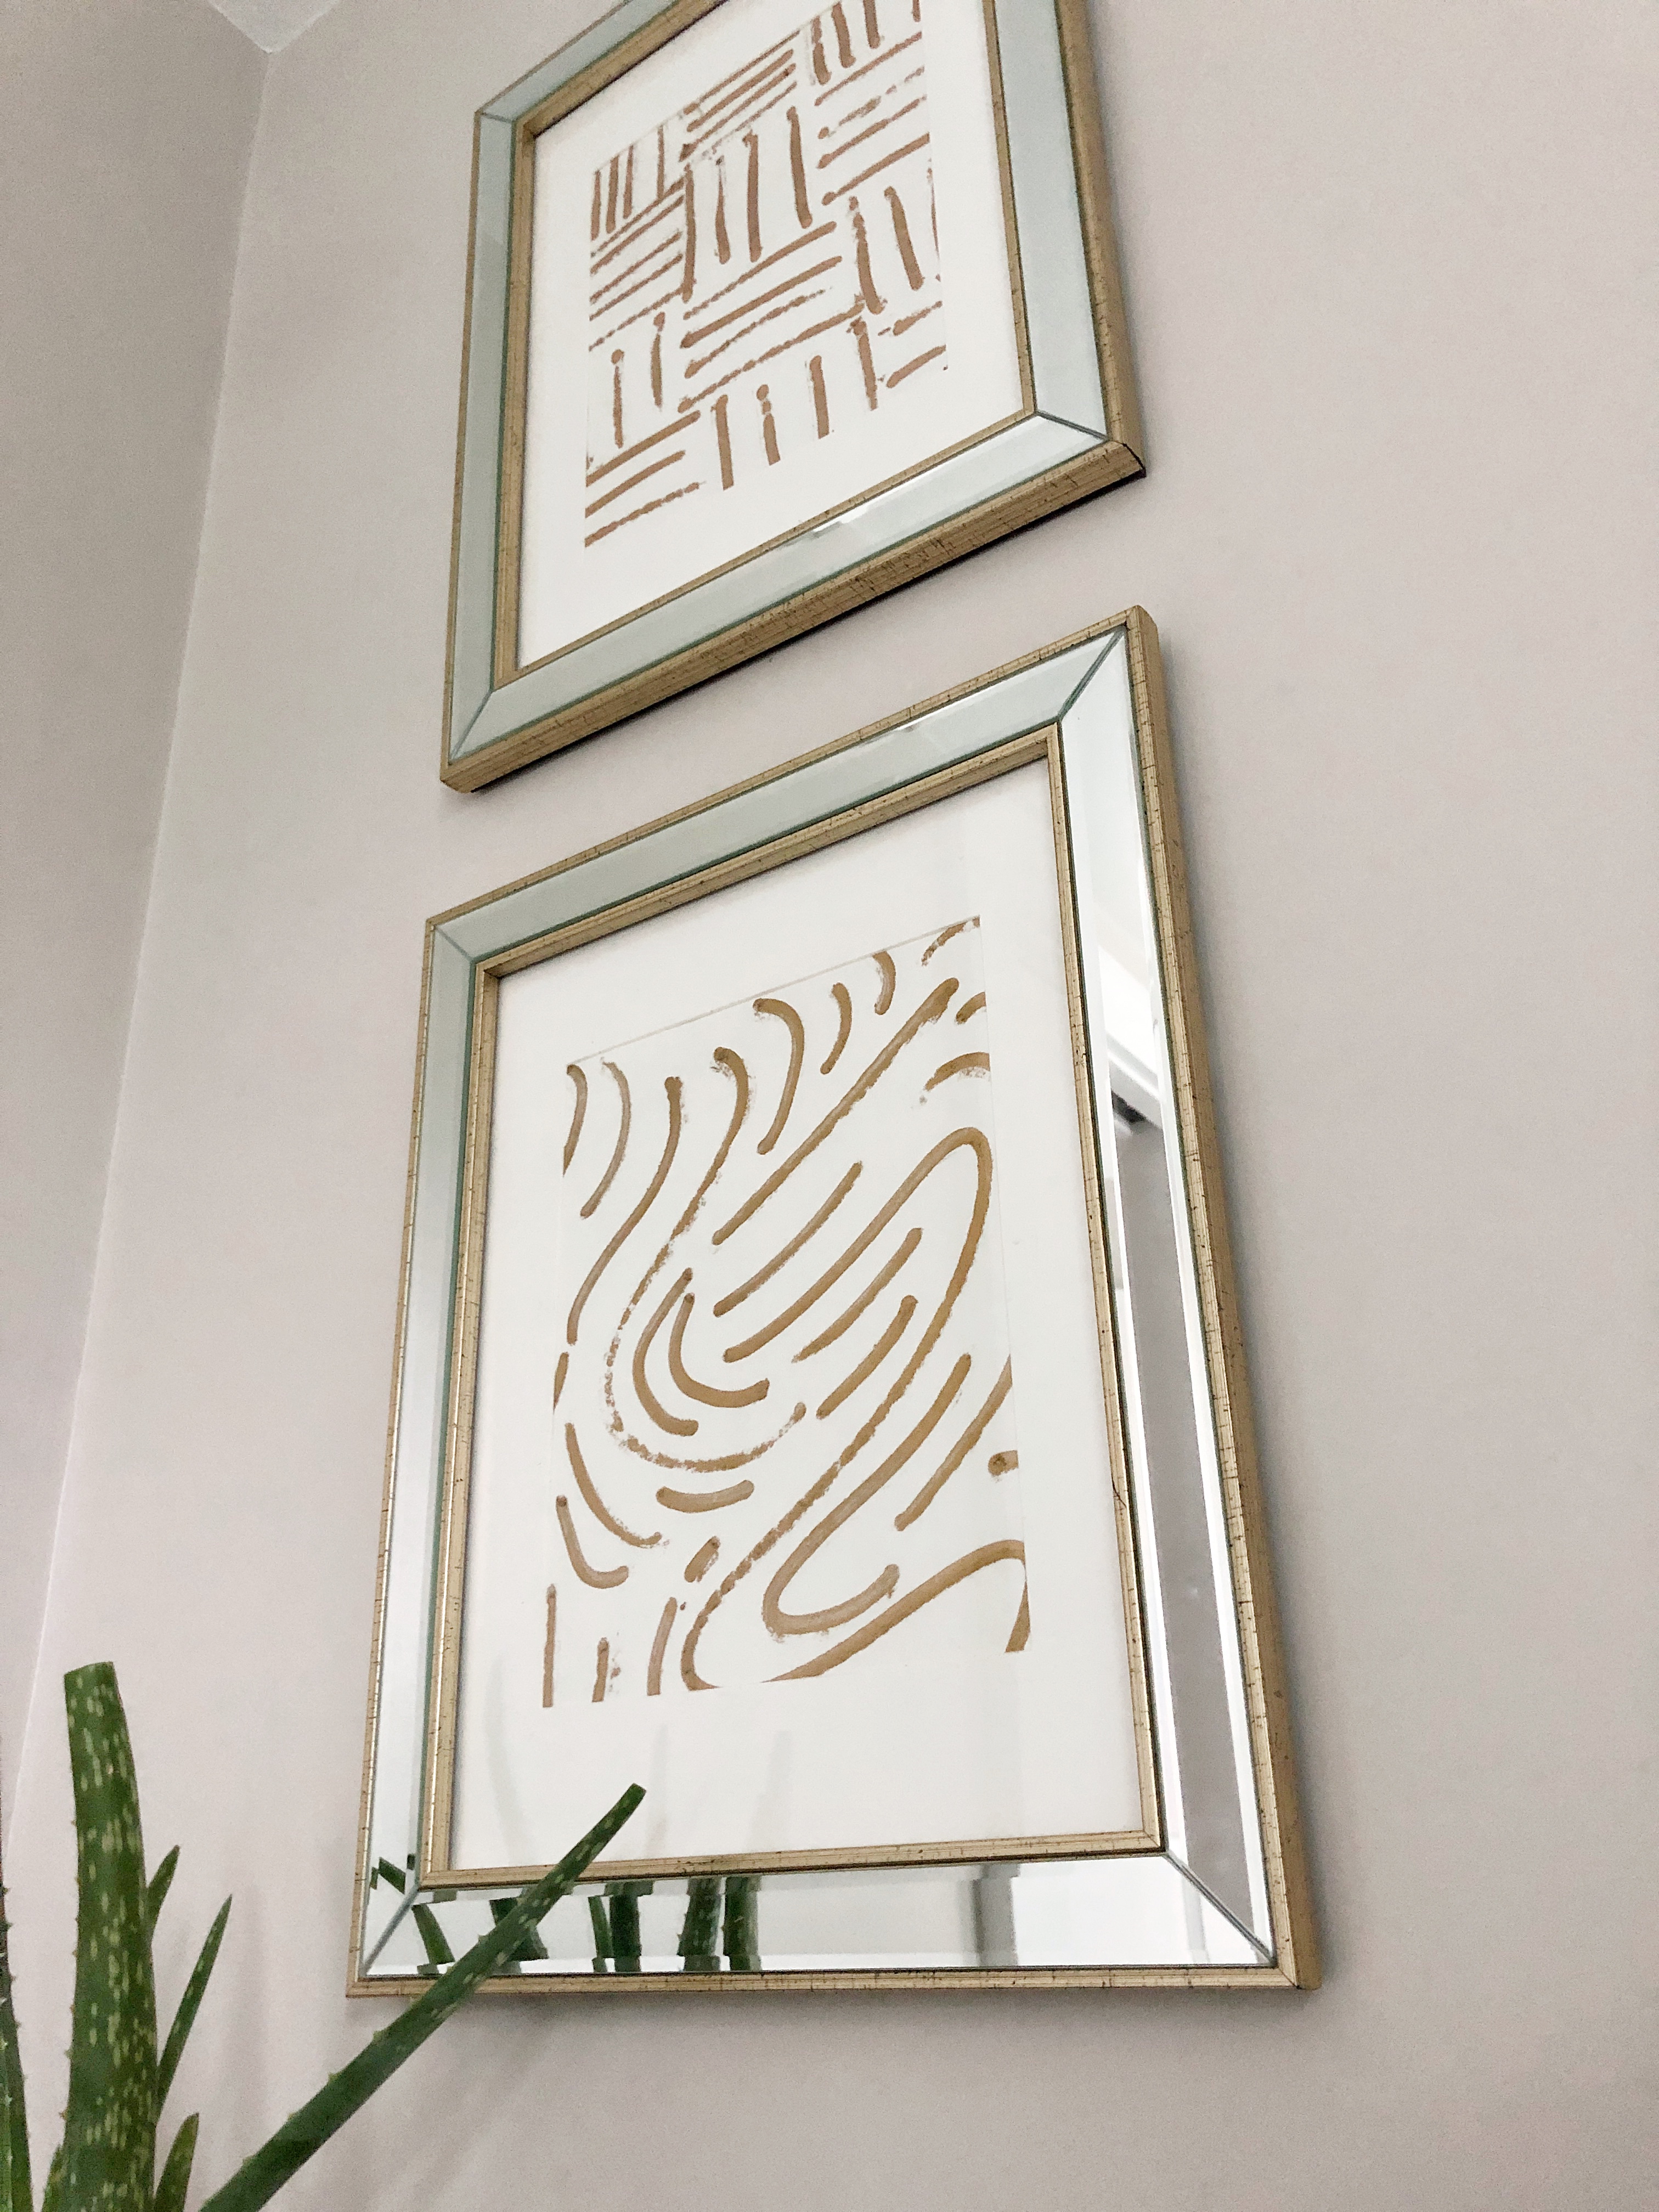
I found these beautiful frames from Homesense which is similar to Home Goods. They had the luxurious classic feel I was going for. I loved the mirror inlay detail added some reflection and the edging of the brass would look great across from our shower that has some aged brass looking fixtures.
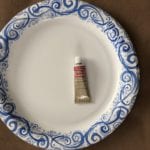
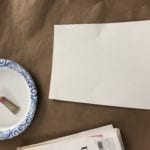
I knew I wanted something graphic and simple to put inside. I remembered I had this “rub and buff” product I was going to use to rub on the mirror I purchased to make it a little bit more aged looking. I decided to use some paper and this gold paint product I had on hand to make my own art.
Instead of a brush I used the tube of paint like a marker or pen and made different lines on the paper to create a graphic effect. I purposely didn’t over think this or make it to practiced, I like that this “paint” is thick and has a texture to it. I’ll be honest it has an odor to it so I recommend doing this outside or opening all the windows. It is mean to be rubbed on a metal to make it a gold-ish finish but I like experimenting with different products so this was fun to try.
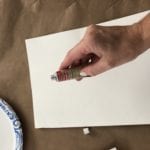
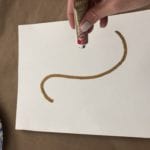
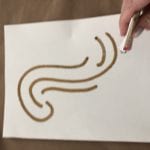
GRAPHIC GOLD LINE ART TUTORIAL:
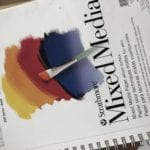
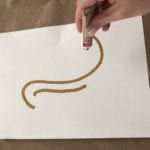
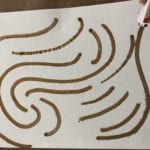
The process is really easy- just gently squeeze the tube as you are applying pressure and make one mark/line at a time on a piece of paper. I used this Mixed Media paper that has a little thickness. Start with a curve than add another curve around that, maybe smaller in size. Repeat this several times with varying line size. Keep making small curved lines that eventually go off the paper. There is no right or wrong. I probably made 10 different line designs, to decide which I liked best as a set. I created one with a checker line pattern. I did one with all circles, one with a hex pattern and a bunch of others. I may change them out with some of the other designs I made. If the line comes out of the tube a little chunky or a little not so thick that’s even better! All the variations is what makes it look cool, I think!
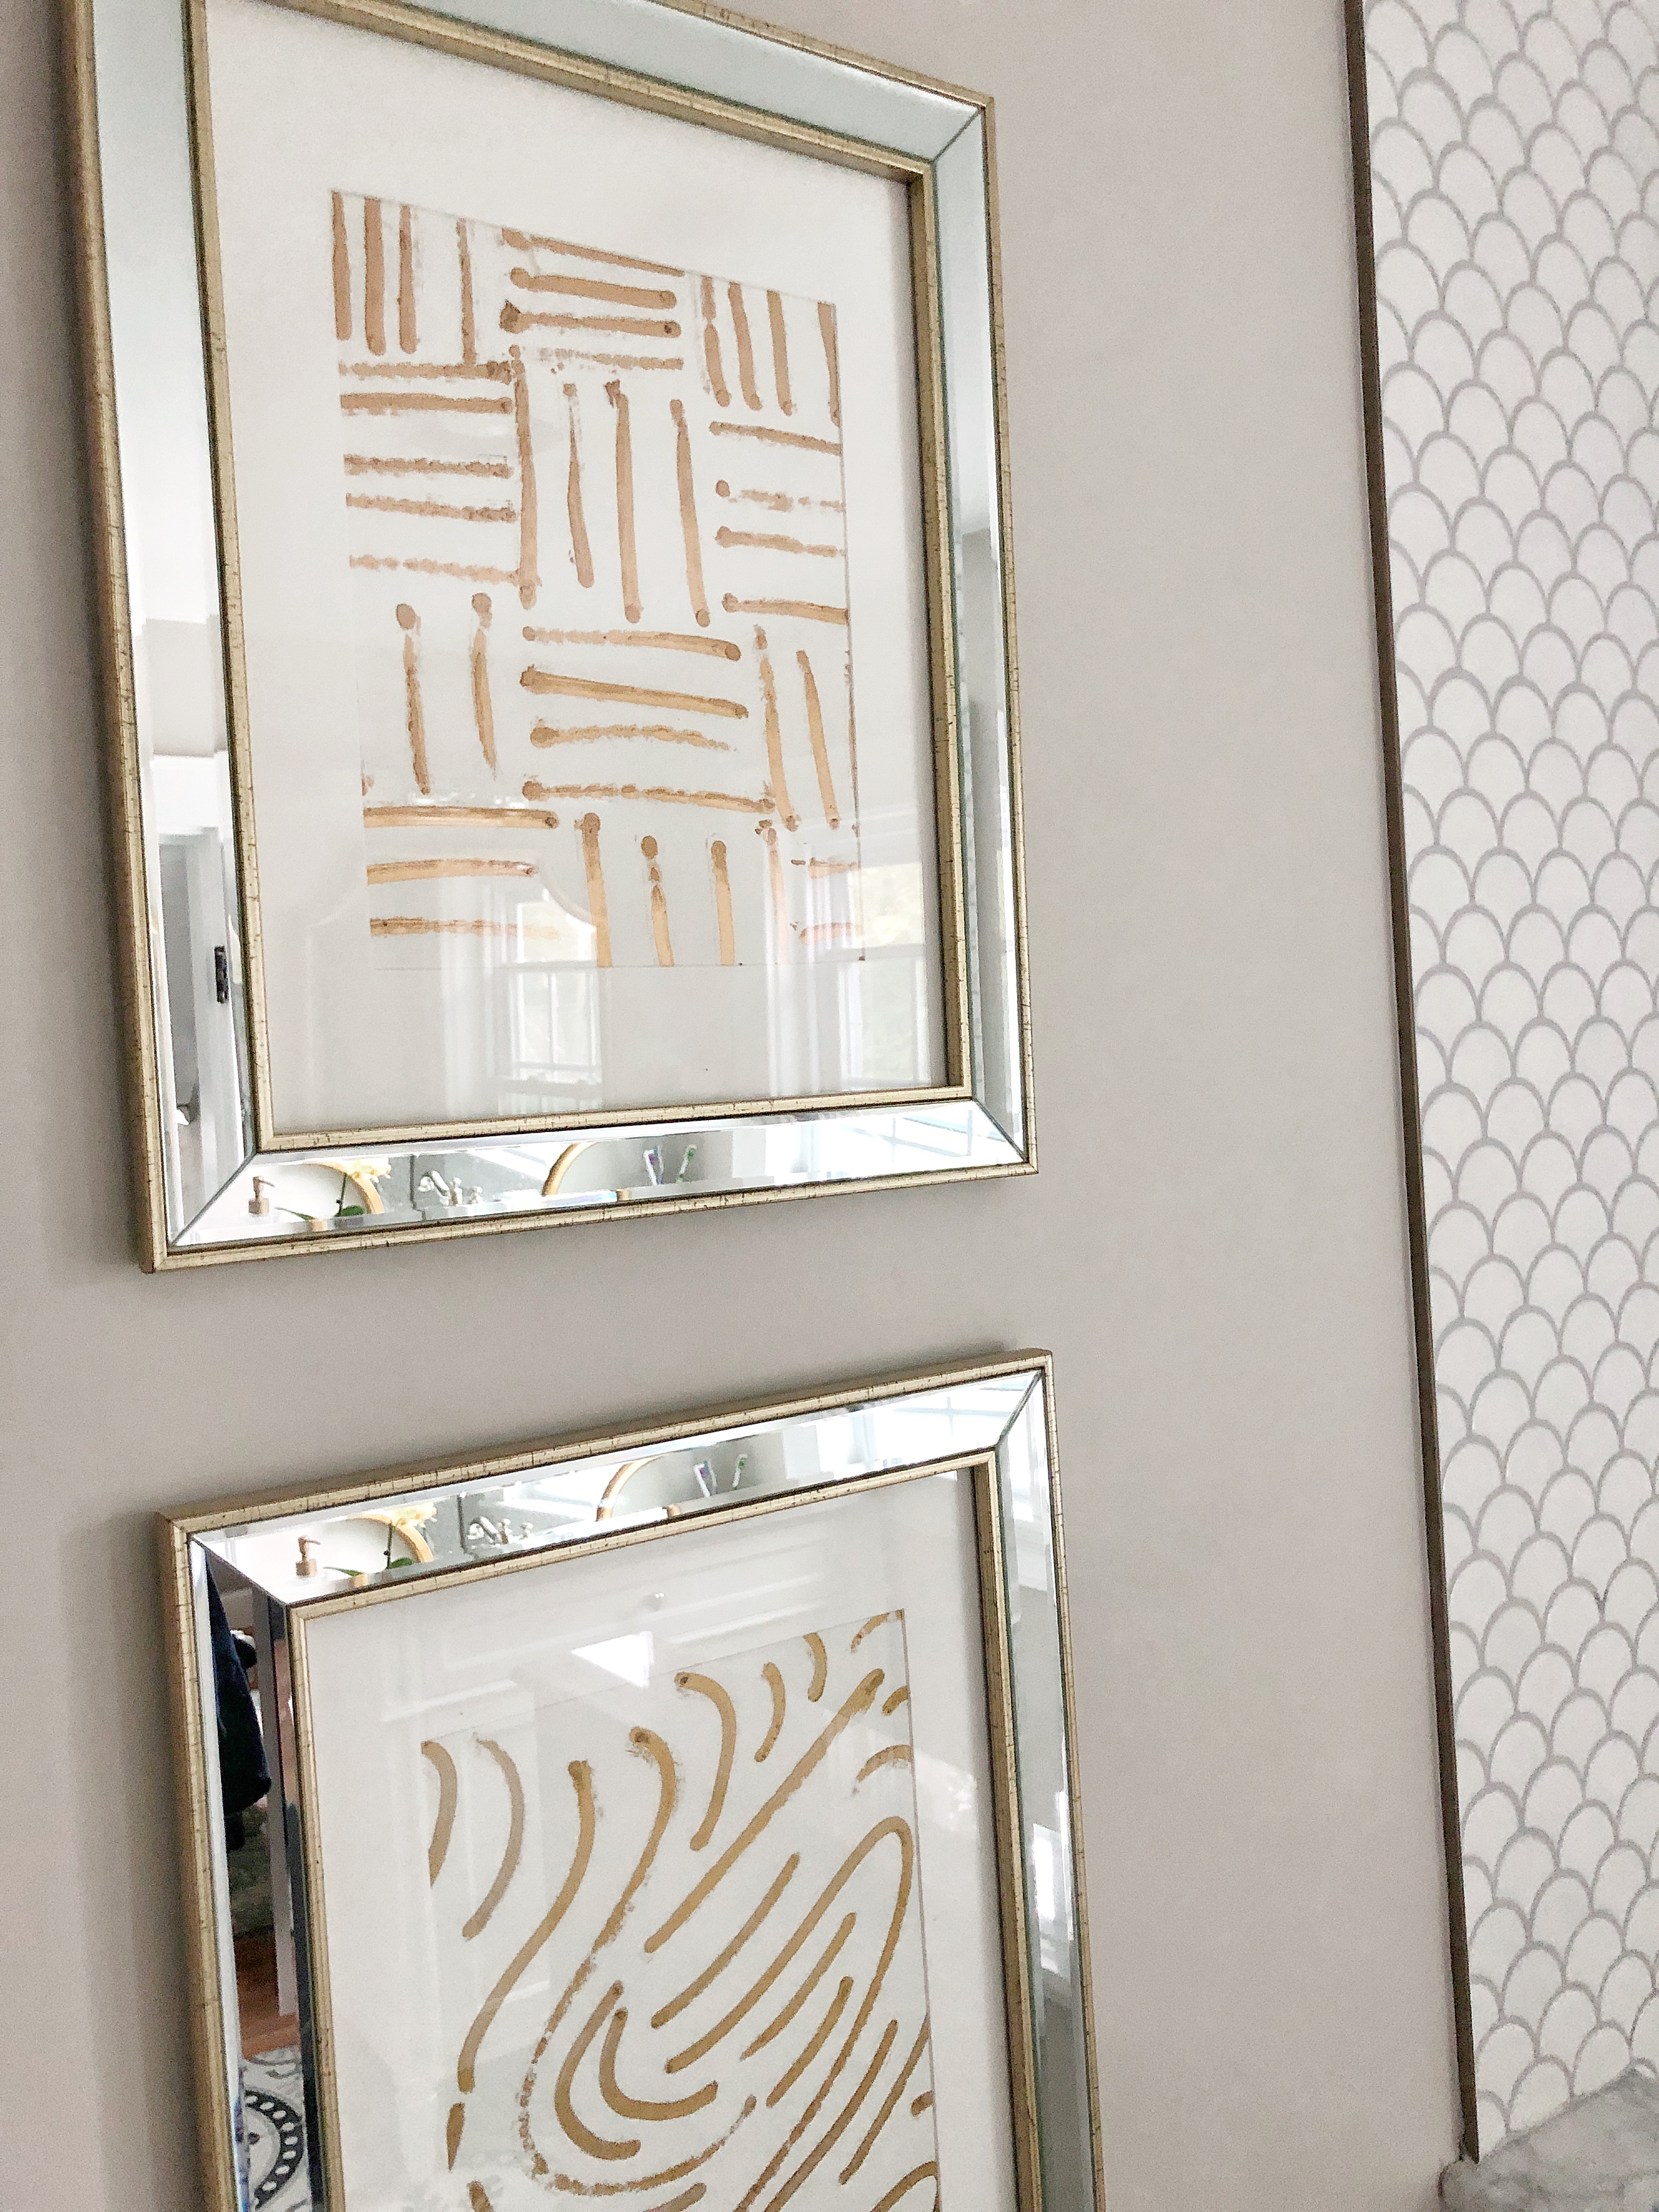
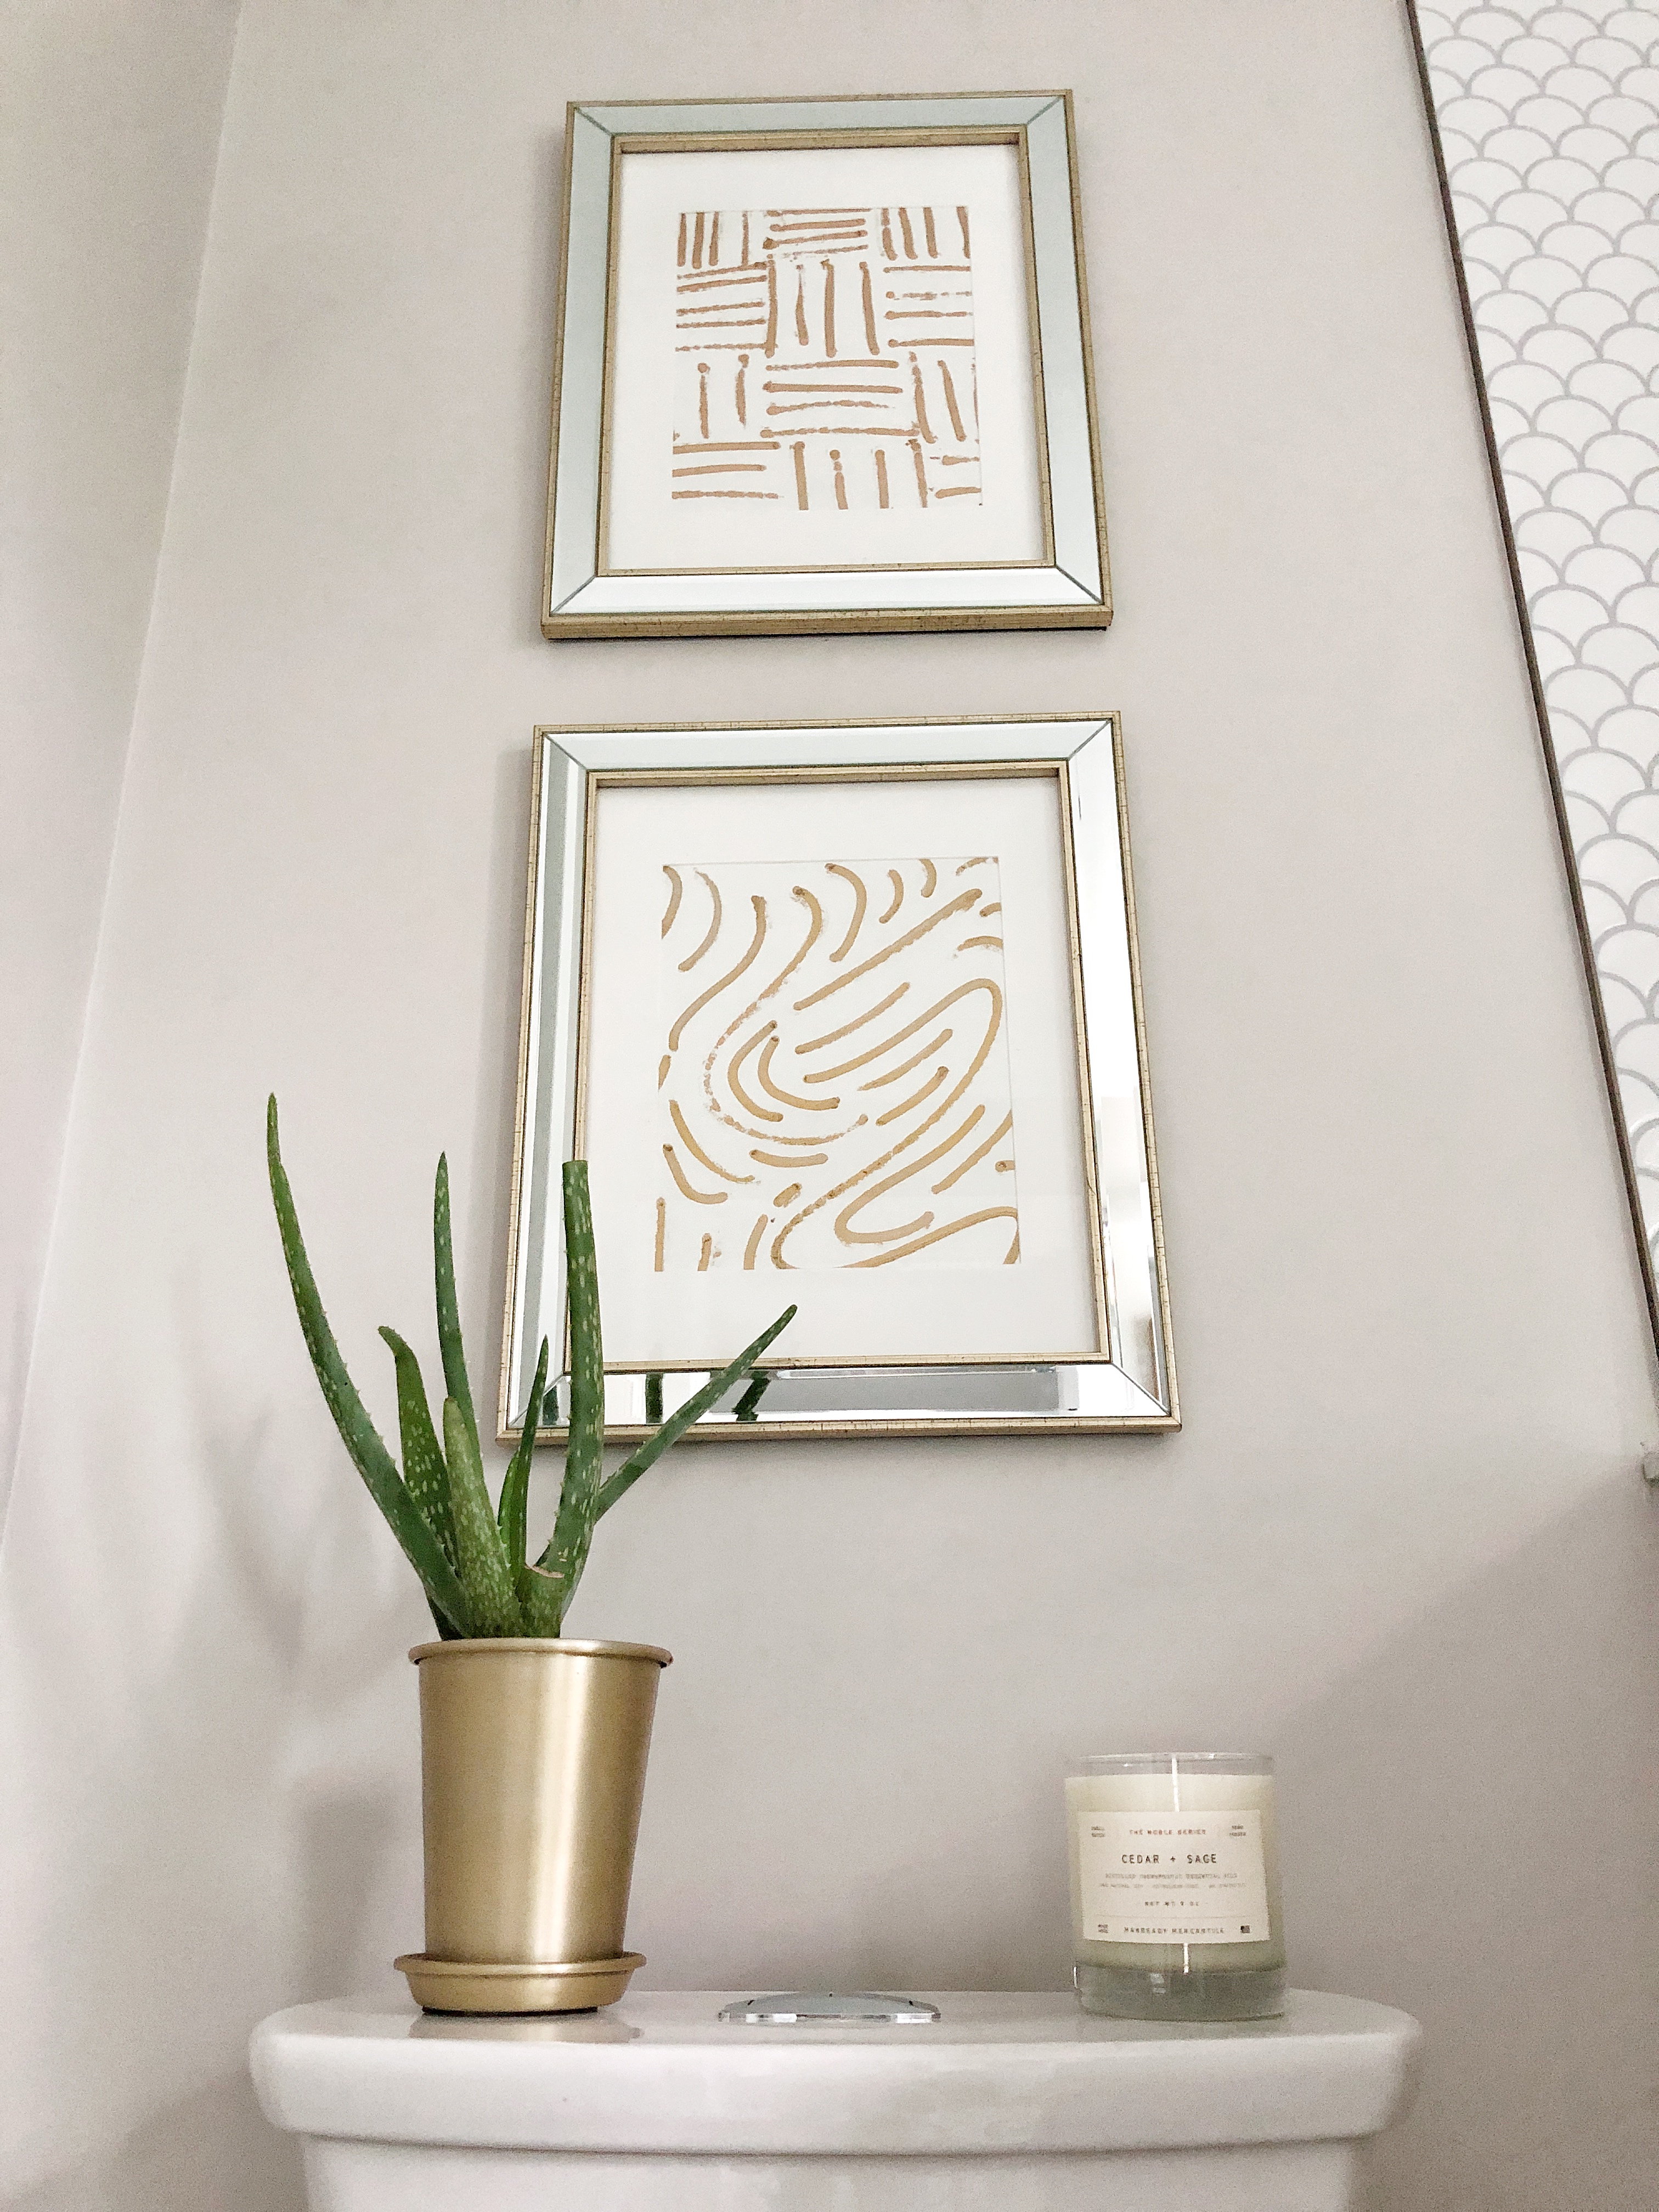
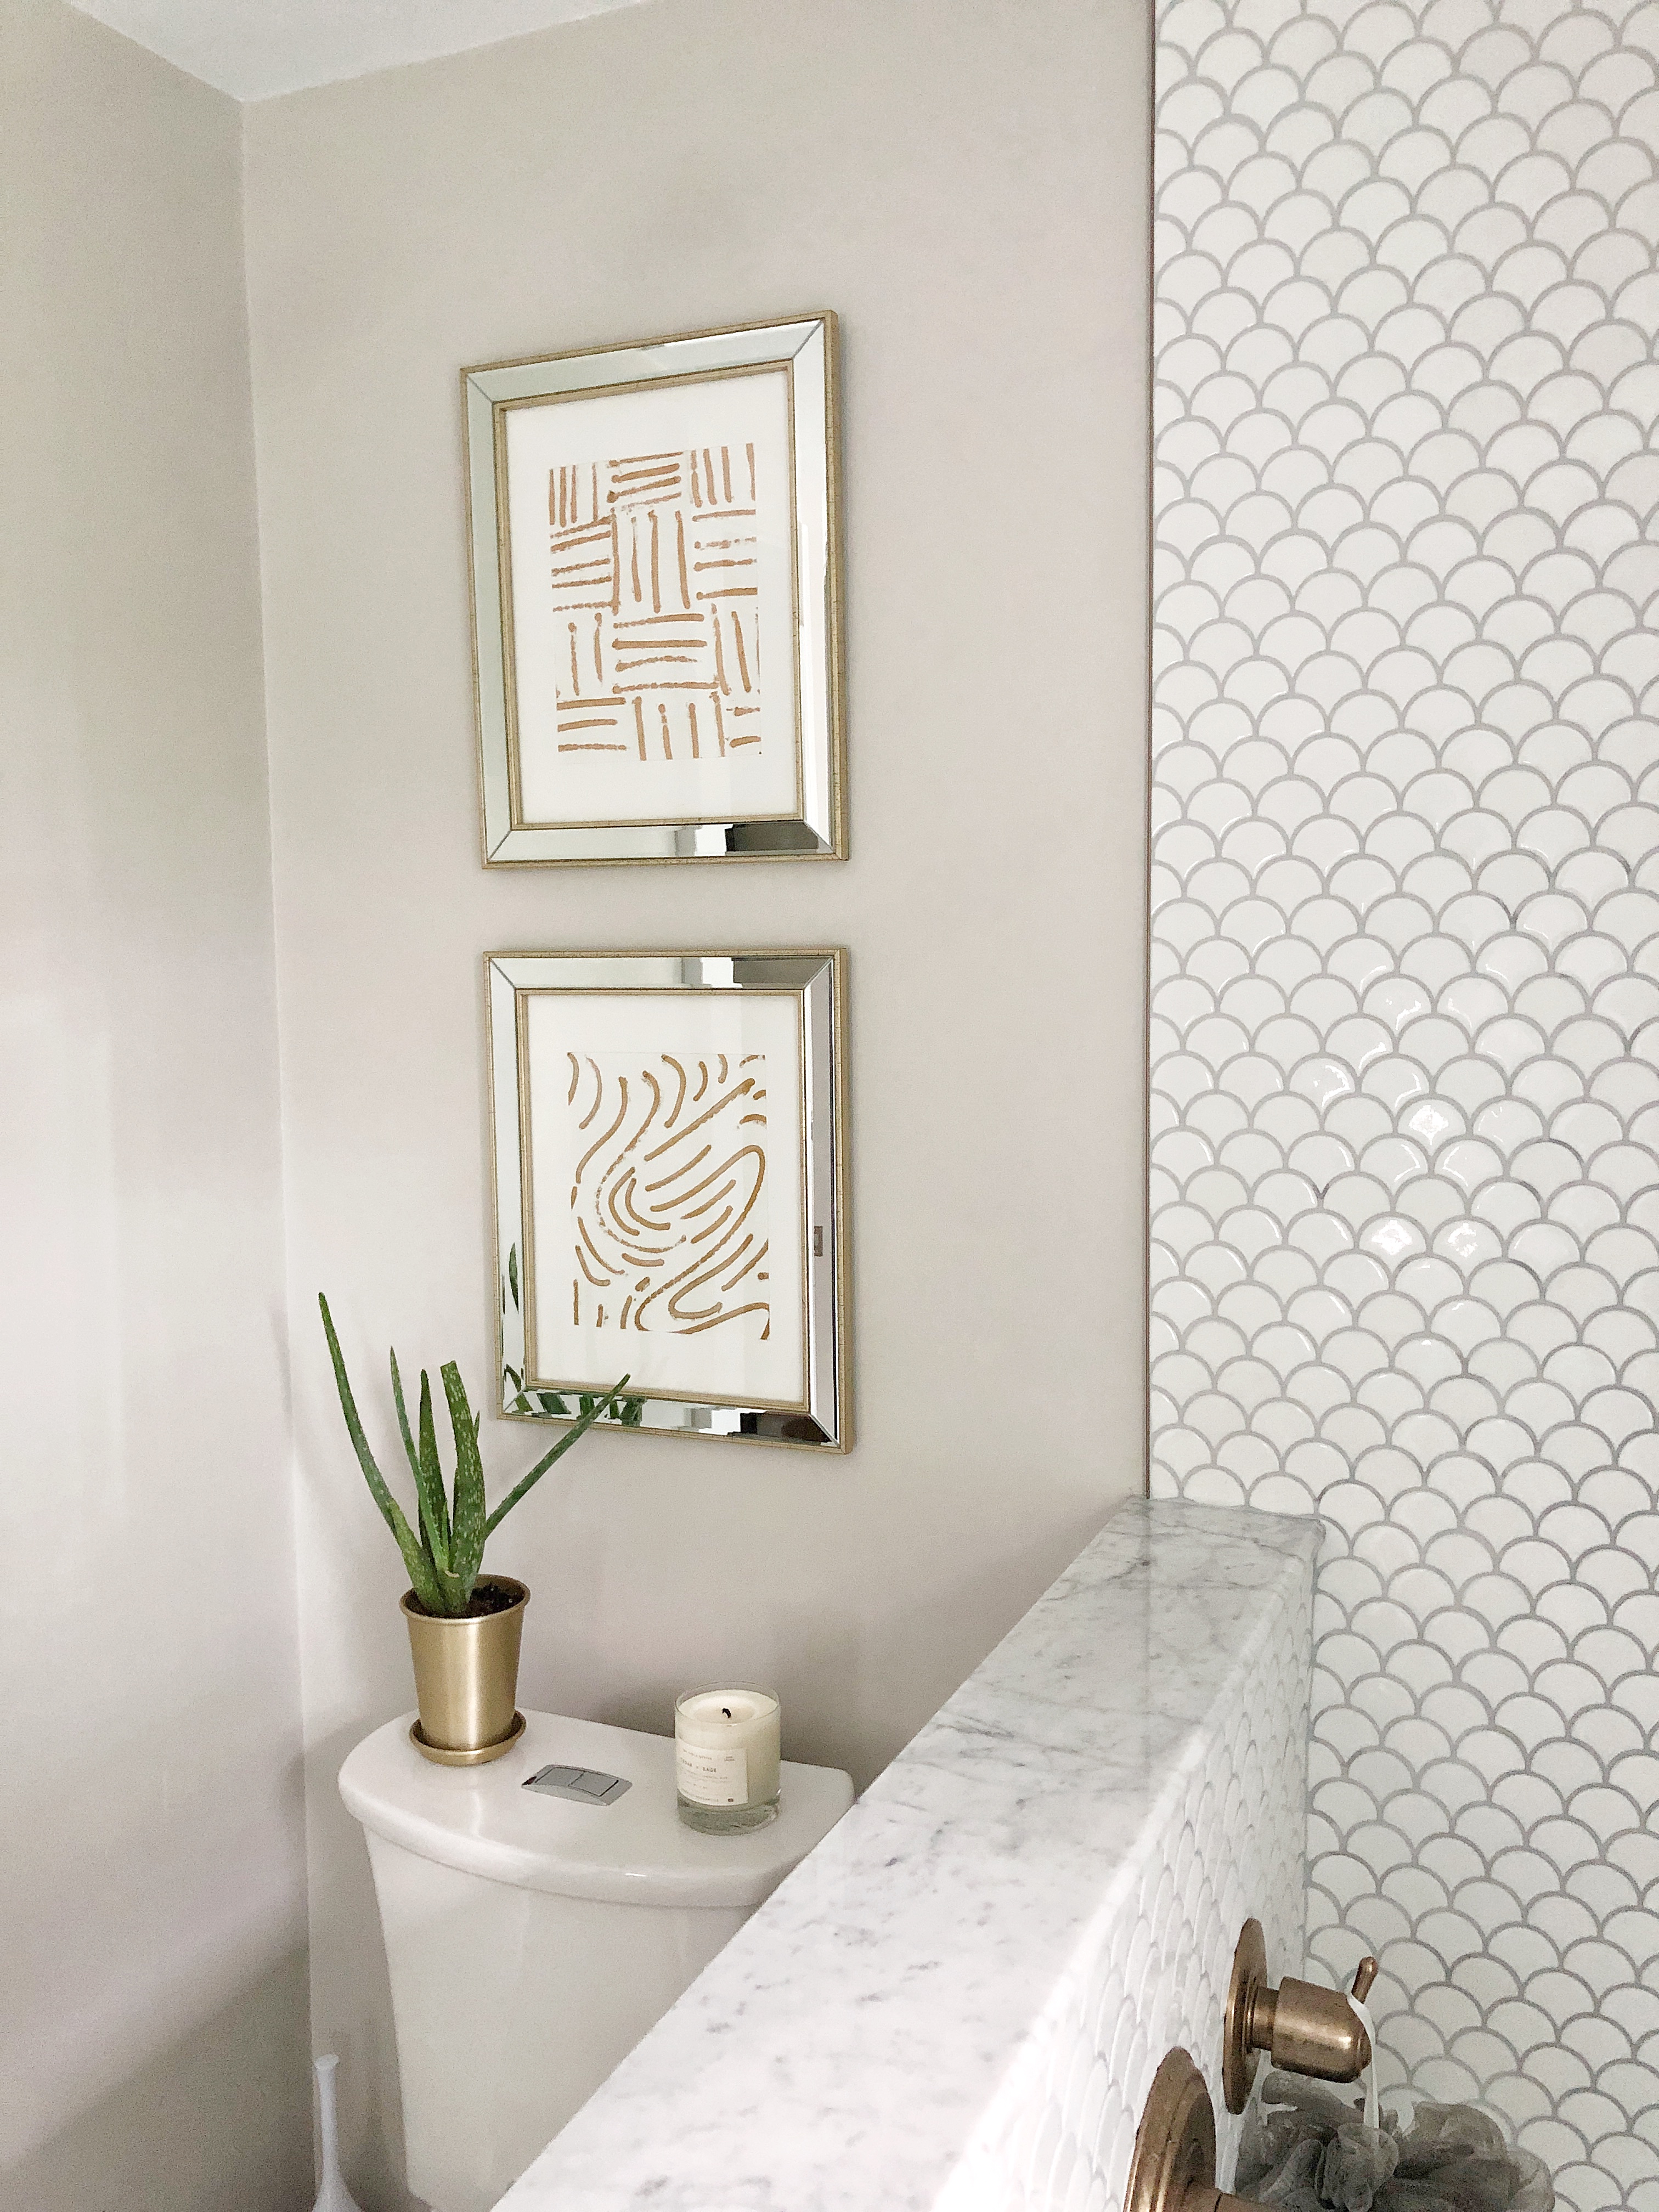
What do you think of these Graphic Gold Line prints? I wasn’t expecting this to work out at all, I actually thought I’d throw them all out! I was pleasantly surprised that I ended up really liking them and the fact that they were free also helps too 😉 The set also really dresses up this wall with out stealing the show from the tile and mixed metals I have going on in here. I think the reflection of the mirror inlay bounces the light around the room even more!
I’m so happy with this fun little project. Thanks for stopping by and checking out this little art DIY.
Jordan
Shop this post:

Pin for later:


")

