


A Girl’s Bedroom Refresh
Hope everyone had a great weekend! With an eye for decorating, I’m always bouncing from room to room in our house, looking to see if any space needs a little tweaking or TLC. On occasion so much time goes by and I’ll look at a room and I’ll realize “wow, I’ve really let this one go!” better a room then myself, I guess. The latest room needing a little TLC was our daughter’s bedroom. One morning I went to make the bed and was like “WOAHHH, this room is not good”. Looking at the furniture layout and decor I realized that moving things around would open up her space and also make her room feel a little more “big” girl. Sometimes a tired looking space just needs a few small adjustments to make it look new and fresh. In this post I’m going to show you how I did that!
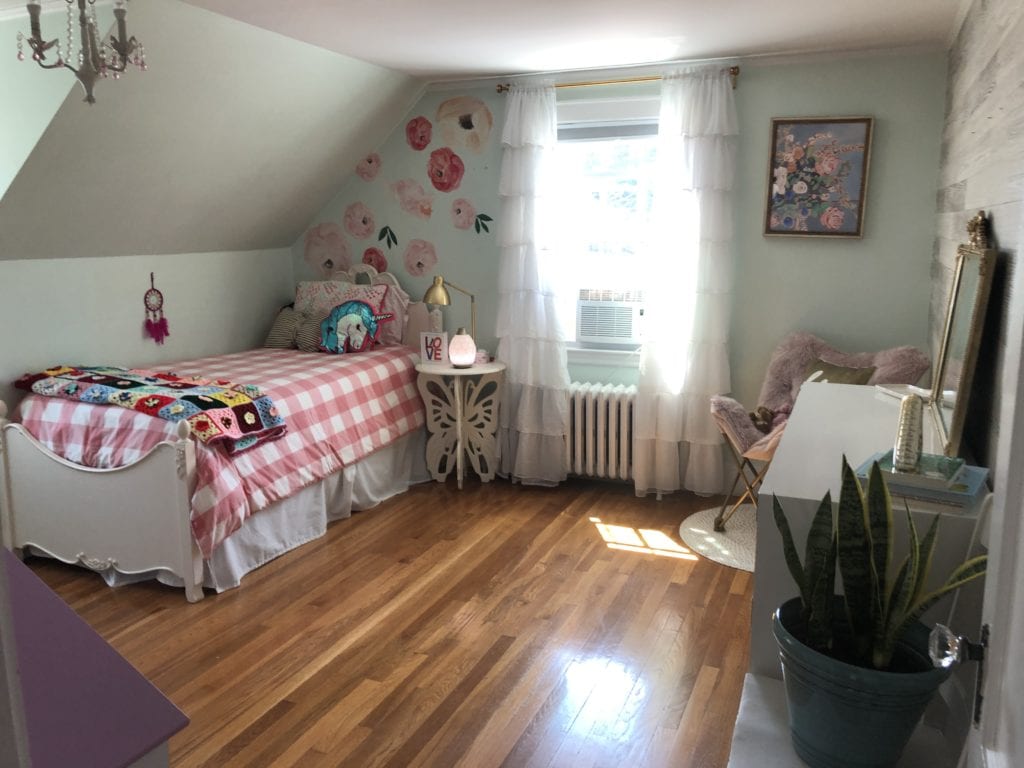
Girls Bedroom Refresh Before:

Where do I even begin with this before? At one point this room looked cute and maybe months and months of “time at home” sent this space into its downward spiral. Whenever I’m about to refresh a space I look through it with a critical eye. What is bothering me? What isn’t working? What could be improved? When I look at this photo I immediately can’t believe that I’ve taken up the entire room with the bed. She has no space to play. It suddenly occurred to me that the bed would fit perfectly to the left of the window which would open up the room. I also decided the rug was lacking personality. I still loved the wall color and pops of pink but the desk on the right side of window was taking up a lot of room and getting no use.
I got to work, selling items and rearranging everything! Then once I was happy with the lay out, I only purchased the following items:
- More interesting Rug
- A fun accent lamp
- A cute dresser accessorie
- Duvet set to pull the dusty rose color from rug
- A shelf for above bed
Everything else I either owned already or just relocated to a different place in her room!
I also painted a scallop accent wall using a paper plate as a stencil which I documented over on my Instagram It’s very subtle but I love how it adds a little interest to that wall separated by the window.
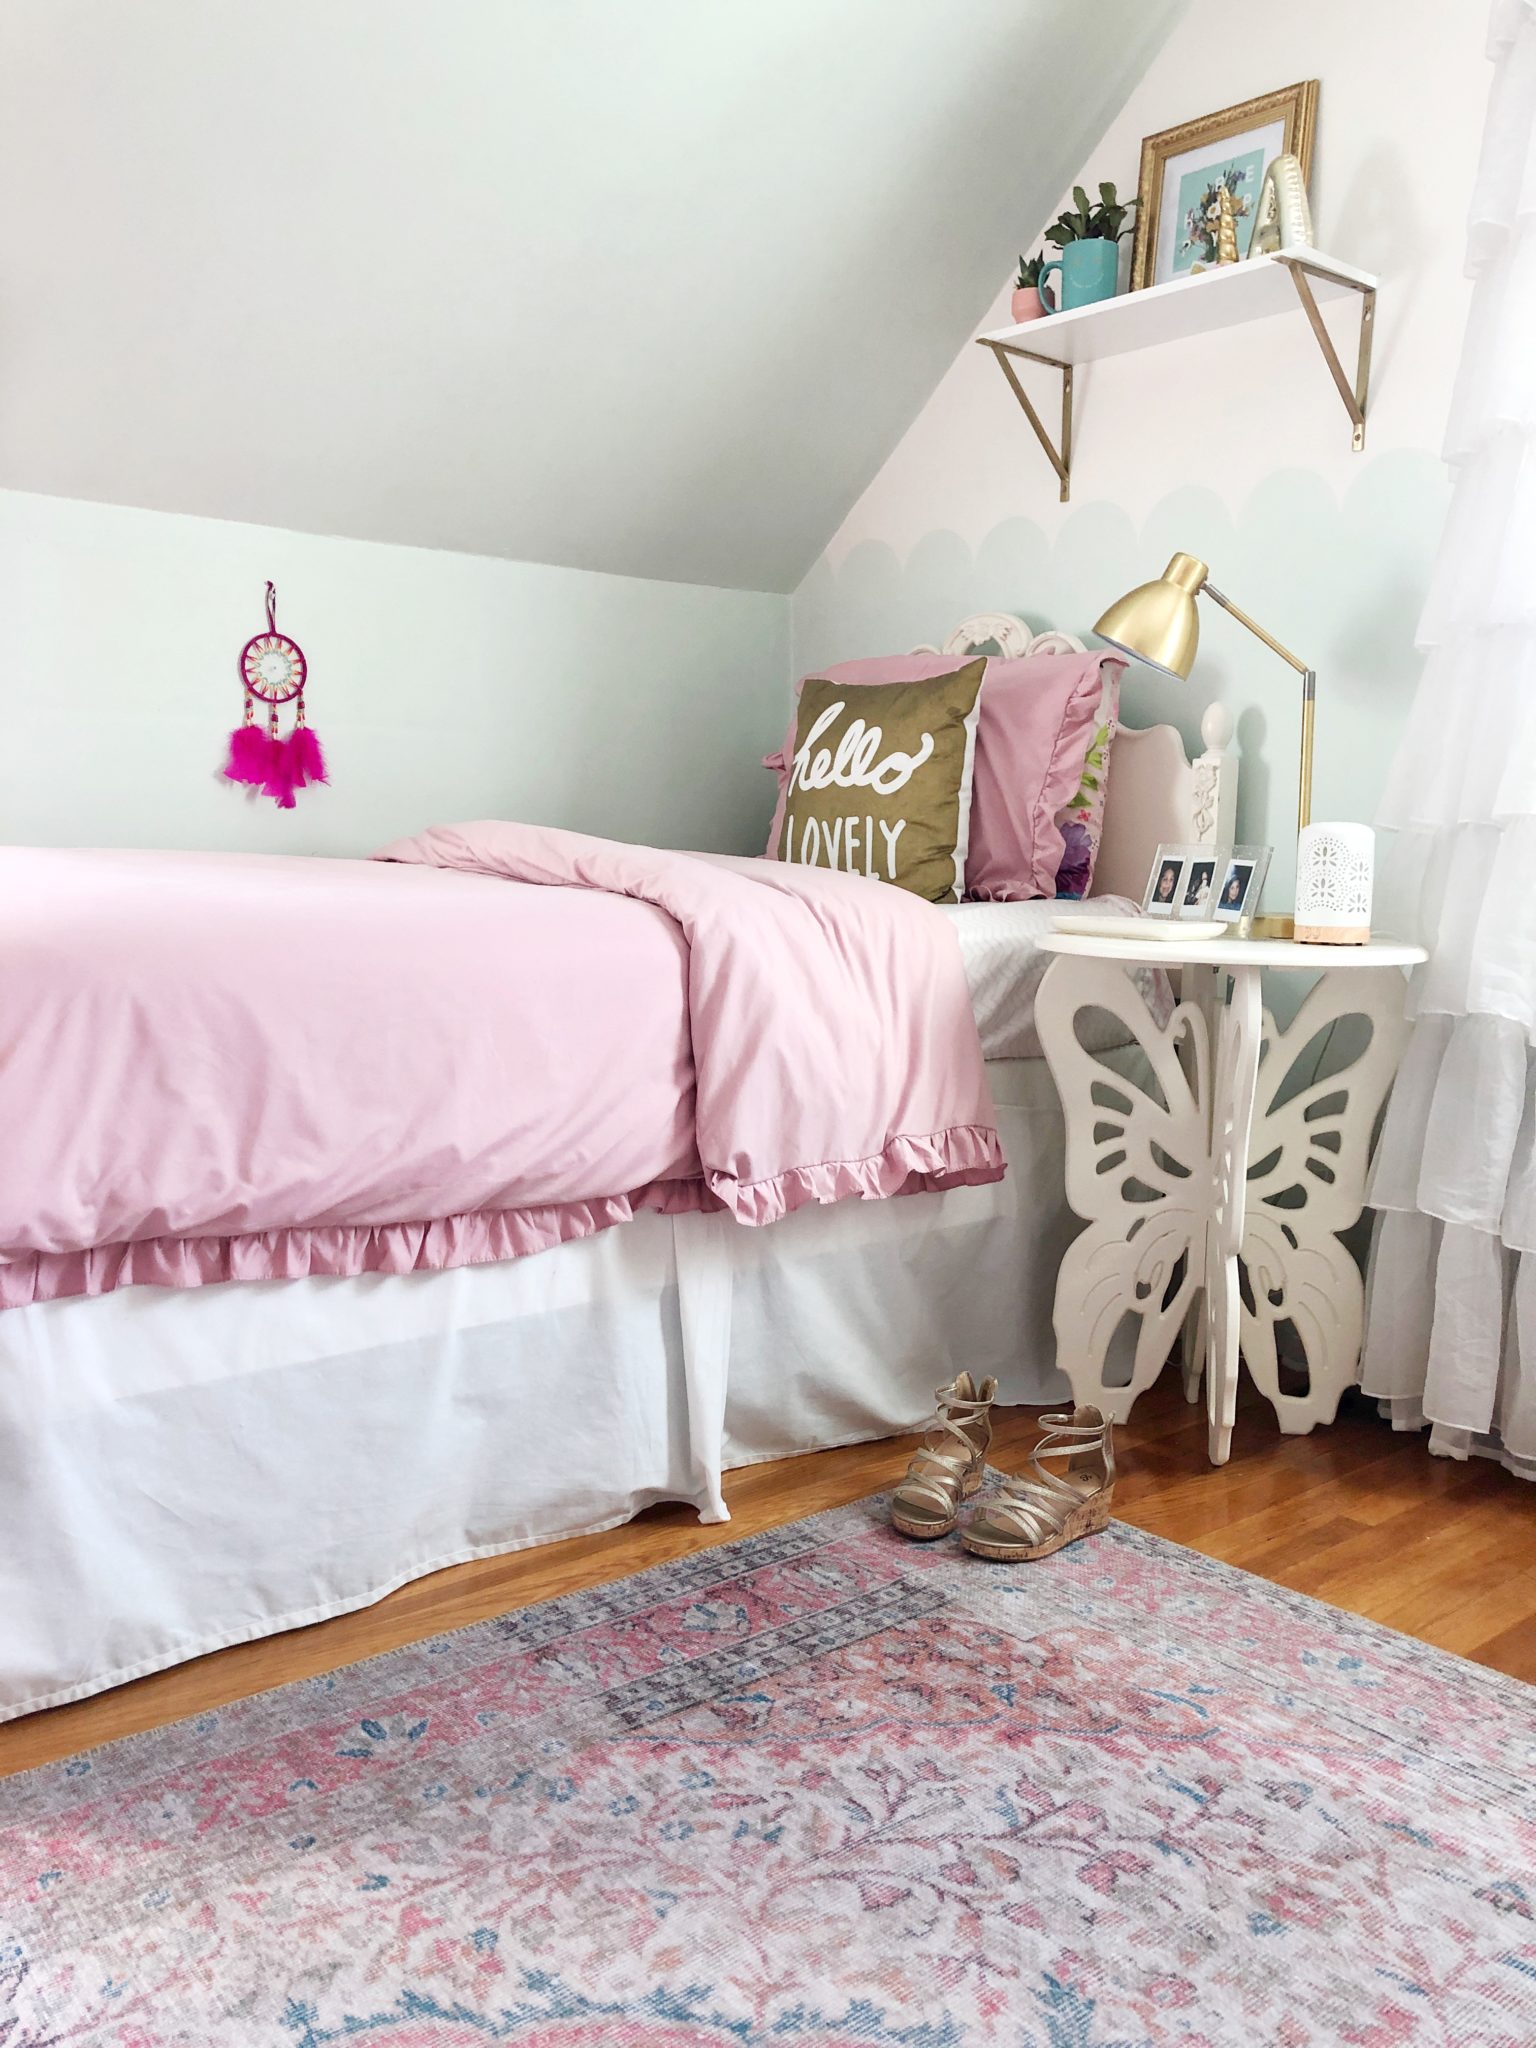
Girls Bedroom Refresh After:
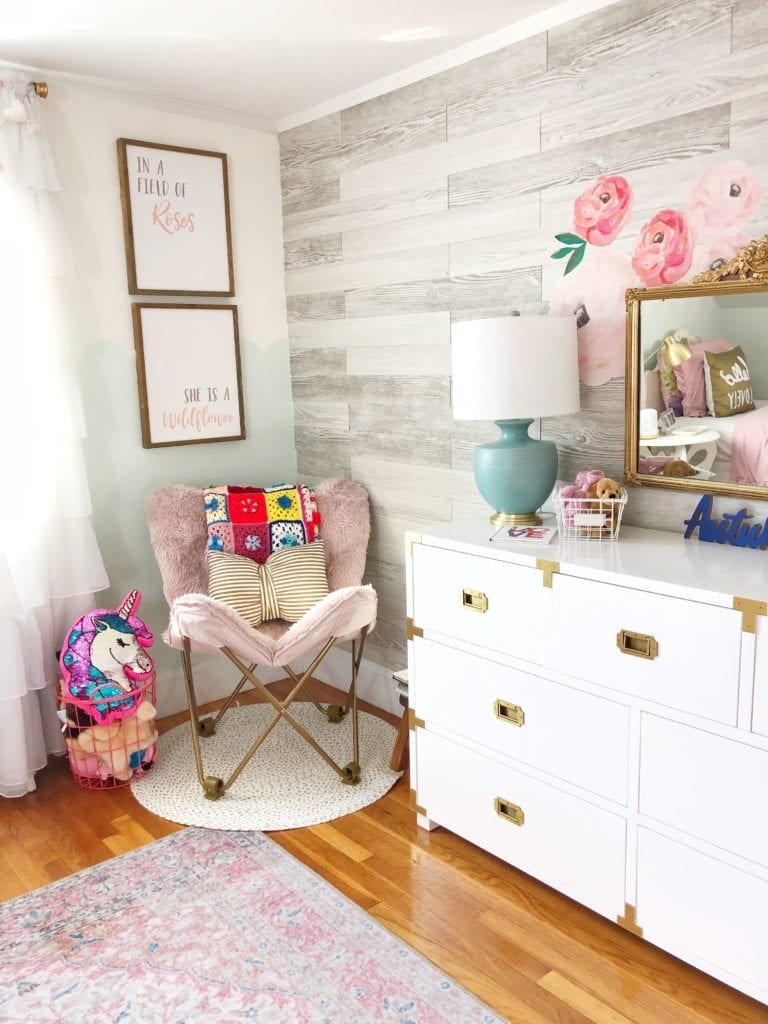
As you can see I relocated these floral decals from one wall to this one. They are so easy to peel off and remove. These are from Rocky Mountain Decal
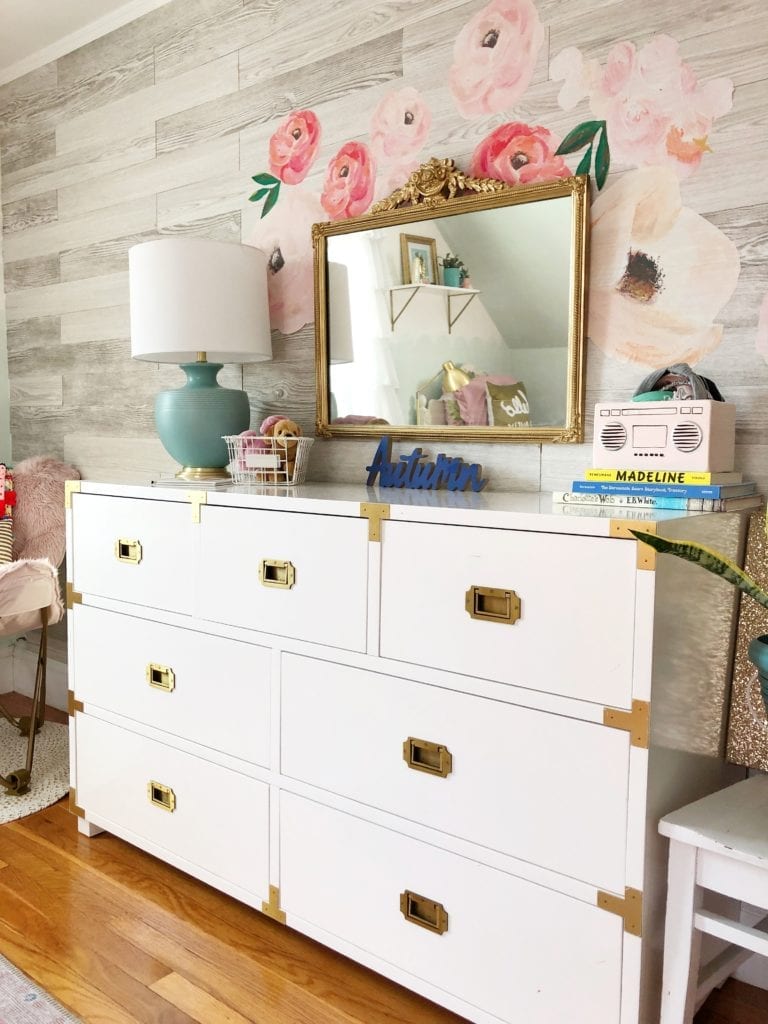
The faux wood panels are from Ez_Wall and they really are so easy to install. I love that it adds a little something fun to this wall, brings in some rustic charm to the space. Click HERE for the faux wood panels.

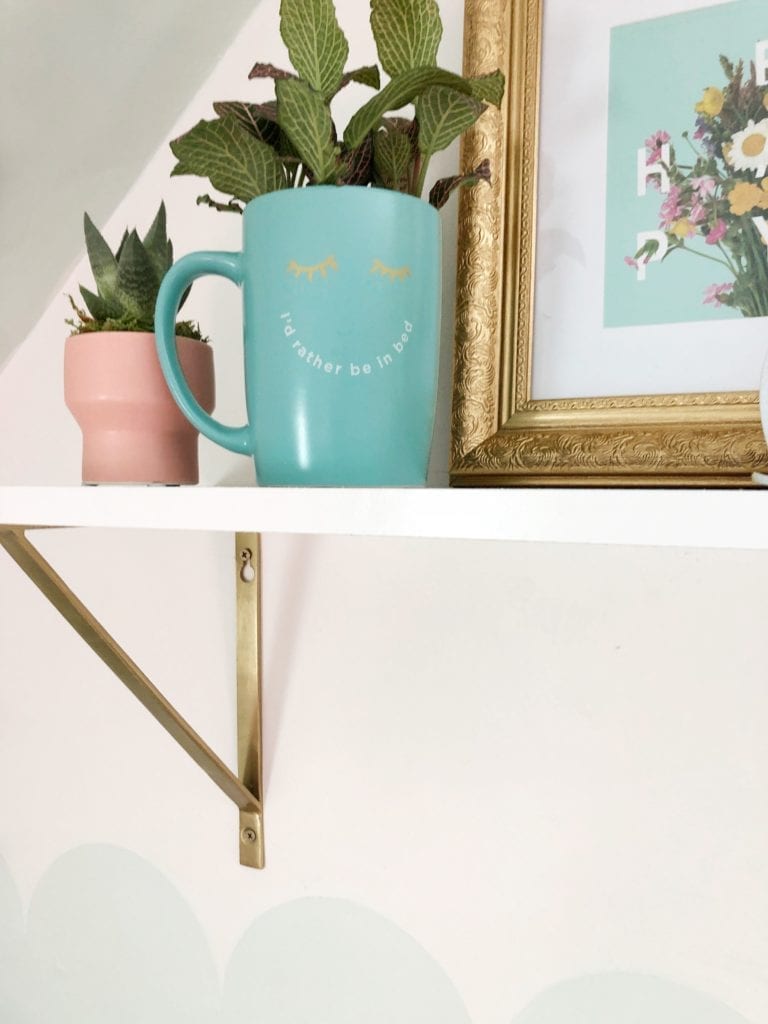
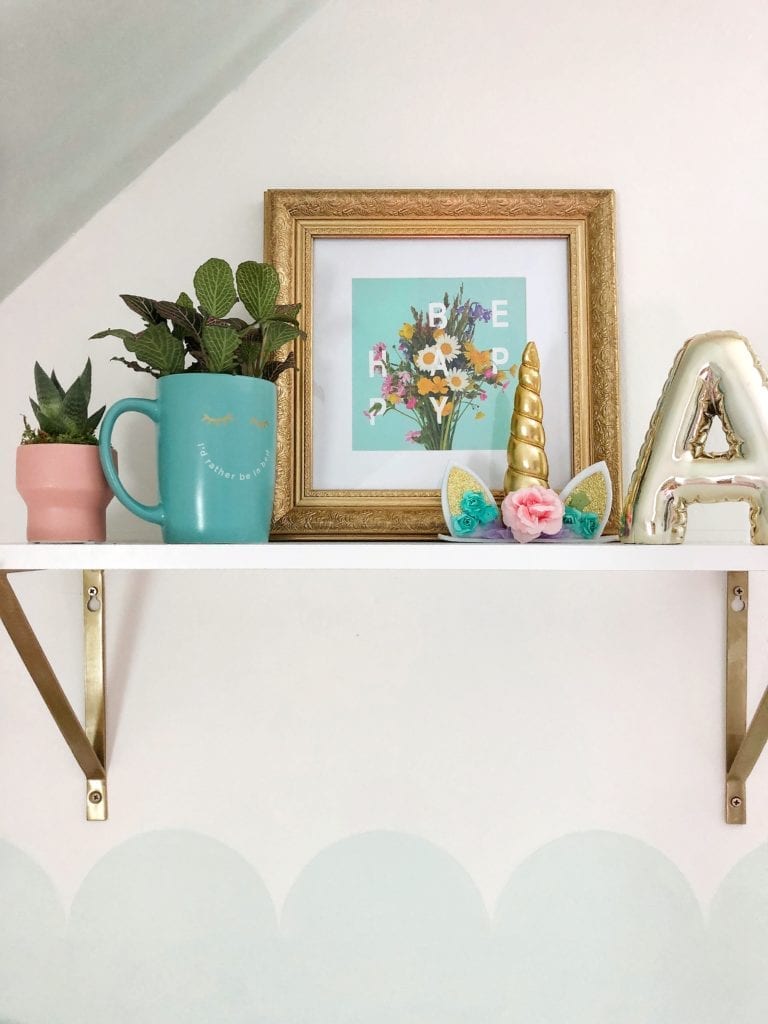
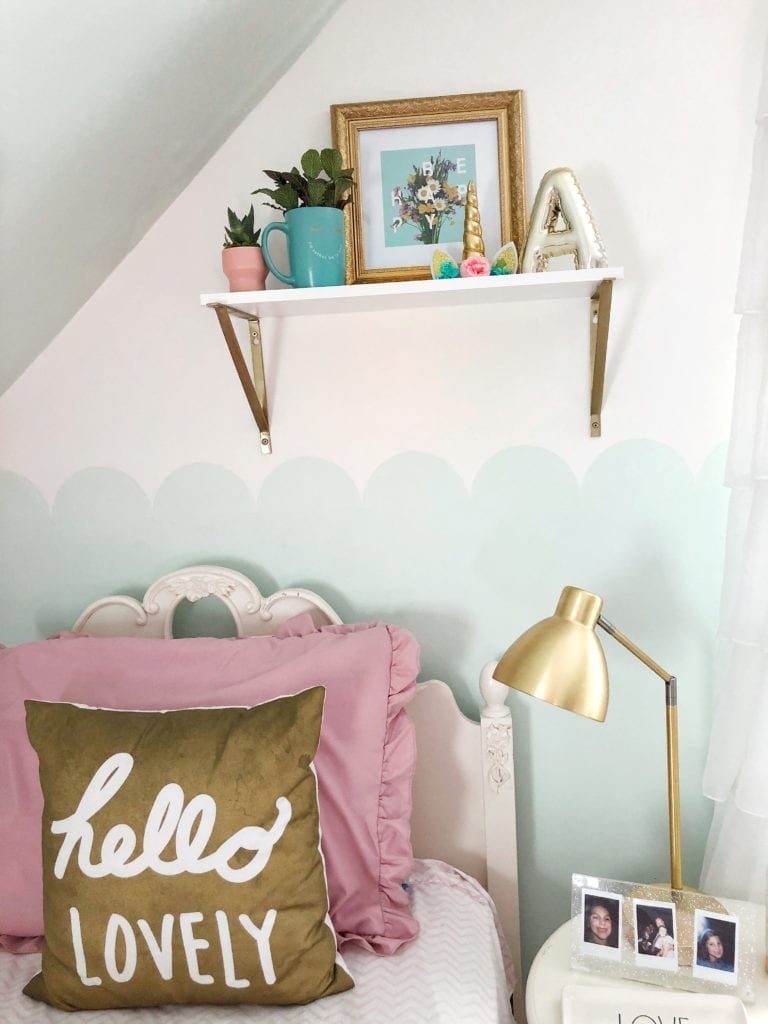
I added this simple shelf with brass brackets and then purchased a white piece of shelving from Lowes. It cost $25.00 total! I added a couple plants, a new print and then a letter “A” for her name. LInked at bottom of this post
Below you can see that I painted the top half of the wall Simply White by Ben Moore then used a plate to trace half circles which I then painted in with the wall color which is Italian Ice by Ben Moore. Super simple and adds a little interest.
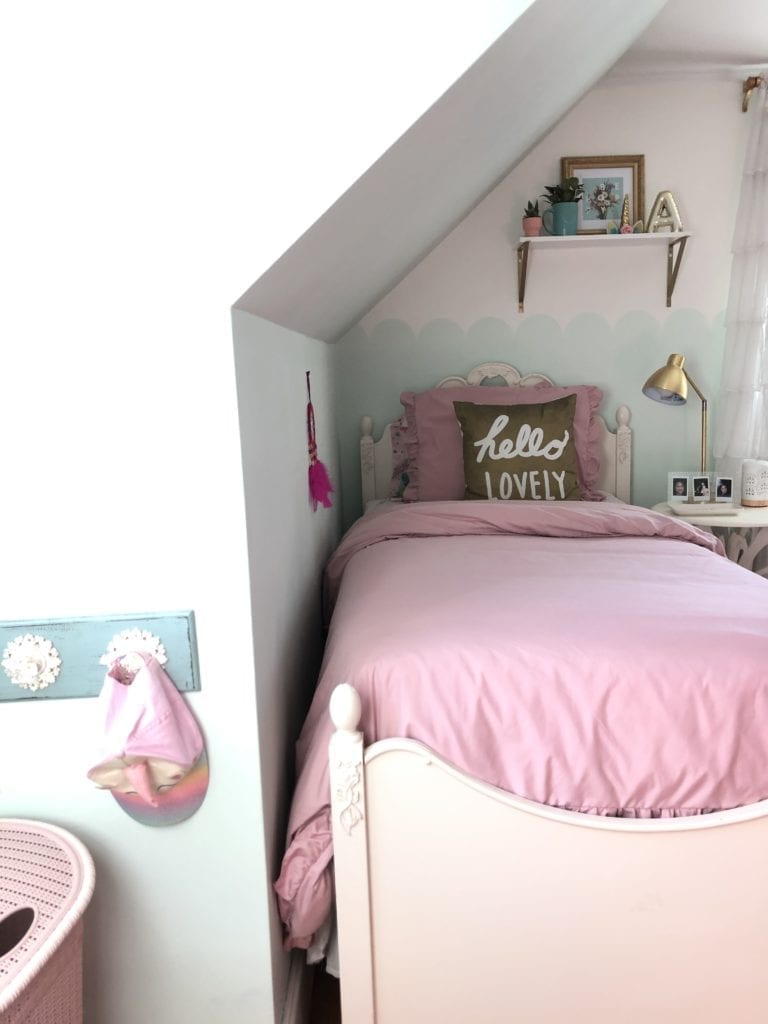
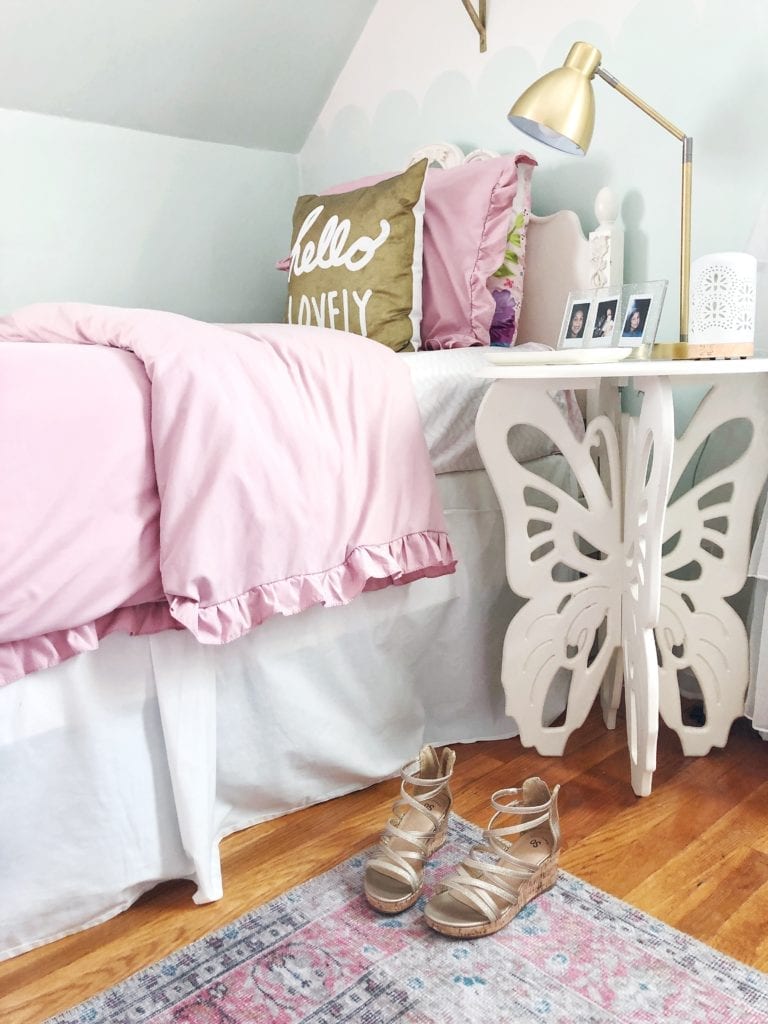
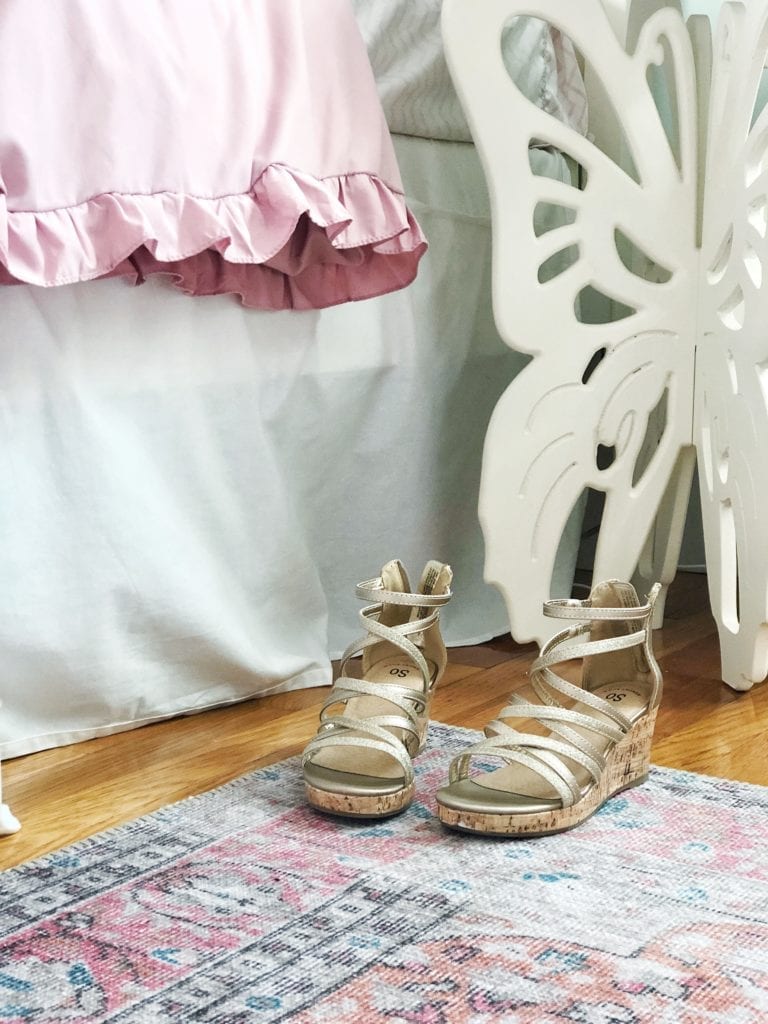
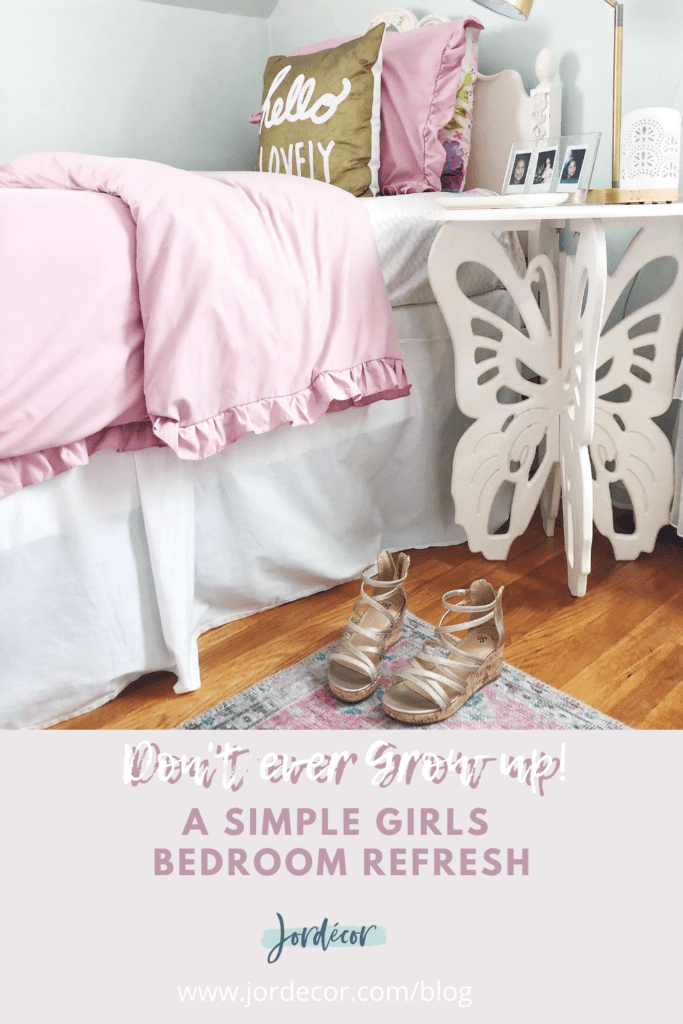
The butterfly table is a Homegoods purchase. I’ve tried to find similar to link but haven’t had any luck. Her bed is a FB marketplace find from a few years ago. I think I paid $30 dollars for it!
There you have it!! One very cringe worthy before and a much better lay out end result. The most important part is that my daughter was beaming at the sight of her “new” big girls bedroom! I think it is perfect for her at this age. It’s not too babyish but it also isn’t too grown up. I hope she never does! Plus, with all this extra time at home it really makes a big difference loving your space. I hope you enjoy seeing how I breathe new life into spaces with only a few little updates. Do you have any favorite changes? What room in your house could use a little TLC?
Happy Decorating!
Jordan
(this post contains affiliate links which help support my blog, at no extra cost to you! Thank you for shopping my links!)
Shop the post:

Pin for Later:


")

