How to Create Faux Grass Grout
Hey Guys! Today I’m sharing a fun DIY that I thought up and put to the test this past weekend. It’s a new way to update your exterior concrete on a budget. Let’s face it the look of concrete isn’t the prettiest and doesn’t add much curb appeal. I’ve seen some fun ways to update concrete with stencils and paint. Follow me over on @jordecor for more ideas and inspiration!
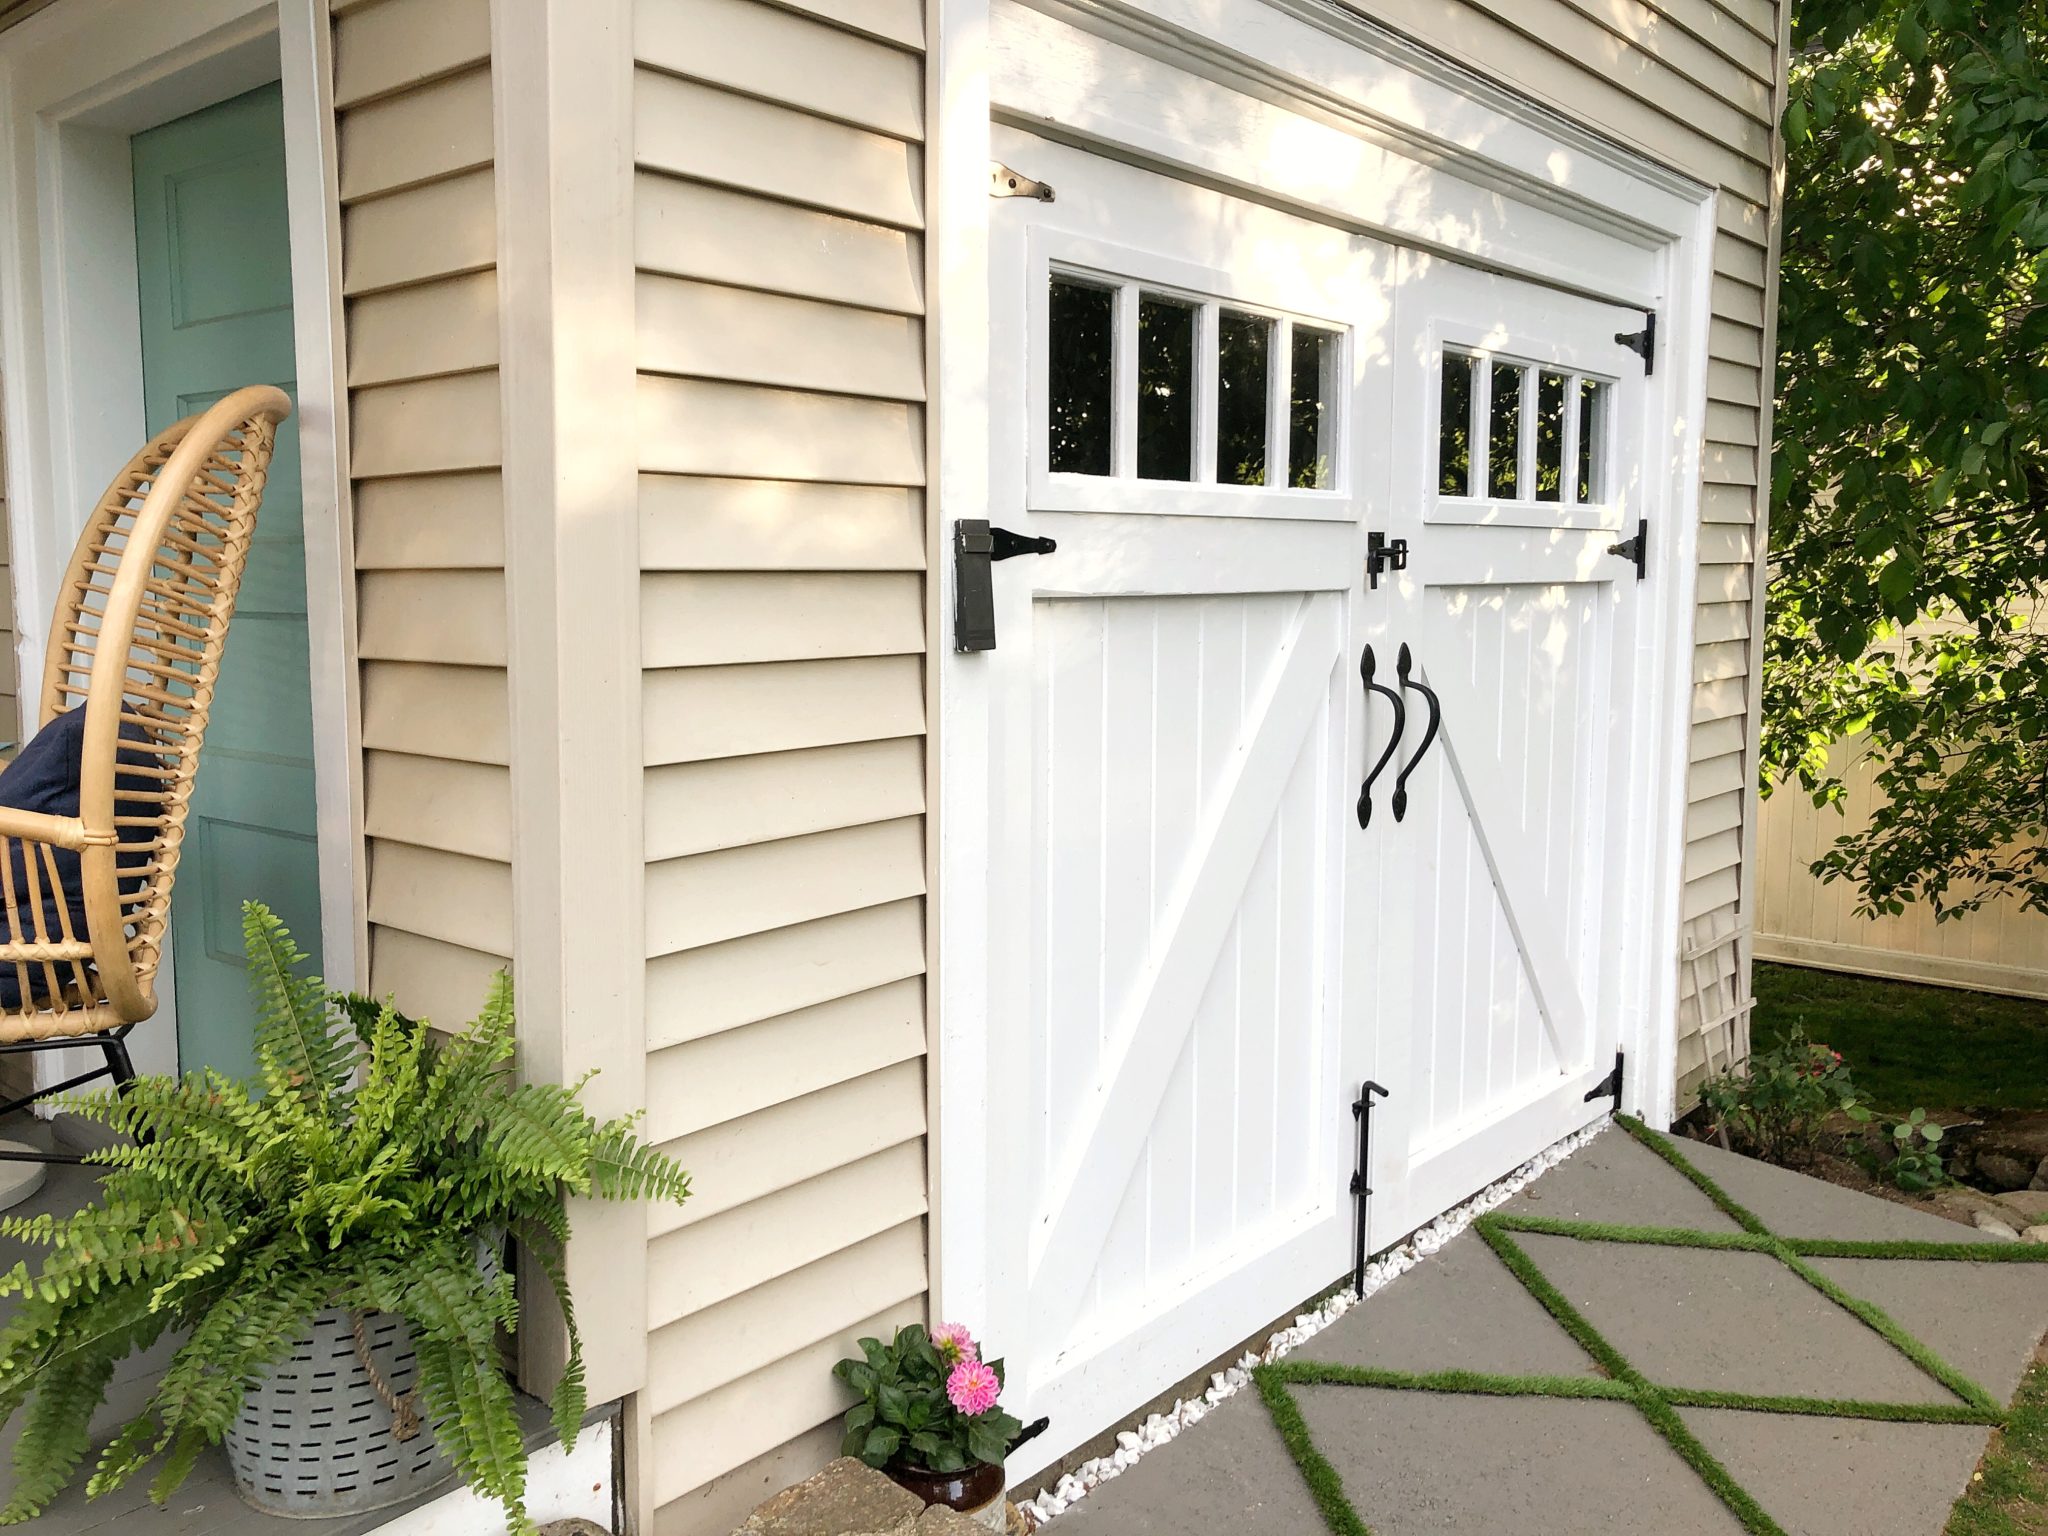
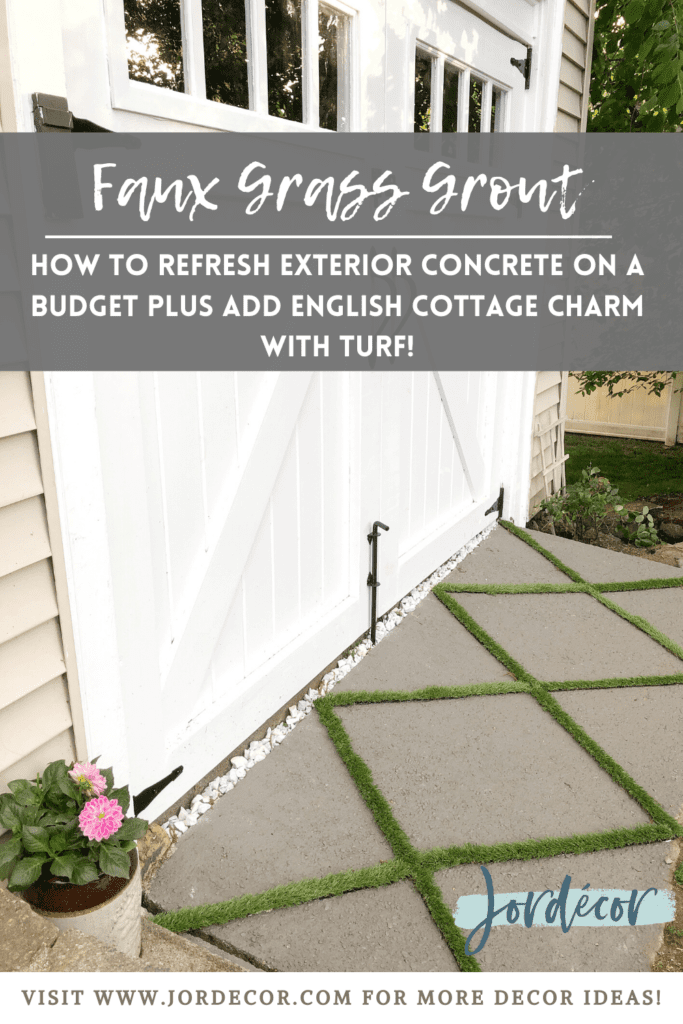
This technique which I like to call Faux Grass Grout or involves using faux turf to create the look of pavers with grass growing between. This is a fairly easy DIY and completely transforms the concrete to look like an english country cottage. Did I mention it’s also affordable, too? Depending on the size of your concrete that is. Now I plan to update this post over time to share how it holds up in our New England weather. In this post I’ll walk you through how to do it and also share some photos of how it looks in our exterior space.
Inspiration:
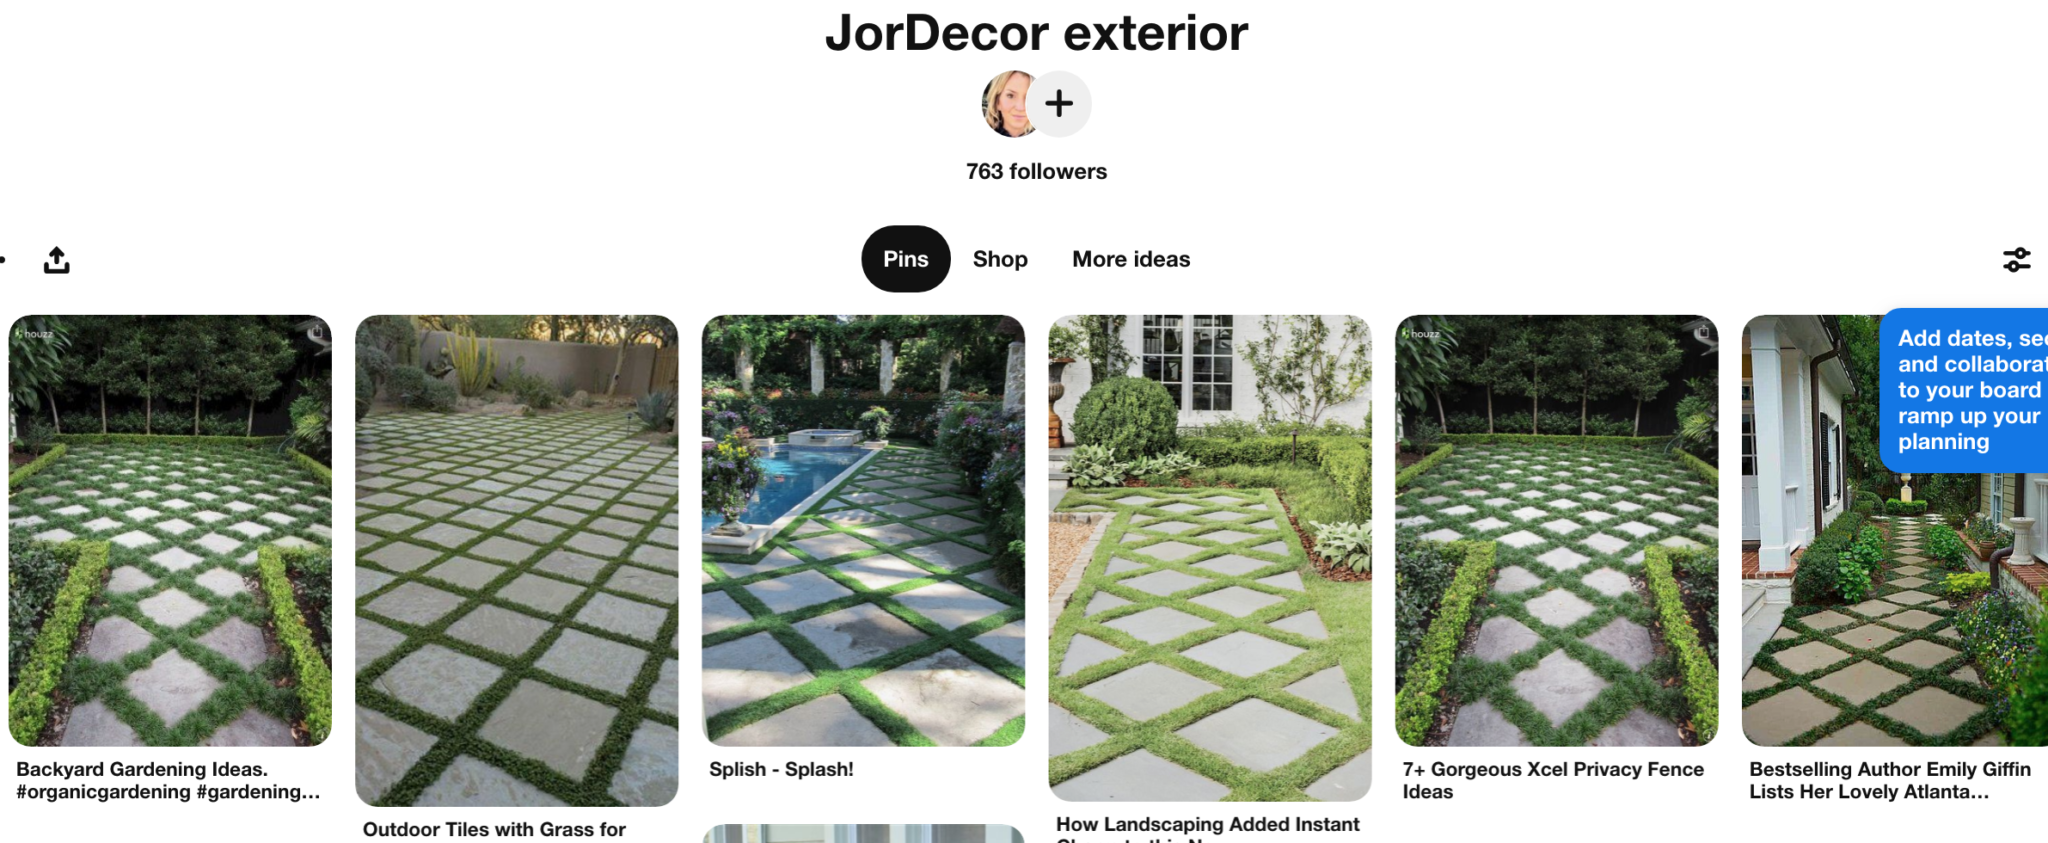
In my exterior board on Pinterest I was pinning lots of natural grass grout, which got me thinking how can I recreate this look with out ripping up my concrete and relaying pavers etc… I thought if I can cut strips of turf and adhere them with heavy duty adhesive to the concrete I might have a way to recreate this cottage-y landscape vibe.
Let me show you the area I wanted to try this technique on. This is a slab of concrete that leads from our yard into our garage turned shed. We just added these barn doors and I wanted to spruce up the concrete pad that helps us roll our bikes, lawn mower and other items from the shed out to the yard.
The Before:
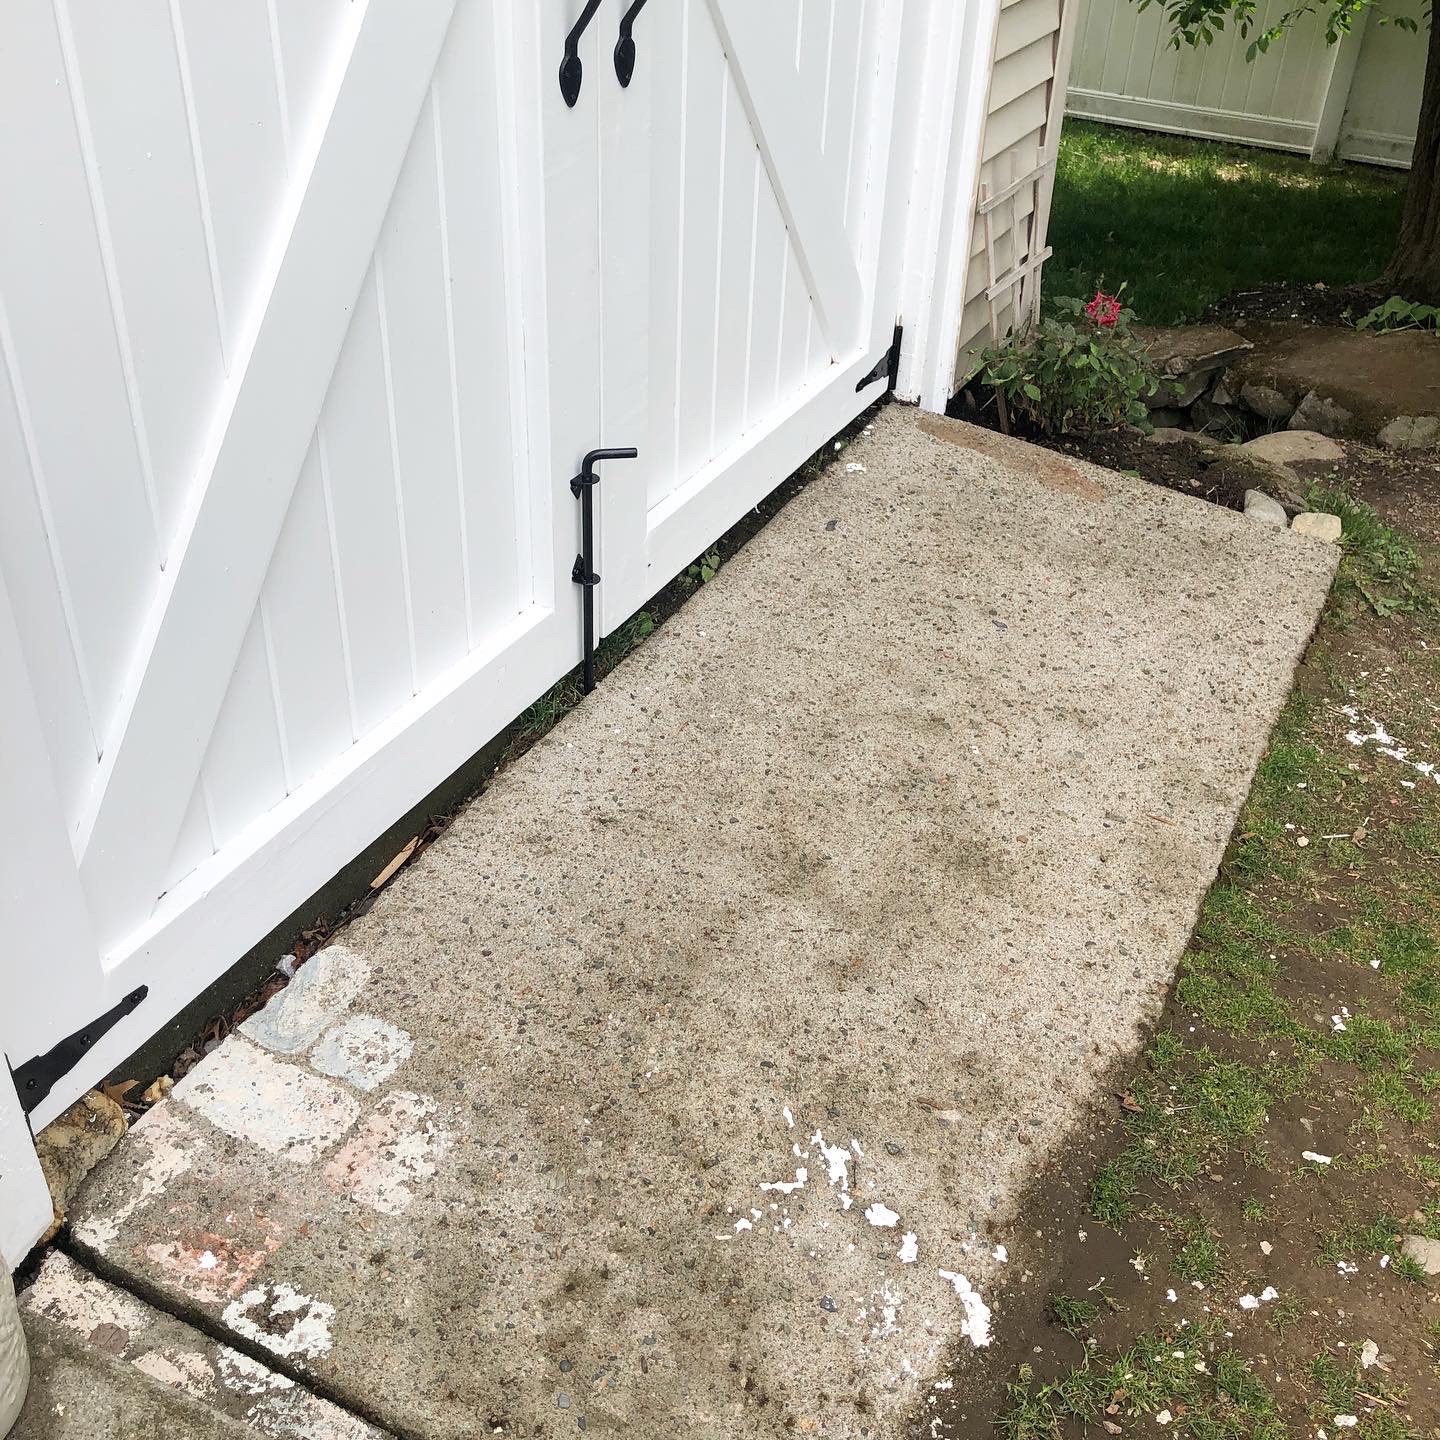
As you can see this concrete area is looking pretty rough. I even tried stenciling some pavers and it just didn’t loo realistic enough. So we power washed and painted the entire slab with Benjamin Moore’s Patio and Deck Paint. I used two coats of Windy City and it looked like this:
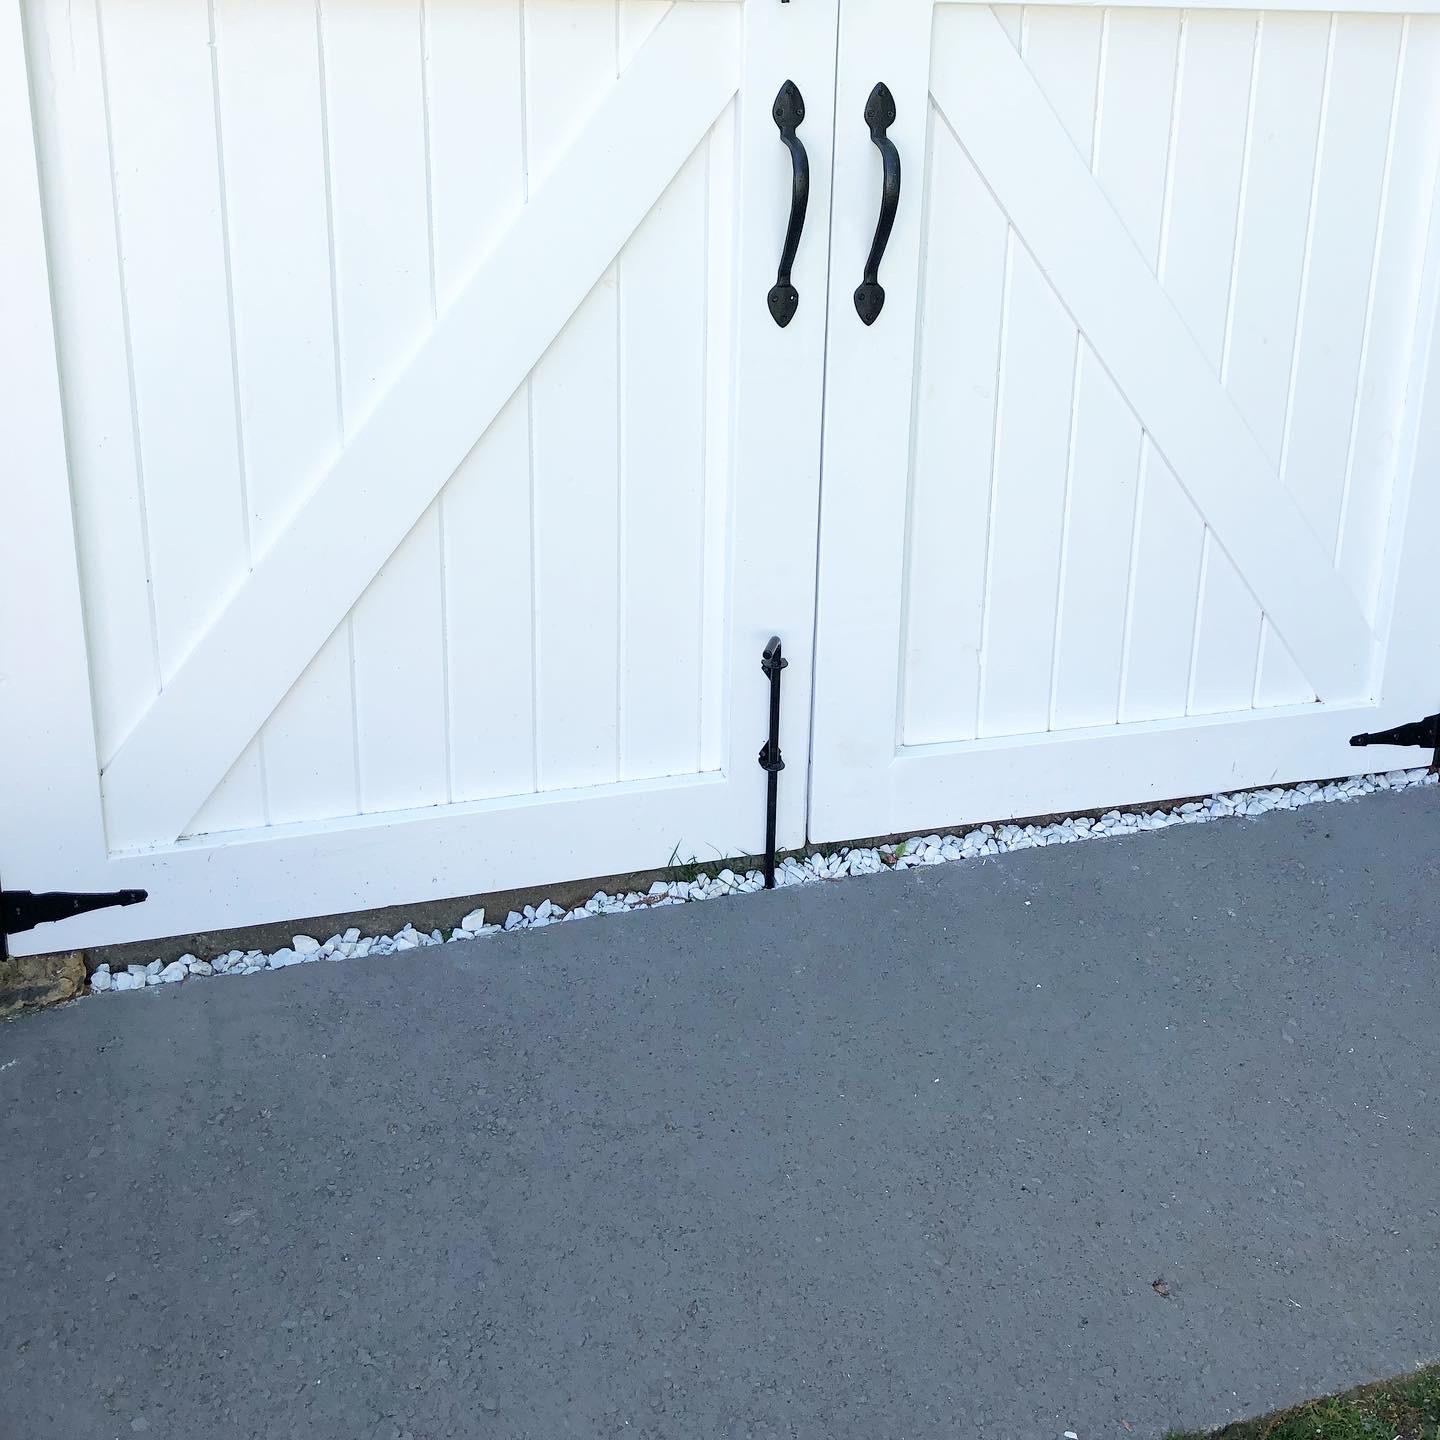
Let me add that I started this project when I noticed the weather would be nice for a series of consecutive days. I gave the paint a couple days to dry and adhere before adding the faux Grass Grout technique to create my turf tile effect.
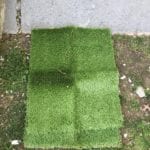
Once it was dry and I ordered my turf HERE is what I used. I gathered my supplies.
Grass Grout Supplies:
- Tape Measure
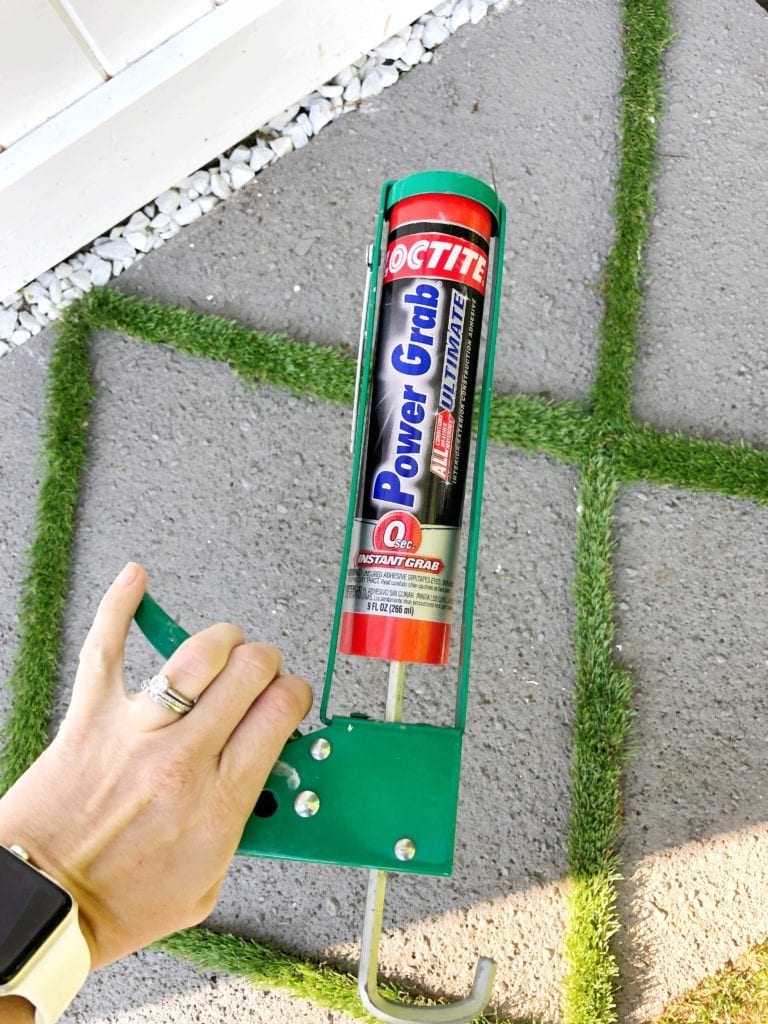
- Strong exterior adhesive similar to Liquid Nail
- Turf
- Utility blade or serrated knife
- Caulking gun
To get started:
Reminder make sure the surface is clean and dry before you start. I gave our concrete pad a good sweep of any outdoor debris before gluing down the strips of turf. To start determine how large you want your grout lines. The larger (wider) the lines the more turf you will need to order. I only had two square of turf 19.7×23.7 inches which ended up being more than enough for my concrete slab. I cut 1″ strips for my Grass Grout. Also measure and find the center of your project and start your design from there.
- Using lines to cut strips
- Turf Square
- Measure your area
- Determine design/placement
- Cut your strips of turf (don’t worry too much about straight lines if they are a little uneven I think it makes for a more natural look)
- Layout your design
- I chose to go at an angle and create a diamond X technique
- Use the exterior adhesive to do long lines of glue and apply once in the correct spot with lots of pressure
- Let dry
- Stay off it for a day
- Admire your transformation!
This was such a fun project and it really enhanced this pad of concrete that was an eyesore before this. It also saved us hundreds of dollars from ripping it up and/or adding pavers/ veneer stone over it which is what I was initially thinking about doing.
BEFORE:

AFTER: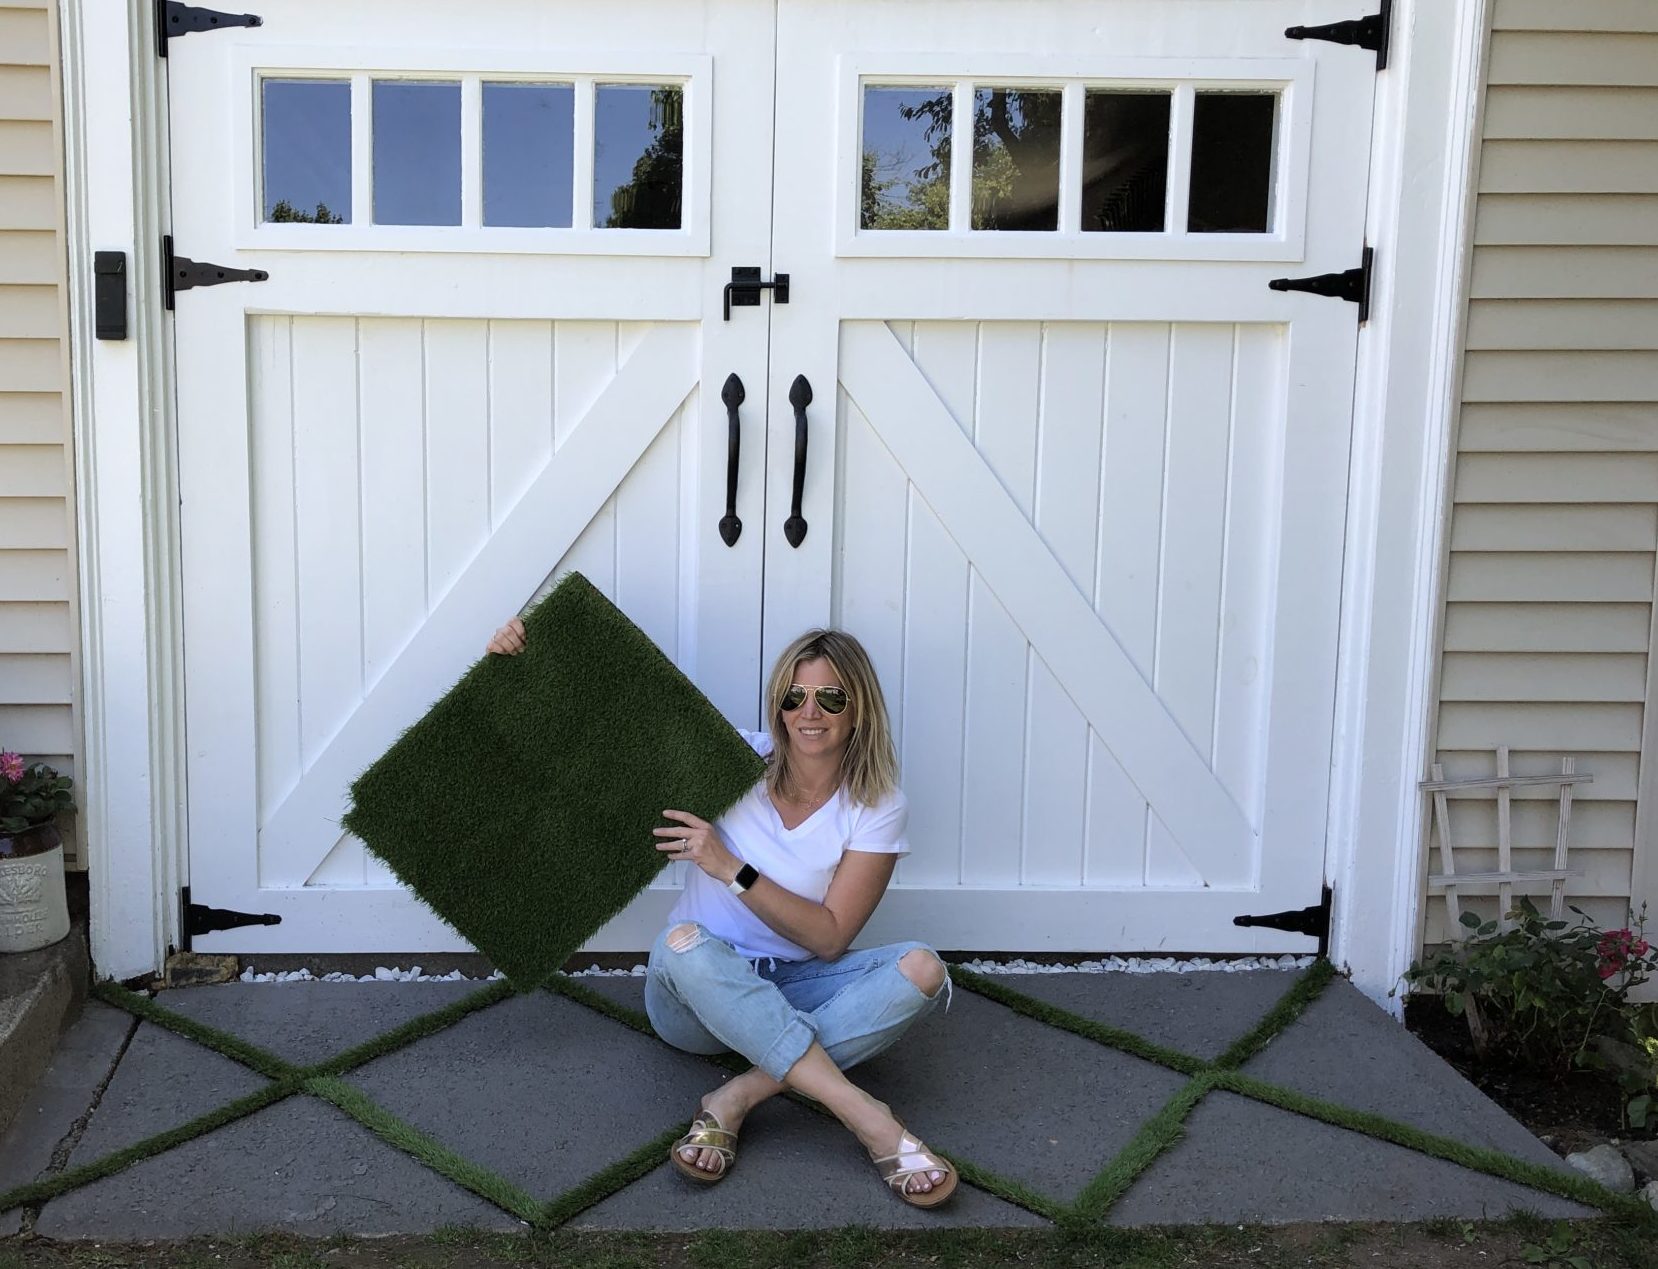
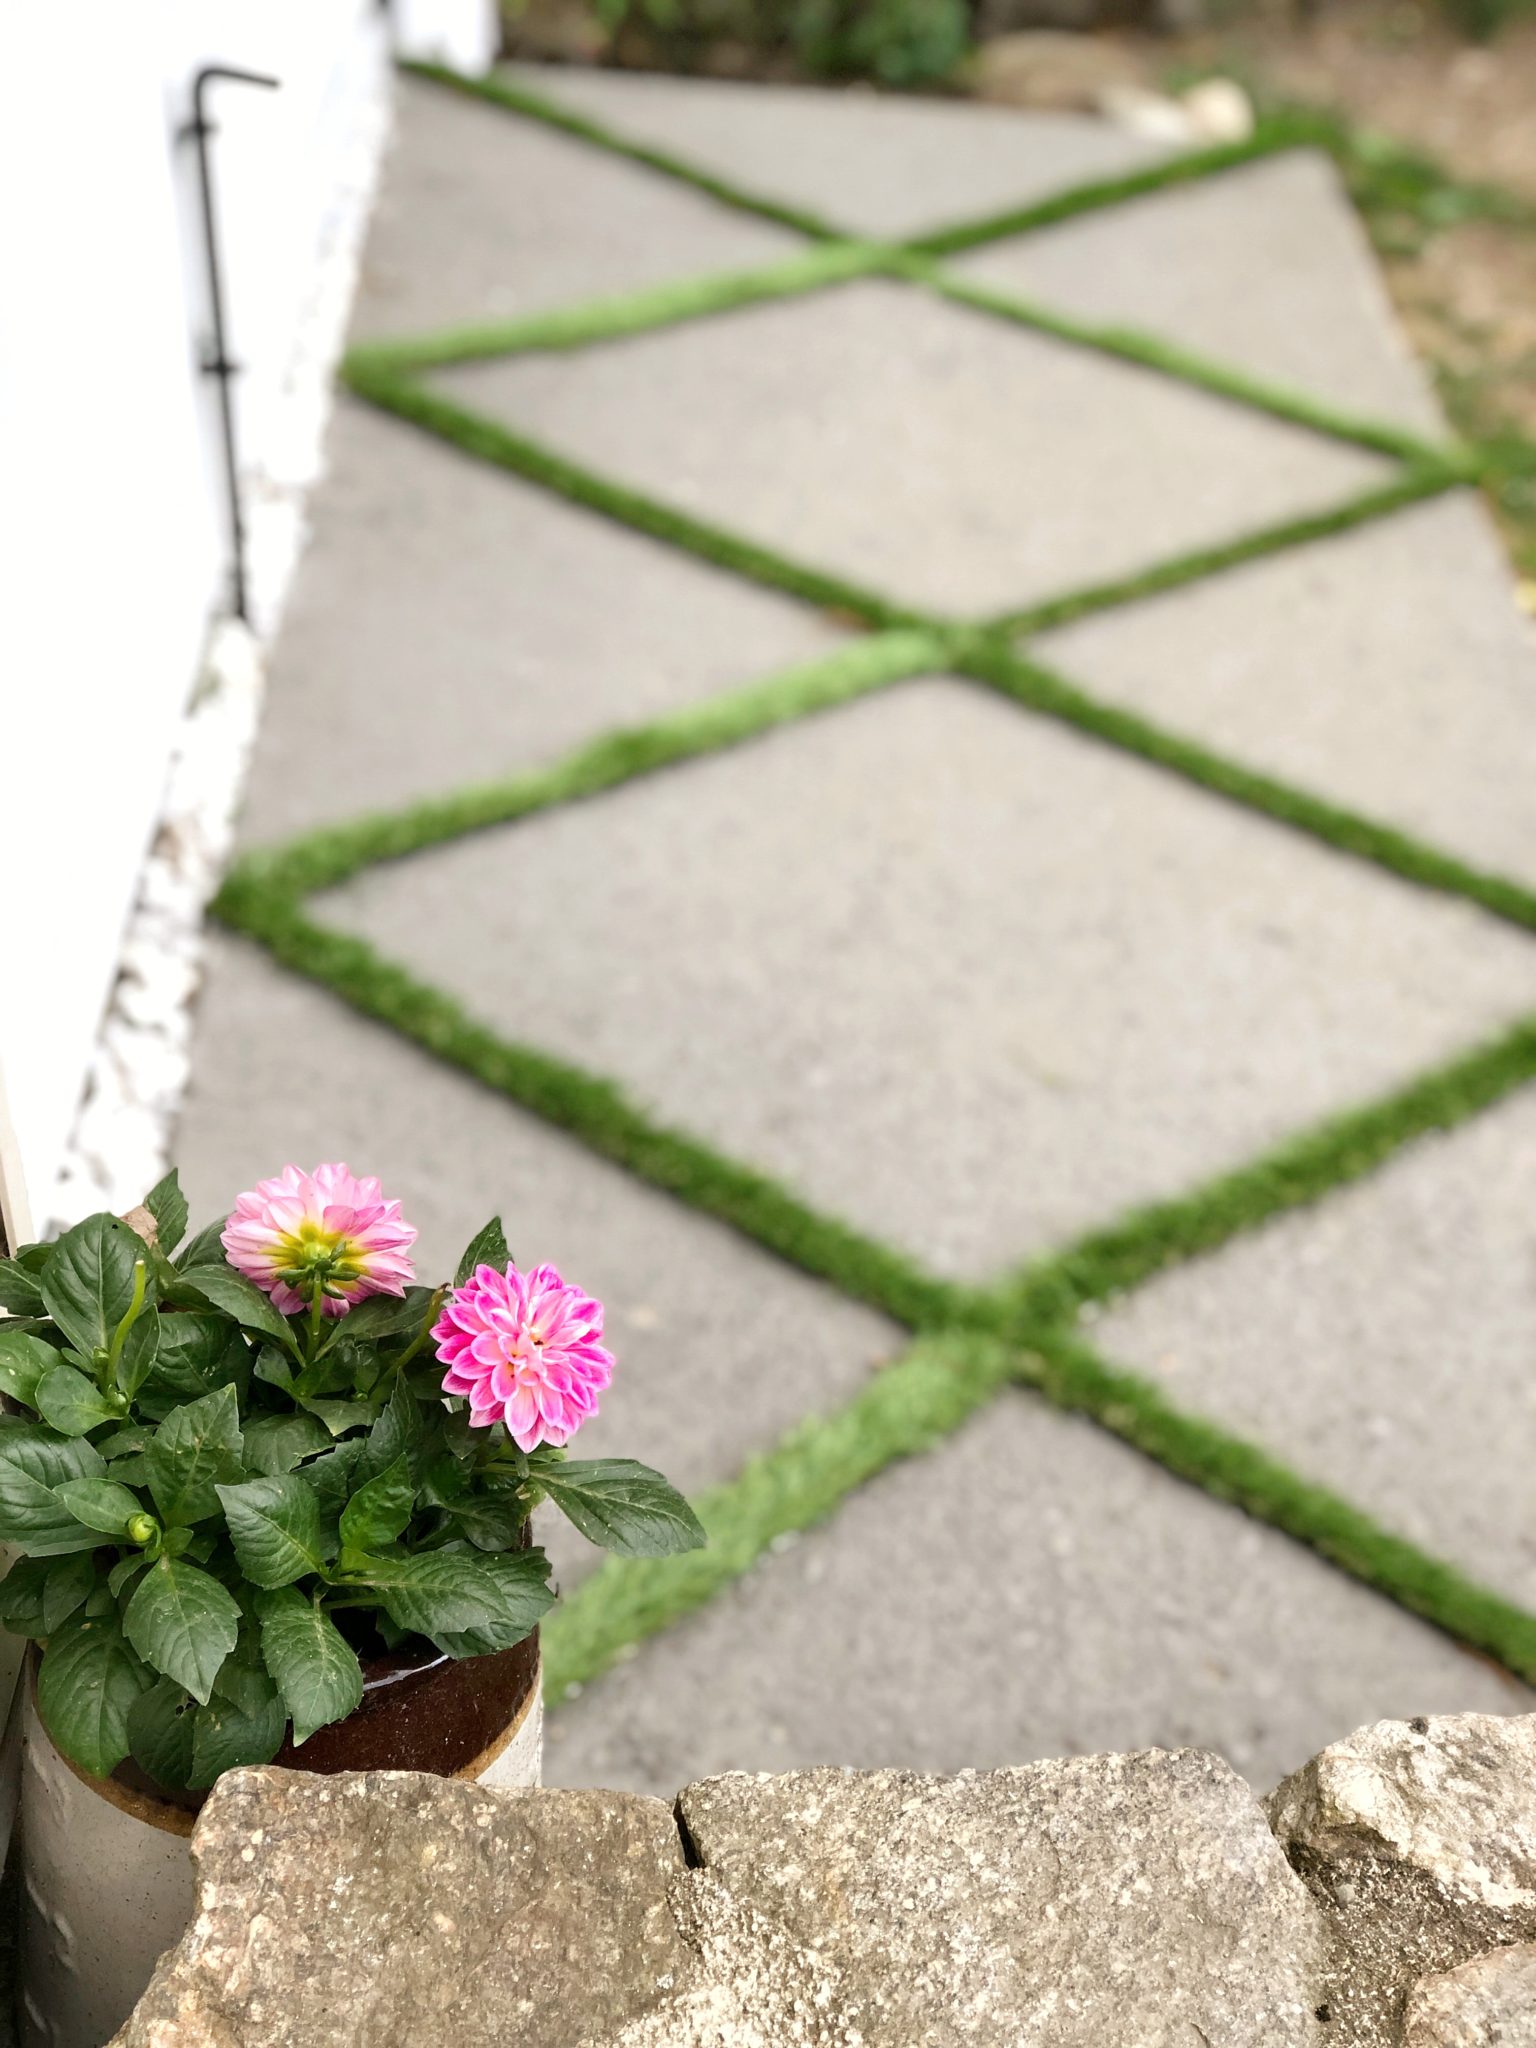
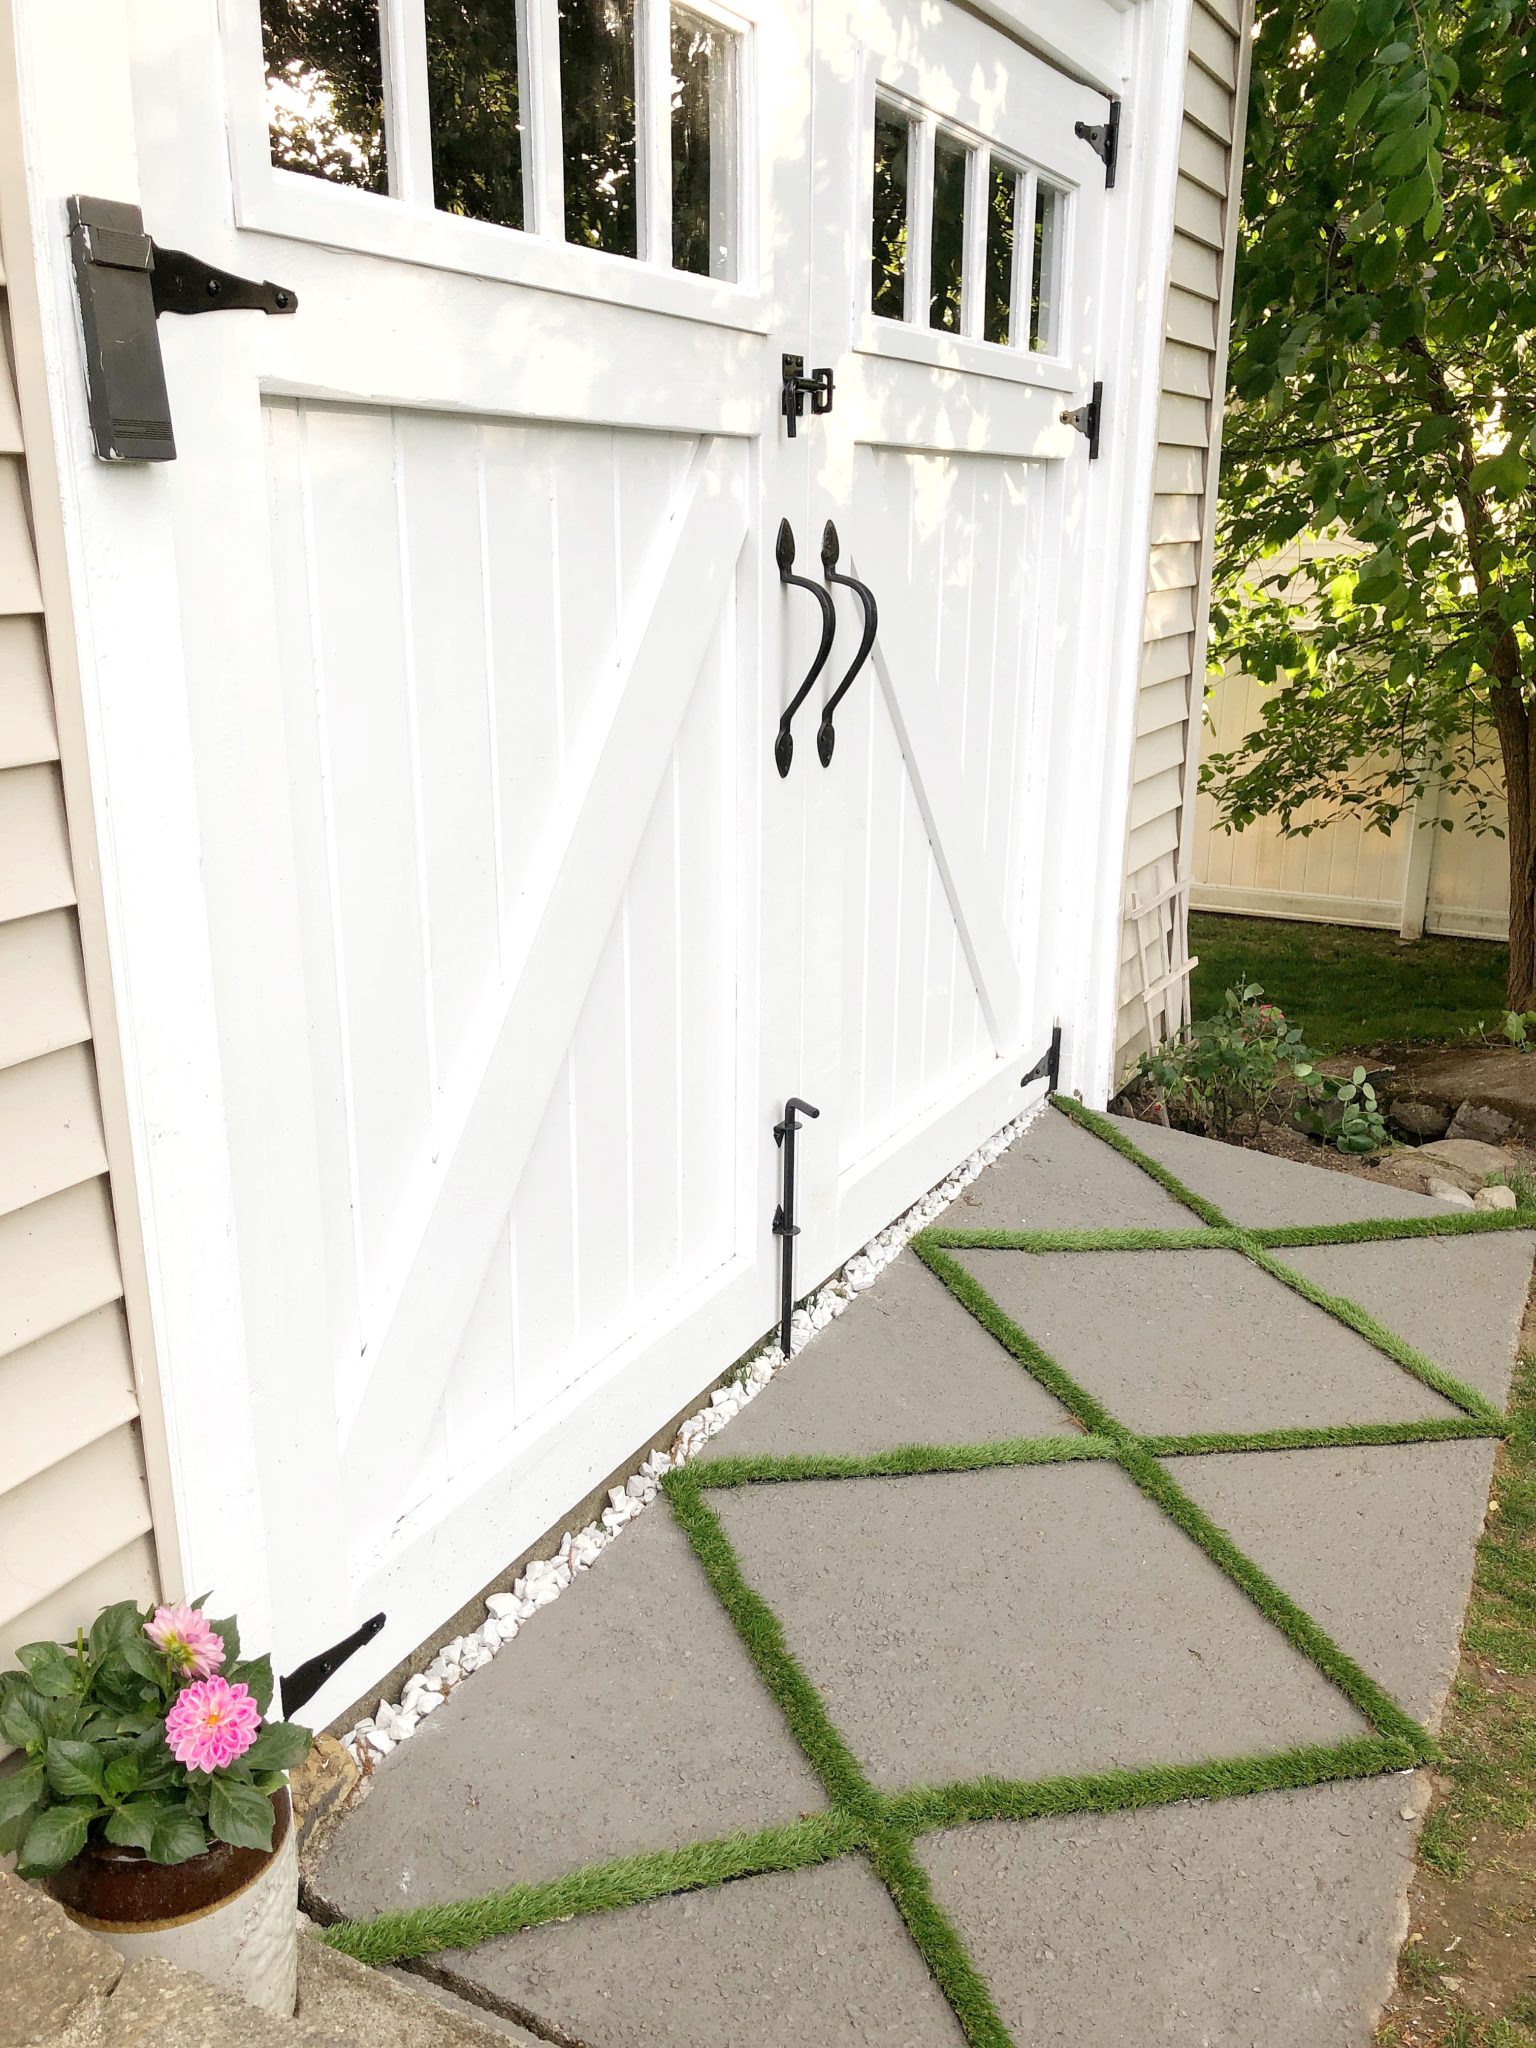
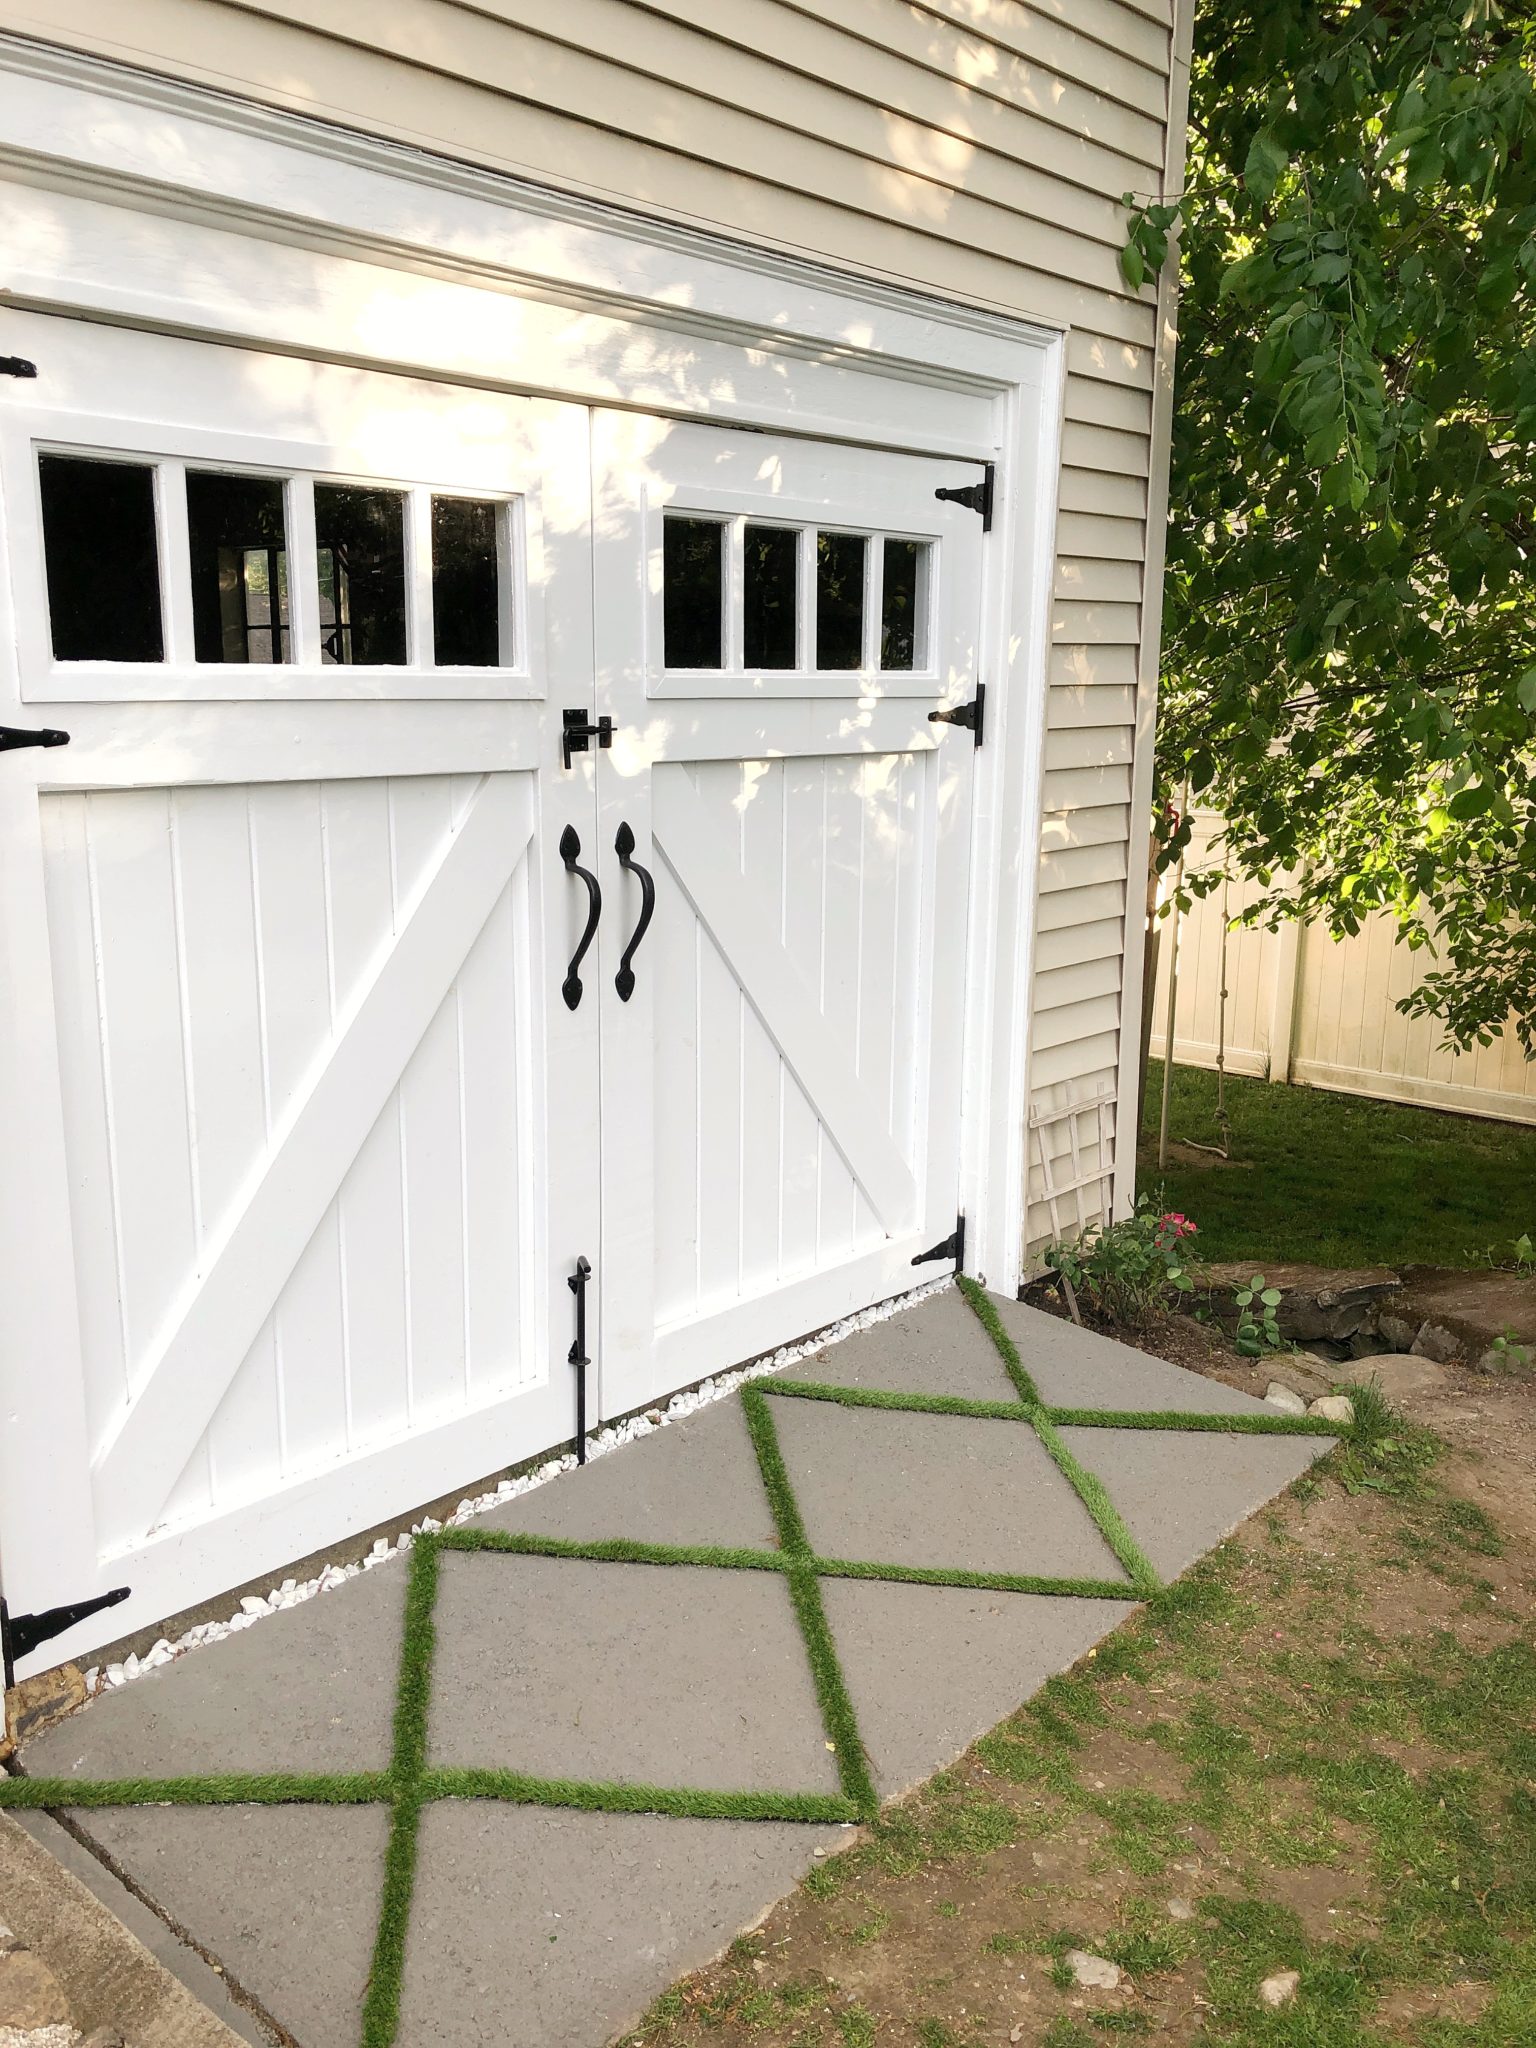

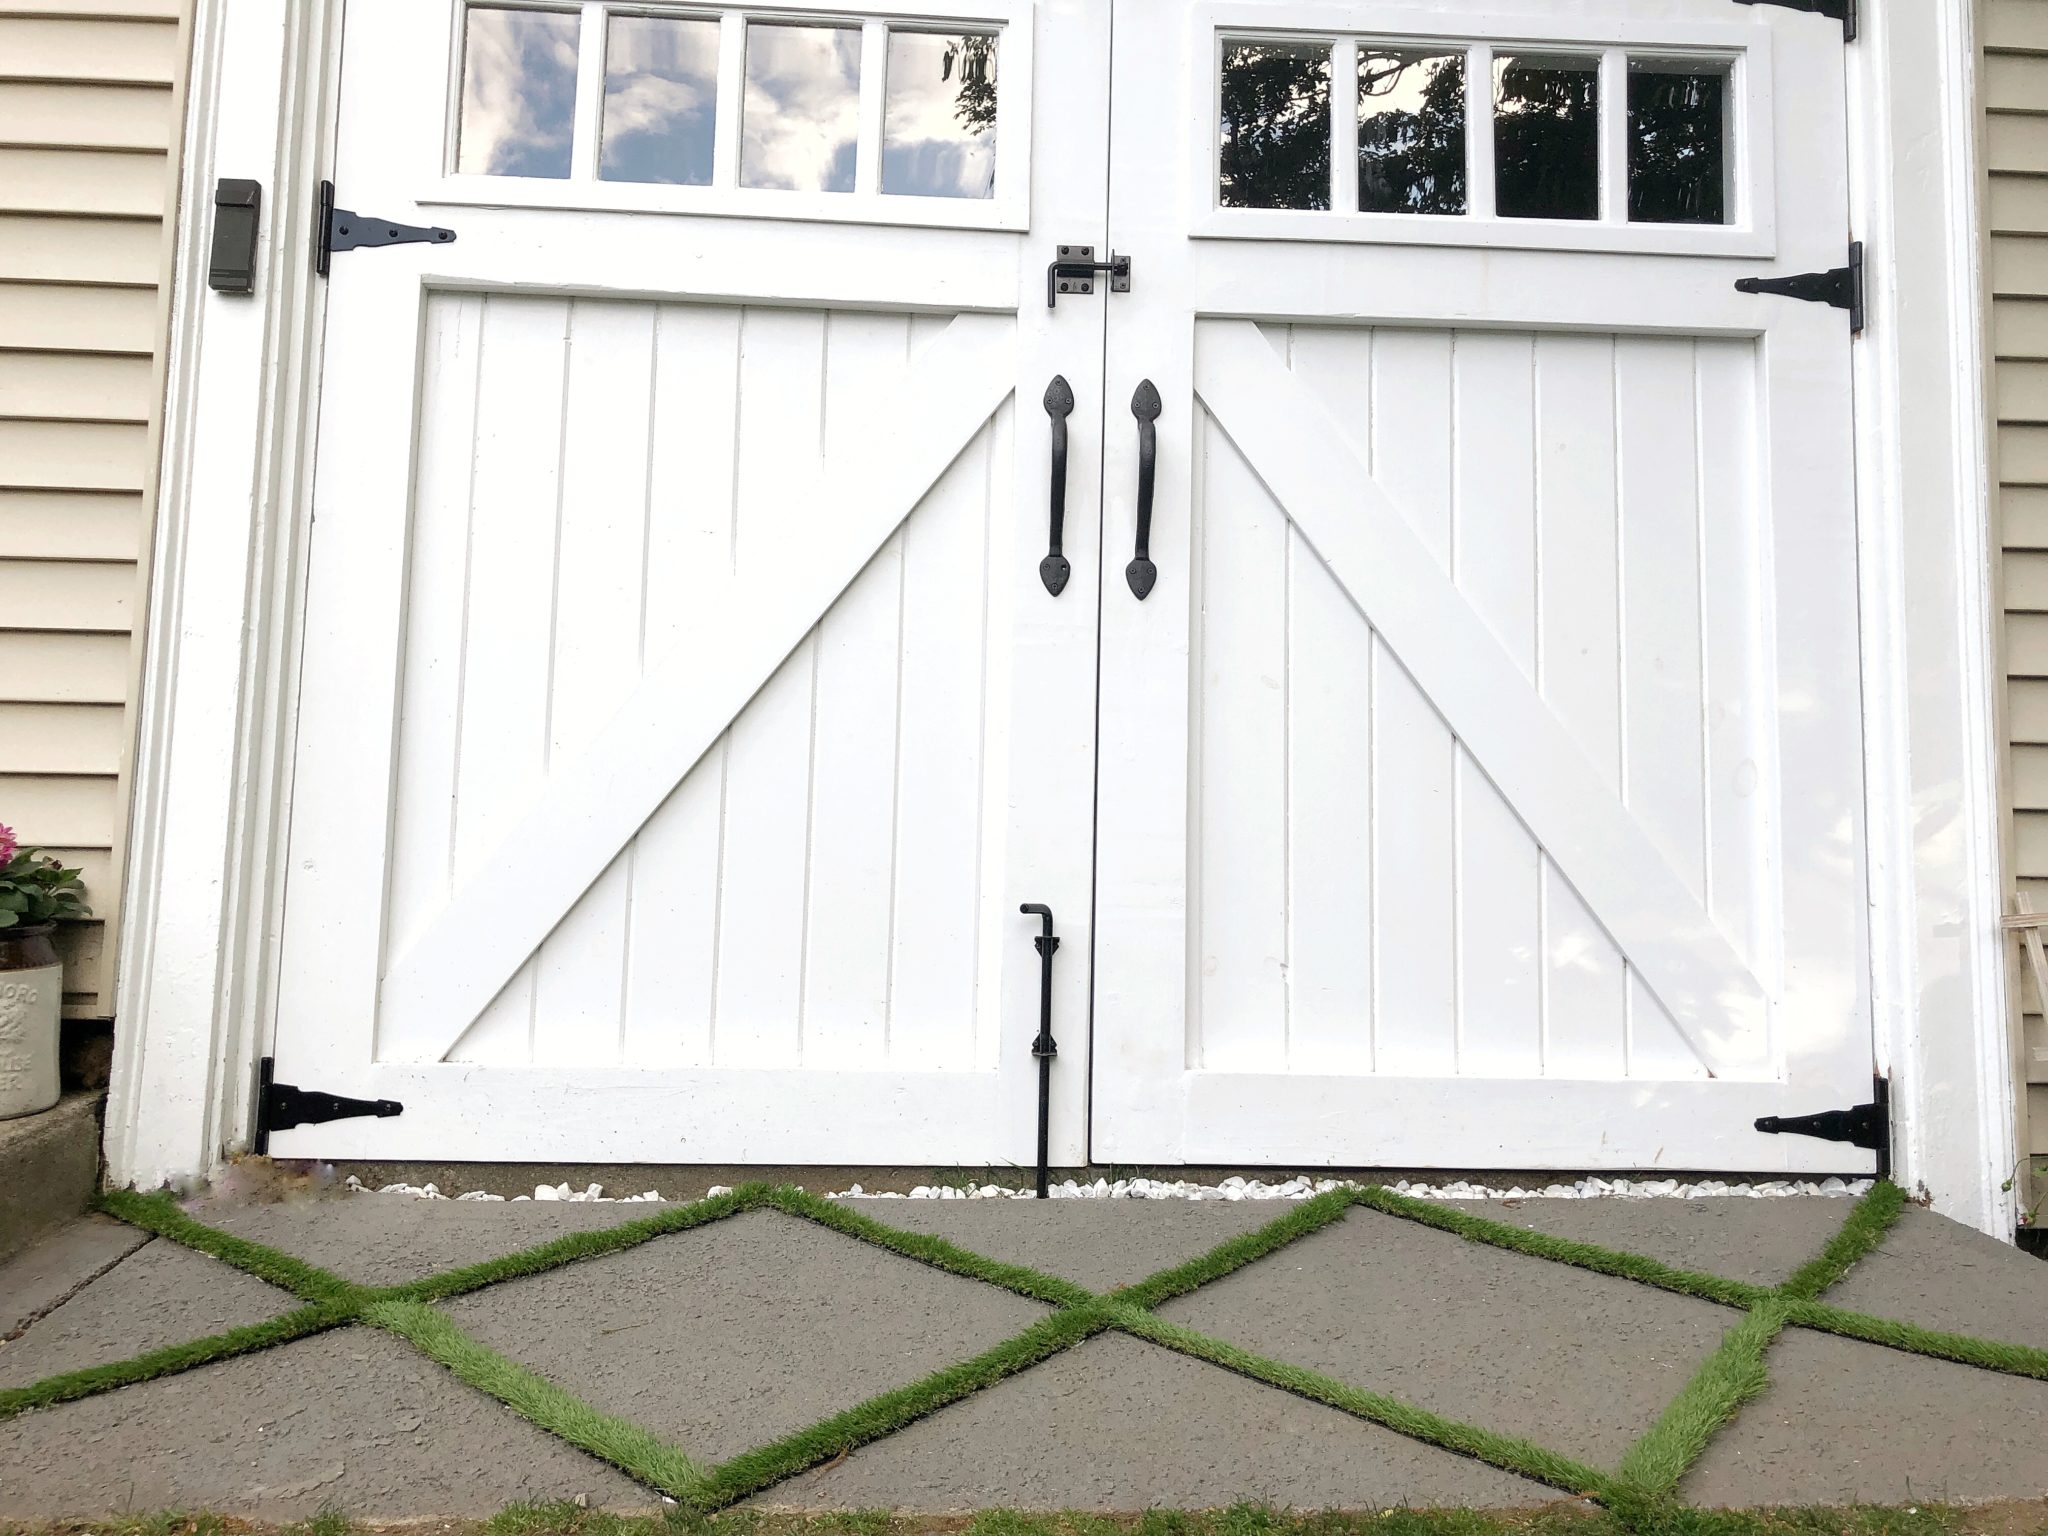
I hope you enjoy seeing how my Faux Grass Grout project turned out. It really was so easy and affordable! I’d be curious to see other patterns or designs of Turf Tile and I’d love to see your versions if you try it! I’ll keep you posted how it holds up but so far day 2 it feels like a very strong grip! Even if it doesn’t last through the winter it was easy and inexpensive enough that I could just replace.
Happy Decorating,
Jordan
Shop this post:
Pin for later:


This is such an awesome idea! I wish I had some where to try it. It looks fabulous!
This looks awesome. Do you think this will hold up on a long driveway?
So far it is holding up really well for us! I’ll be curious to see how the adhesive holds through the cold winter… I’ll report back 😉
I see this post is a few years old now. How did this project hold up since then? Very curious.
How do we get the White Barn Garage Doors we see on your website?